


How To Paint A Chandelier The Lazy Girl Way
Welcome to my second "Lazy Girl Way Post"! My first was fancy window trim the lazy girl way & I think some days there's a lazy girl in all of us. I am a big fan of a little paint TLC & a firm believer that a light fixture can add tons of character to a room. I get a lot of messages from yall about how to properly paint a chandelier. So I thought I would tell you how I do it. Possibly not the proper way, but its the easiest way & I always love the result so its the right way for me!
- Chandelier or Any Light Fixture
- Spray Paint
- Saran Wrap
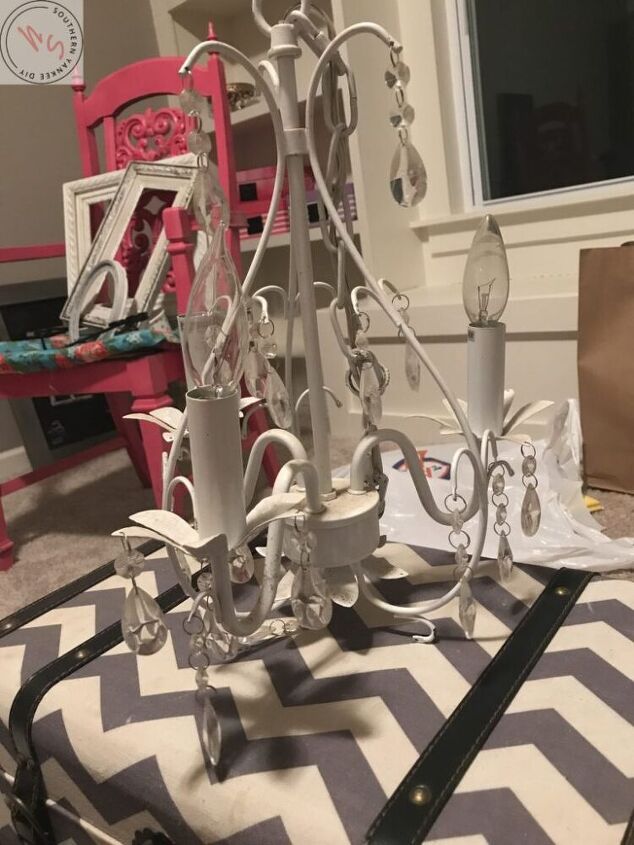
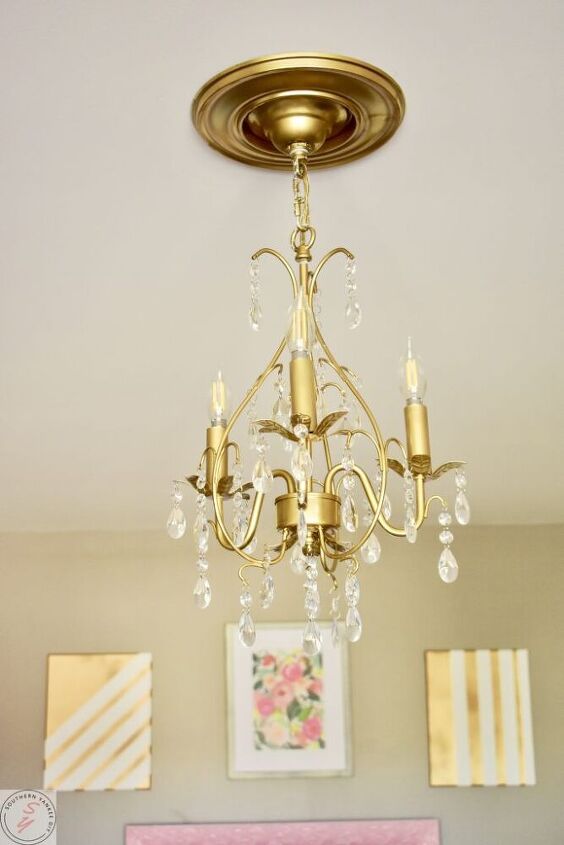
For the Room Renovation: Office light fixture, I decided I would upgrade a chandelier I got from my local thrift store for $15! I started by taking all the crystals off to throw into the dishwasher (no judgment this is the lazy girl way remember  ).
).
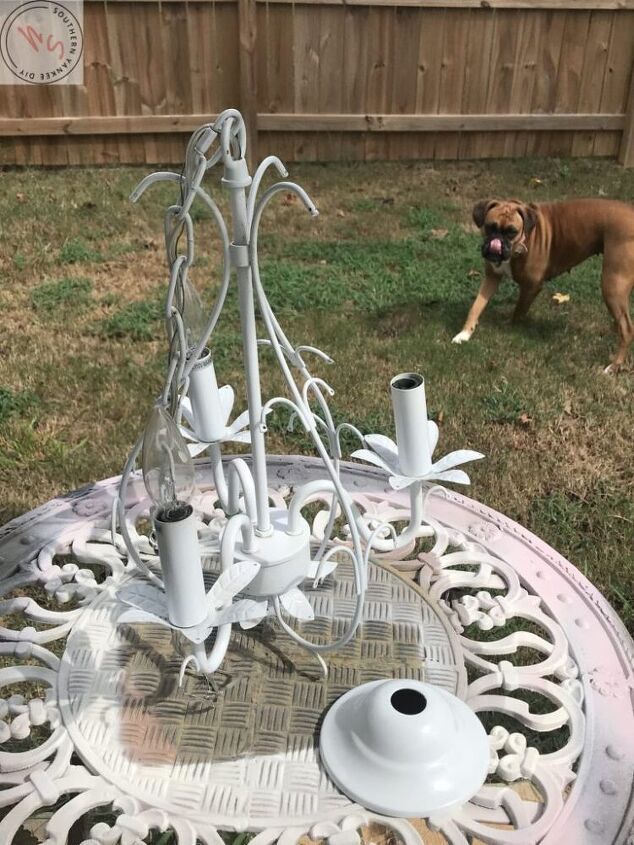
After I had the crystals & light bulbs taken off I brought it to my super official/professional painting table outside! Don't mind my assistant looking adorable.
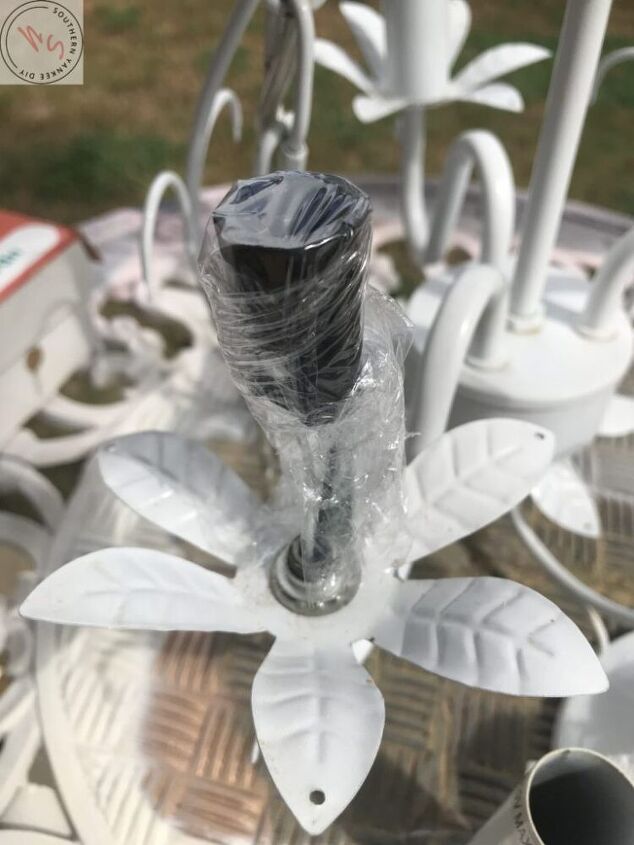
Next, is the lazy girl trick part. You don't want to get spray paint inside the part where the light bulb goes, so I slid off the covers & wrap saran wrap around the electrical part. Then, I simply slide the covers back on & I'm ready to go!
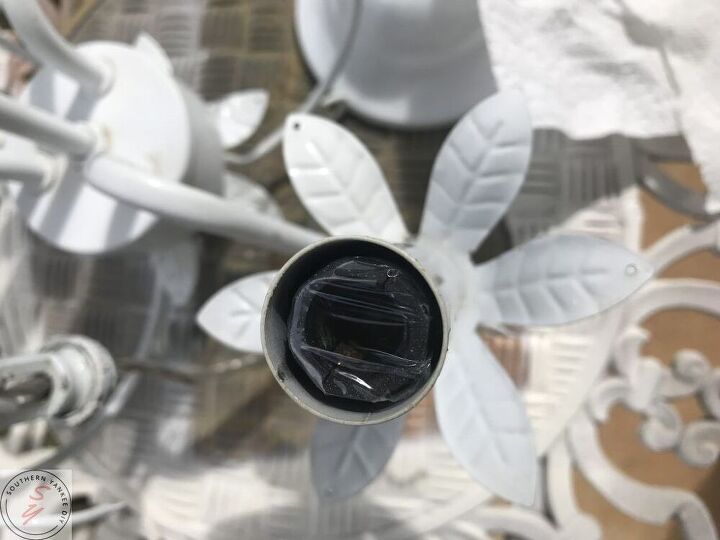
This will help to ensure you don't get any spray paint in or around any of the electrical stuff or build up around the bulb area!
Finally, I usually do 2-3 coats of spray paint, be sure to flip it over once dry & get it from the bottom. You could always hang it off of something & paint it also.
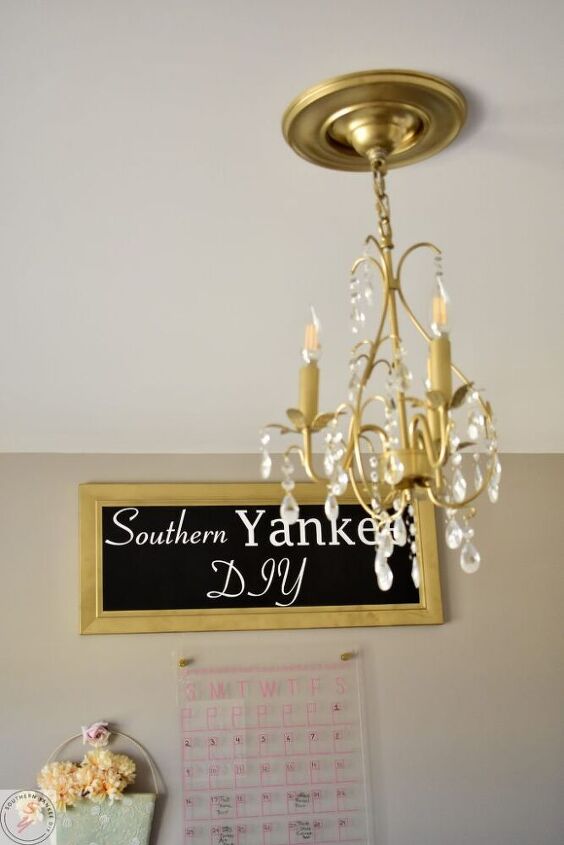
It is amazing what a little spray paint can accomplish! This gold is so pretty & even matches my DIY Southern Yankee sign in the background! Let me know what you think in the comments & if you have any questions! Plus I would love to hear some of your "lazy girl" hacks!


Frequently asked questions
Have a question about this project?