


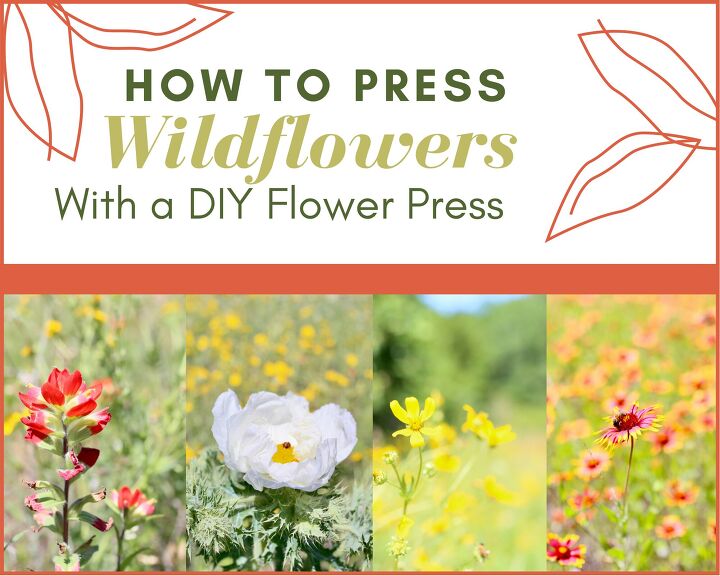
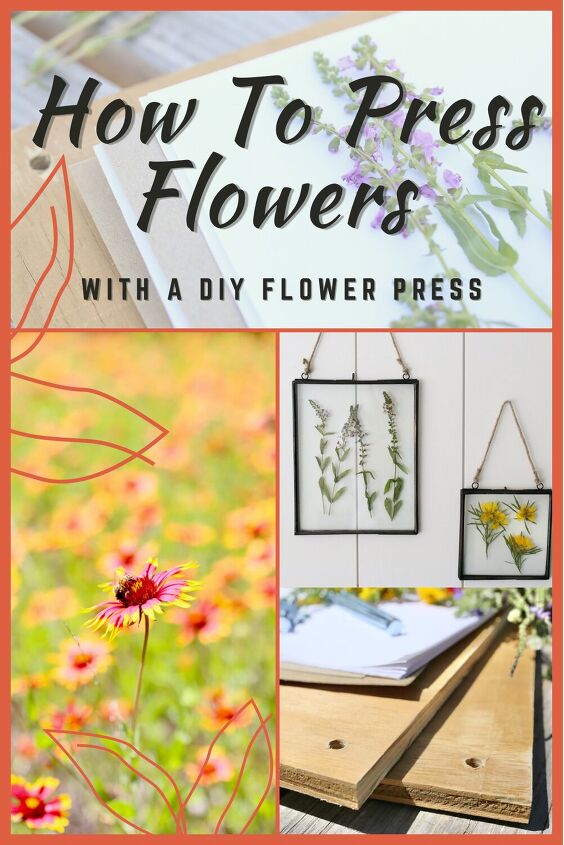
How to Press Flowers With a DIY Flower Press
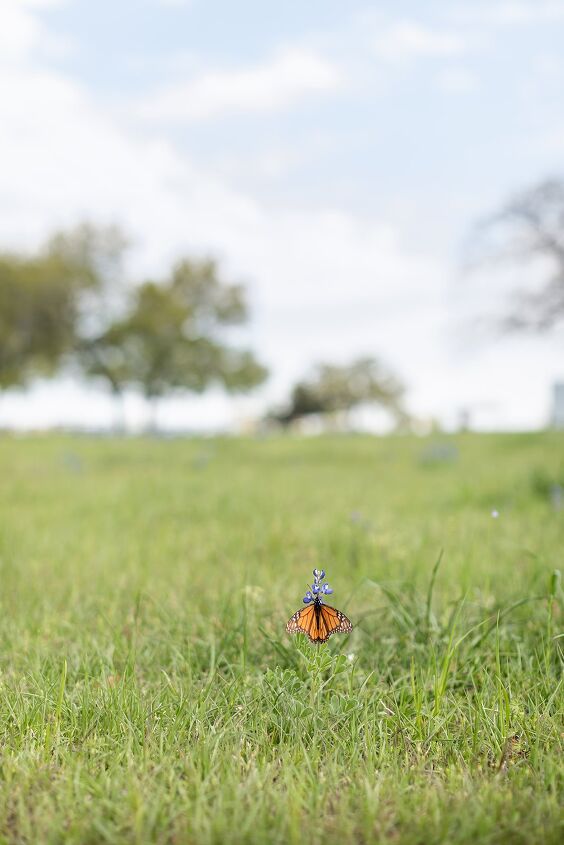
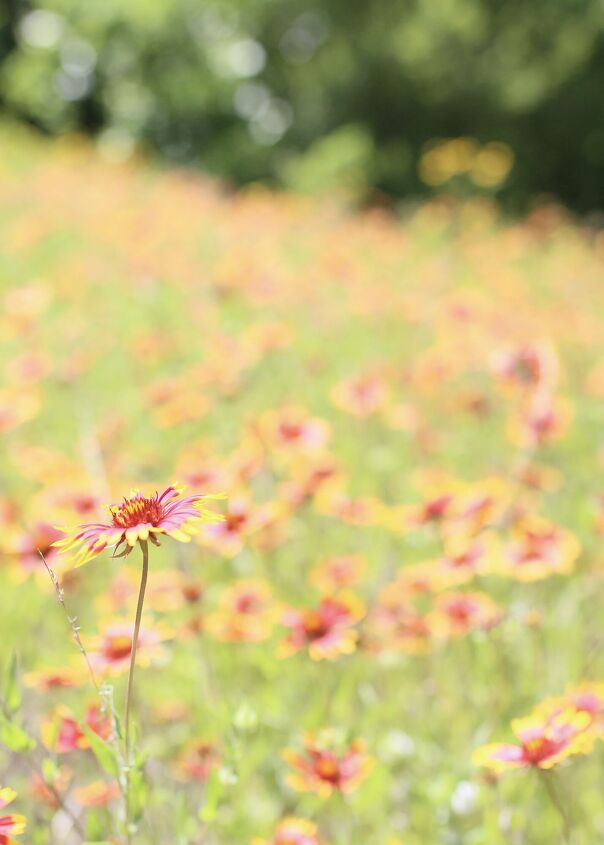
From learning how to press flowers in a book with my Grandma to receiving hand picked, weedy bouquets from my children, wildflowers hold a special place in my heart. Therefore, to capture the essence of Texas wildflowers, here’s a simple DIY Flower Press to press flowers and preserve those memories.

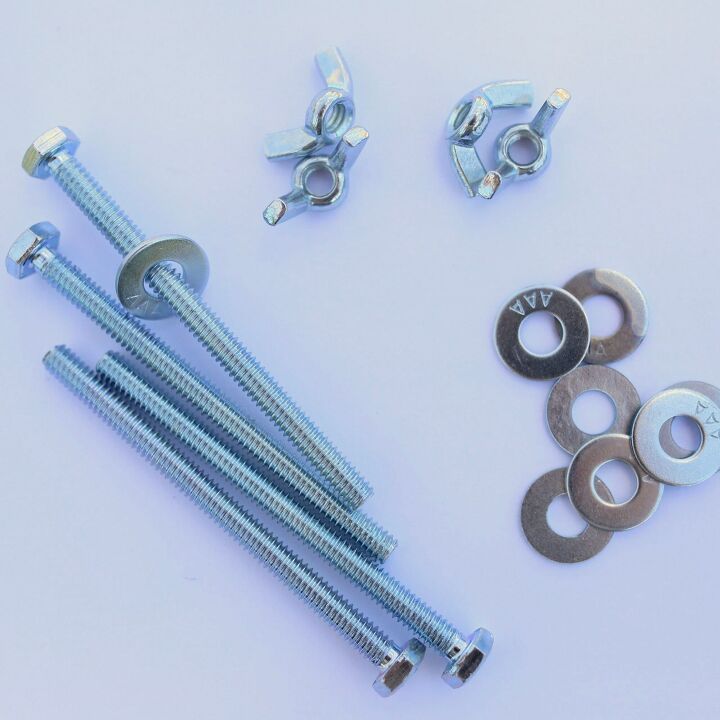
A flower press consists of layers of cardboard, paper and two boards that are held together by bolts and wing nuts. The nuts and bolts allow you to tighten the boards together in order to press the layers of flowers.
You can make this DIY Flower Press in less than half an hour! If you ask the hardware store to cut the wood for you, all you have to do is drill the holes into the wood and assemble. Either way, you can do it!
- Gather your materials: 2 square feet of plywood, 4 bolts, 8 washers, 4 wing nuts.
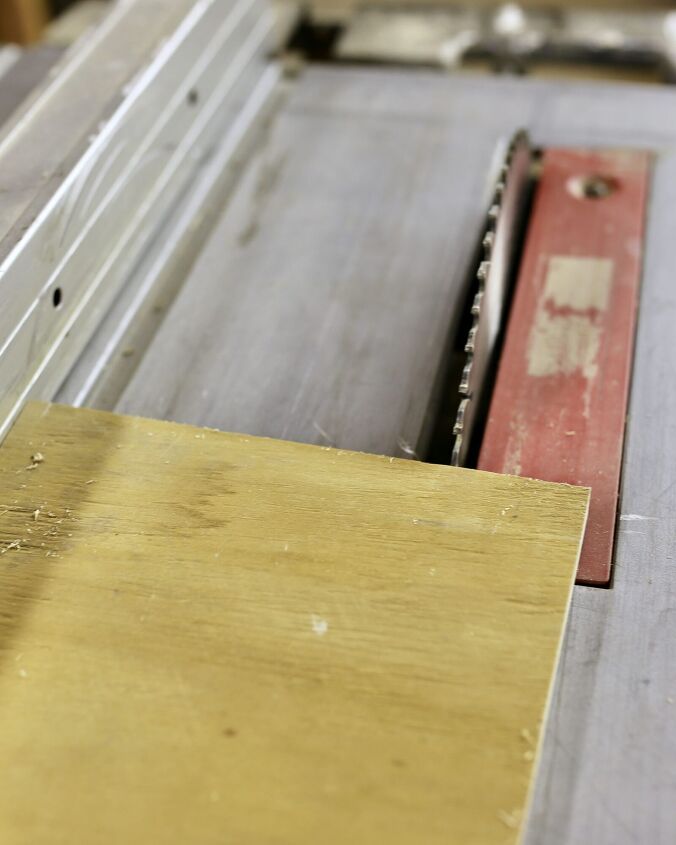
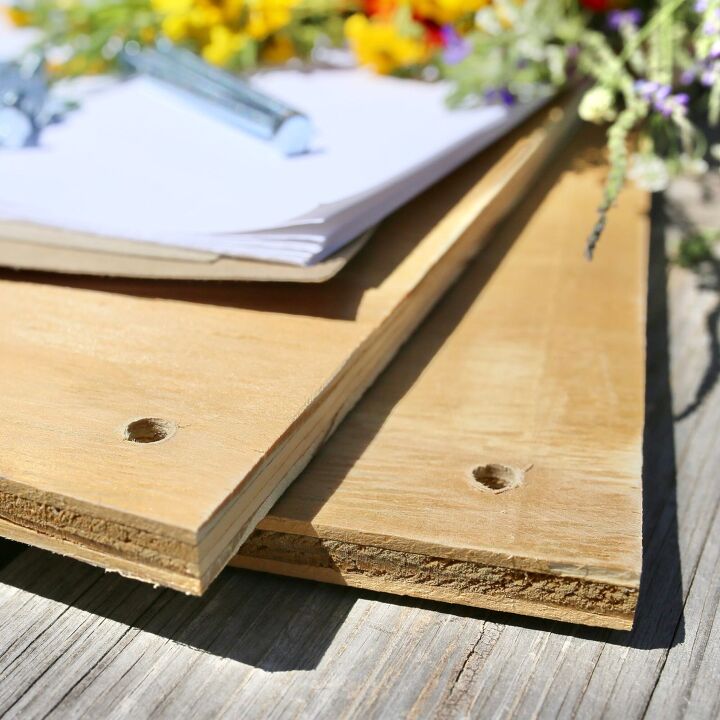
- Cut two pieces of plywood approximately 9 x 12 inches with a table saw.
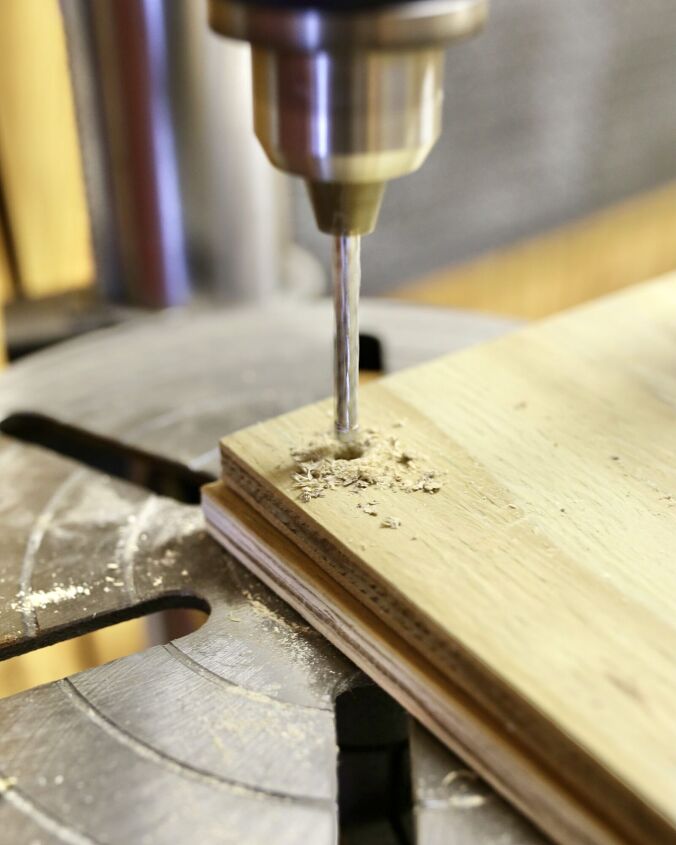
- Use a drill or drill press to insert holes into the four corners of both pieces of wood. Be sure the holes in the two boards line up correctly when stacked together. Use the same size of drill bit as bolts.
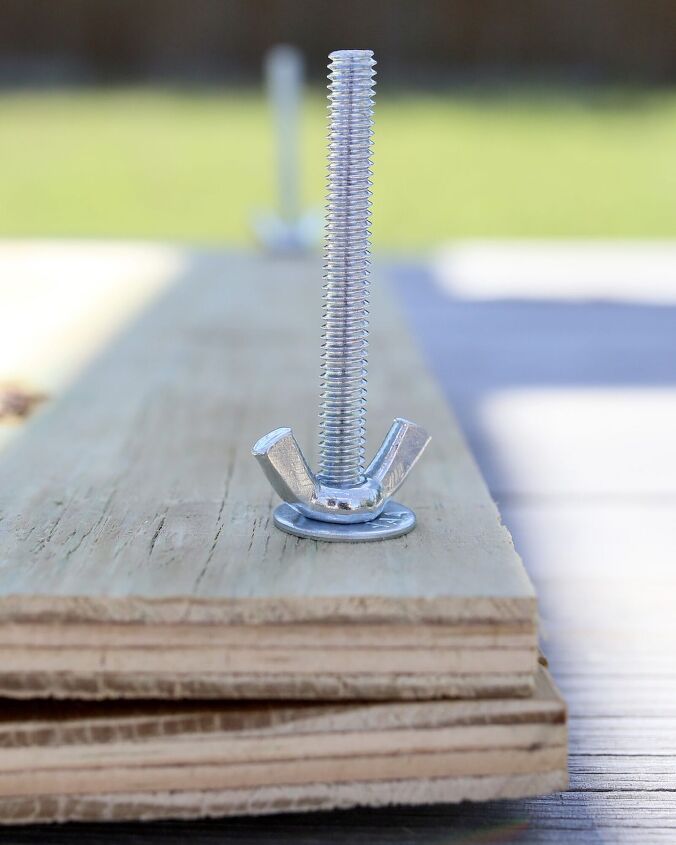
- Insert each of the 4 bolts and washers into the four corners of the plywood. The head of the bolt will be placed onto the table standing up. To tighten, place the second board on top and secure with second set of washers and wing nut. Cardboard, paper and flowers will be pressed between the two boards, later.
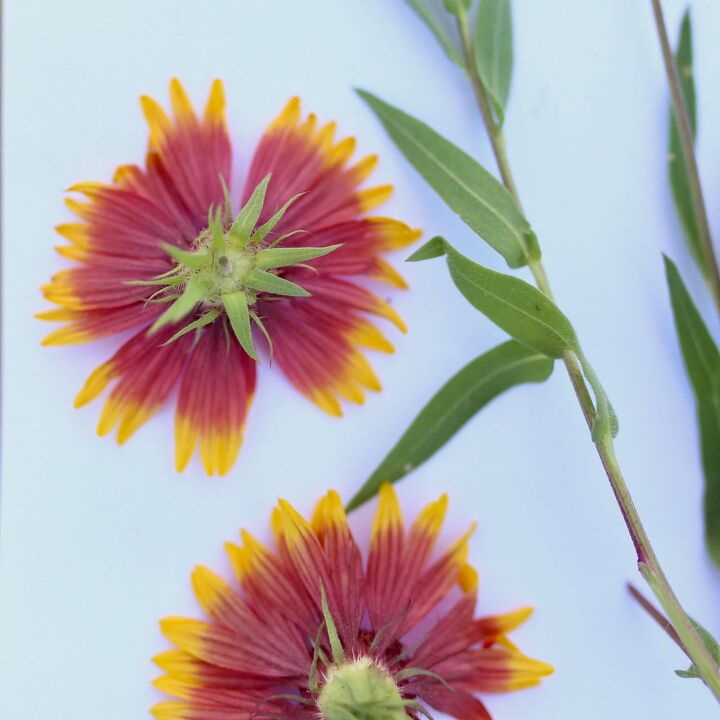
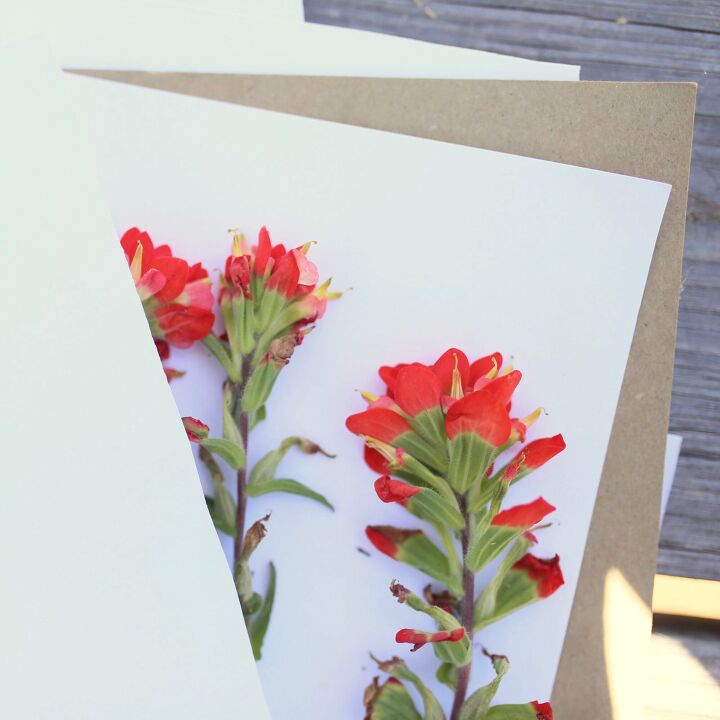
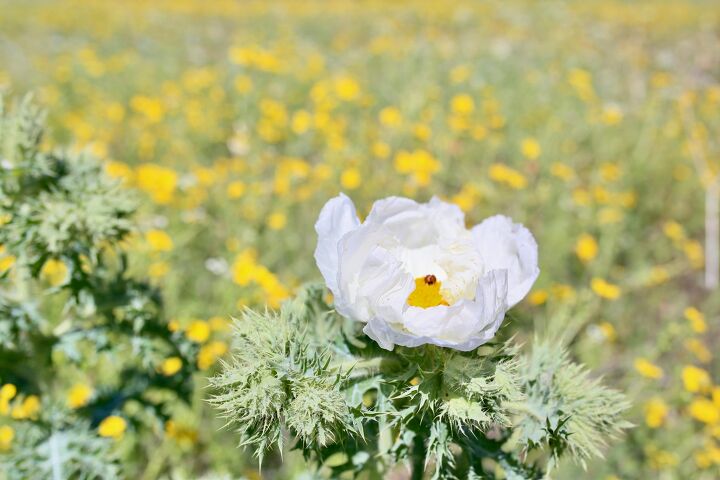
It’s best to pick flowers immediately before pressing. Otherwise, wilted flowers will not yield beautiful, open blooms. The flowers will flatten as they are pressed, so pay attention to the direction of the petals when arranging on paper.
- Remove any unwanted leaves, blemishes or large buds from the stems.
- Lay a sheet of cardboard onto the bottom piece of wood of the flower press.
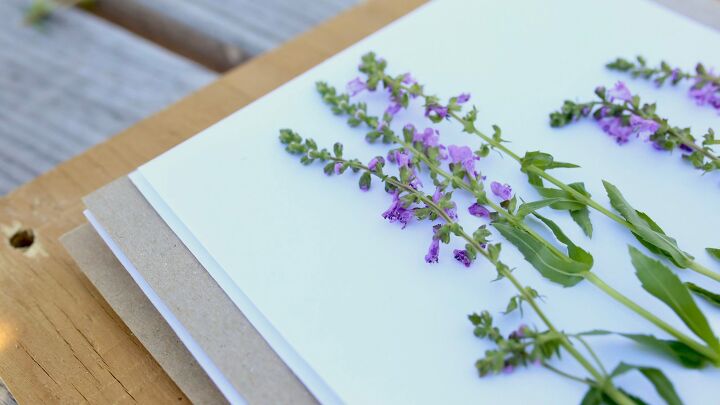
- Next, place absorbent paper onto the cardboard and lay flowers onto the paper. Layer paper and flowers between the two pieces of cardboard.
- Then, place the second piece of wood on top of the layered paper, aligning the holes. Push the bolts into the holes, securing with washers and wing nuts.
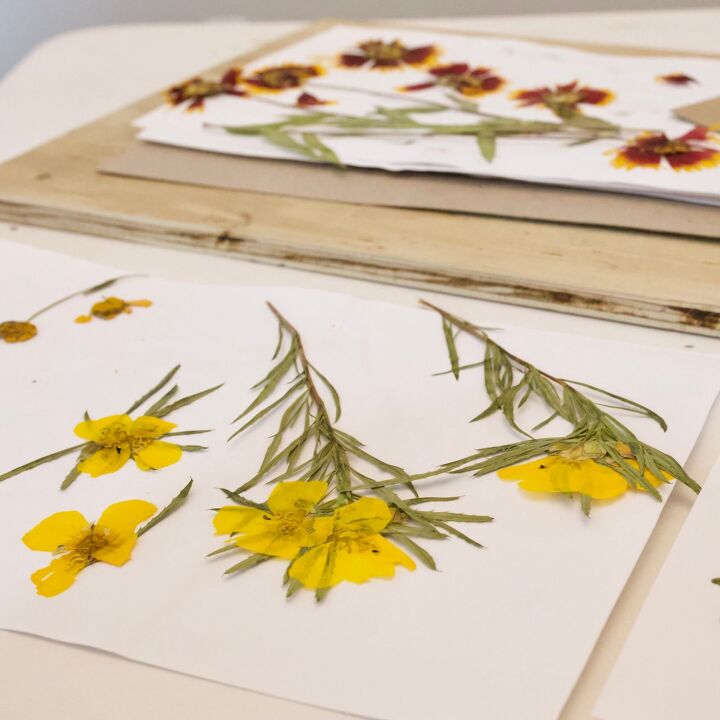
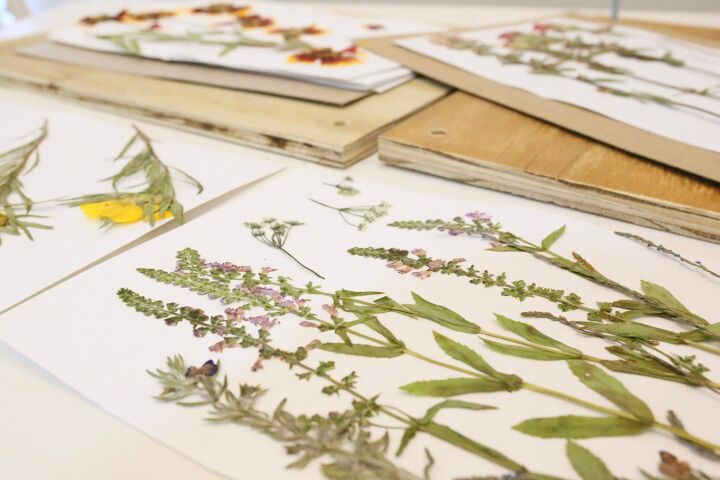
- Allow to press for 3-5 days.

In addition to a flower press, there are other ways to press flowers, herbs or plants. Typically, flowers are pressed between paper and a heavy object for several weeks. To speed the process, add heat. Any kind of absorbent paper works best, including newspaper, parchment paper, coffee filters, paper towels or watercolor art paper.
This technique may be one that you learned as a child. Simply, place flowers between absorbent paper inside an old book. Then, place heavy objects onto the book for several weeks. If paper begins to brown, replace with new paper.
First, place flowers between paper. Then, place between two flat heavy objects, like microwave safe plates. Heat in 30 second increments until pressed (typically less than 2 minutes). Flowers will be delicate, so allow to cool before handling.
First, place flowers between parchment paper. With the iron set to low heat and no steam (no water in iron), hold the iron over the paper in 15 second increments, allowing to cool in between. Be sure not to overheat.
Pressed flowers can be used to make resin art and paper crafts like bookmarks or greeting cards. My blogging friend Amy, at CuterTudor.com, decoupaged Texas wildflowers onto coasters.
In addition, plant journals are a fun way for the young or curious to learn about flowers. Simply glue or tape pressed flowers into a blank journal. Then, use the internet or flower identification books to learn more as you jot down flower names and descriptions onto the pages.

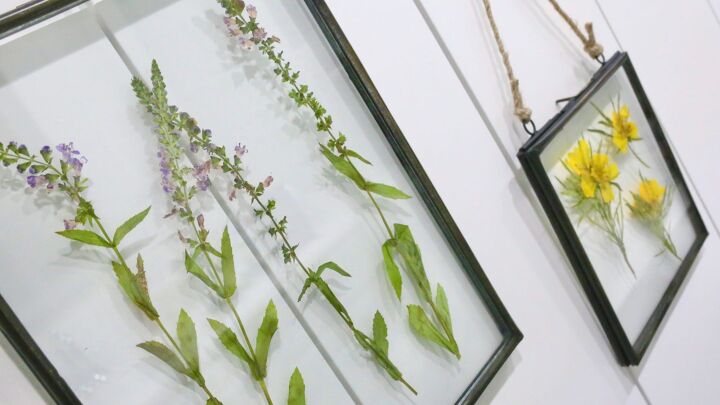
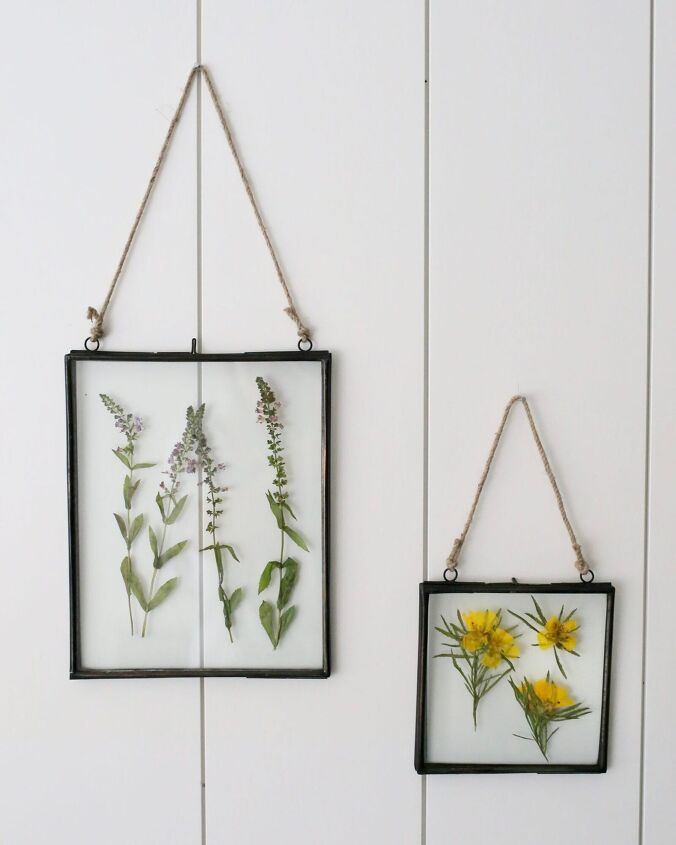
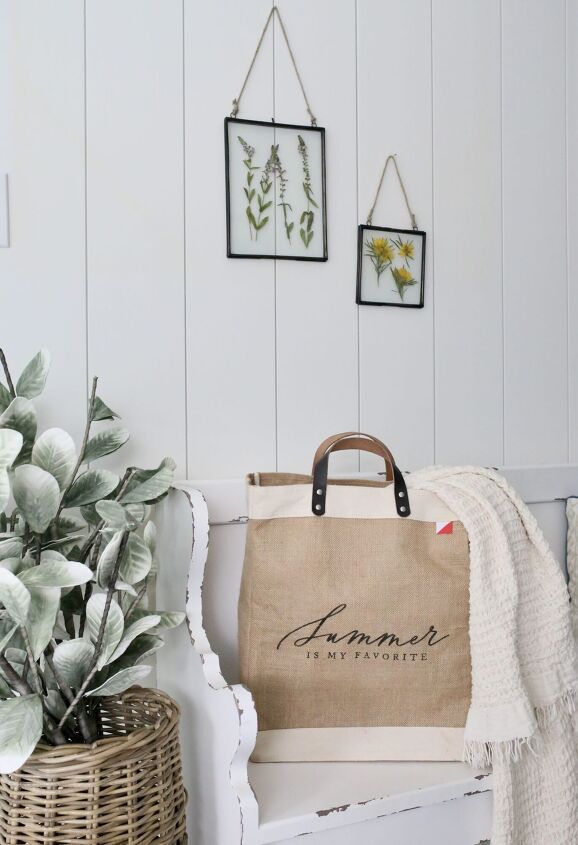
These two hanging metal frames are available in the shop, ShopfromSusie.com The square frame is $16 and the rectangular frame is $18! They are perfect for displaying pressed flowers or artwork.
If you love wildflowers as much as I do, save this to your Pinterest board to DIY later!


Frequently asked questions
Have a question about this project?