


How To Screen Paint Transfer on Wood
Using screen transfers to paint on wood is an easy way to ensure beautifully painted designs. Remove stencil transfer from backing, adhere to the wood, apply acrylic paste over the stencil with a paint brush. Let dry and remove stencil transfer.
I have been painting on wood and creating my own custom wooden farmhouse signs for many years! I have even hosted DIY Wood Sign Workshops that taught others how to make their own signs!
The sign making process is fairly easy. Through trial and error you’re able to learn tricks of the trade to ensure your painted design has nice, crisp edges. A
While attending the Haven conference in Atlanta, GA, I was introduced to reusable screen transfers by Plaid craft company. One of their blogging ambassadors had set up a crafting table to try out some of their products. Sooo…being the avid crafter that I am, I was so excited to give their stencils a try!

This post may contain affiliate links, which means I'll receive a commission if you purchase through my link, at no extra cost to you. Please read full disclosure here.
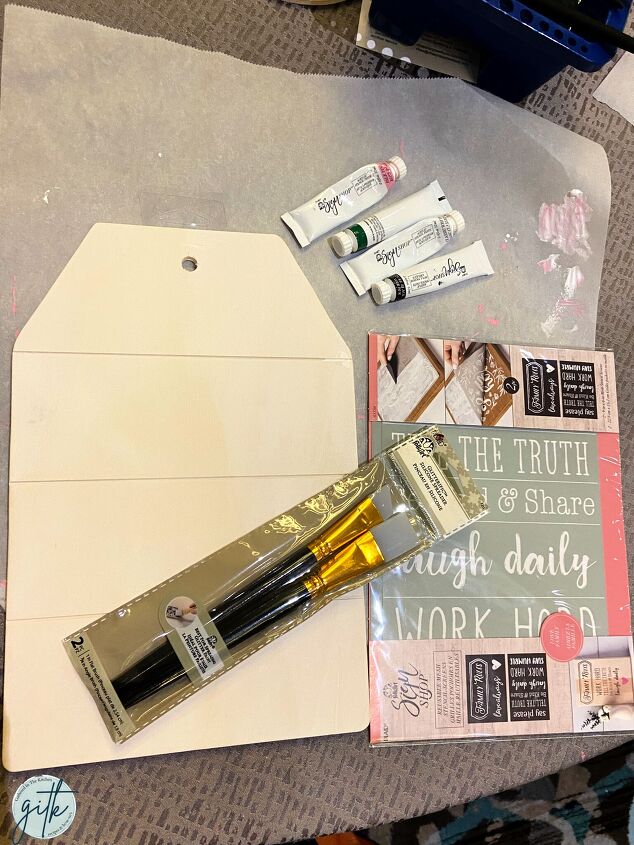
- Wooden tag
- Plaid reusable screen transfer
- Acrylic paint wax
- paint brushes
- jute rope (optional)
I just “learned” TikTok and made a video to show you how easy this screen painting actually is! Enjoy the video or scroll past for the full step-by-step picture tutorial!
How to screen print on wood! moms
♬ Run Free (feat. IVIE) – Deep Chills
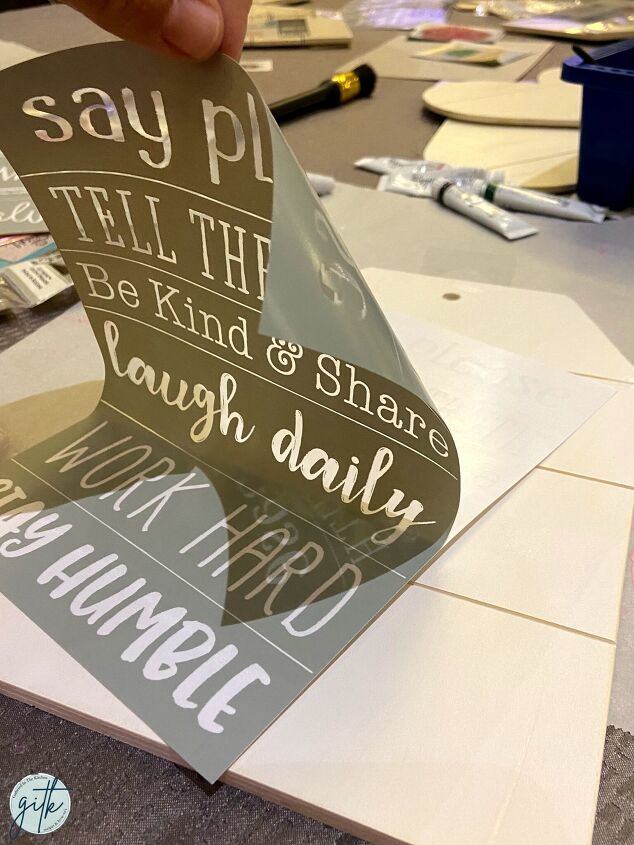
Step 1: Remove stencil transfer from backing paper
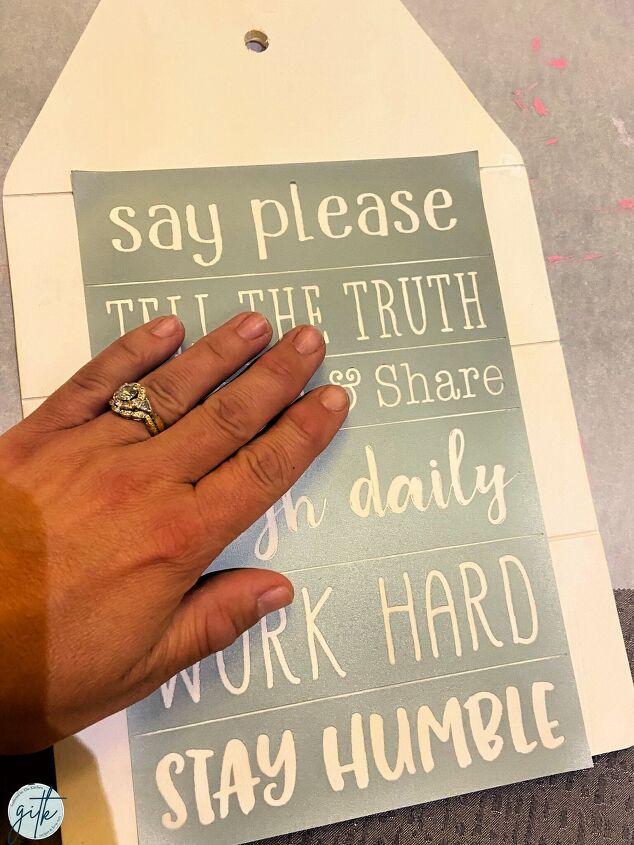
Step 2: Apply transfer to wood and press down with hand
Step 3: Use Plaid acrylic stencil paste
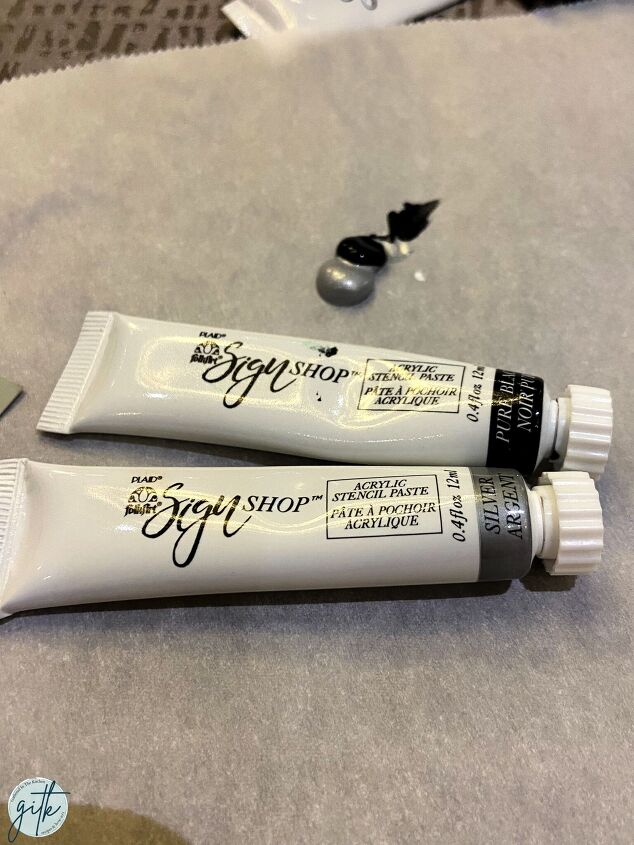
Step 4: Squeeze out some paste on a plate or tray. Mix if using multiple colors.
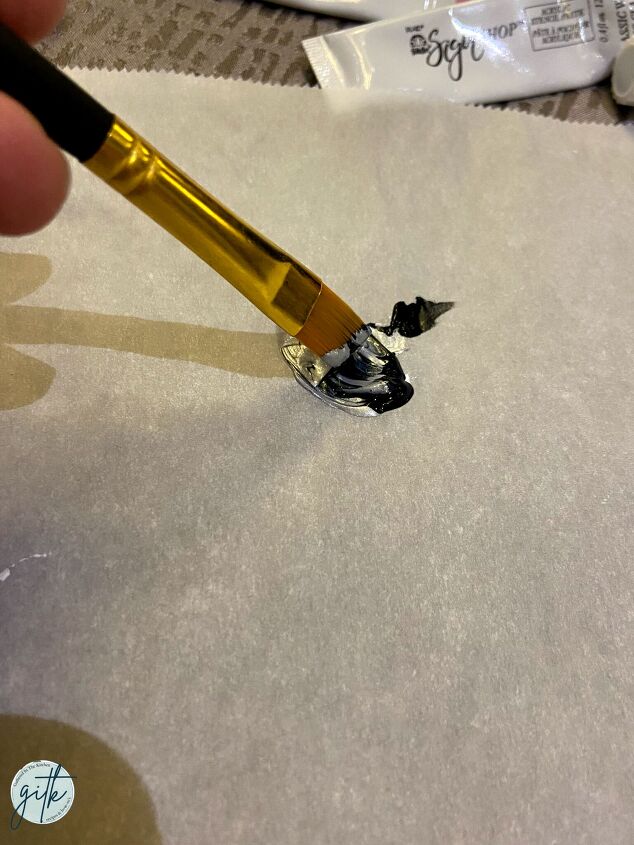
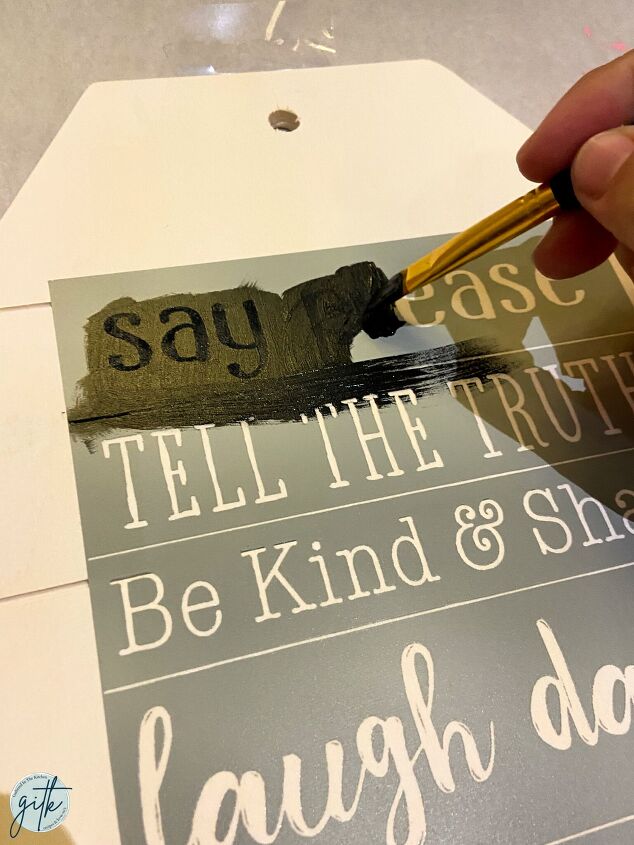
Step 5: Using a paint brush, gently paint the paste over the screen transfer.
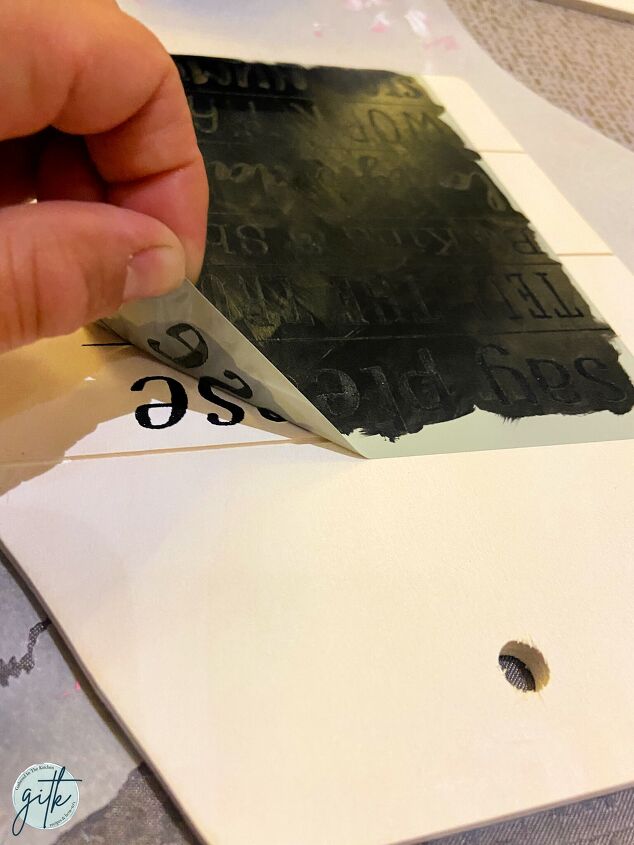
Step 6: Carefully and slowly pull off the stencil transfer a few minutes after applying the paste
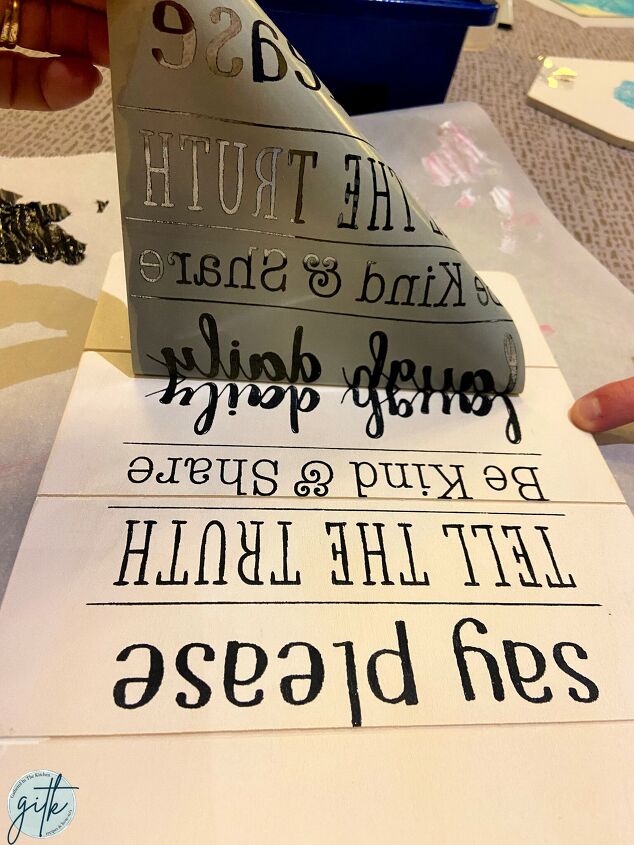
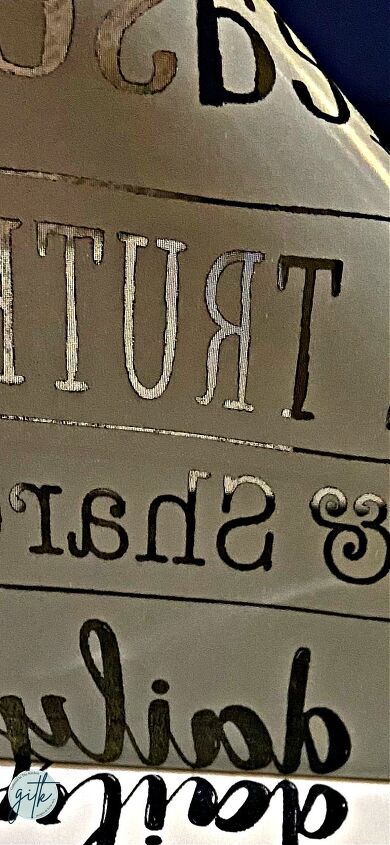
Here is a close up of the screen transfer. You can see that there is a screen where the letters are.
Step 7: Add jute rope if desired
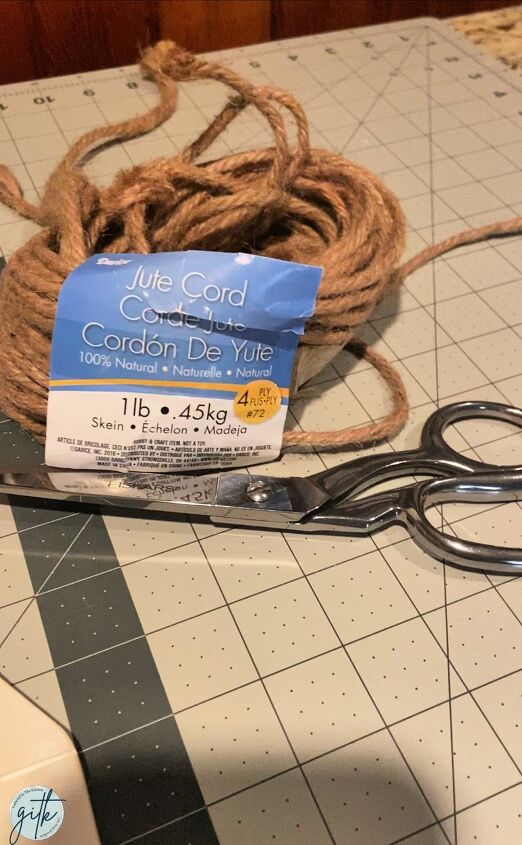
When I returned home from the conference, I decided to finish off the wooden tag with some jute rope. It’s such a simple thing to do to add some extra pizazz!

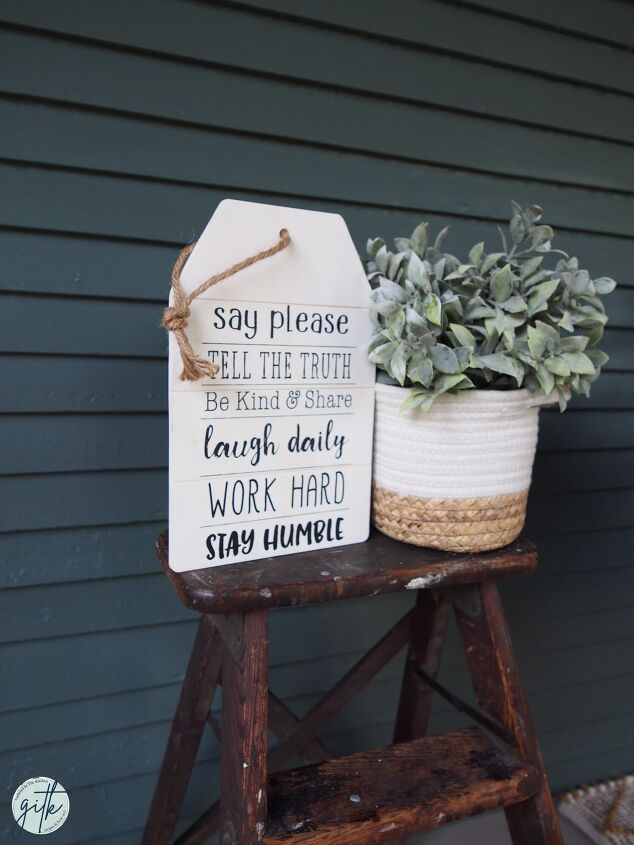

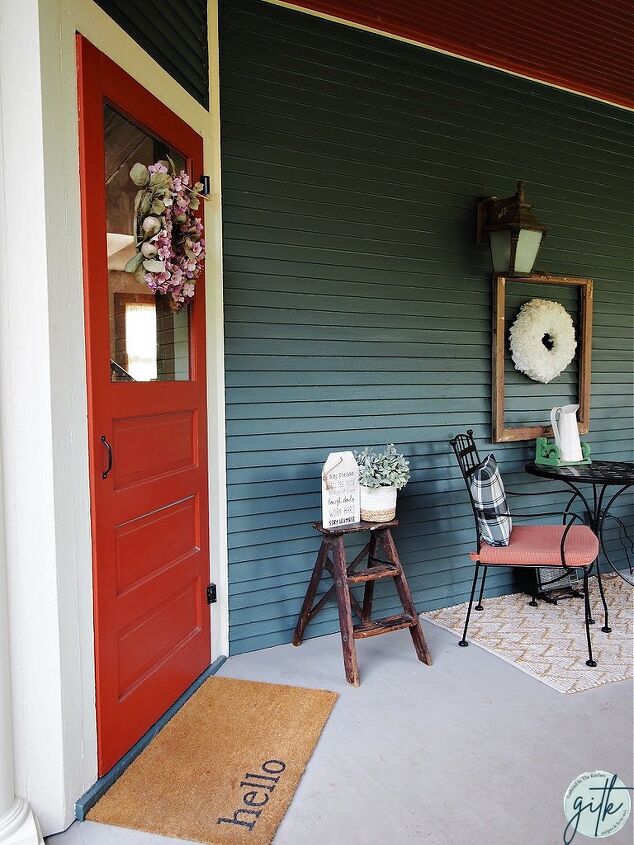
It all looks so cute out on my side porch!
My friend Jen from Yellow Cottage Living had such a fun time making these signs at the conference!

- How To Make A Faux Lamb’s Ear Floral Arrangement
- Repurposed Old Table with Chalk Paint and Stencil
- DIY Farmhouse Tea Towels
- Build Am Outdoor Wooden Flag Holder
- Make A Wood Sign – Farmhouse Style | From Start to Finish
- Cut Heat Transfer Vinyl Using A Silhouette Cameo | Beginner Tutorial
- How To Cut Vinyl On A Silhouette Cameo | Beginner Tutorial
- Monogrammed Slippers with Silhouette Cameo
· In: Crafts/Projects, Featured Article, Home Projects, Painting & Staining


Frequently asked questions
Have a question about this project?