


How to Spruce up a Dollar Tree Sign.

The Dollar Tree Store always has cute, seasonal signs. Sometimes, just adding a little detail can make all the difference! Below you will find how we transformed a Dollar Tree sign by just adding a trim and a small detail.


Materials Used:
Dollar Tree “Choose Kindness” Sign
Wood Trim
Black Paint
Paint Brush
Sand Paper
Wood Glue
Picture Hanger
Clamps
Saw (Not Pictured)
Staple Gun (Not Pictured)
Jute String (Not Pictured)
Hot Glue Gun (Not Pictured)
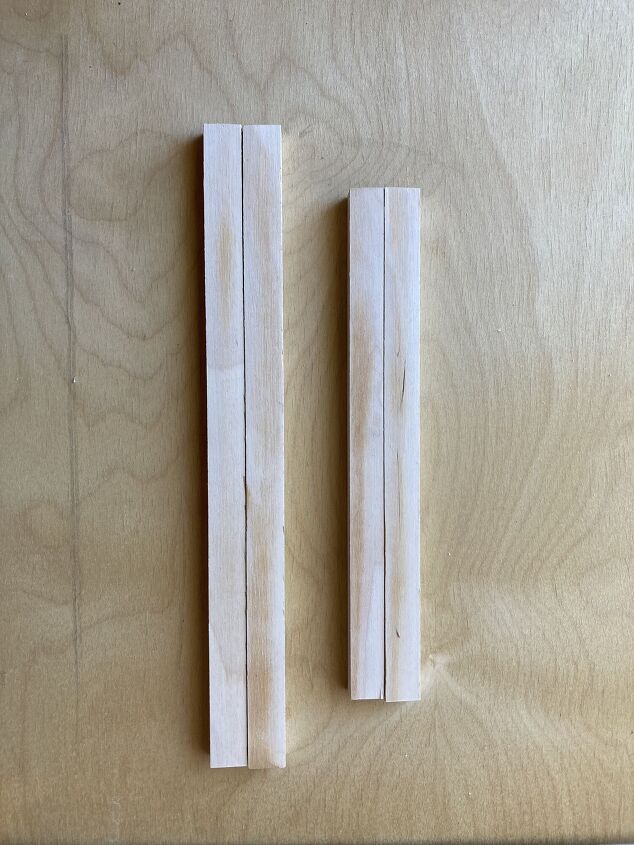
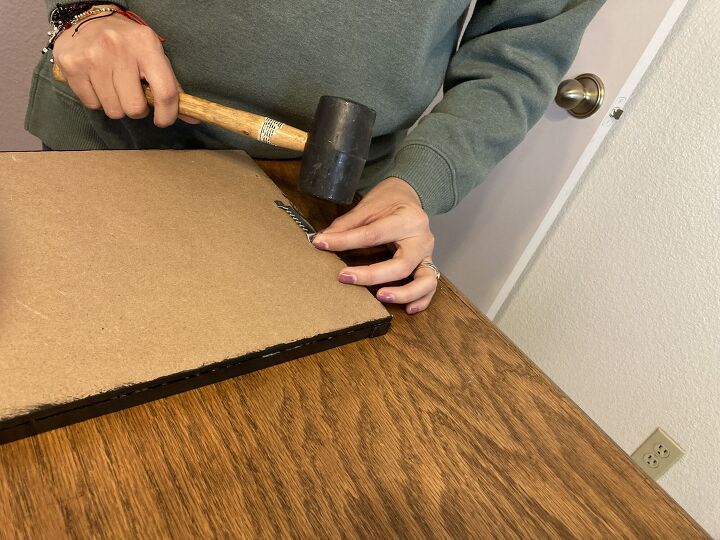
Step 1: We used wood scraps to make a trim. The trim is ½” x ½”. We cut two of the wood scraps 9 ½”, and the other two we cut 11 ½”. Then, we sanded the ends of the trim for a smoother finish.
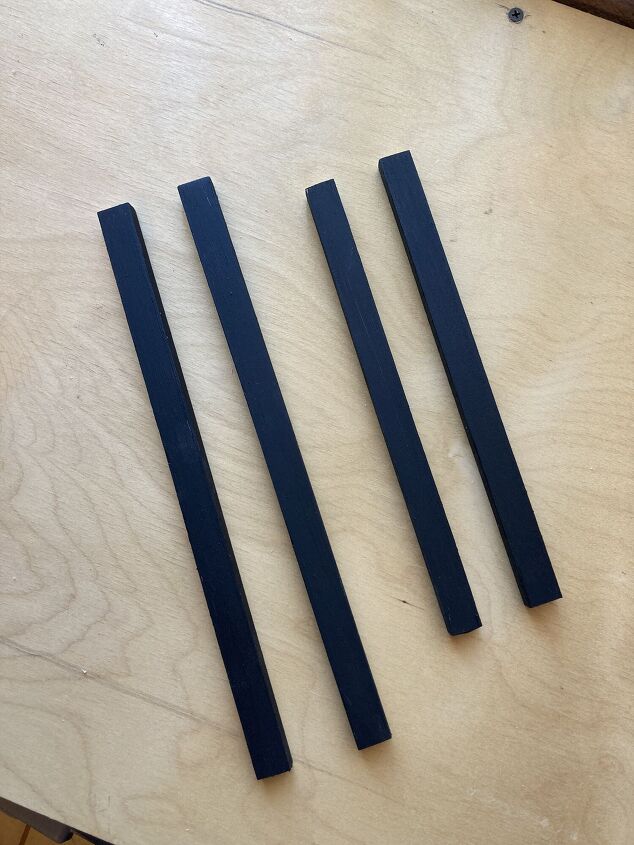
Step 2: We painted the four trim, wood scraps black.
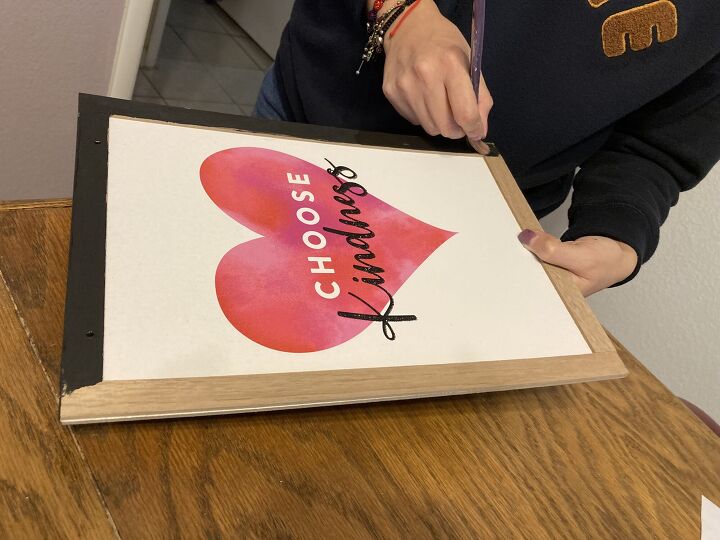
Step 3: While the wood scraps were drying, we painted the original picture trim black, to match the new trim. We chose to leave the back of the frame as is.
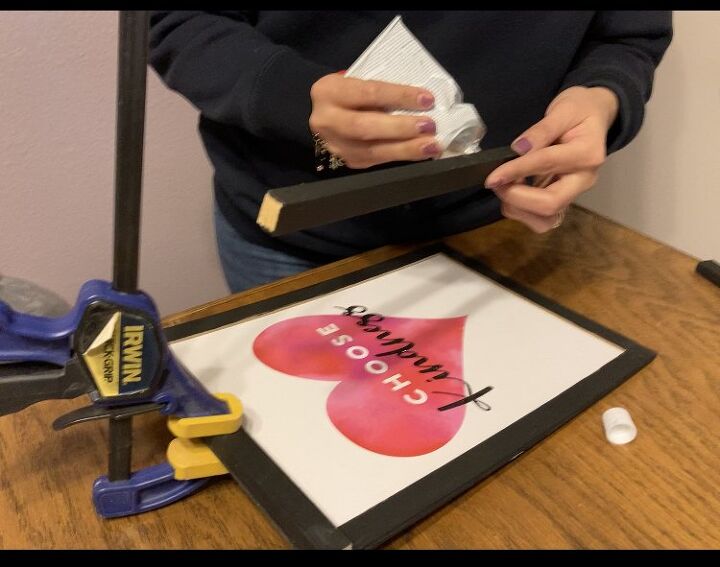
Step 4: We glued the picture trim to the sign. We used the clamps to hold them together, while they dried. To make it more secure, we also stapled the sign to the new trim.
Step 5: We attached the sawtooth hanger to the frame.
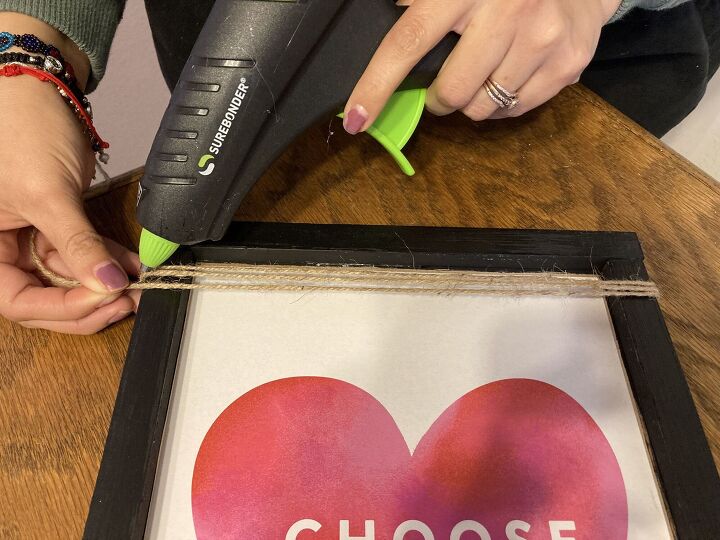
Step 6: As a last minute detail, we added a jute string bow for a little pizazz!

The finished project!


Frequently asked questions
Have a question about this project?