


How to Upcycle Tiles to Fit the Theme of Your House

There are many different ways that you can upcycle tiles, turning an unwanted slab into something easy to use and easy on the eye. I've tested four methods for upcycling tiles as part of this project: picture transfer, stenciling, napkin decoupage, and covering with paper. There aren't many steps for each method, and you'll probably have everything you need to get started already in your craft kit!
By using these methods, I've found that upcycled tiles work really well as wall hangings, ornaments, and coasters. You might find a completely different use for any upcycled tiles that you make, you’re only limit is your imagination!
Picture Transfer
Tools and Materials
- Tile
- Picture (sized to fit the tile)
- Mod Podge
- Brush
- Bowl of water
- Cloth
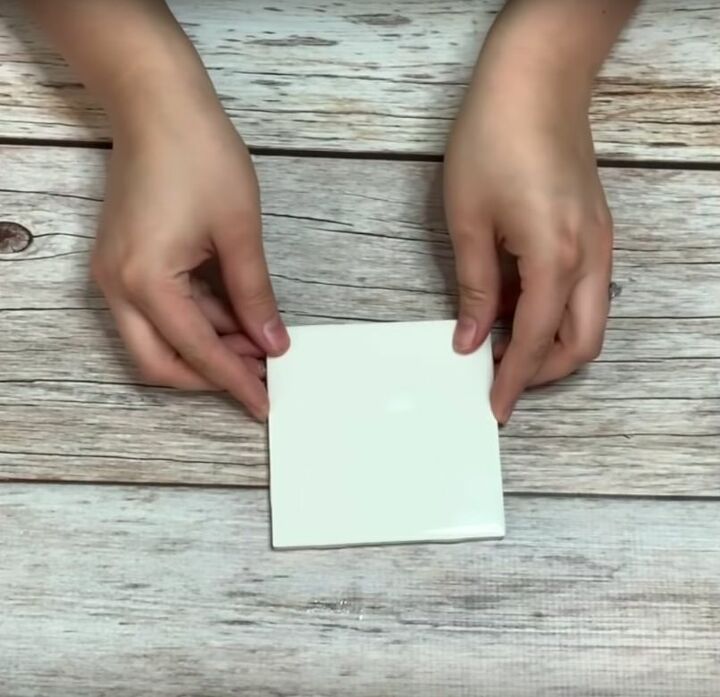
Step 1: Gather Your Materials
I collected all of the materials needed to transfer my picture onto the tile. I chose a plain white tile as my starting point, but you can use any tile that you have lying around. Just make sure it is still decent quality, otherwise it could affect the overall finish of the project.
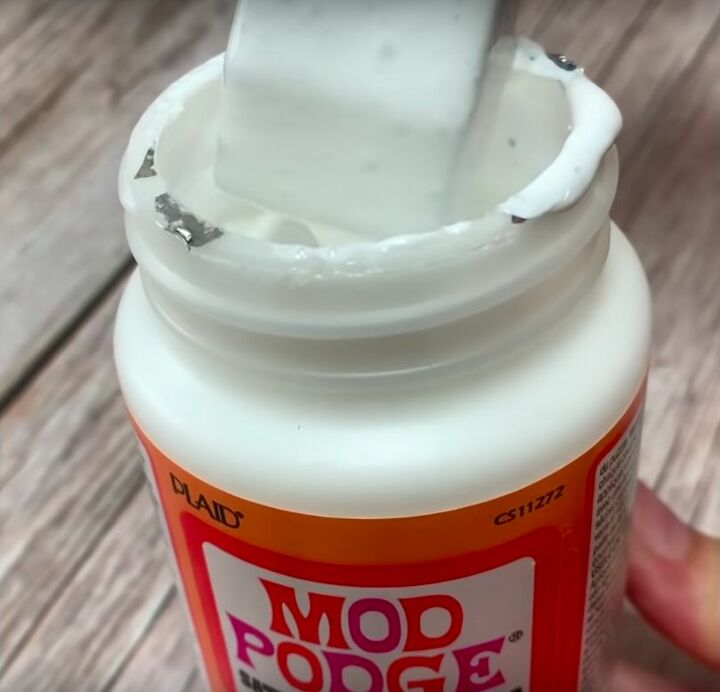
Step 2: Coat with Mod Podge
I coated the tile with Mod Podge, using a brush to distribute the paste evenly across the tile. Mod Podge is not the only decoupaging medium out there, but I find that it is the best for this type of craft activity! Mod Podge always gives a smooth finish to this type of project.
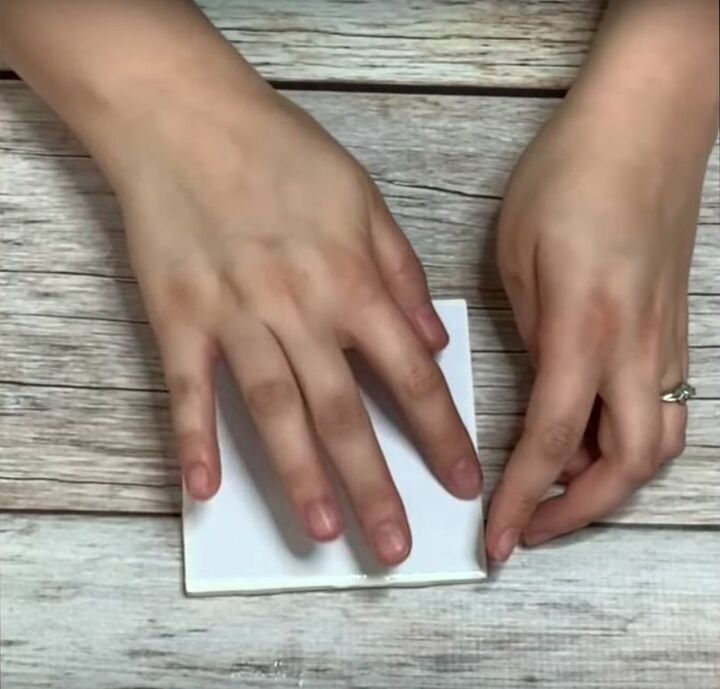
Step 3: Apply the Picture
I used a picture that was printed to fit the size of the tile, while you can choose any design for your tile. For example, you may select a picture of a family member or of a beloved pet. I applied the picture face down onto the tile, making sure that the Mod Podge successfully glued the photo to each corner.
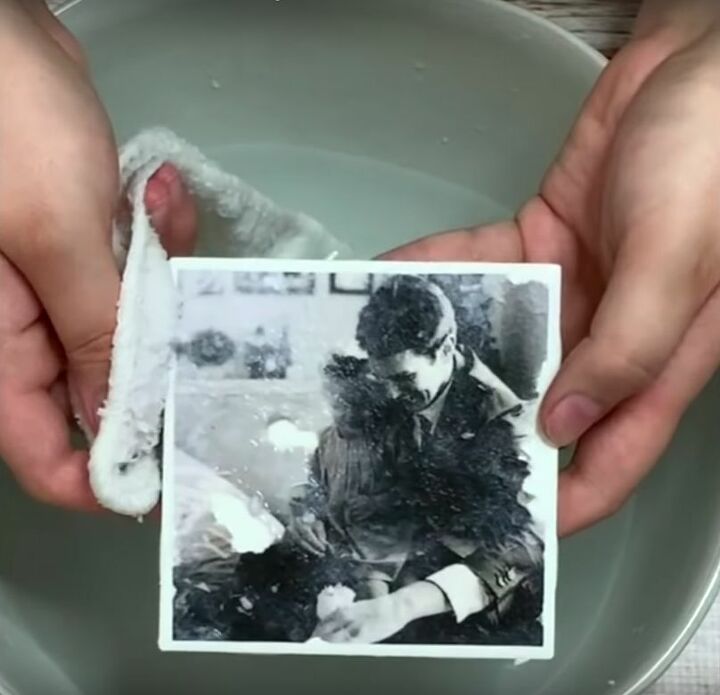
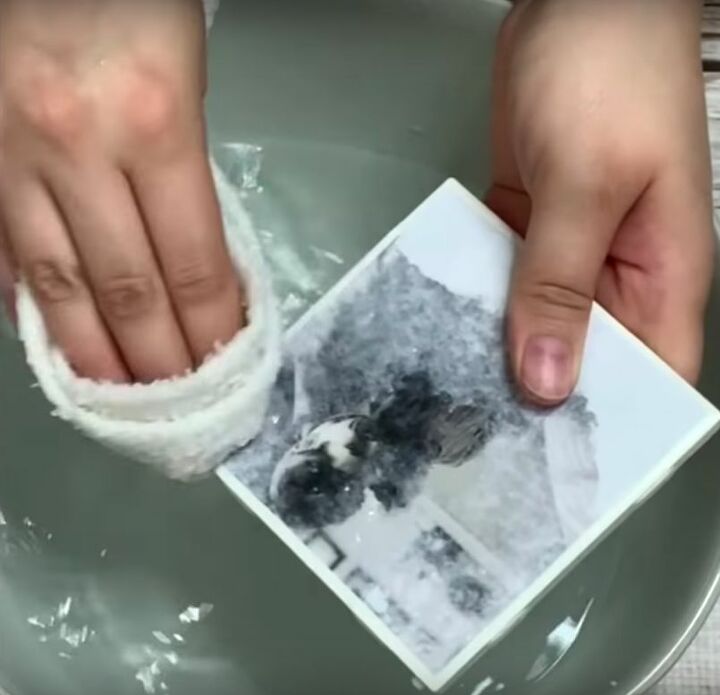
Step 4: Rub Off the Paper
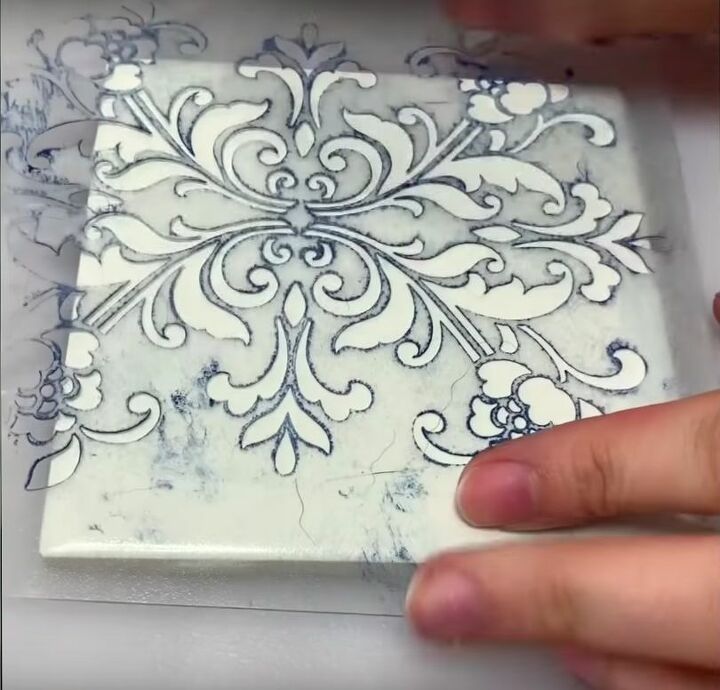
Once dry, I grabbed a cloth and a bowl of water for the final stage of my picture transfer. I held the tile over the bowl to avoid any drips splashing on the floor, then rubbed the tile with the cloth, slowly removing the paper. Keep on rubbing until the picture completely emerges on the tile.
The finished product!
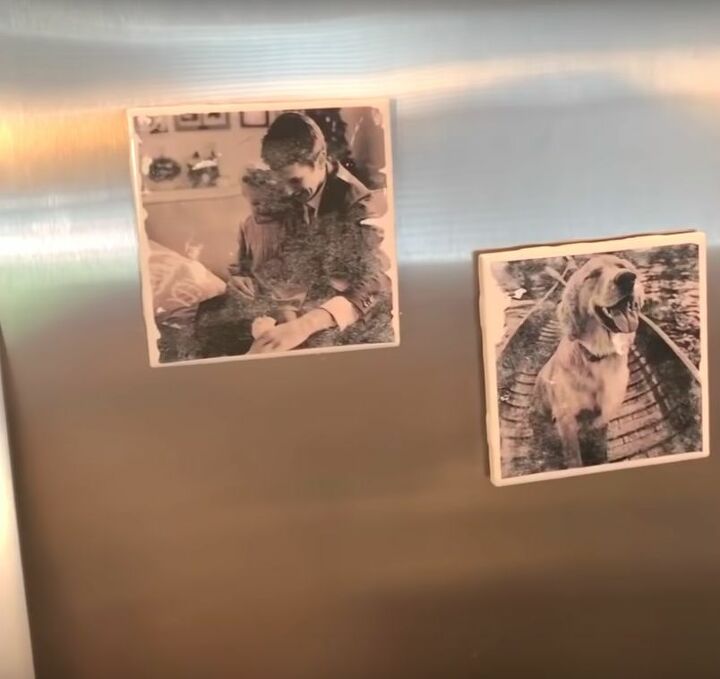
By using the picture transfer technique to upcycle tiles, you can create some stunning decorative pieces. These tiles are a distinctive alternative to more traditional photo frames. Why not try out this method at home to produce some picture tiles that could spruce up your fridge or decorate your wall?
Stenciled Tile
Tools and Materials
- Tile
- Stencil
- Chalk paint
- Brush
Step 1: Gather Your Materials
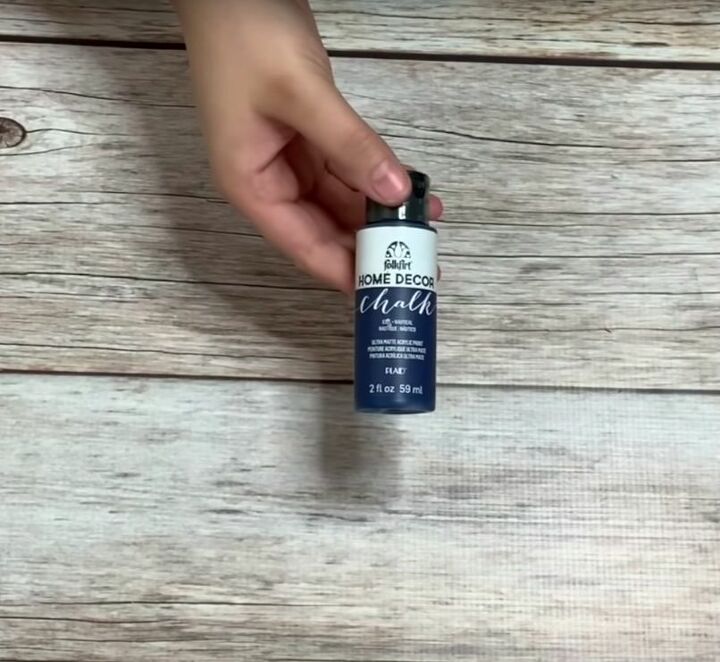
I collected some chalk paint, a stencil, a brush, and some plain white tiles. I also put down a board to protect my table from any drops of paint. You can use any type of stencil and any color of paint. I chose an ornate pattern and blue chalk paint to upcycle tiles with an elegant finish.
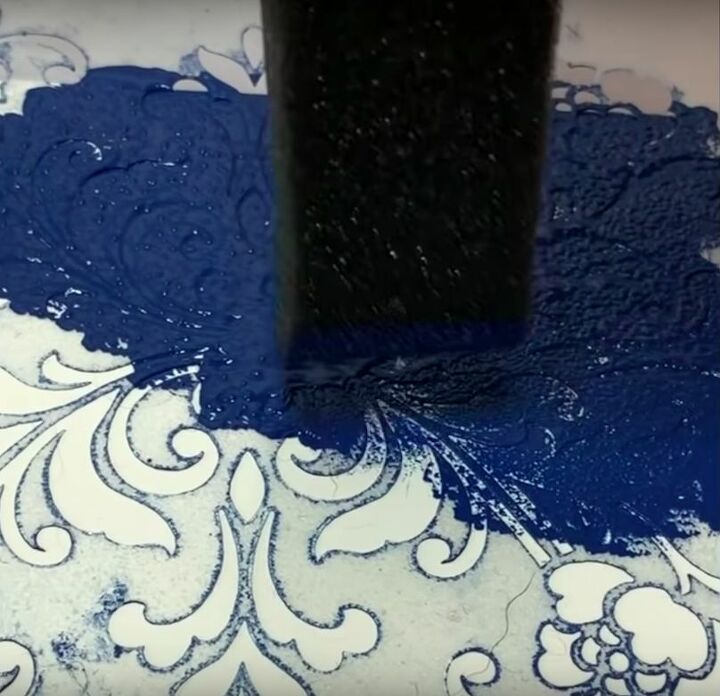
Step 2: Place the Stencil and Paint
Make sure the stencil covers the tile, but don't worry if it isn't a perfect fit. I used the stencil in different positions for each tile - this makes each tile look a little different while still matching the overall theme. I used a brush to dab the chalk paint through the stencil, before giving the tiles plenty of time to dry.
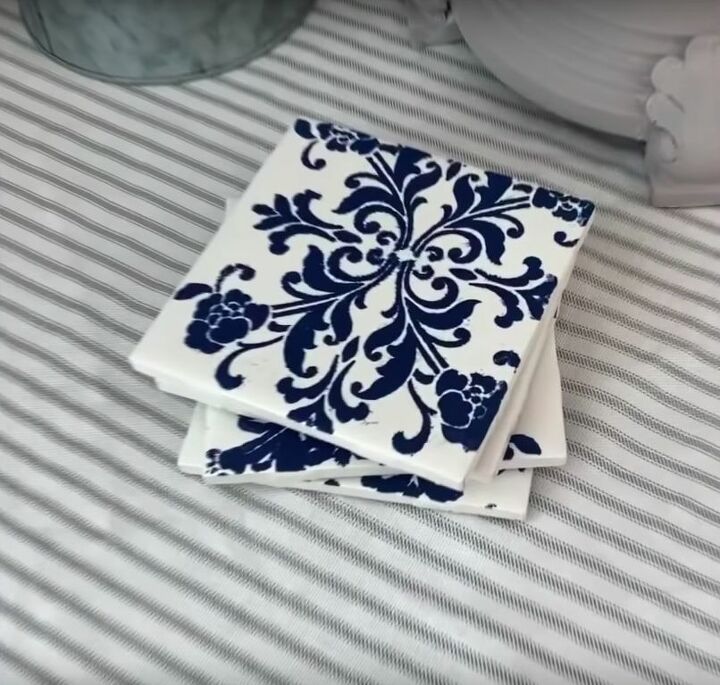
The finished product!

Using the stenciling method to upcycle tiles gives you the chance to express your artistic ability. Make the stencil as simple or as elaborate as you want, while you can try lots of different colors on the same stencil. Whichever pattern you choose, it will be better than the plain and boring tile that you had before!
Napkin Decoupage
Tools and Materials
- Tile
- Napkin
- Pen
- Scissors
- Mod Podge
- Brush
Step 1: Gather Your Materials
I collected my materials so that I could upcycle tiles with the napkin decoupage approach. As you might have guessed, the special component for this process is the napkin. I chose a green napkin with a leafy pattern, but you can choose any napkin with a decoration that catches your eye. You will also need a pen, scissors, a brush, and Mod Podge.
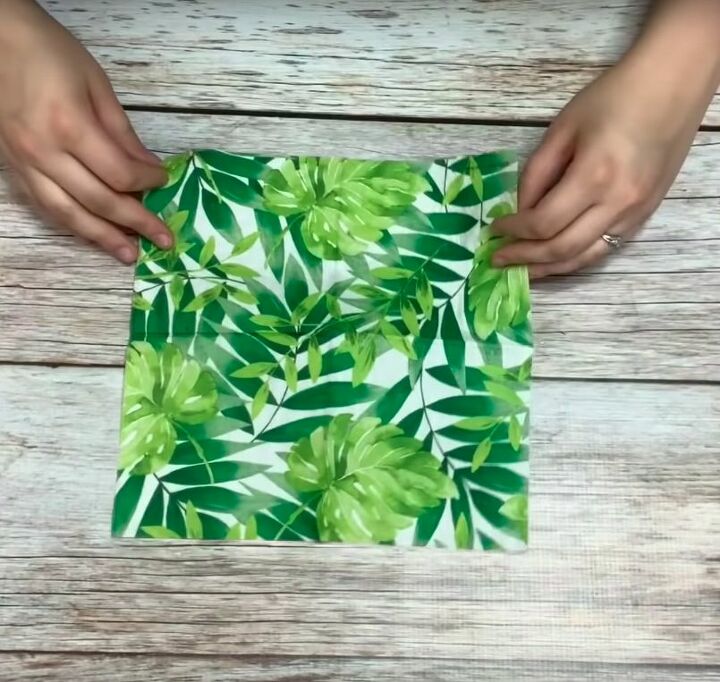
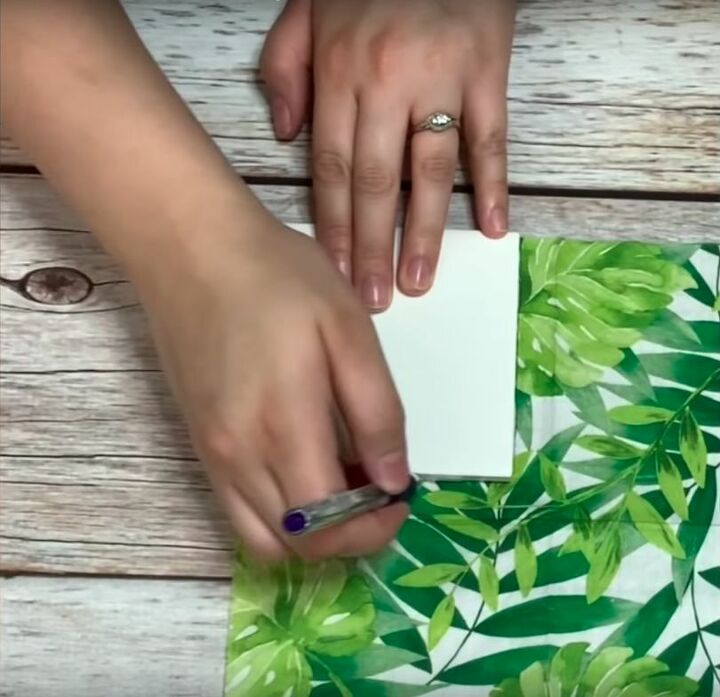
Step 2: Cut to Size
I placed my tile over the napkin, then I used the pen to outline the tile. I cut carefully along the pen marks to produce a piece of napkin that is the perfect size for this upcycled tile. Depending on the size of your tile, one napkin can produce enough decoupage material for several tiles, so you can get good value out of your napkin.
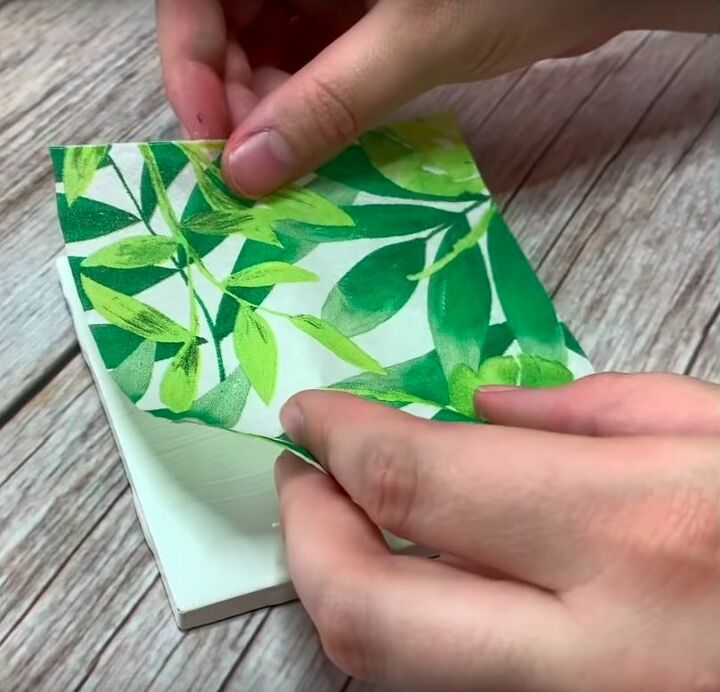
Step 3: Apply with Mod Podge
I used the brush to apply an even coating of Mod Podge directly onto the tile - make sure you apply the paste right along the edges of the tile. I took my piece of napkin and pressed it down on the tile, making sure that the napkin would lie completely flat. You might decide to leave some creases and folds in the napkin for a more textured look.
Step 4: Seal
The final step is to seal the napkin decoupage, again with Mod Podge. I dabbed the napkin with tissues to help complete the sticking process, before brushing a layer of Mod Podge directly onto the napkin. This will look messy at first,but give the sealer time to do its work. Once dry, these upcycled tiles look great and are more resistant to spills and splashes.

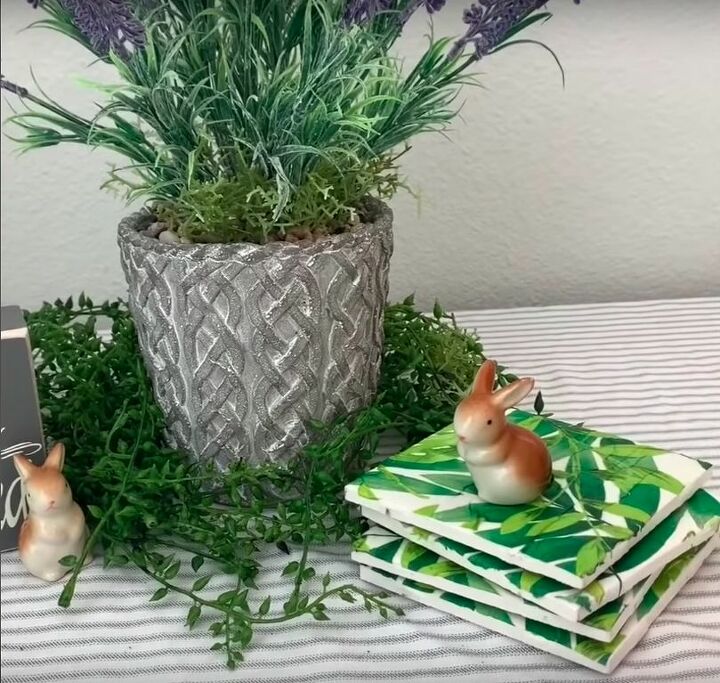
The finished product!
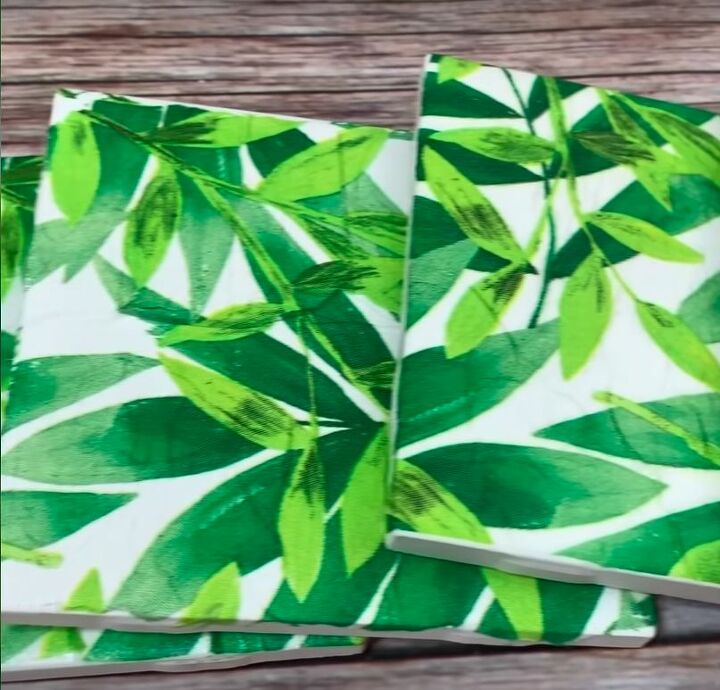
Using the napkin decoupage method to upcycle tiles is an attractive way to produce lots of uniform tiles. Would you be able to tell that these upcycled tiles aren't a set of specially designed coasters? Just be careful not to take the upcycling a step too far - make sure the napkin hasn't been used first!
Paper Covered Tiles
Tools and Materials
- Tile
- Paper
- Pen
- Scissors
- Brush
- Mod Podge
- Decorative elements (optional)
Step 1: Gather Your Materials
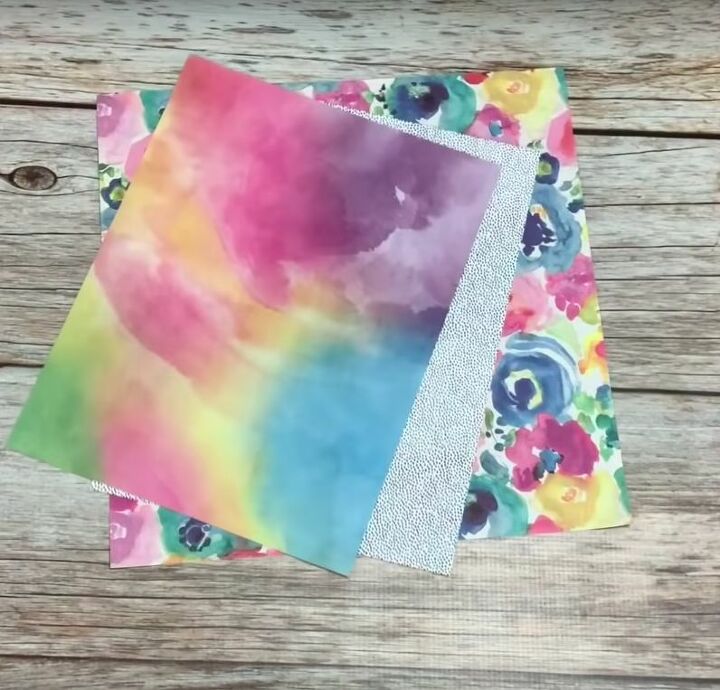
You'll need tiles, a pen, scissors, a brush, and Mod Podge to make your paper-covered upcycled tiles. You'll also need paper, but here you have complete creative license. If you think the paper has a design that will improve the decor of your house, then give it a try.
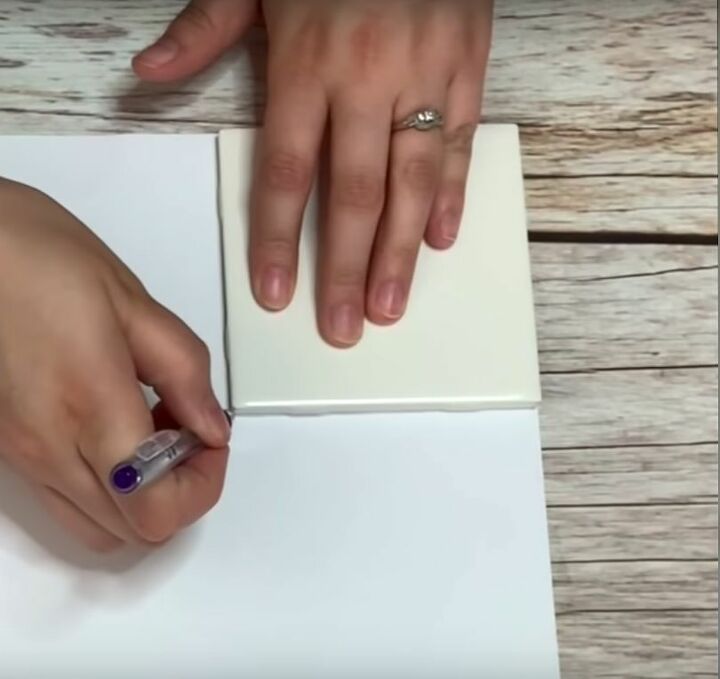
Step 2: Cut to Size
Place the tile on the back of your chosen paper. I always start by using the corner of a sheet, as the natural edges of the paper make the job a bit easier. This also means that you are being economic with your paper use. I outlined the tile with pen, before cutting along those lines with scissors.
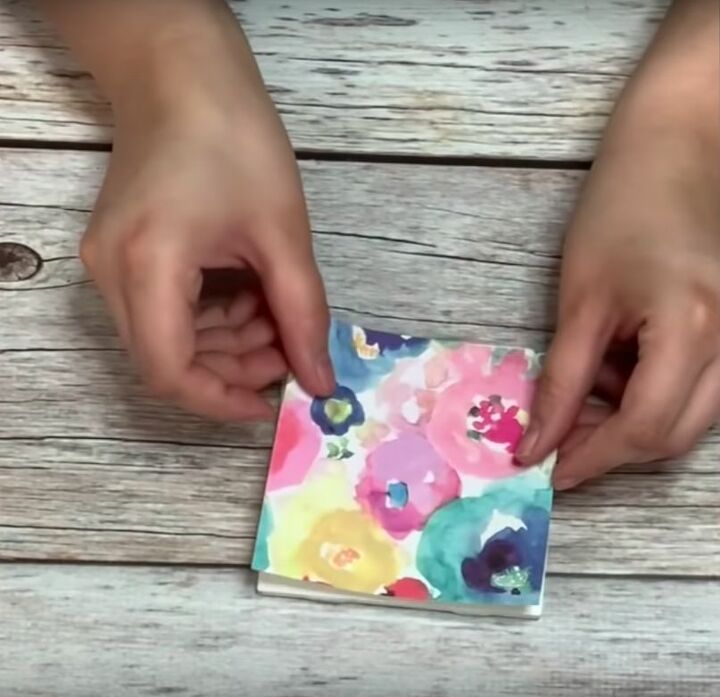
Step 3: Apply with Mod Podge
I used the brush to apply a layer of Mod Podge onto my tile, before carefully attaching my piece of paper. I always take my time when gluing the paper to the tile - this is the moment of truth, and I want the paper to lie as flat as possible on the tile.
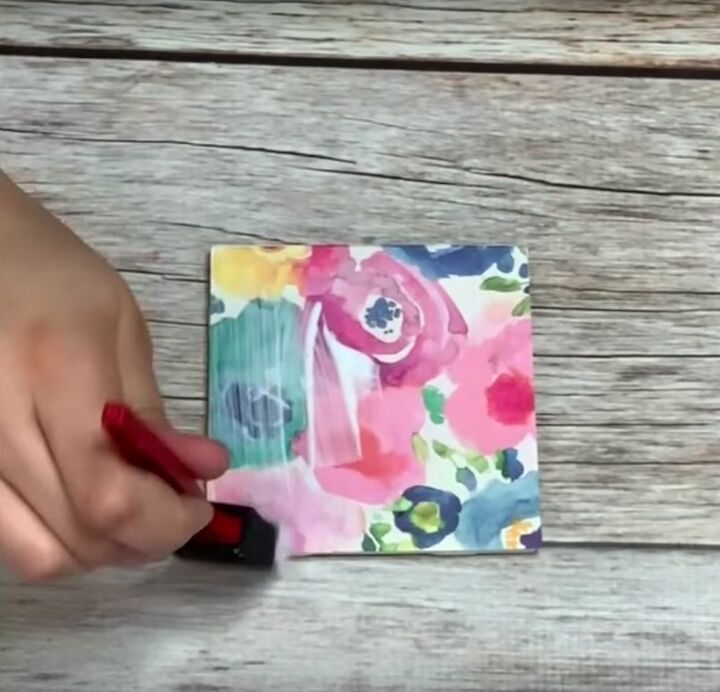
Step 4: Seal
I sealed the paper with a coating of Mod Podge. I find that one coating is often enough, but you might decide to seal more than once if you know your tile will be somewhere where there are lots of liquids around. For example, you might seal multiple times if your upcycled tile will find new life as a coaster.
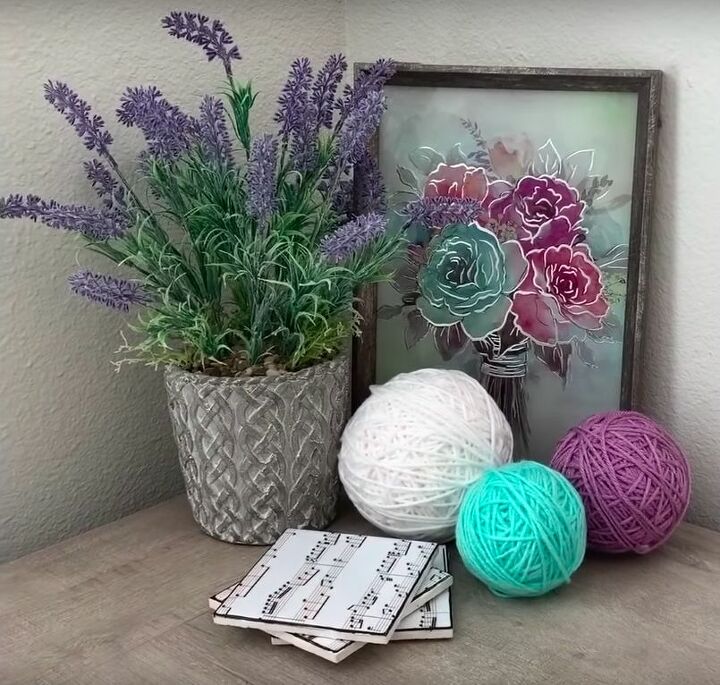
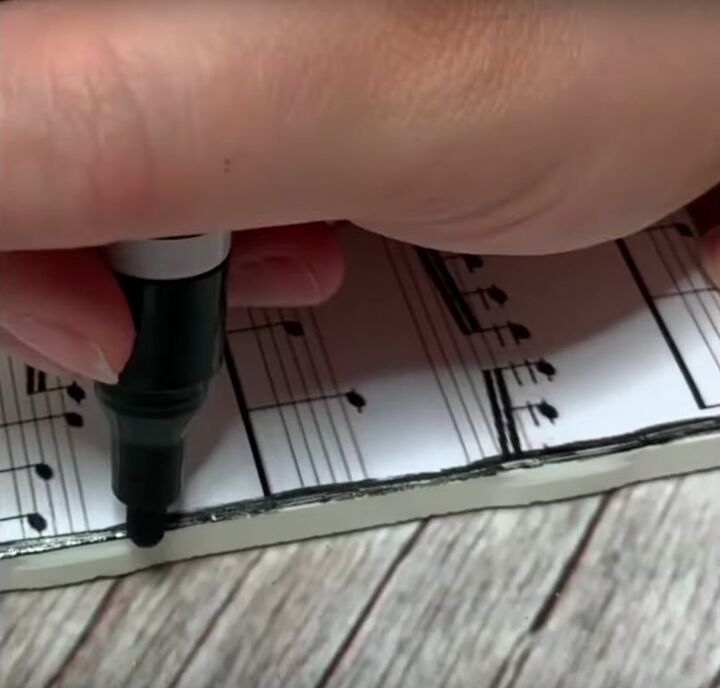
Step 5: Decorate
I experimented with all sorts of paper as my decoration. Floral patterns, sheet music, map segments, pages torn from books - these all work wonderfully. Which one you choose will depend on the theme of your house. I also jazzed up some of my tiles, using pen to outline the paper and to add extra decoration. I sealed after adding these decorations to ensure a smooth overall finish.
The finished product!
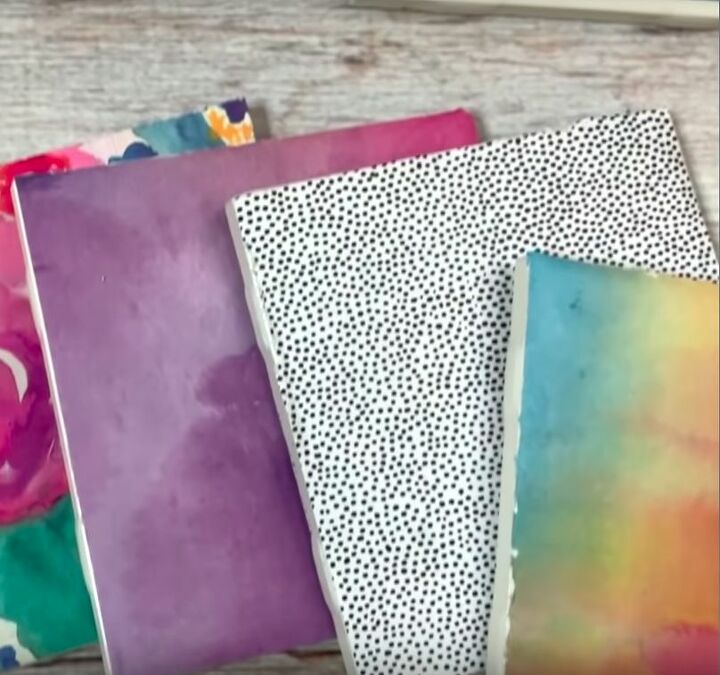
You have so much flexibility when you upcycle tiles by covering them with paper. Whether you use some old wrapping paper, take a page out of an unwanted book, or print something out specifically for your tiles, you can try out all sorts of creative designs. You might find that different types of paper work best in different rooms of your house.
Which of these methods is your favorite? Comment below to let us know if you've found that one of these techniques has been particularly effective at helping you to upcycle tiles. Next time you finish a tiling job and have some tiles left over, don't be so quick to throw them away. After a quick bit of upcycling, you'll have something tasteful that can spruce up your home.
Comments
Join the conversation
-
You’re a great teacher, thanks!
-
This is a really great project. But I can´t find a translation or an explication for "Mod Podge". Could you explain, what it is, please! Thank you!


Frequently asked questions
Have a question about this project?
I was wondering if you could use fall leaves? The most colorful ones on tiles? I think it would be a really beautiful idea for fall time.
I love this stencil! Could you please tell me the name or maker of it? Thanks soooo much.
If I am making coasters could I seal with polyurethane?