


POTTERY BARN GLASSES HACK
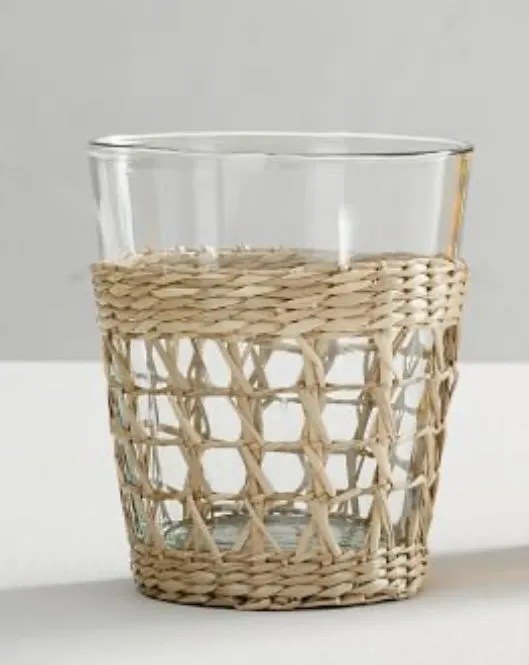
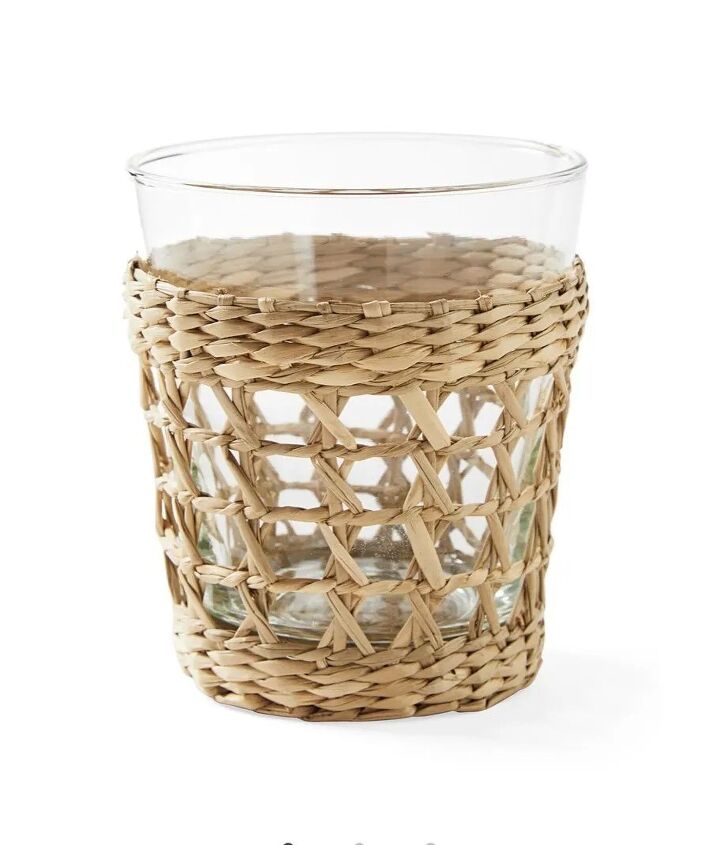
Do you love the look of the cane glassware?
I so love the look, but not the price.
Check out my Pottery Barn hack.
I have admired these glasses for awhile. Last year in a home decor shop on Kiawah Island, I almost pulled the trigger and bought them.
Problem is, not only did I not want to spend the money, we have zero space in our cabinet for more glasses.
But they are so cute…
I’ve been thinking about this for a bit and I’ve tried a few things and I finally have it down.
So I’m sharing with you the perfect and easy DIY to get the look but not the price.
Better than that? You don’t even have to hand wash these like you do all of the ones you see including the ones from Pottery Barn.
Just slide off the from the bottom and tuck in a bag until next time you want to show off your new “glasses.”
POTTERY BARN HACK DIRECTIONS
This hack is by far the easiest ever. Maybe you are not like me, maybe you have a big kitchen and tons of cabinet space.
Maybe you are like me and are in the season where downsizing is always on your mind.
I am all about buying less and repurposing what I have.
Don’t mistake that for thinking I don’t love a beautiful and festive table setting for entertaining.
I’m just getting really good at shopping my home.
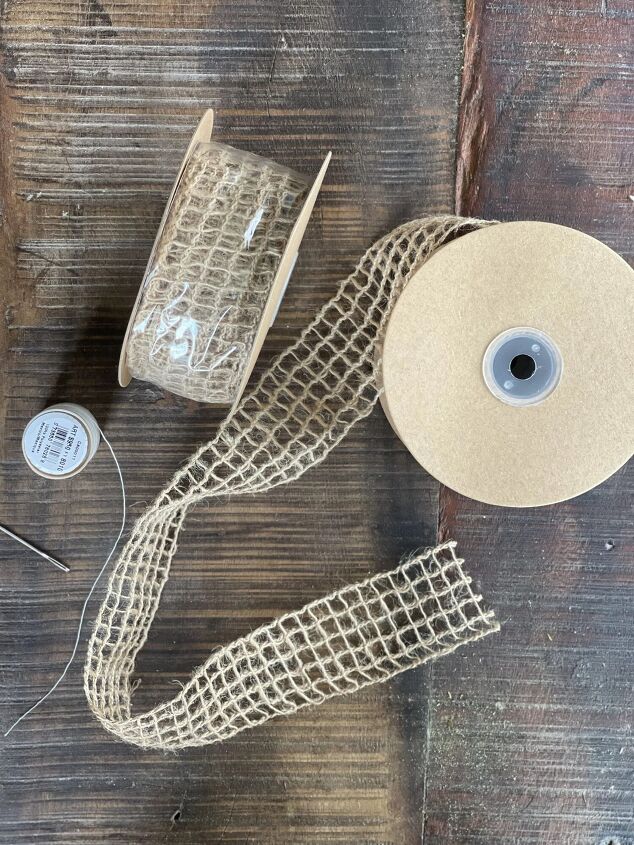
STEP ONE
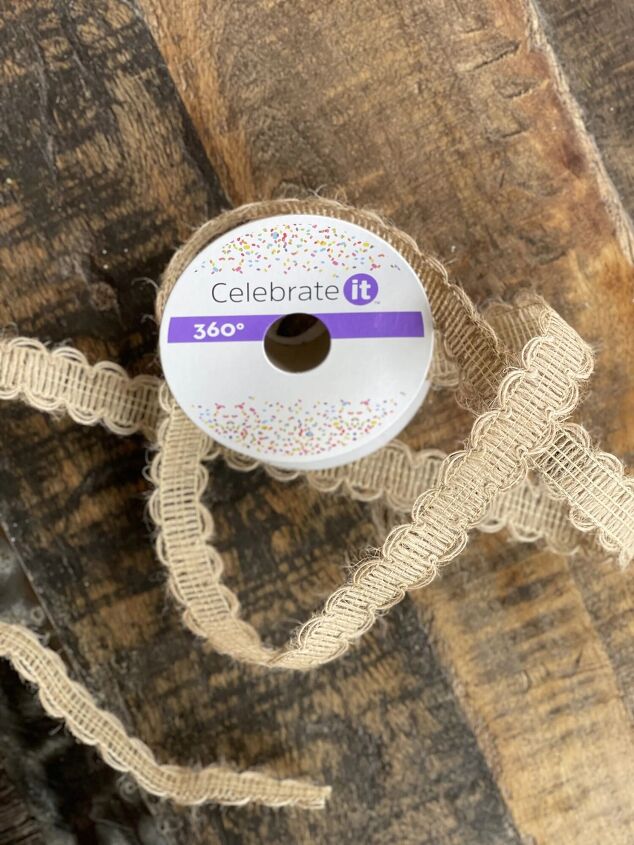
Get your ribbon or whatever you decide to wrap you glasses in. I found this ribbon on Amazon.
It works out to be about $1 a yard.
Guess how many glasses you can do with a yard of ribbon?
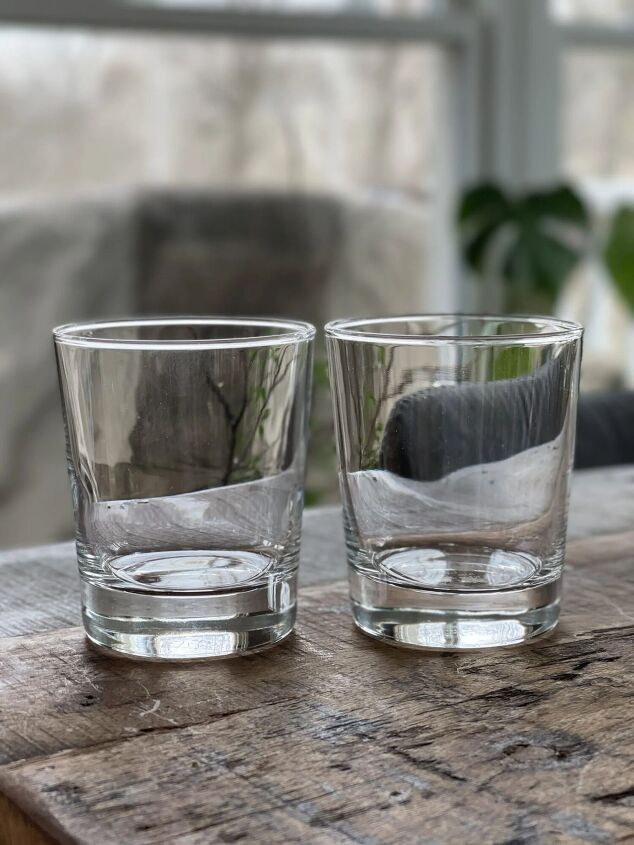
STEP TWO
Decide which glasses you are going to use. The glasses I used are from IKEA. They are .99 cents each.
They are not new but they are still selling for that price.
STEP THREE (1ST WAY)
Step three and we are almost done!
I have made these 3 different ways.
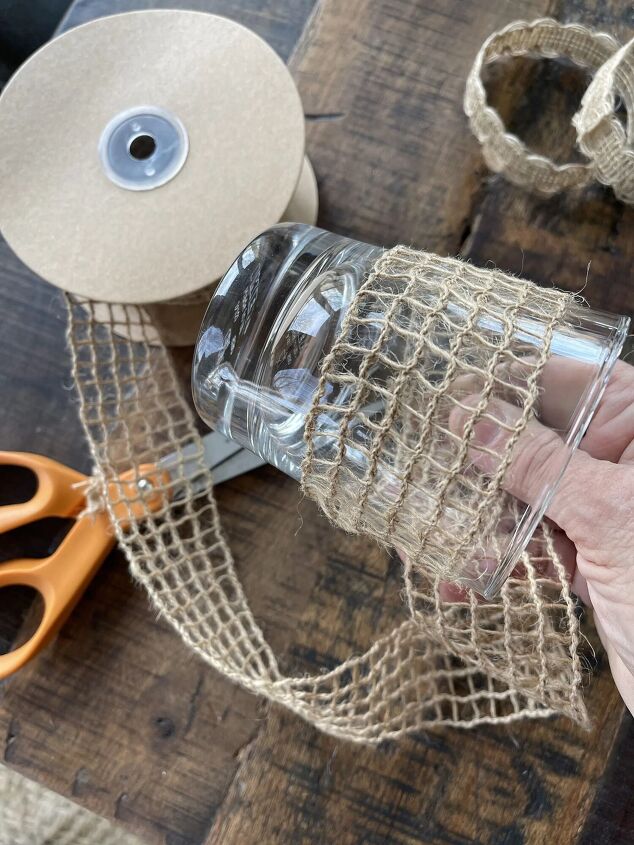
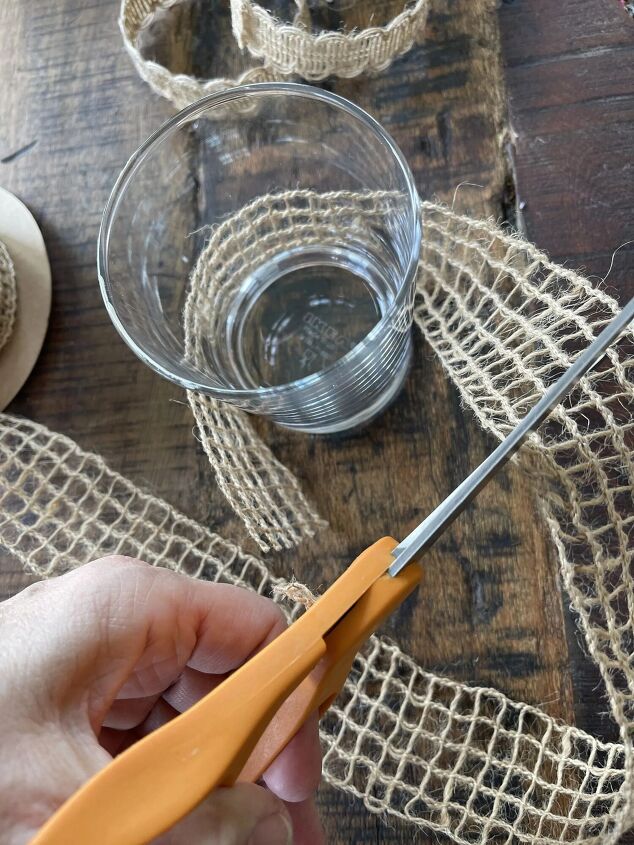
The first was measure a piece of the ribbon around your glass and cut it.
Then sew it together using a similar colored thread.
STEP FOUR (2ND WAY)
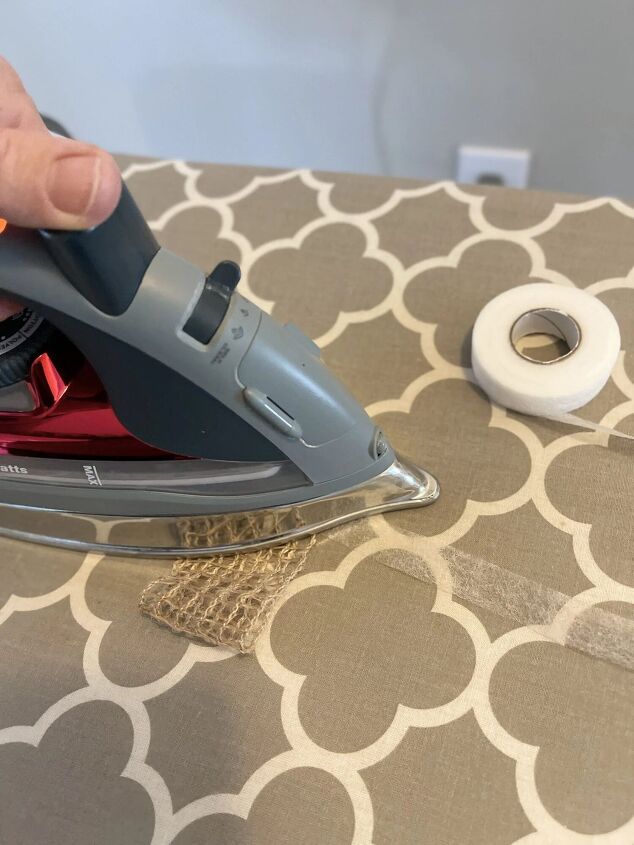
The second way was to measure your ribbon and then add a piece of Stitch Witchery Fusible Bonding Web to one side.
Wrap the ribbon around to reach the other side and add on more layer of Stitch Witchery. Then cover with a damp cloth napkin and put iron on “wool” setting and press down for 10 seconds. Presto it’s together.
STEP FIVE (3RD WAY)
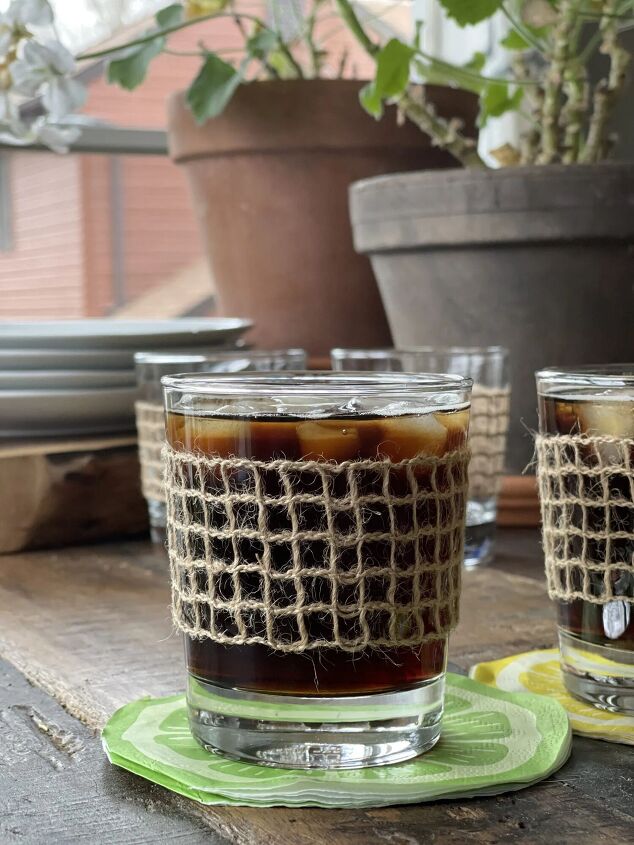
With the type of ribbon below, I made two other styles.
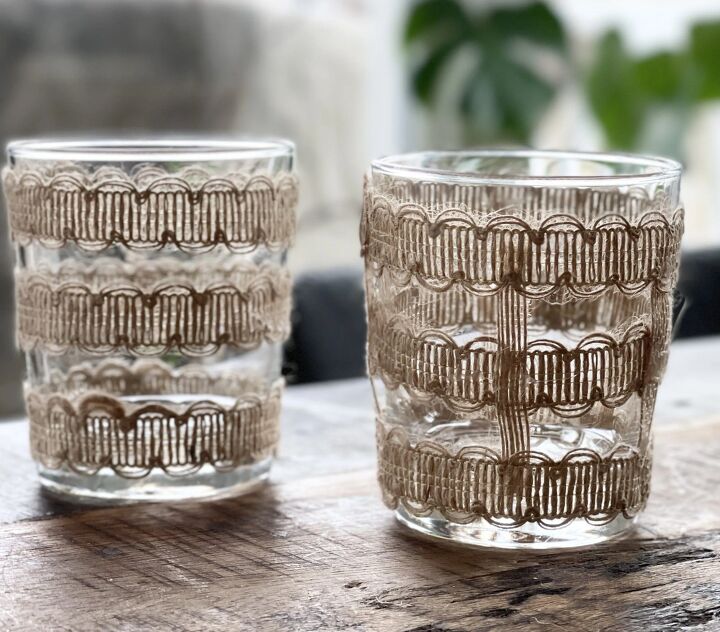
I made three rings and hot glued them close. They are separate, and you slide on one at a time.
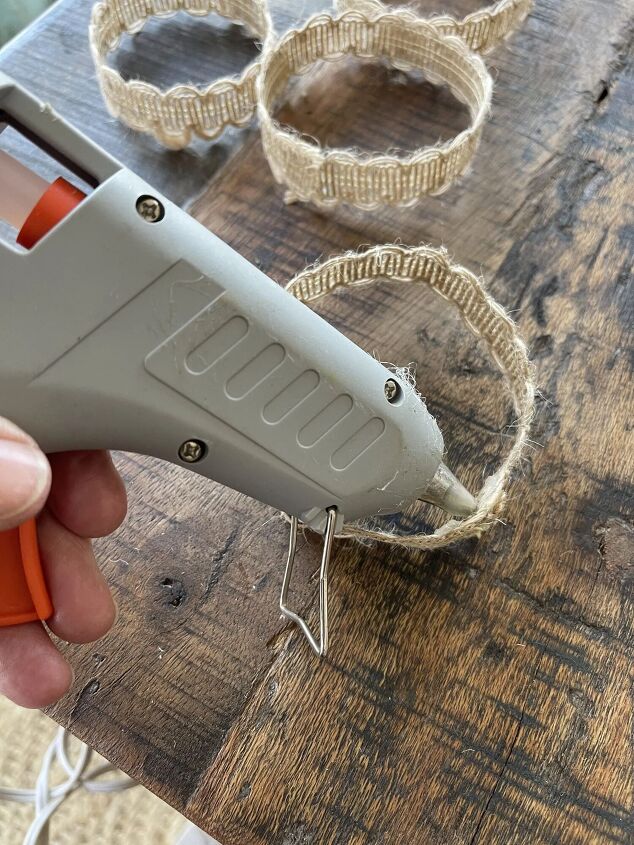
That’s the one on the left below.
For the one on the right, I did my three rings of ribbon then attached them (glue gun) to each other with a plain piece of burlap ribbon.
Make them snug enough that they stay up on the glass.
The way to remove them will always be by sliding them off the bottom of the glass.
Are they exactly the same? Nope. Are they adorable regardless? Yep.
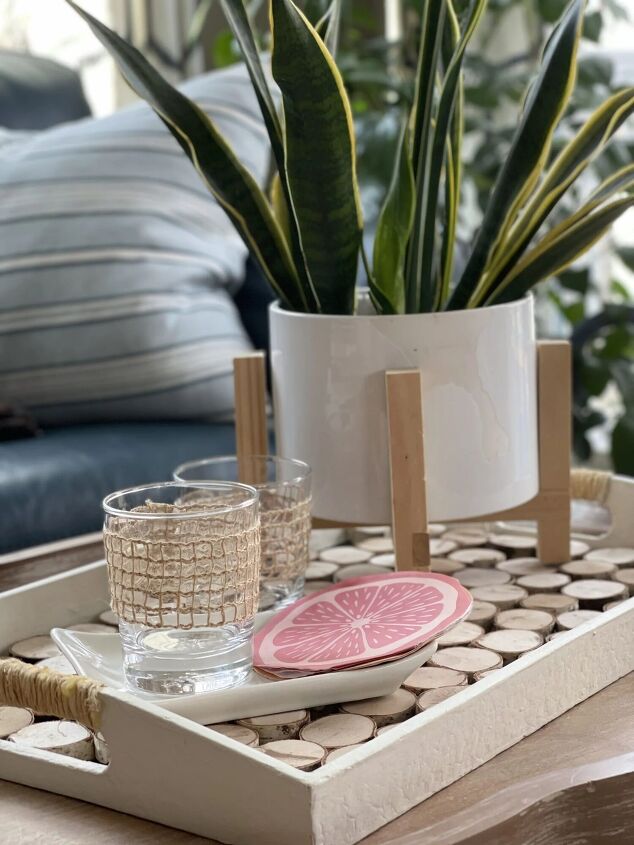
So for pennies, you can upgrade glasses on hand and tie them into your decor.
The sky is the limit, I also picked up a few other types of ribbon and am playing around with some to match some of my upcoming tablescapes. To see other tablescape ideas, click here and here.
I love the rustic burlap color but you can fancy up your glasses with any color you choose.
SUPPLIES
Ribbon
Thread
Needle
OR
Stitch Witchery
Iron
OR
Glue gun
Straight side glasses
THAT’S A WRAP (LITERALLY)
Thanks for checking out this super simple hack for your outdoor dining. Or my “get the look for less” with this Pottery Barn hack.
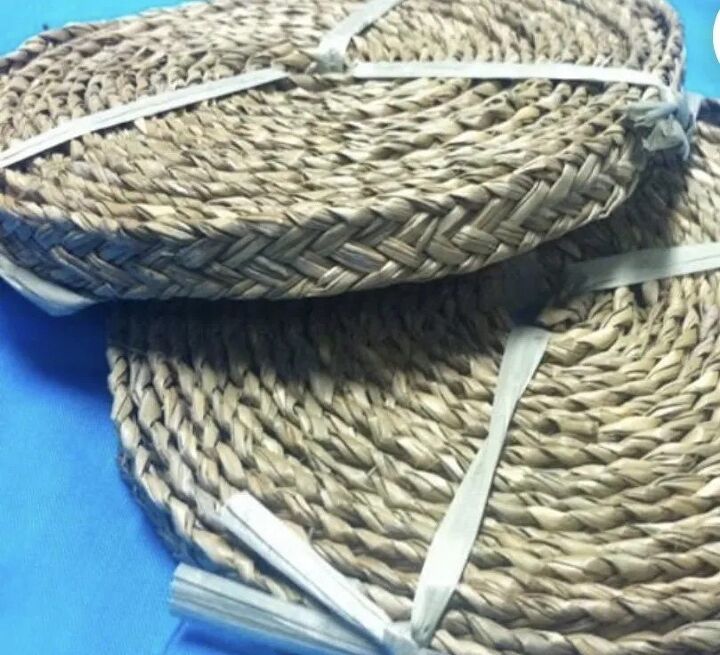
See below, I just ordered a roll of the seagrass off of ETSY. I am looking forward to making more as gifts!
I hope you enjoyed this, if you did, consider subscribing to my blog at the bottom of this post.
I’m so glad you are here – til next time.
XO, Regina
This post contains affiliate links. If you purchase from these links, I receive a small commission at no additional cost to you. Thanks for supporting my small business.
SHOP THE LOOK


Frequently asked questions
Have a question about this project?