


How to Upgrade Dollar Store Picture Frames Using Hardware
I have seven children and I used to have a display on my wall with their baby photos on top and then their current pictures underneath. As they grew up the photos were outdated (my 30 year old had a high school photo, my 20 year old had a photo from sixth grade) and the frames were also outdated oak frames, so I took them down a few years ago. I was recently able to get all 22 family members to have family photos and I decided it was time to get everyone back up on my wall.
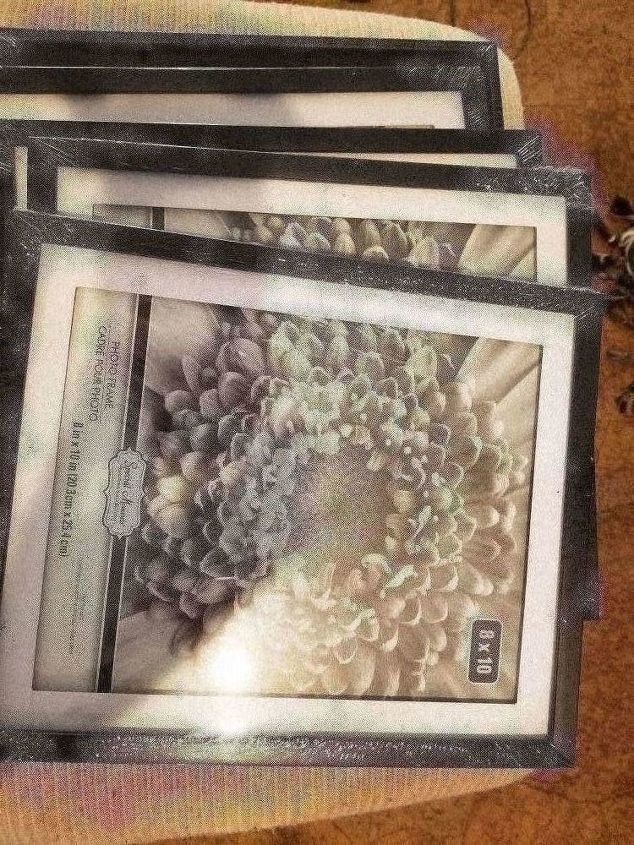
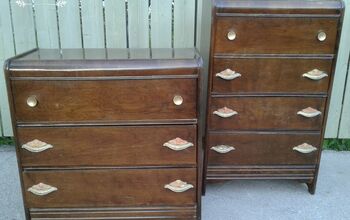
I definitely did not want to use my 1980's oak frames, I wanted something clean and modern looking, but I also needed 14 frames and that could be very expensive. I found these simple black frames at the dollar store and they even came with matting, but I felt like they needed something to make them look less like Dollar Store frames and I wanted a bit of an industrial look.
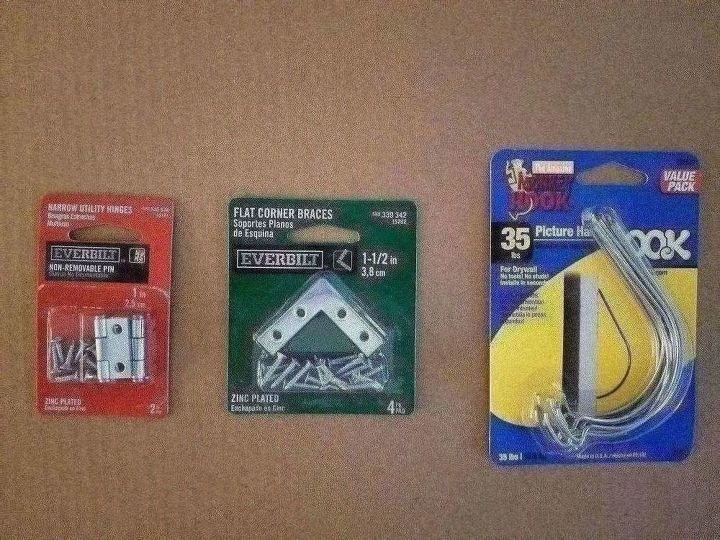
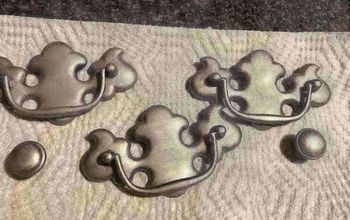
I went to may favorite store, Home Depot and wandered around for inspiration. I finally settled on some small hinges and some flat corner braces.

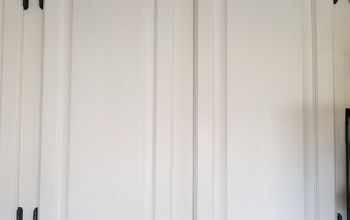
I used the small hinges to attach each set of two frames together.
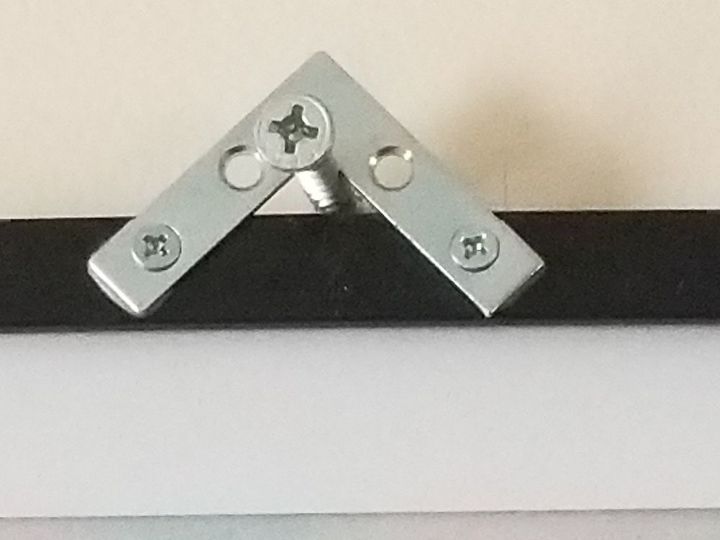
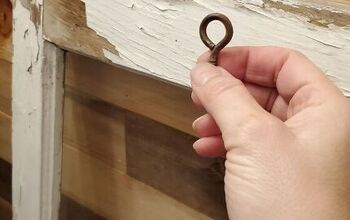
I used the corner braces at the top to use as a hanger to attach the frames to the wall. The frames were 10 inches across, so I used my laser level (one of my favorite toys) to mark every 11 inches on the wall. I was going to use the Monkey Hooks to hang the frames, but I ended up using construction screws which I think added to the industrial look.

So, here they are, my beautiful children in their fun new frames!


Frequently asked questions
Have a question about this project?