


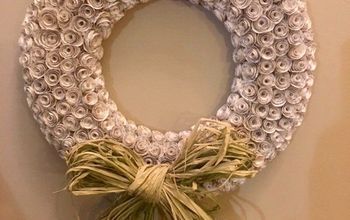
Paper Mache C Wreath
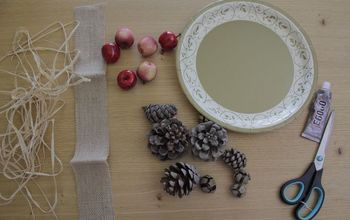
4 Materials
I'm sure you've seen all of the paper mache letters floating around. Crafters are doing some of the most creative things with them. Well, I purchased a paper mache C back before Christmas. A friend and I were shopping and we found them on sale at the Pottery. Had no idea what we were going to do with them, but I was interested so it's been sitting in a closet since December 2015. Last week I pulled it out and decided to try my hand at making my "C" come alive.

The Supplies I Used
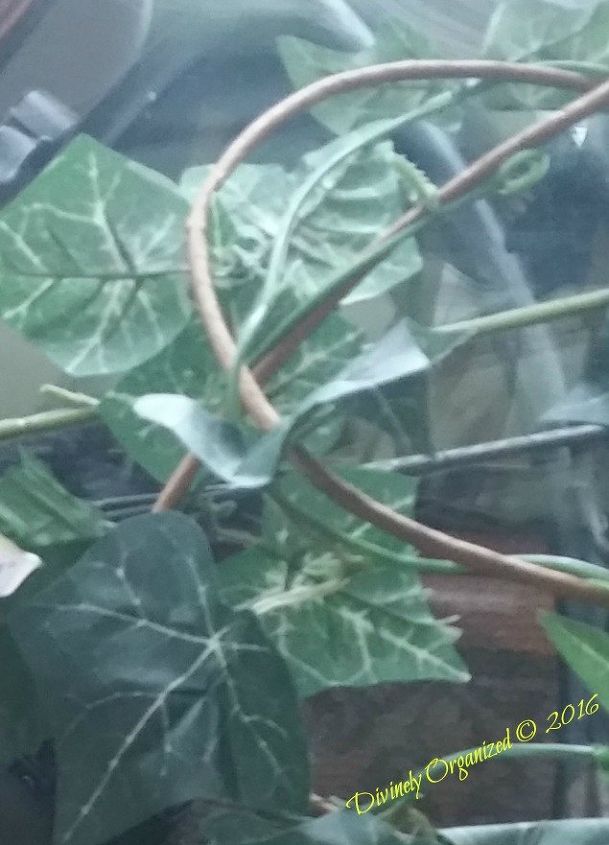
Step I & 2 - I wrapped the ends first so none of the paper mache would show when the project was complete. Afterward, I began the tedious process of wrapping the entire letter (the most Greenery PMtime-consuming step). I added hot glue in certain areas to secure the twine. There was no method to this. I added the glue here and there when I thought the twine was slipping. Otherwise, I pulled the twine tight and it generally stayed in place.
Read the entire article and see the finished product here -

Want more details about this and other DIY projects? Check out my blog post!


Frequently asked questions
Have a question about this project?