


Jewellery Box Makeover

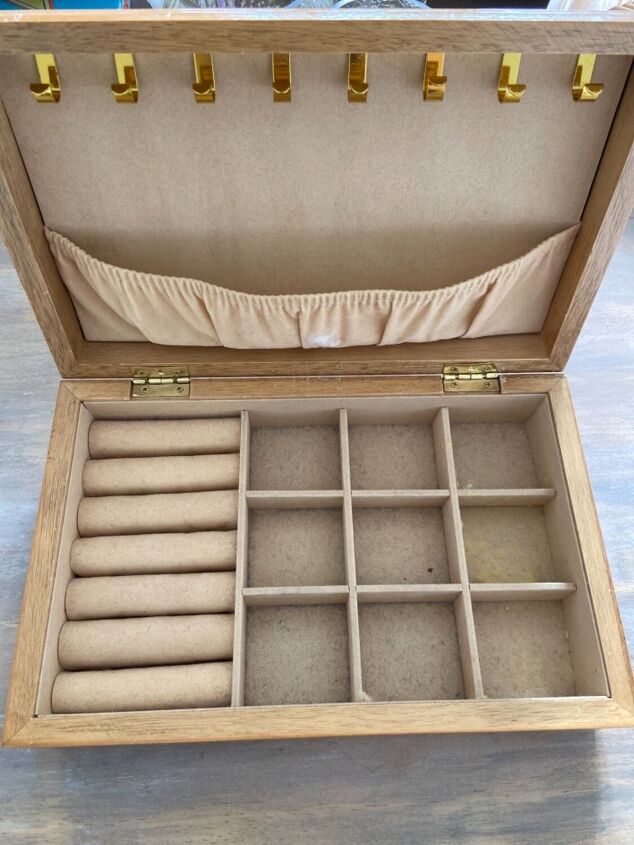
When my grandma passed away I kept her jewellery box. I have the nicest memories of it from when I was little; I always used to go up to her bedroom and sit there looking at the jewellery inside. I had been planning to do something with it for a while and this month marked 7 years since she passed and so I figured now was the perfect time to transform it!
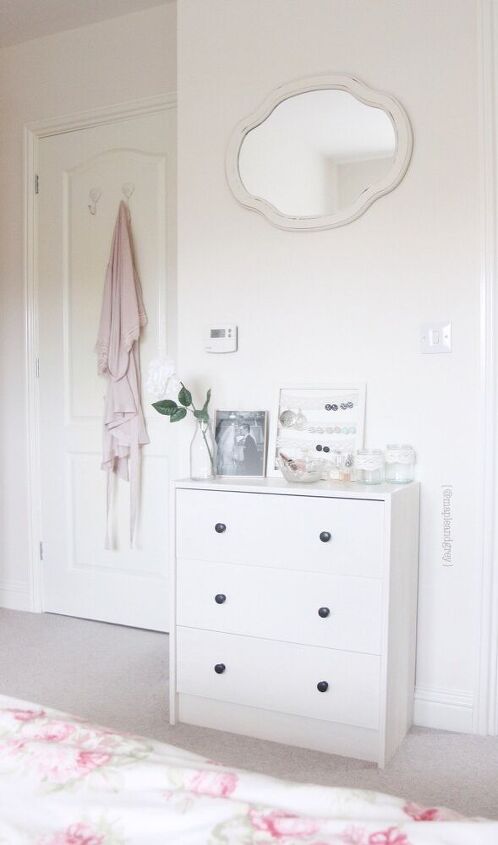
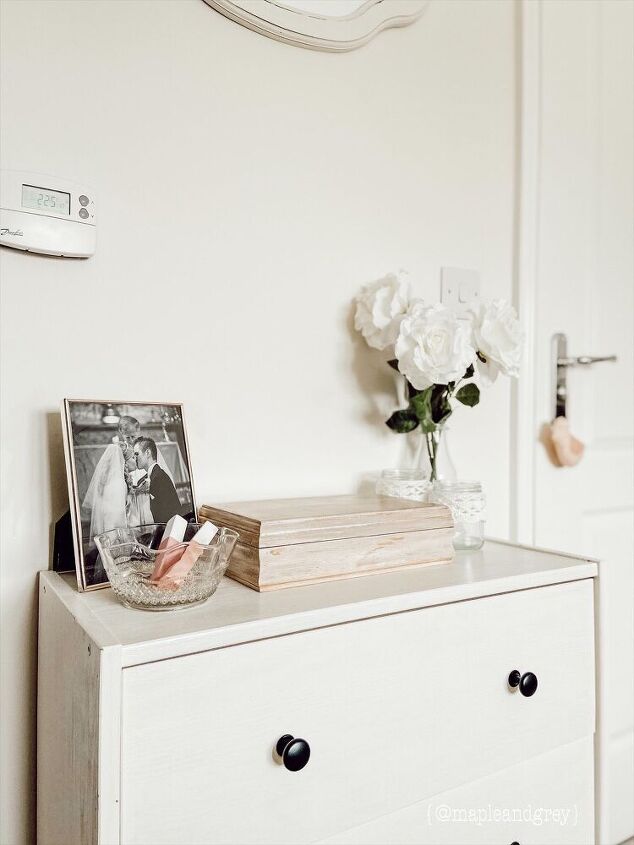
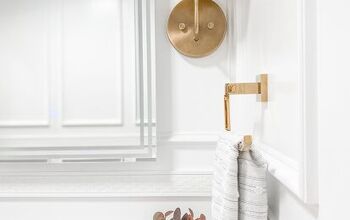
This is a picture of my current jewellery storage. I made this earring hanger years ago from a frame and some cotton lace ribbon and it has served its purpose well. But it’s time for a change and I wanted something more simple to go with this updated room.
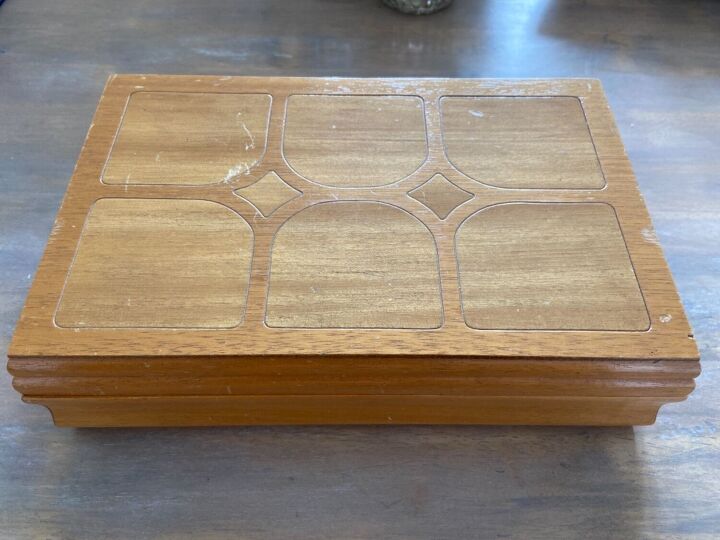
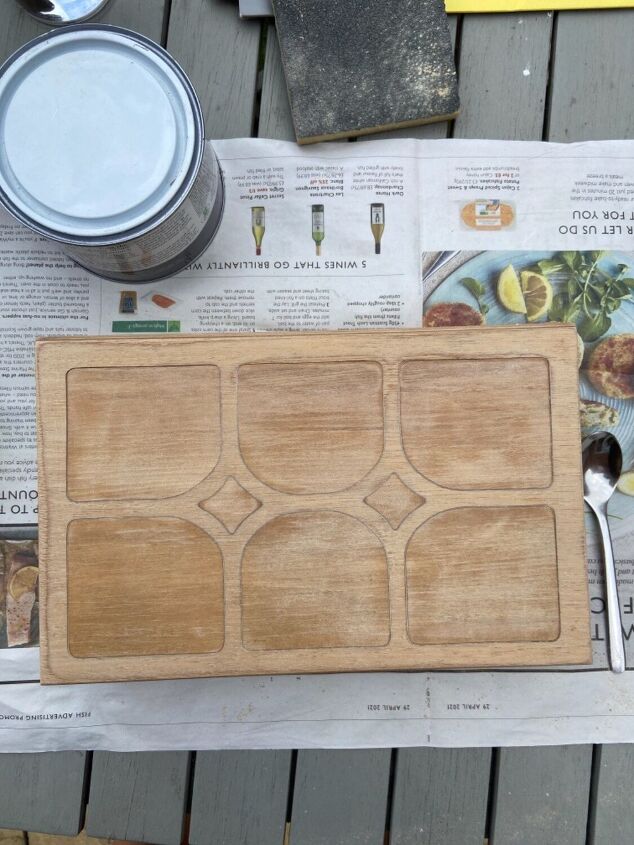
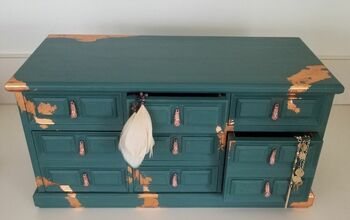
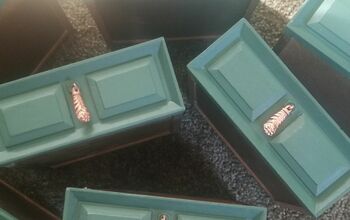
This is the before photo. I’m actually glad I waited to redo it because initially I was going to paint it Tiffany Blue. I’m obsessed with that colour but had I done it back then it probably wouldn’t have suited my space now. So instead I decided to strip it back to wood and then add a white wax.
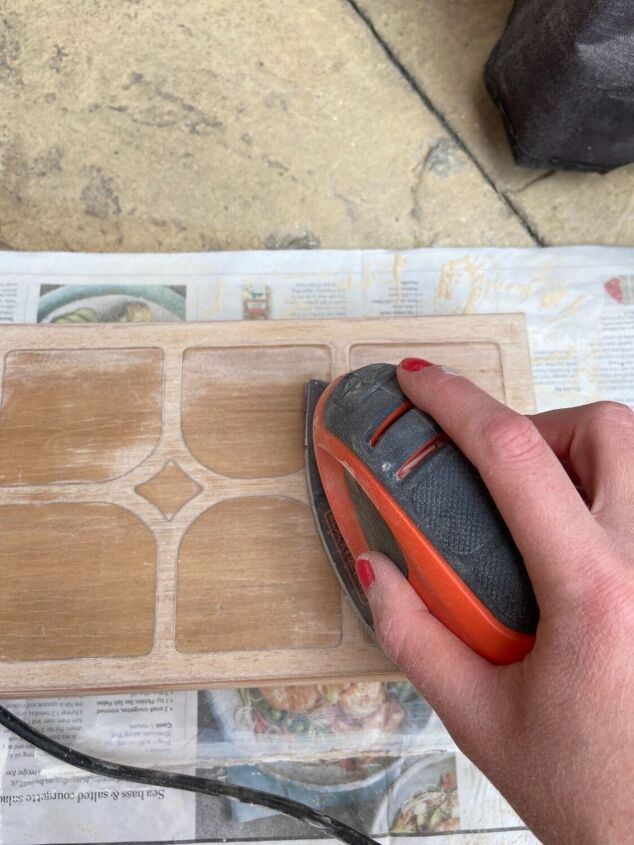
I removed the finish with my detail sander.
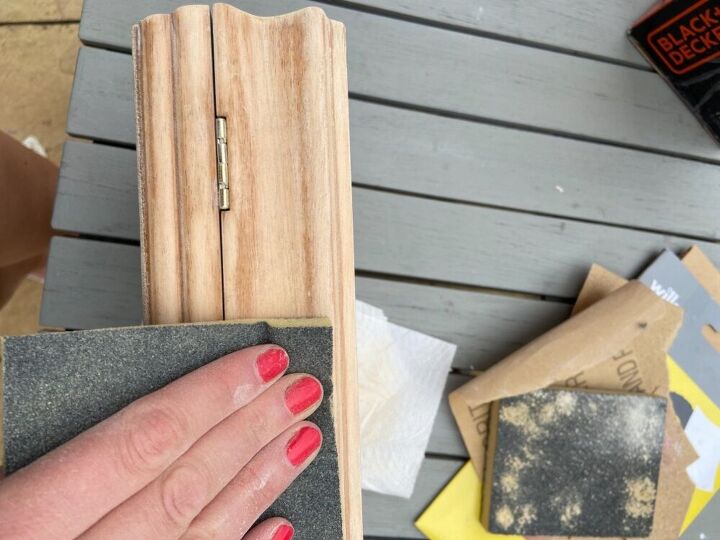
Once the majority of the finish was removed I used a sanding pad to remove any remaining finish in the details of the box.
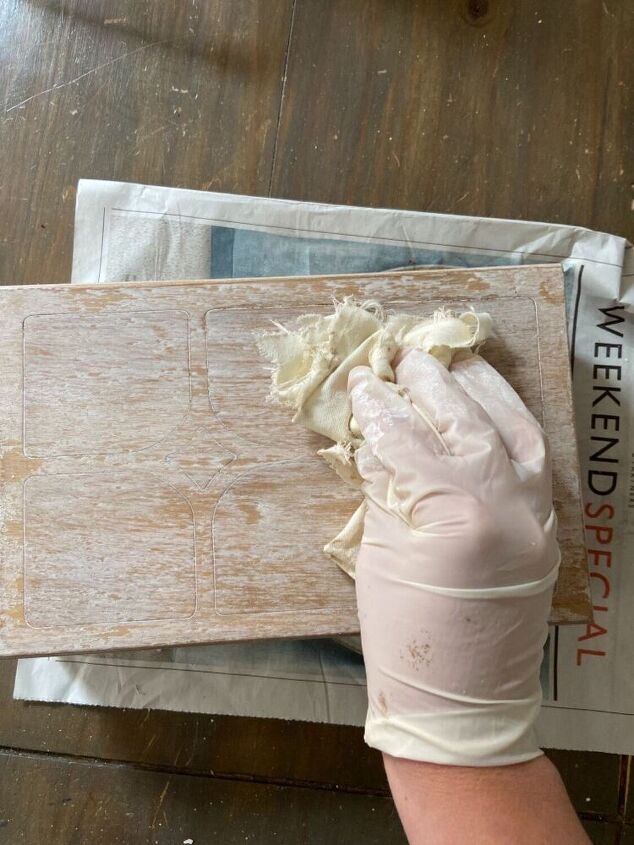
I love the look of the raw wood underneath and to make it a bit more muted and take away any orange tones I applied a white wax.
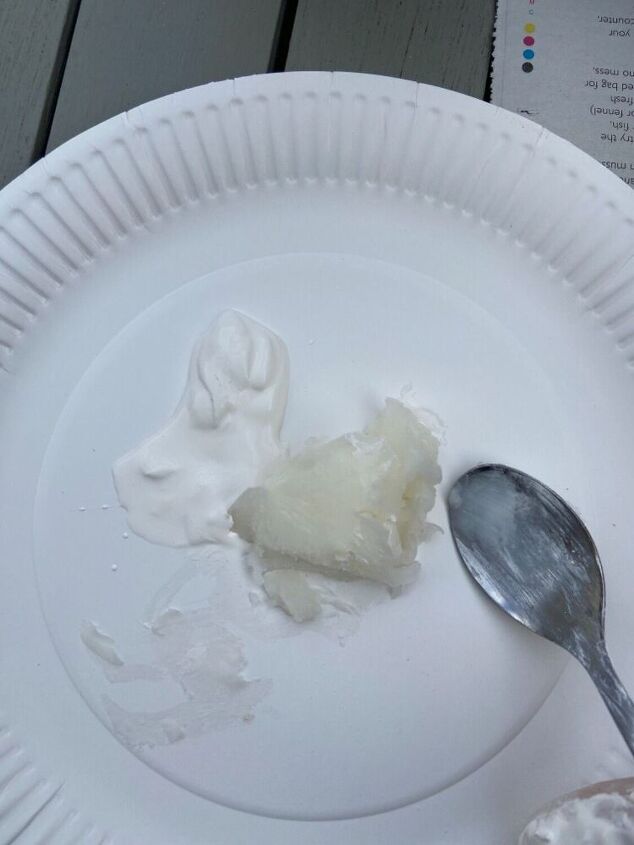
I made this by mixing together one part white chalk paint and four parts clear wax.
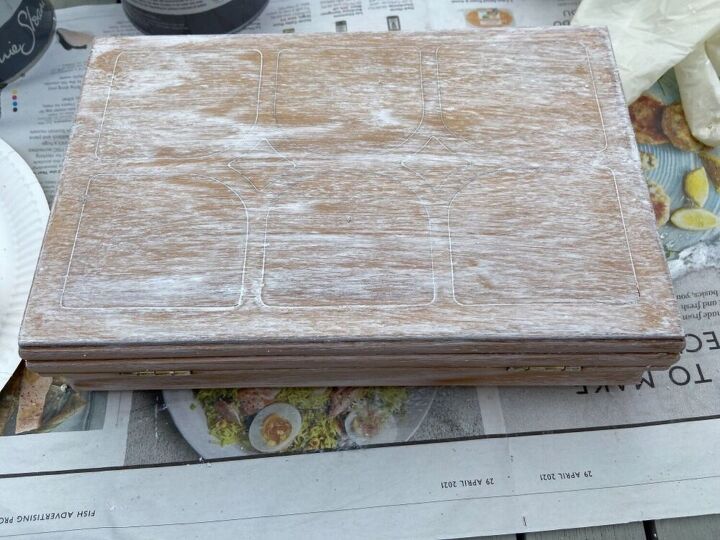
I applied this and instead of wiping off the excess with a lint free cloth right away I left it on there until dry. Previously I have wiped it right away but this seemed to take away too much wax.
I left for a few days and then buffed well with a lint free cloth.
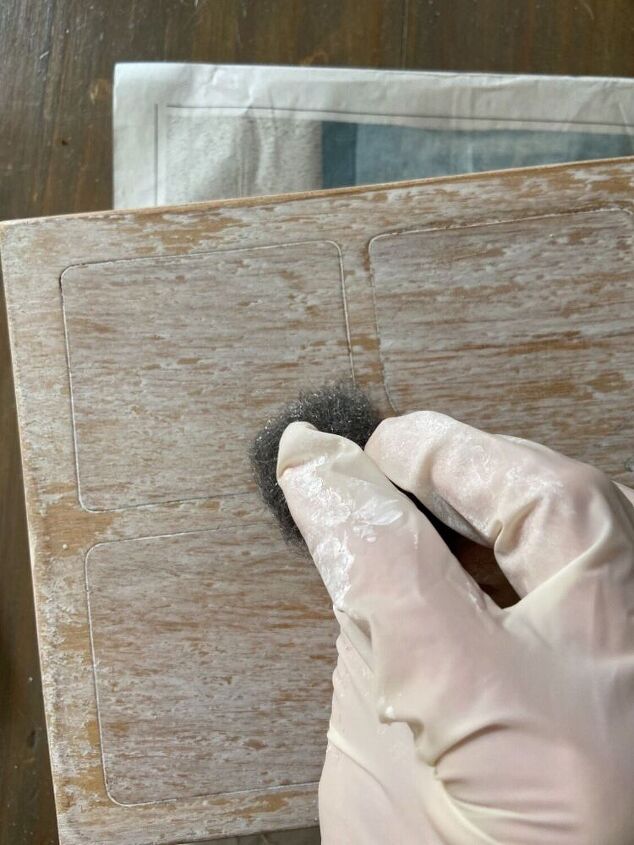
However, I then decided that it looked too thick on the top part so I took some steel wool and rubbed away the wax until I was happier with the finish. This left a much more subtle look and worked so well to tone it down a bit.
This left a much more subtle look and worked so well to tone it down a bit.
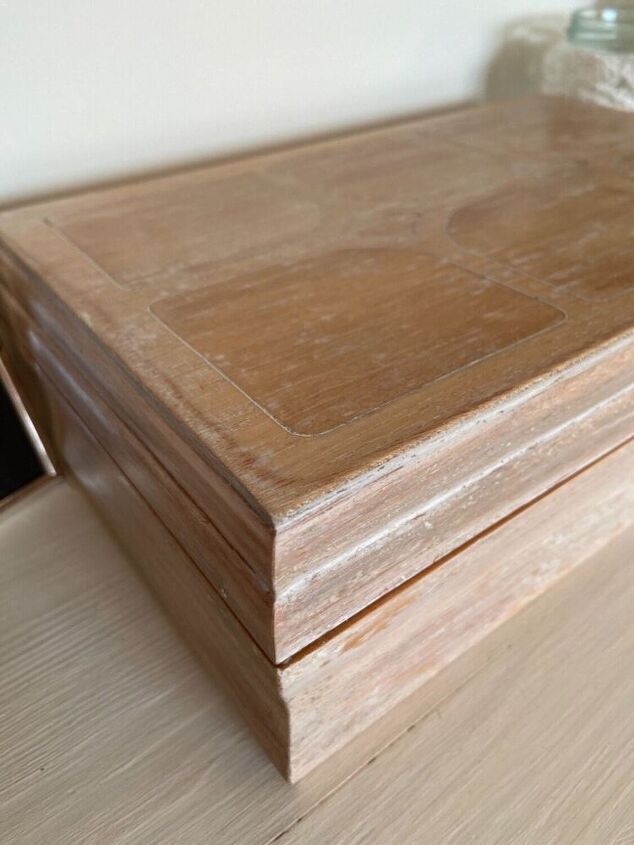
The final look! I love what a difference it has made to the tone of the wood but also that it was such a simple transformation.
This look hasn’t taken away from the original piece but updated it. I love the lime-washed look and remove a little more wax at a later date but for now I’ll sit with it like this for a while and decide.
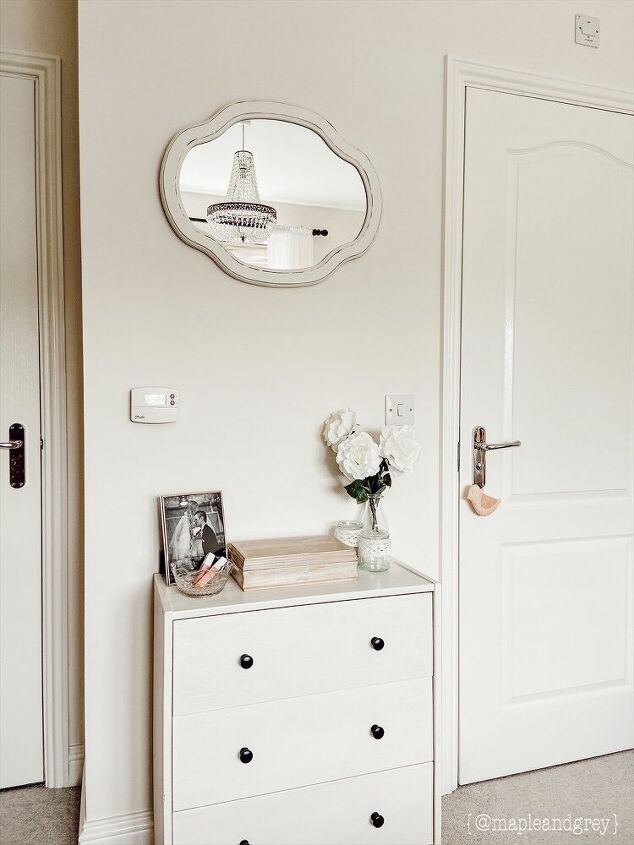
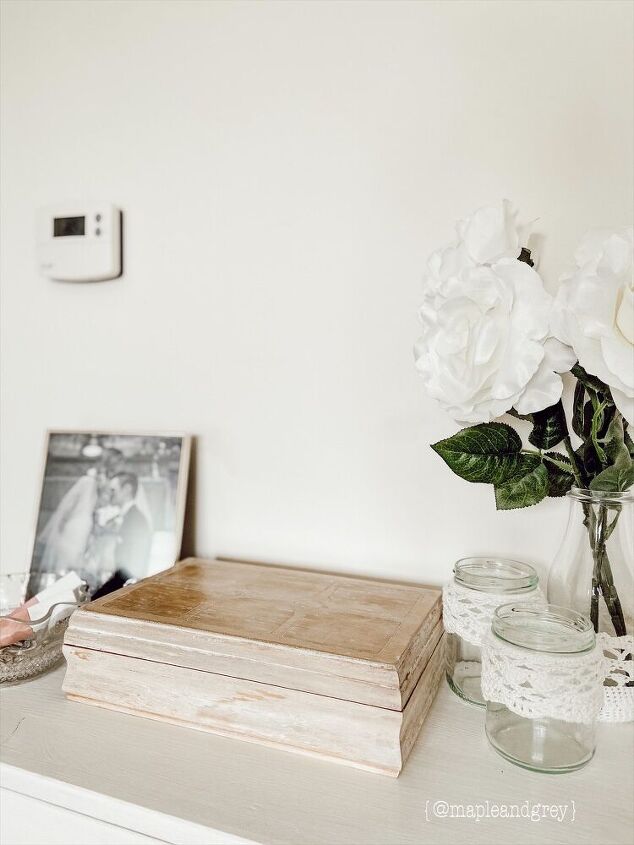
I will continue to treasure this piece and I’m so glad I can have it out on display to look at and enjoy the memories of it now.
I hope that this project inspired you and shows that it is possible to keep the character of heirlooms while updating them to fit in with your home!
To see more of this and other projects follow along on Instagram!
~ Rachel ♡
Resources for this project:
See all materials


Comments
Join the conversation
-
Lovely, nicely done.
-
Love the finished product!


Frequently asked questions
Have a question about this project?