


Kids Workbench From Old Table
11 Materials
$50
4 Hours
Medium
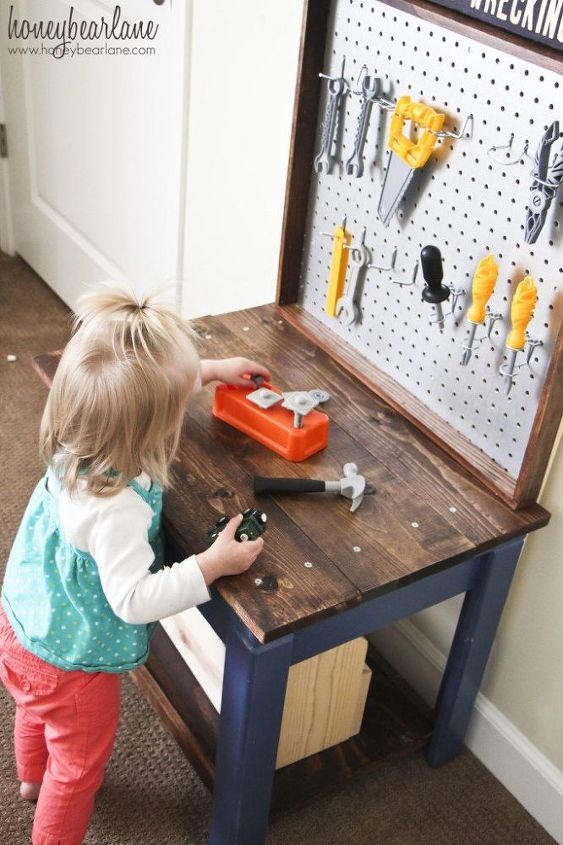
This kids workbench is built on one of those old ugly end tables that probably everyone had in the 90’s. I originally used it for a base of a train table for my boys but it turned out that they preferred building their tracks on the floor. So the table sat in the closet, taking up space. I knew I could give this sad table a new purpose in life by building a kids workbench on top of it.
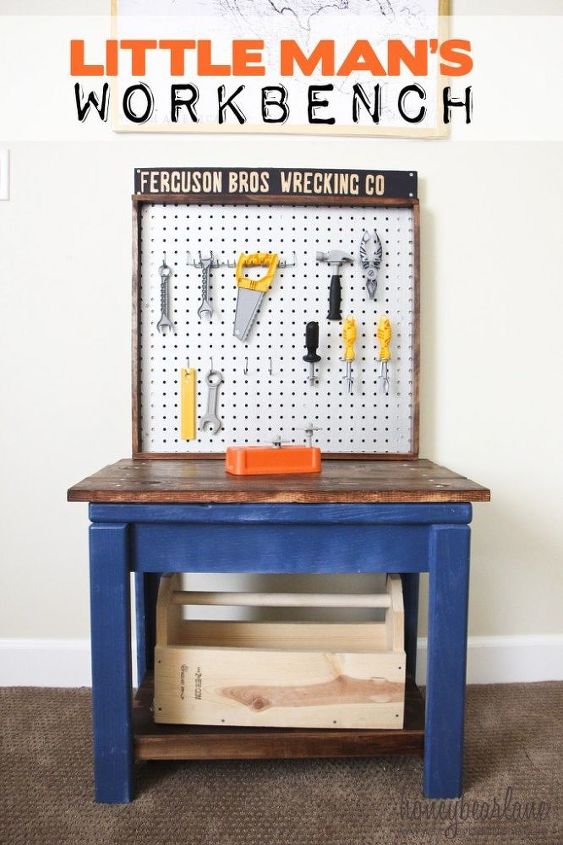
I had leftover pegboard hardware from my Craft Room Pegboard project so I just used that, but you can get the hardware pretty cheaply. I also found a lot of tools at Walmart for $10 but we had the IKEA ones too which I love.
Here’s how to make one:
- One old end table or coffee table with utilitarian legs (straight and flat)
- 1×6’s cut to the length of the table plus two inches (for overhang). You will have to determine how many you need to cover your table top width.
- Pegboard cut to the length of the table with about the same width to make a square
- 4 1×2’s to frame the pegboard
- Plywood cut to the size of the length and width of the table legs
- 1/2×2 cut to the length of the width between table legs, lengthwise
- 2 1×2’s cut to the length of the width between table legs, widthwise
- L Brackets & Screws
- 2 1×2’s cut to about 36 inches
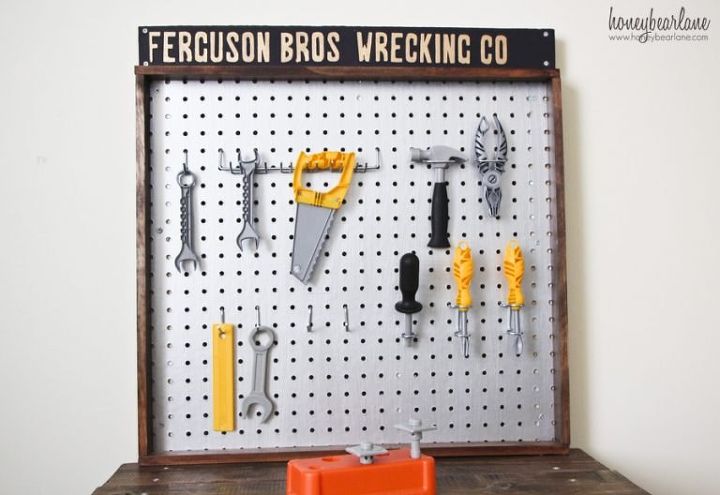
- Sign: 1×4 cut to the length of your pegboard
- Silver & Gold Paint
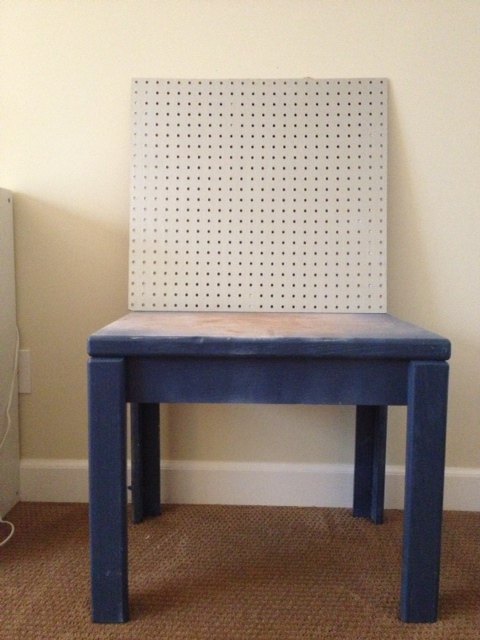
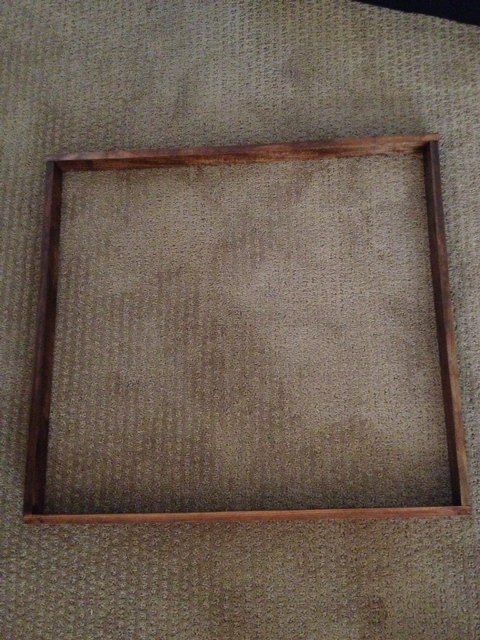
Here’s what I started out with, before going to the store for the wood and hardware. I cut the pegboard to the size I wanted. It was smaller than the table, and in the instructions above I said you should cut it to the length of the table. Either way you choose to do it is not a big deal, it will still look good.
After I got all the supplies and cut it to size, I stained it with a dark walnut color. I then made the frame for the pegboard. This wood is 1/2 x 2, which after doing this, I wouldn’t recommend. It was difficult to put together without splitting the wood. I think 1×2’s would look great and be sturdier. If you have a Kreg Jig (which I didn’t at the time), you could put this together with pocket screws. Then screw the pegboard (which I painted metallic silver–thank you Martha Stewart Metallic paint) straight to the frame, so it covers the entire back of the frame.
For the tabletop, I actually tried to glue it down first and then screw it in place. But I am impatient and didn’t want to wait for the glue to dry. So if you are impatient like me, skip the glueing and you’ll be okay. If you are patient, I would glue and clamp it down for several hours and THEN screw in place. My impatience cost me and now my board are screwed on slightly crooked. But my 4-year-old was also helping me so I guess you just learn to love the imperfections.
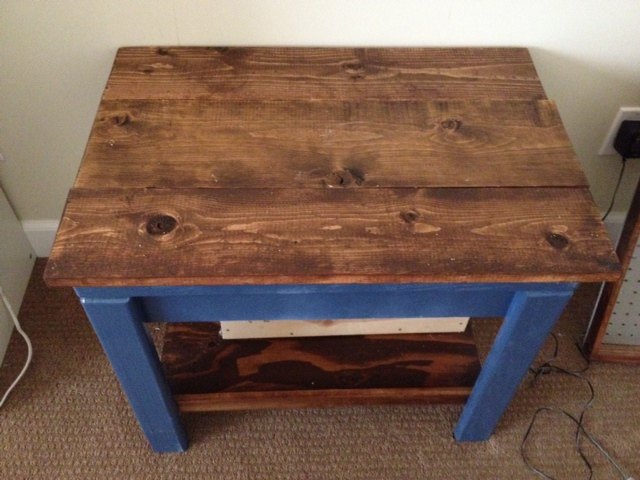
For the lower shelf, I used the brackets to secure the 1×2’s that go across the width of the table. Then I put my little plywood shelf on top (you could screw it in but I skipped that step since we don’t move this thing all the time.) I put the front face wood in front of the plywood (the 1/2×2). It was cut and fit so tightly I didn’t even need to secure it, but you could use glue and finish nails.

Want more details about this and other DIY projects? Check out my blog post!


Frequently asked questions
Have a question about this project?