


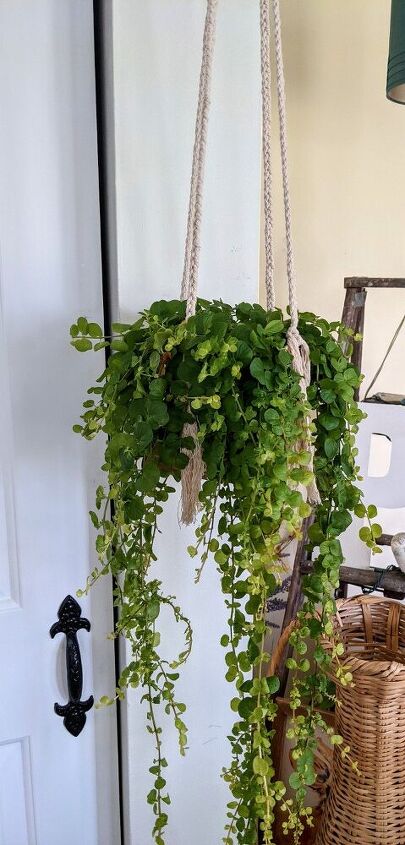
Leather And Cotton Macrame Plant Hanger

I have a slight obsession with plants, so I love making different kinds of plant hangers.
This hanger is super simple, minimalistic, and modern.
You'll need:
4mm macrame cord (I used natural cotton 3 strand twisted)
8 20mm wooden beads
4 25mm wooden beads
1 2.2 inch wooden ring
8x6.5 inch piece of leather
Hole puncher
Your favorite plant in a 4-6 inch pot
*Price is based off of the amount of product used, not the total of price of the bulk items I bought

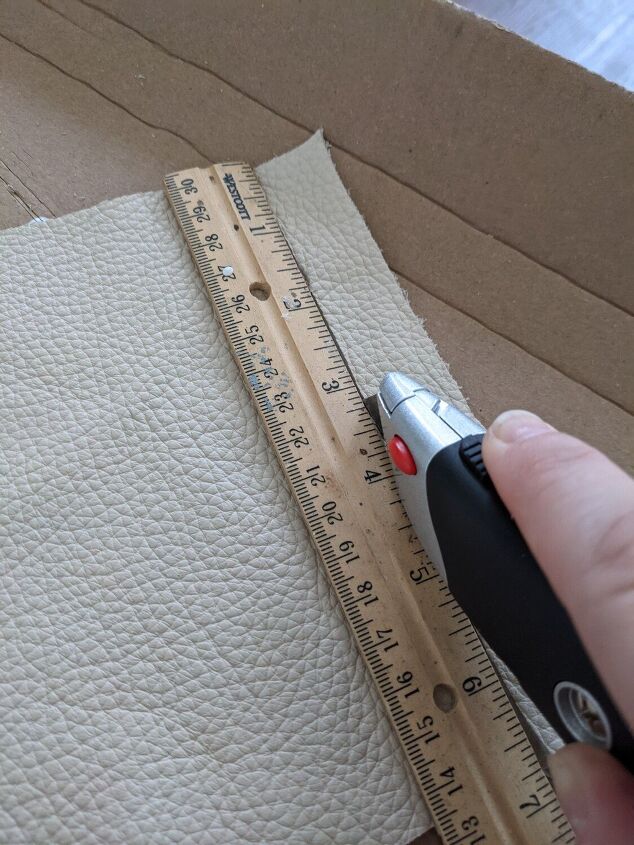
First, measure out the size of leather holder you'd like.
I cut mine to size
8"x6.5"
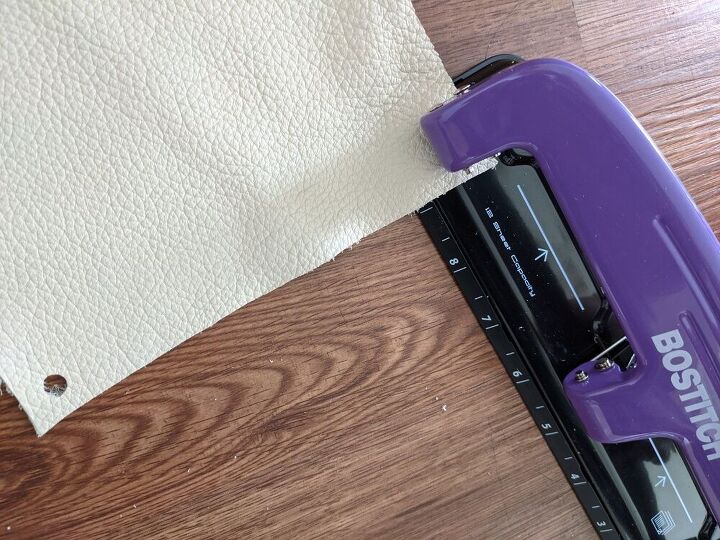
Then using a hole puncher, punch a hole in each corner of the leather
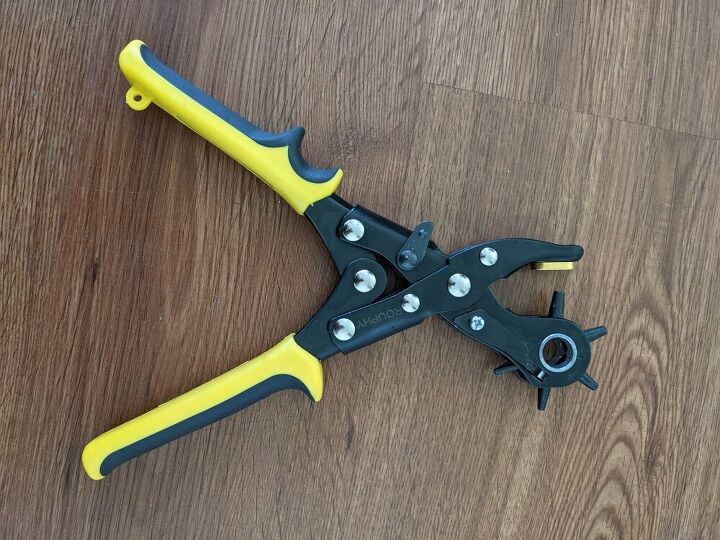
I used this leather hole punch tool on other leather pieces and it works a lot better than a regular hole punch, but both do the job
Now, measure out and cut 4 strands of macrame cord measuring about 90 inches each.
Cut another piece of cord/yarn in a contrasting color or of the same cord measuring about 20 inches (this will be for the gathering knot). I used a thick yarn for this.
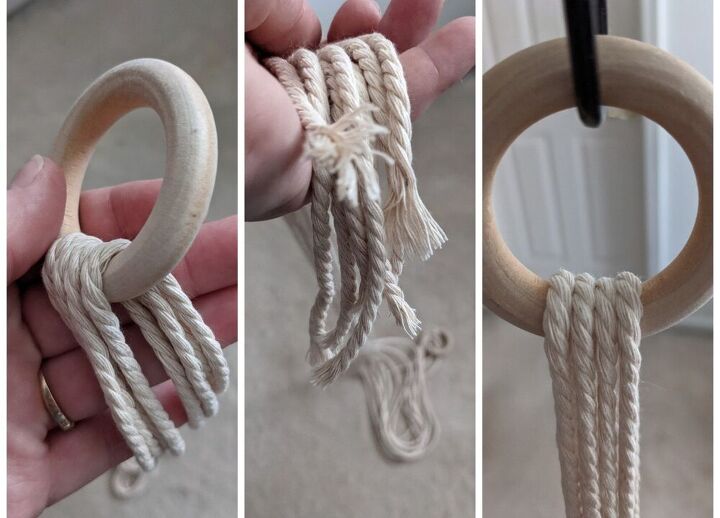
Slip all 4 cords through the wooden ring so that you have the same length of cord on each side.
Hang the ring onto a hook
Let's make the gathering knot
If my directions are confusing, look up "macrame gathering knot" on YouTube or even google and you'll get tons of great directions
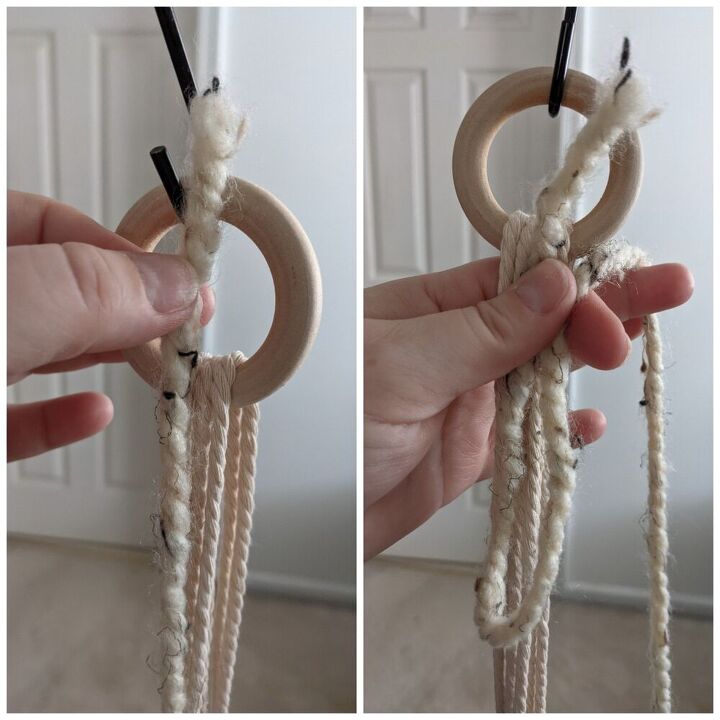
Grab the 20inch piece of cord (or whatever you used).
Line it up so that one end is sticking up about 2 inches past the bottom of the ring
Make a 3 inch loop (about, no need to measure) and let the other end hang
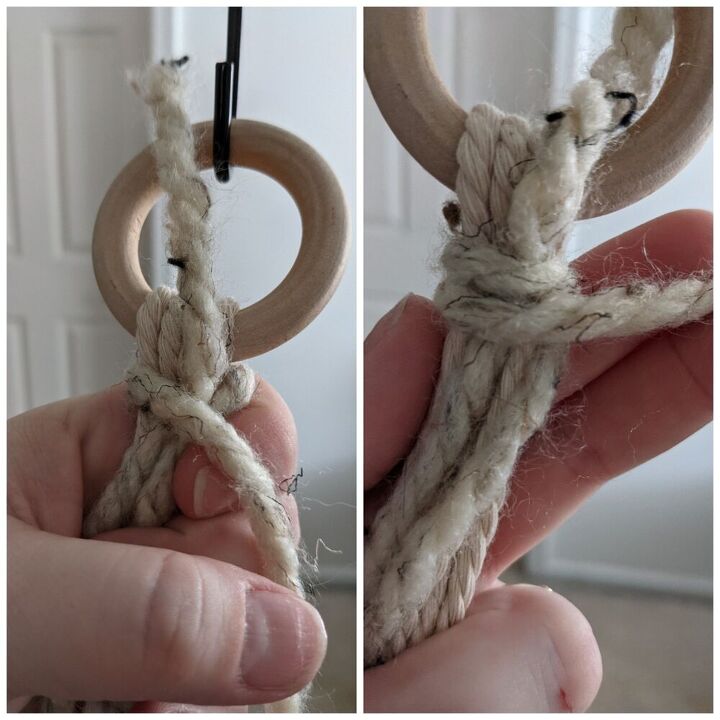
Wrap the long end around all of the cords while still holding the loop in place and the other end sticking up. Continue to tightly wrap around all of the cords.
The amount of times you wrap it around is up to you. I typically wrap it around the cords about 10 times
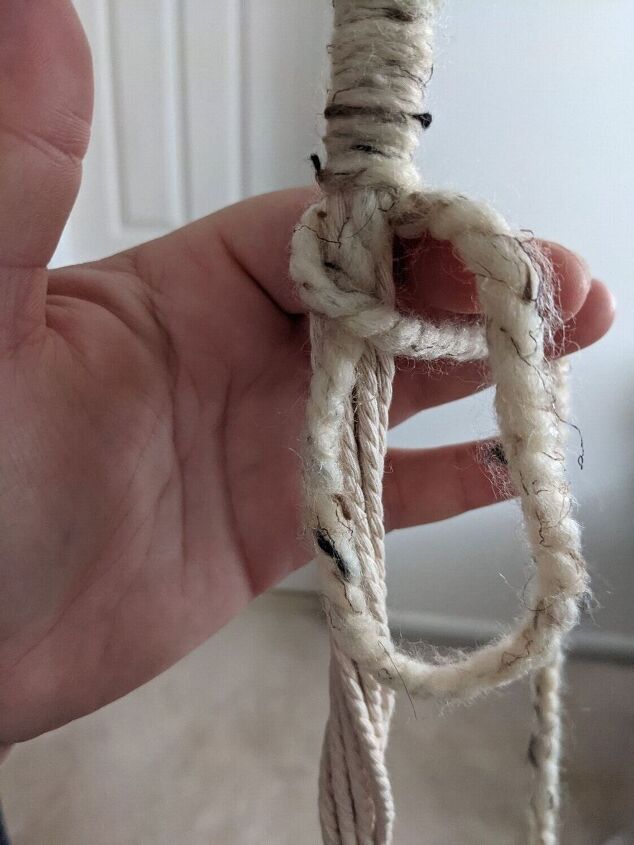
On the last go around, stick the cord through the loop you made in the beginning
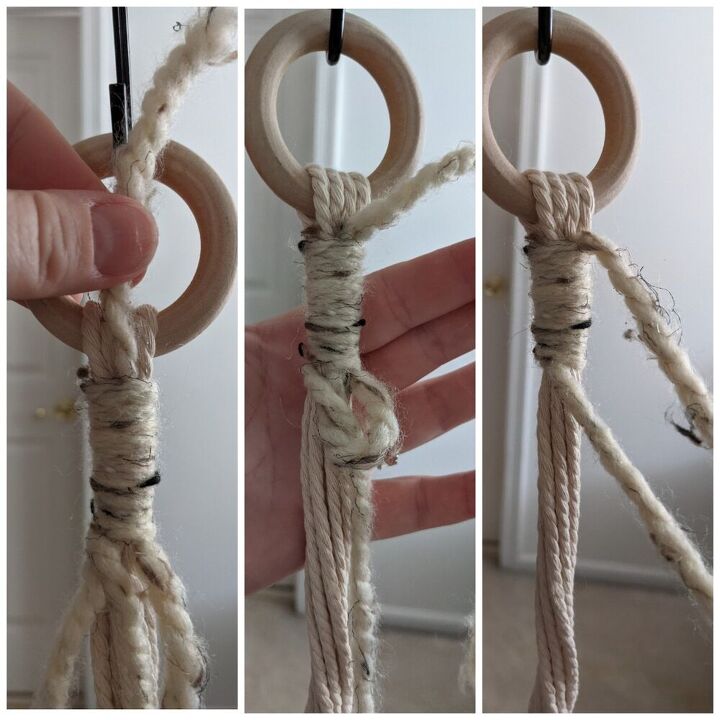
While holding that end tight, pull the end that's sticking out of the top. You'll start to see the loop getting smaller, this forms a small knot. Once that knot is halfway up the "wrap", pull both ends at the same time to tighten.
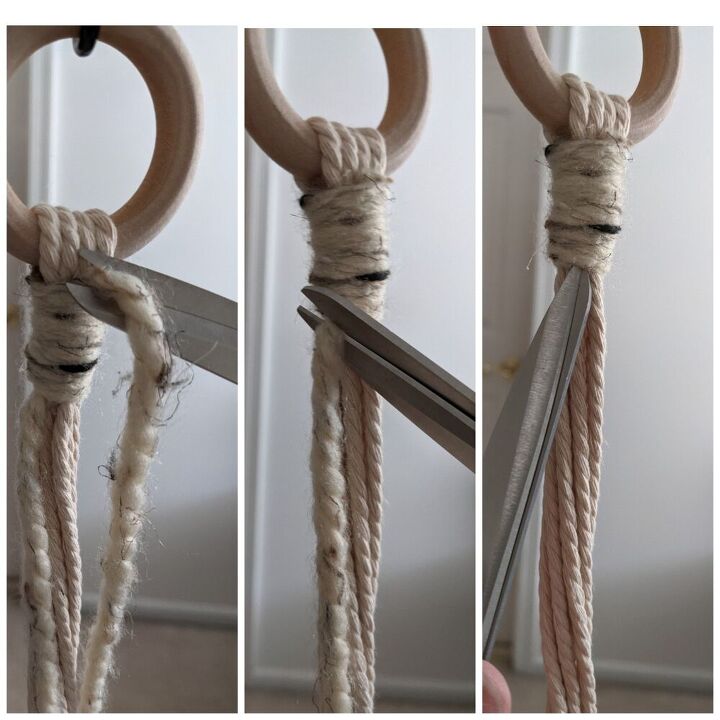
Cut off both ends of that cord and use your scissors to push any remaining cord up into the gathering knot.
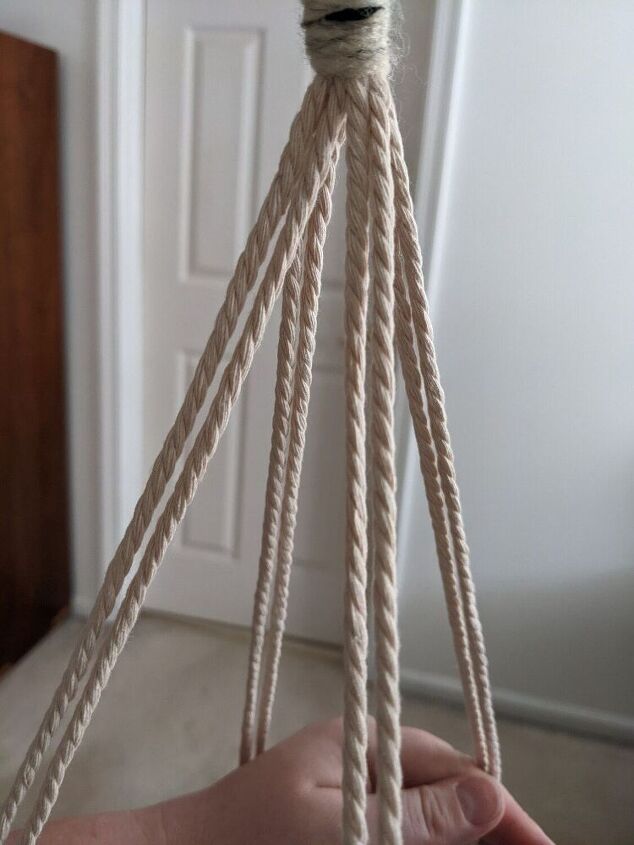
You'll want 4 arms of 2 cords each. Separate them so that each set of 2 cords are next to each other
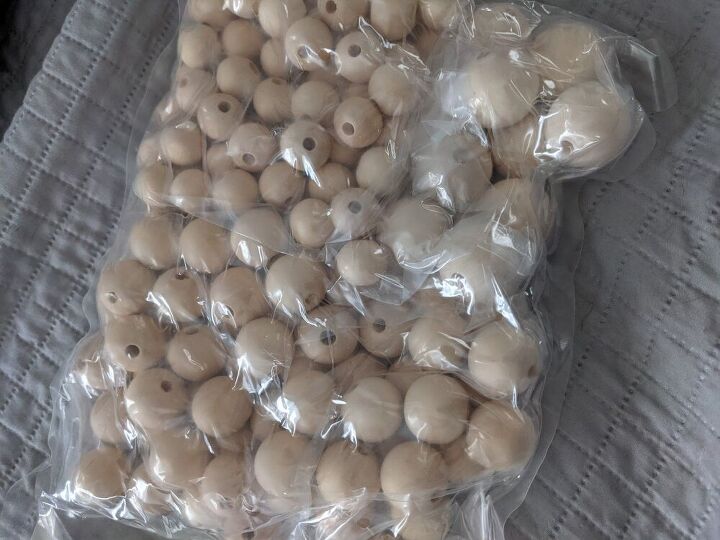
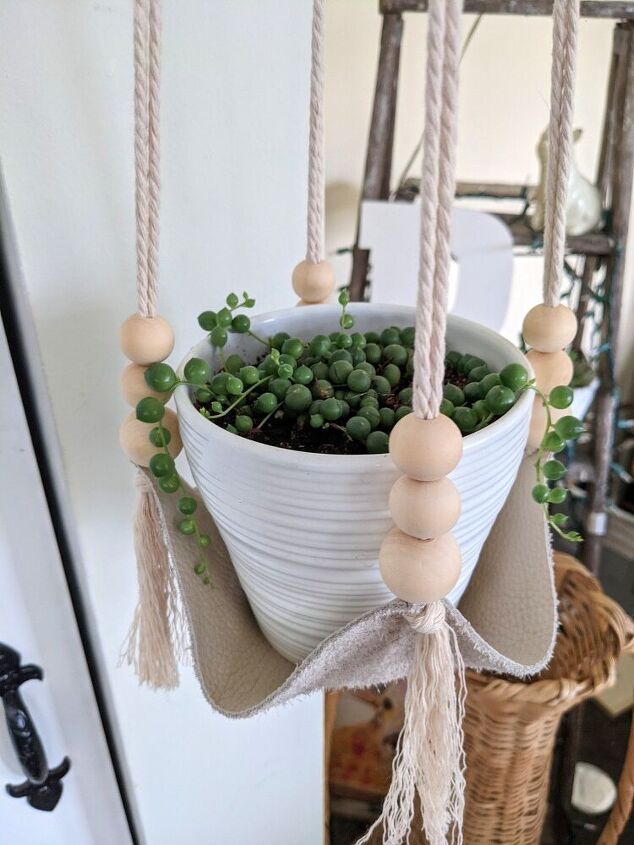
I got a multi pack of wooden beads from Amazon and used the 20mm and 25mm sizes. You can even paint them for a pop of color
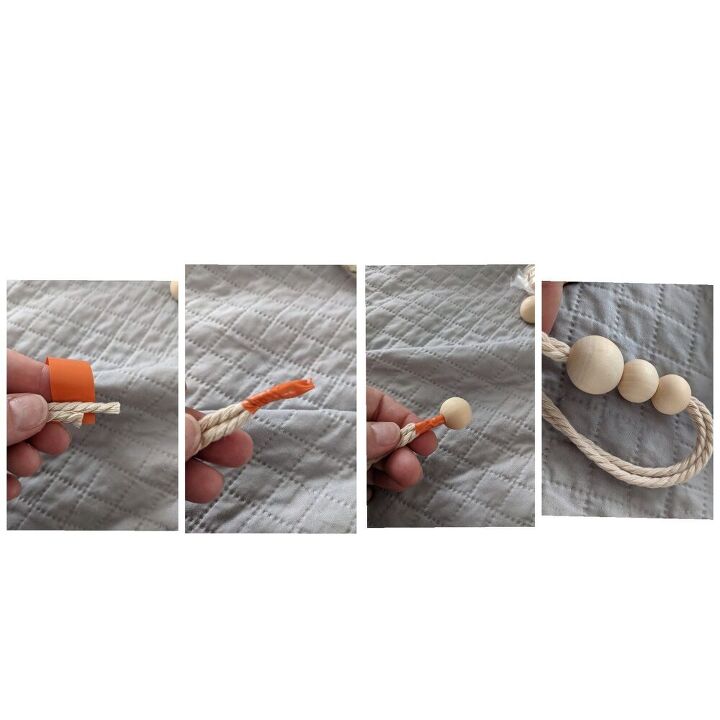
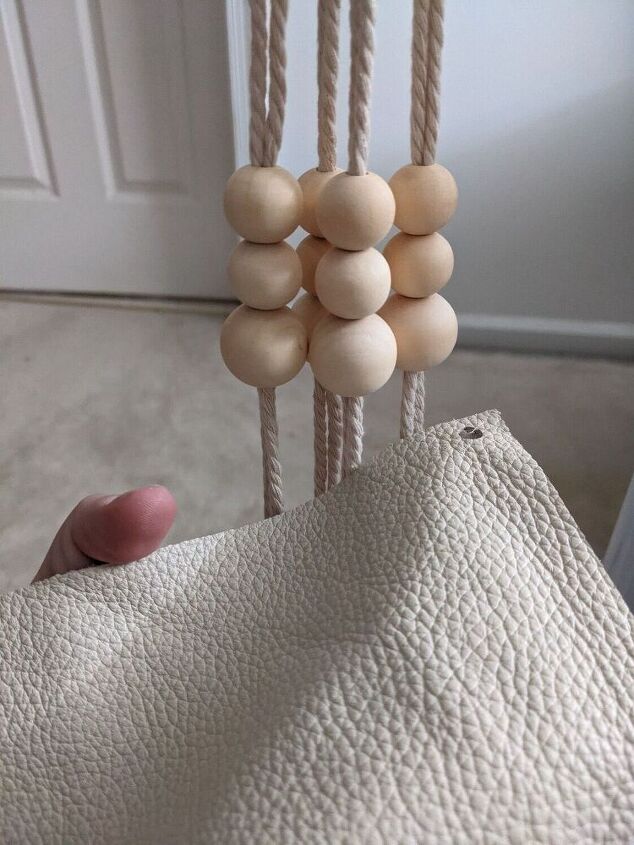
Grab one set of 2 cords, and then take a piece of tape (electrical tape works best) and tightly wrap it around the ends. Then slide on 2 20mm beads and then 1 25mm bead.
Do this for each set of 2 cords

Now each arm (set of 2 cords) has 3 beads.
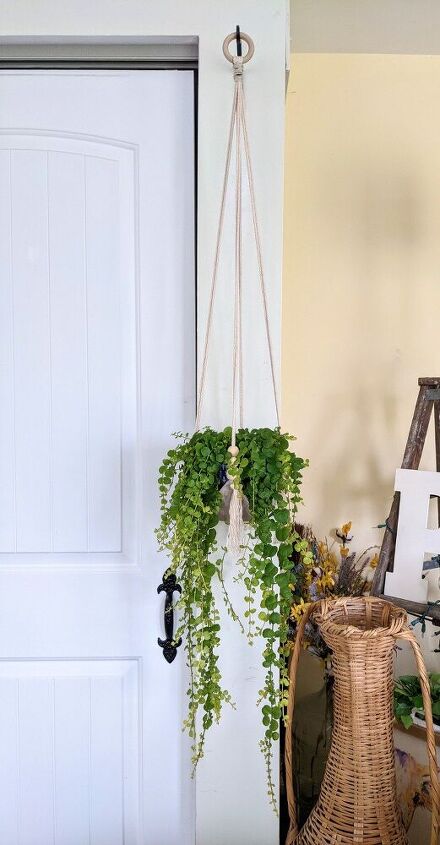
Figure out how long you'd like your hanger to be (Mines about 40 inches long) and push the beads to the very bottom of you're desired length (leave at least a few inches extra for tassels)
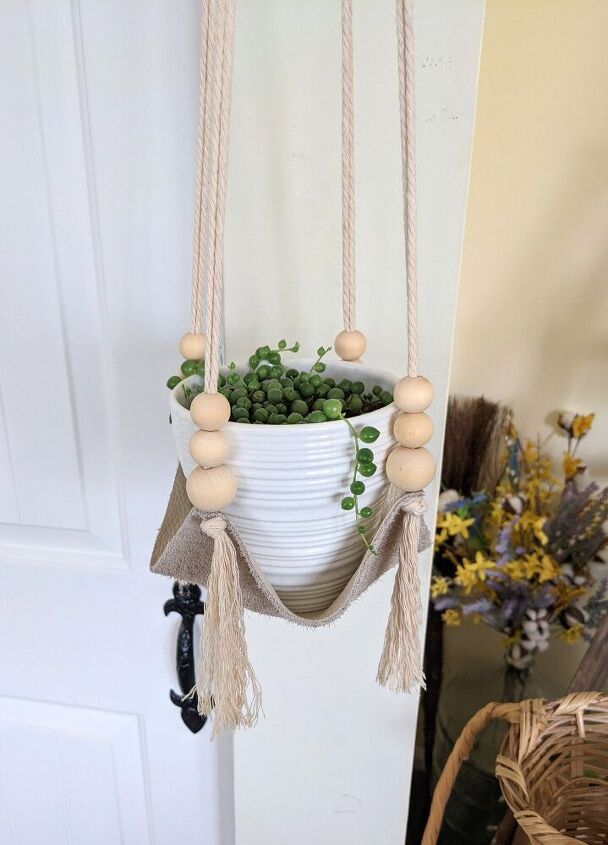
I decided that I wanted the leather side to be facing up, and the suede side to be facing out. You can do this either way
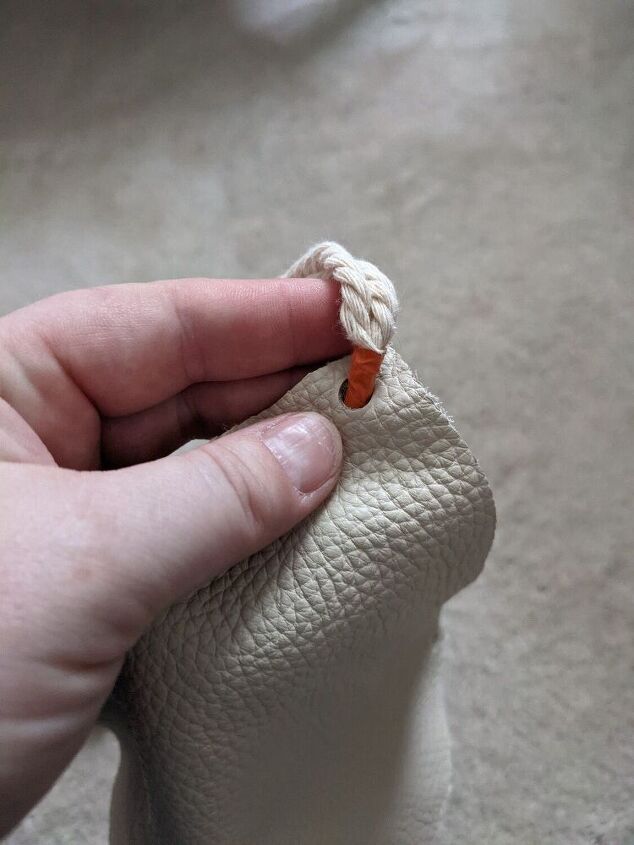
Push the end of the arm into one of the holes in the leather.

Push it up so that it's just under the beads
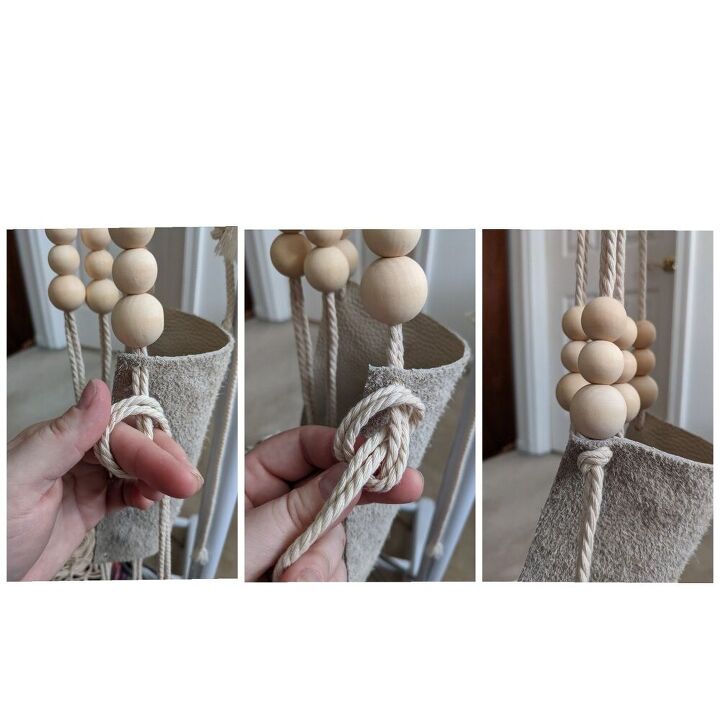
Tie a simple overhand knot to secure the leather under the beads.
Form a loop with the arm, then stick the end through the loop and tighten.
Complete these steps for each arm
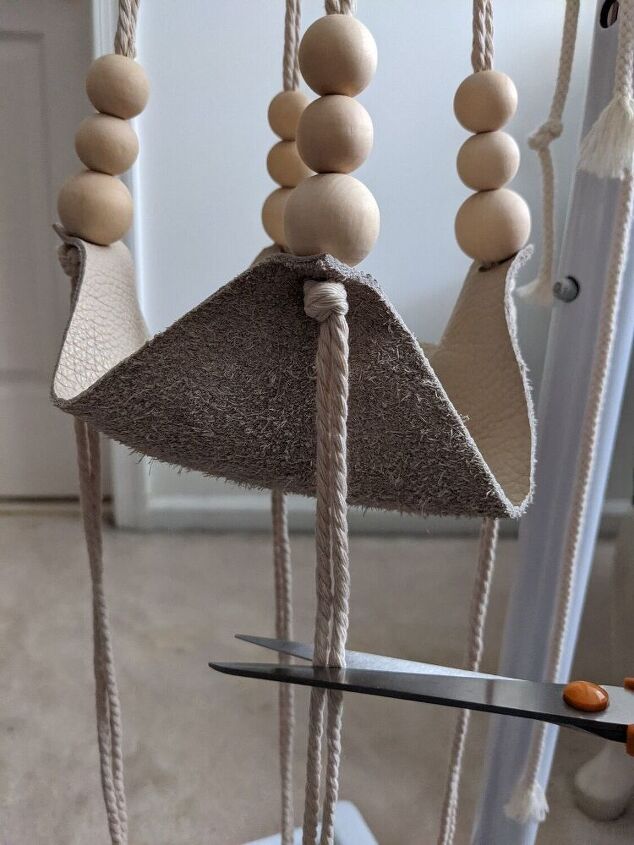
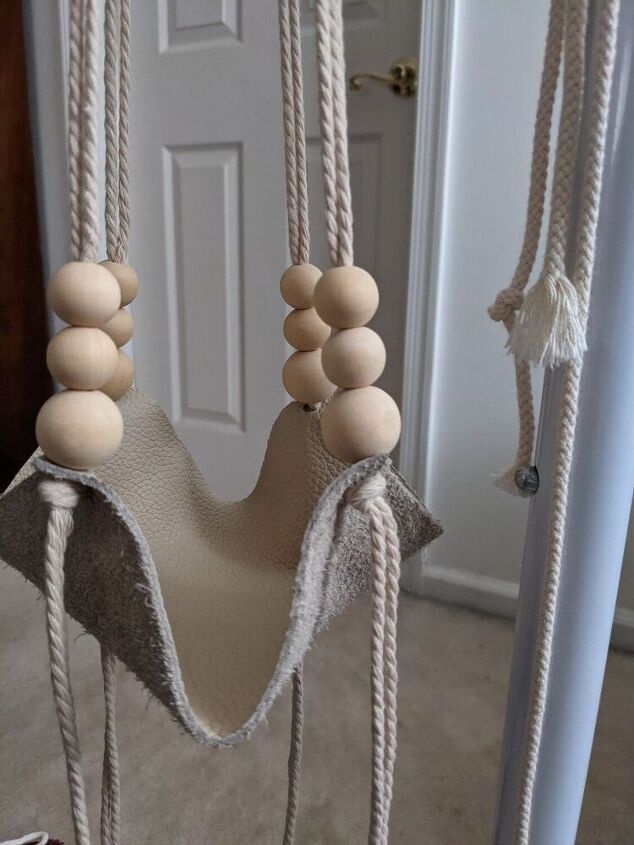
Cut the cords so that they hang just past the leather, or longer if you'd like
Unravel the cords hanging down, hang and enjoy!
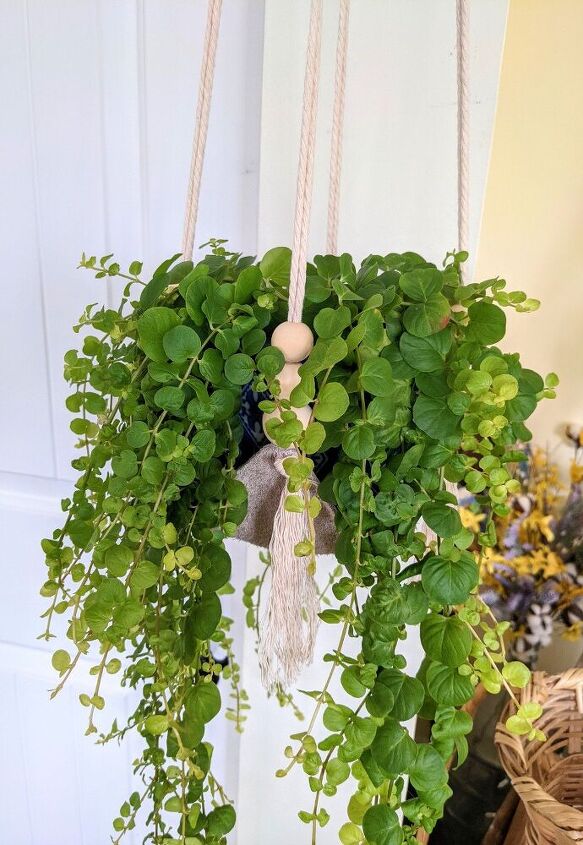
I love the simplicity and modern boho vibe these give a space
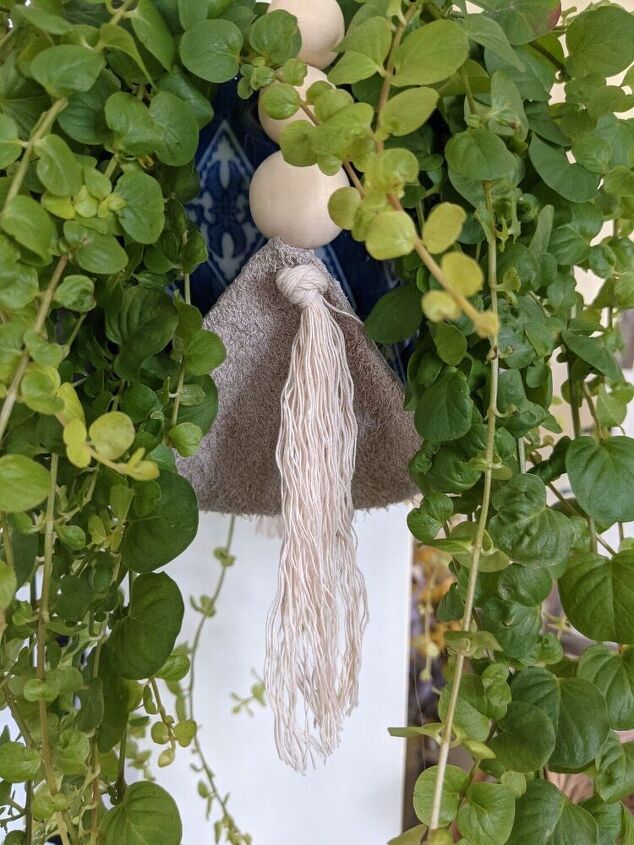
If your unravelled cord is unruly, take a comb to it and brush it out
There's many different looks you can achieve with these plant hangers. Get creative and make one to fit your space and style
Here's a different version...

I used binder rings, attached them to the leather and then covered them with raffia. I then attached the cord to the rings instead of the leather itself. I also did a 4 cord braid for the arms
Check out our Facebook page for refinished furniture ideas and more home decor

In our Etsy shop, you'll find over 400 different craft supplies...from transfers and silicone molds to waxes and stencils
Thanks so much for reading! I hope this tutorial has inspired you to create something beautiful! ❤️
Resources for this project:
See all materials


Comments
Join the conversation
-
Great been looking at buying these.. I'll be making some myself. Thank you for sharing:)
-
Genius! I have some old leather I could repurpose and I have an 8" string of hearts that needs to be hung. Thanks for sharing


Frequently asked questions
Have a question about this project?