


Liquor Bottle Decorating

After collecting a few bottles, I decided it was time to have some fun decorating. I wanted to try some techniques.
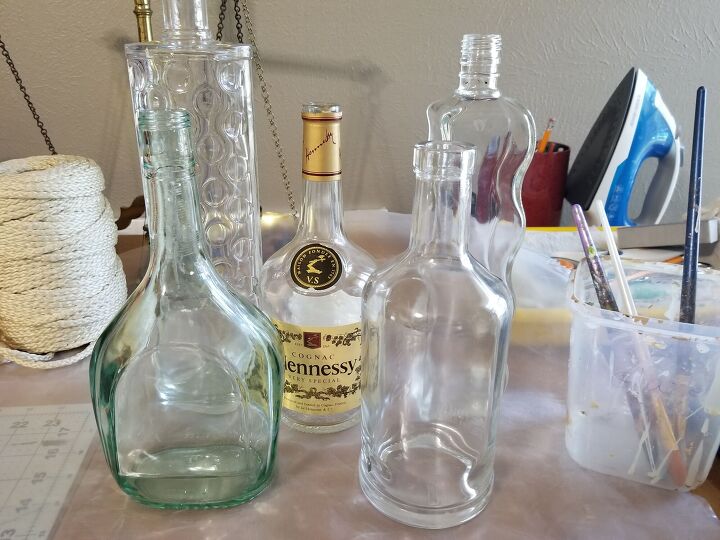
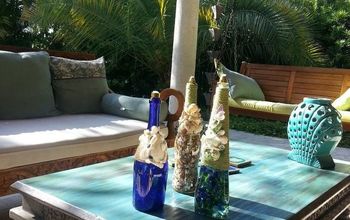
I started with these 5 but I only worked on 4.
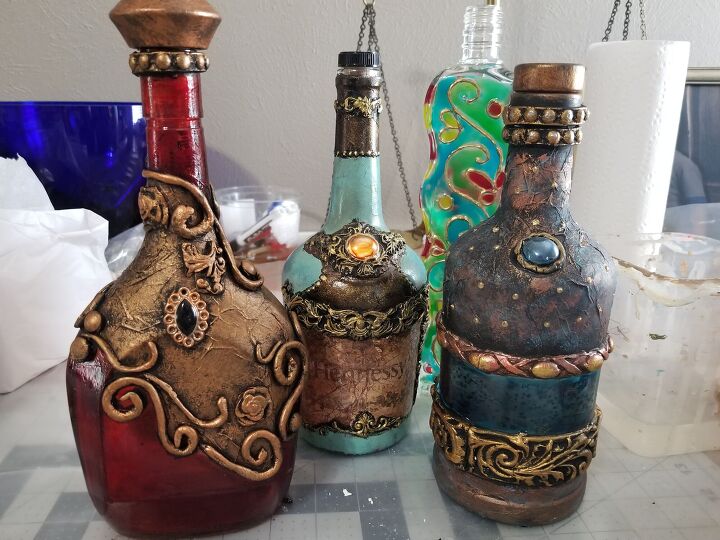
This is the after.
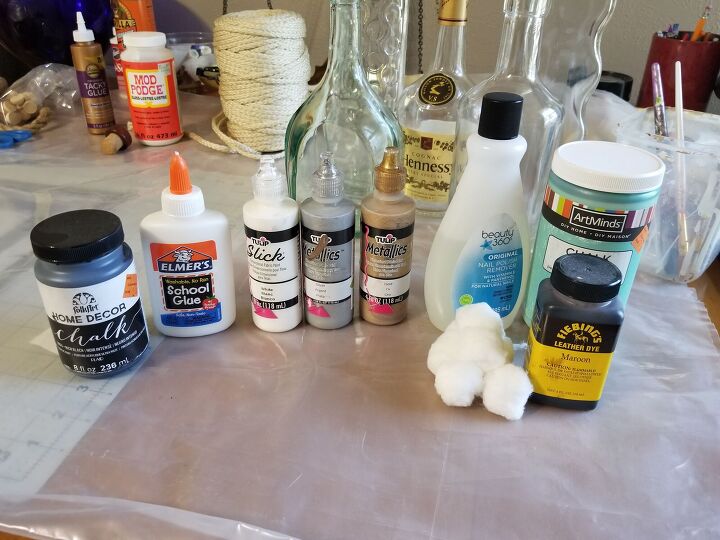
I did submerge three in water to remove the labels and then used a goo remover and finally nail polish remover to prep them. I decided to use materials that I already have plus two new items that I ordered online: decorative rubber molds and an air dry soft clay.
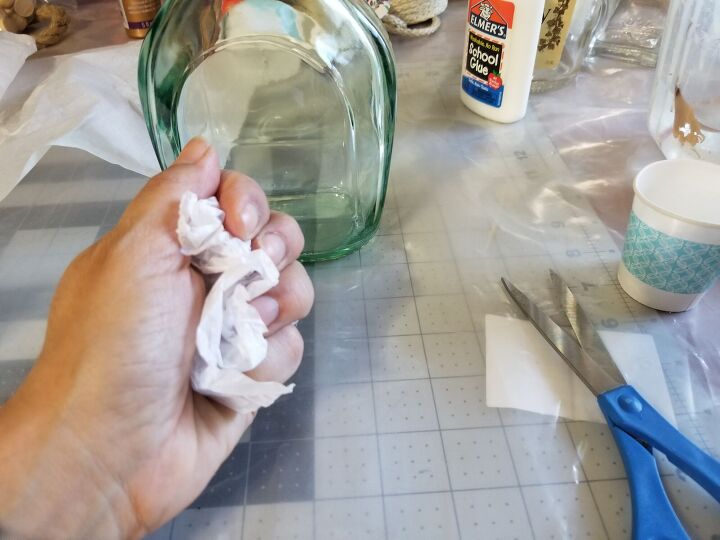
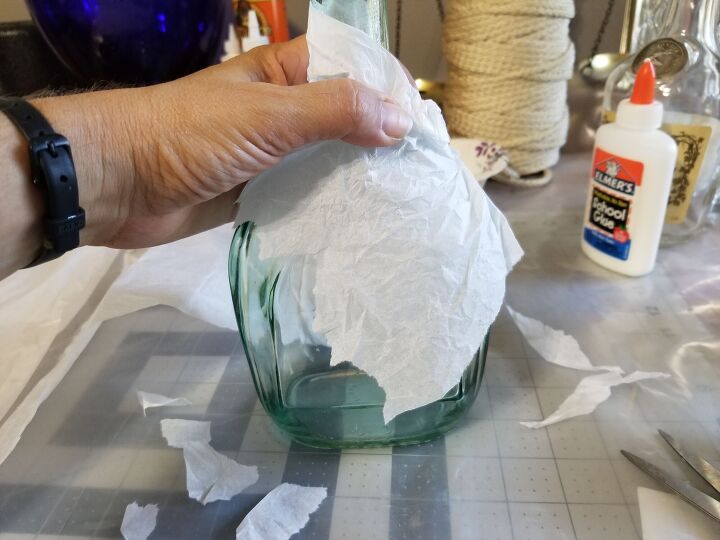
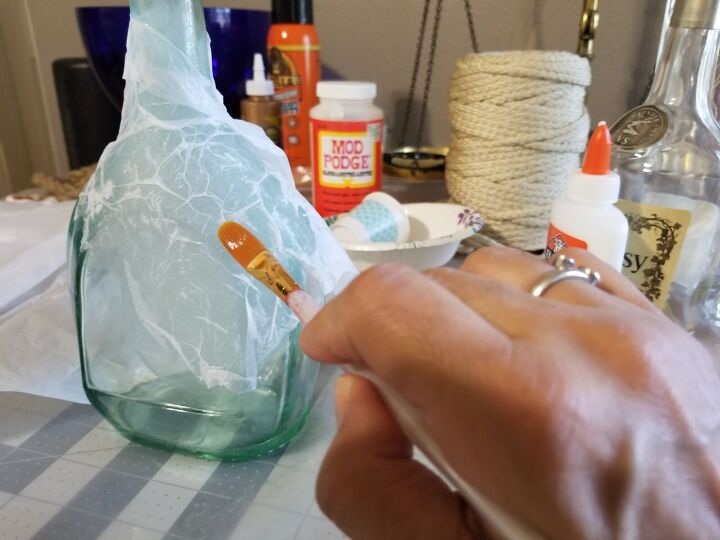
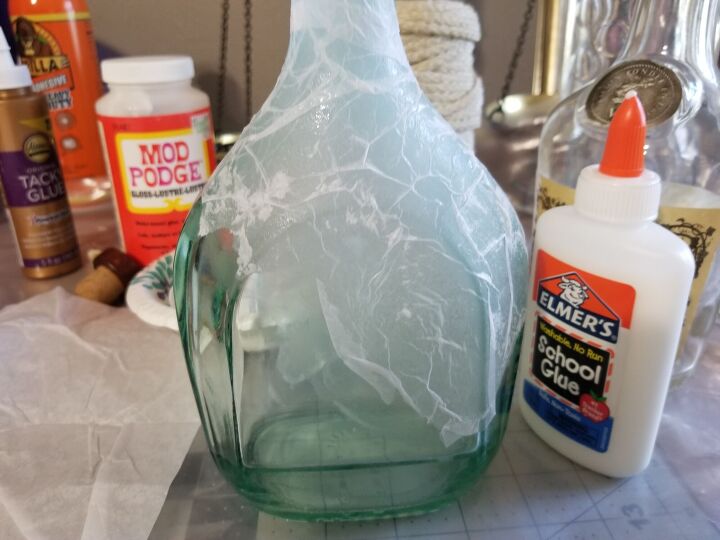
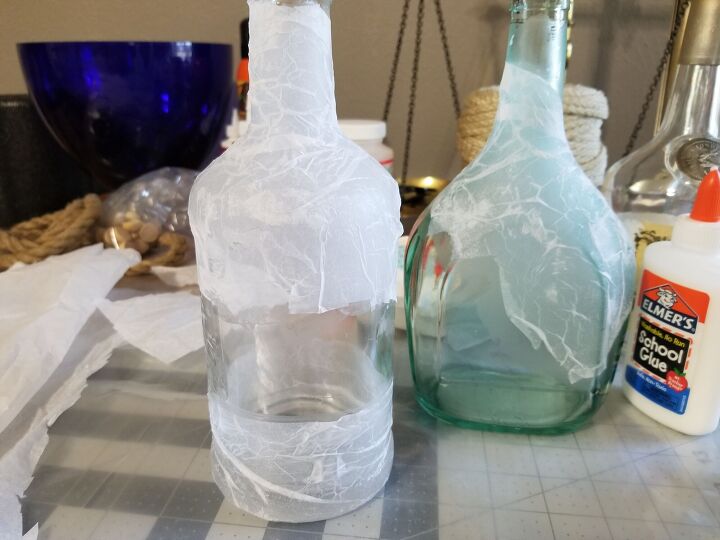
I mixed elmer's glue with a little water and using wrinkled tissue paper, I attached it like decoupage.
I wasn't quite sure on my designs at this point but I did have some ideas in my mind.
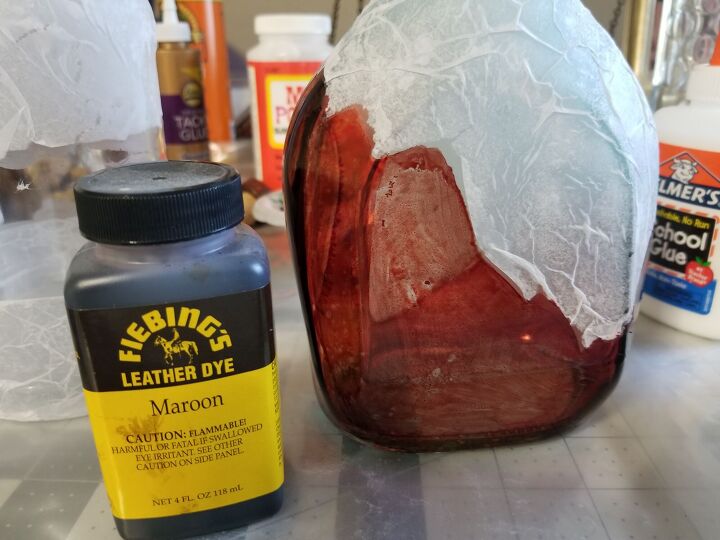
Since I didn't have inks, except for this leather one, I decided to try it. But it didn't quite work the first time. I realized I had to add some glue to it. Then I remembered I had some food gel coloring, so I added some red to that mix as well.
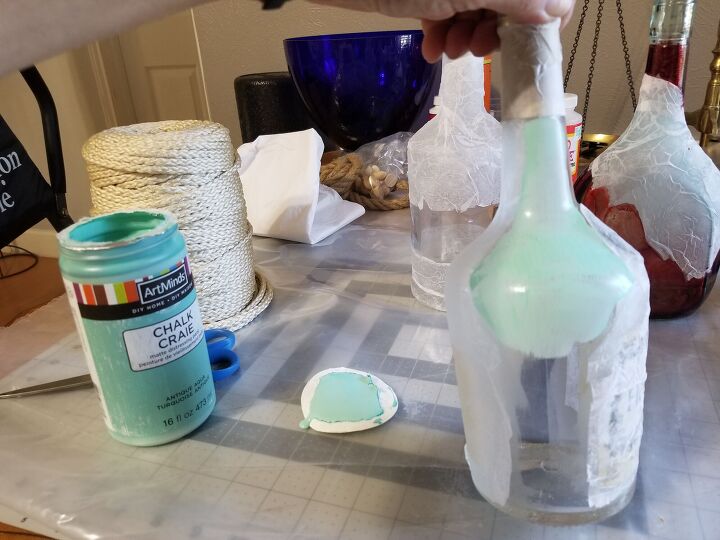
For the other bottle, I used chalk paint on the clear areas.
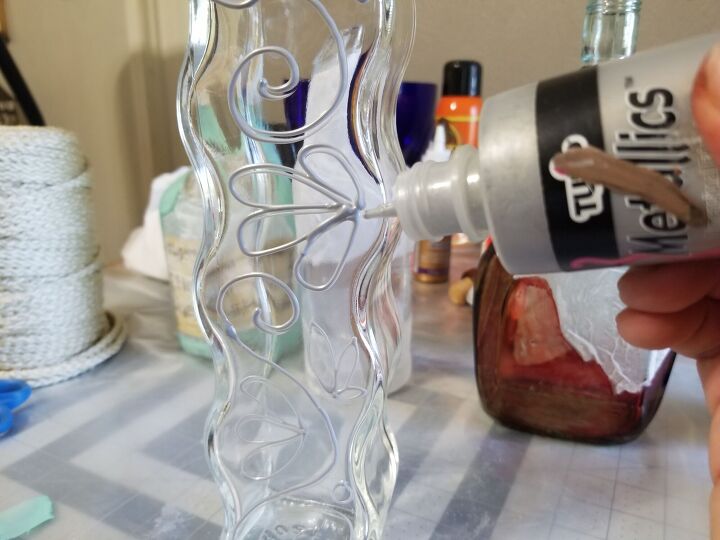
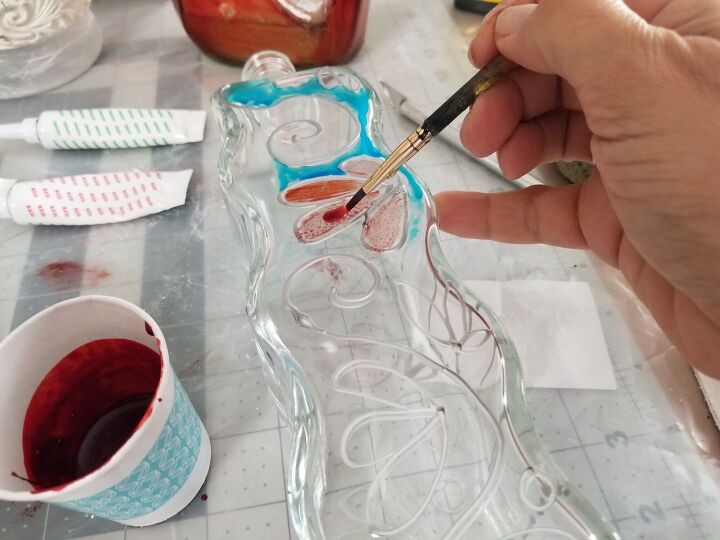
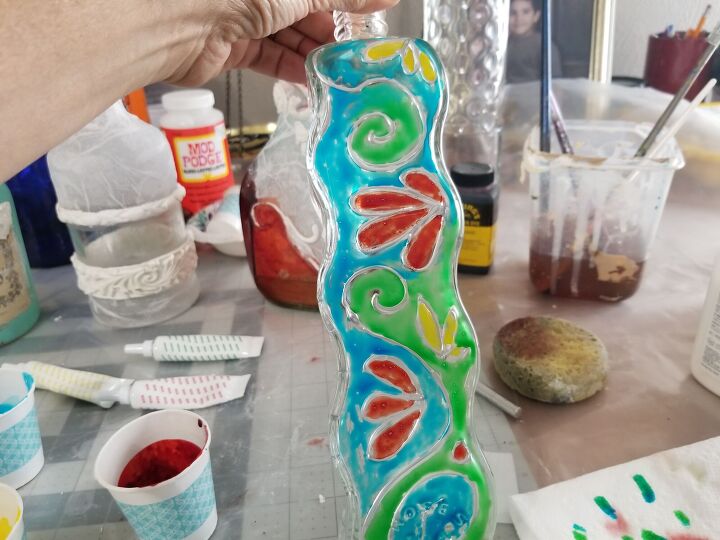
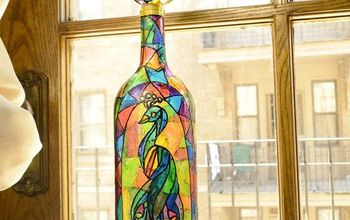
For the tall bottle, I decided to try the fake stain glass technique using dimensional fabric paint for the outlines and food coloring and glue for the ink. You do have to wait 24 hours for the dimensional paint to dry, as well as the tissue paper. Patience...
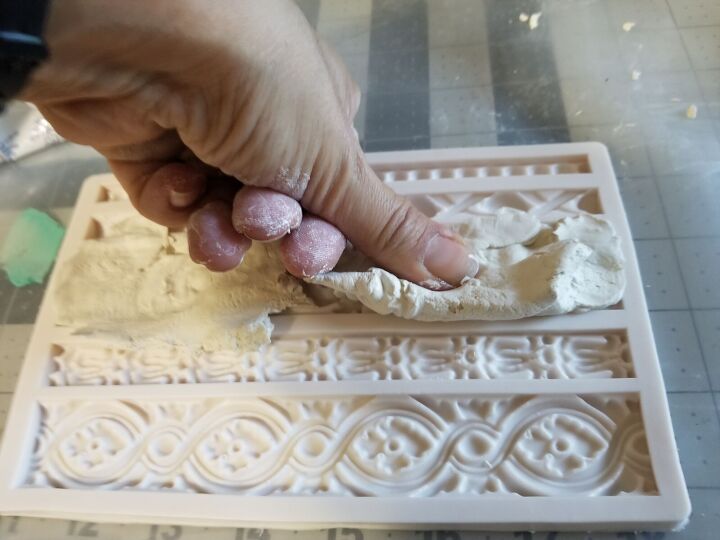
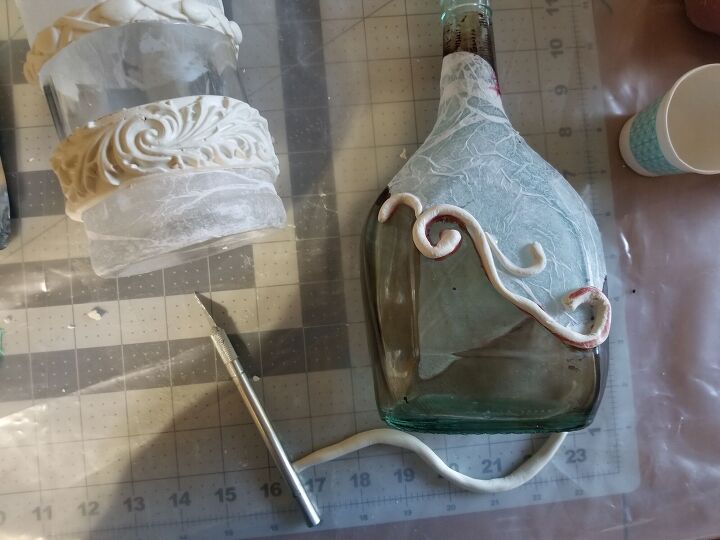
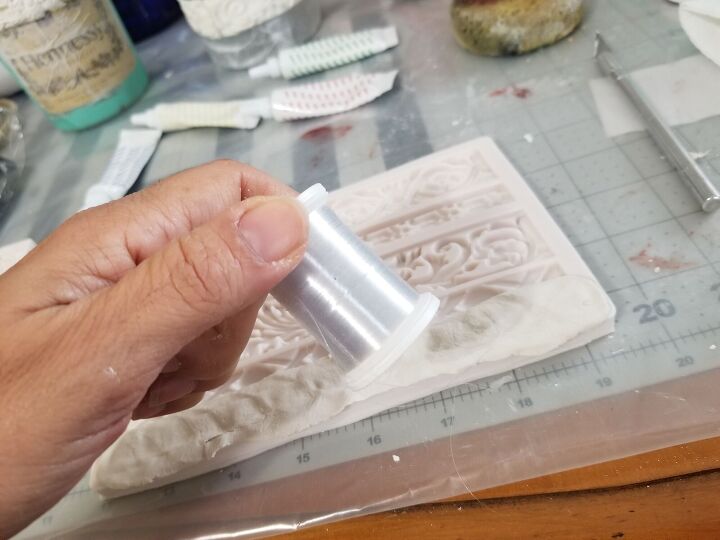
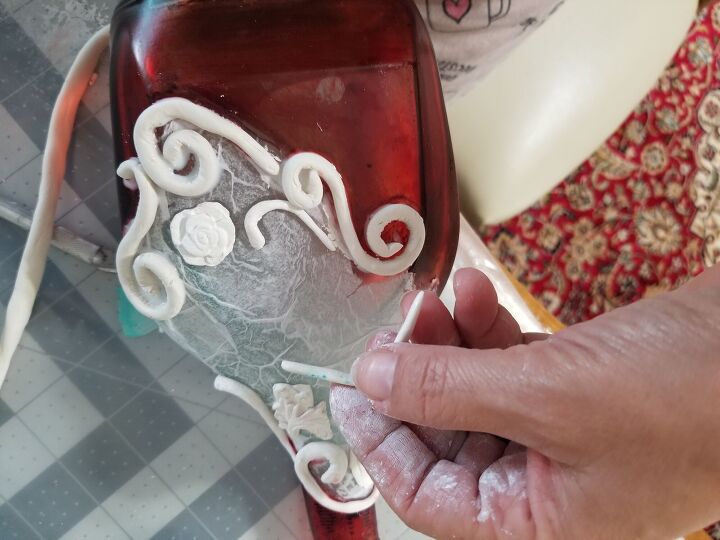
Next day, I went to work with the molds. So cool!!! you just press the clay into the molds and carefully take it out.
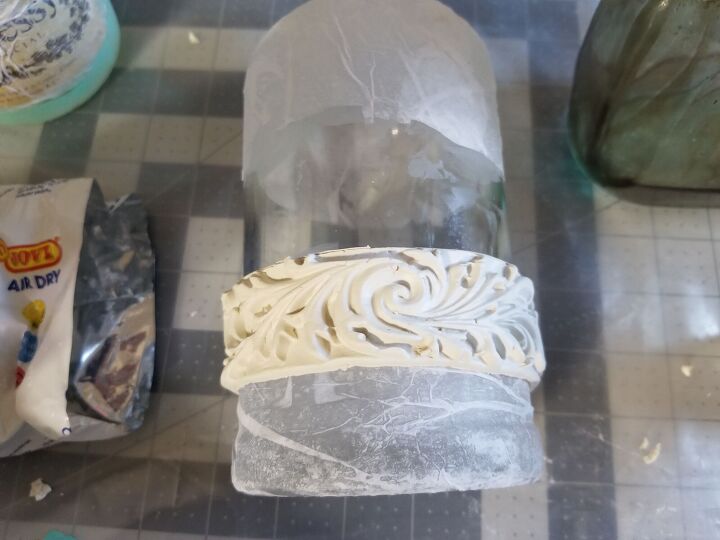
Then you attach it with glue. I recommend a good glue because my Elmer's glue was not cooperating much 
For this one, I rolled some clay and made different doodles.
I found that using a nylon string helped cut out the excess clay from the mold.
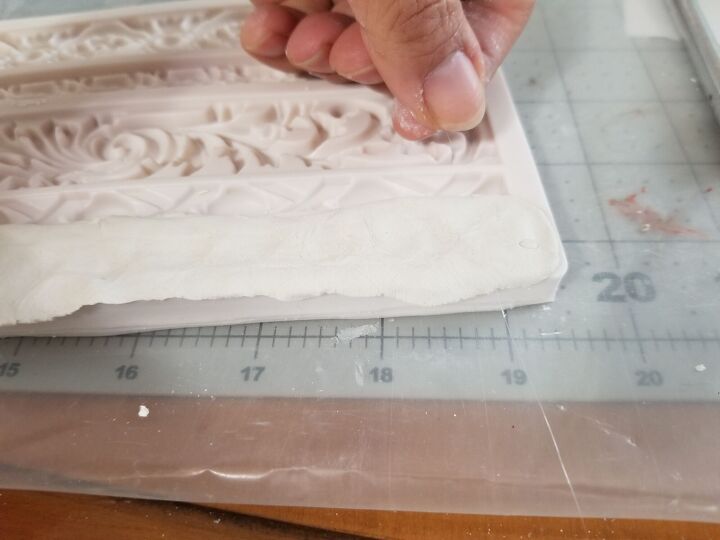
using both hands to hold the nylon, just press it flush to the surface of the mold and slide it across to remove the excess on top.
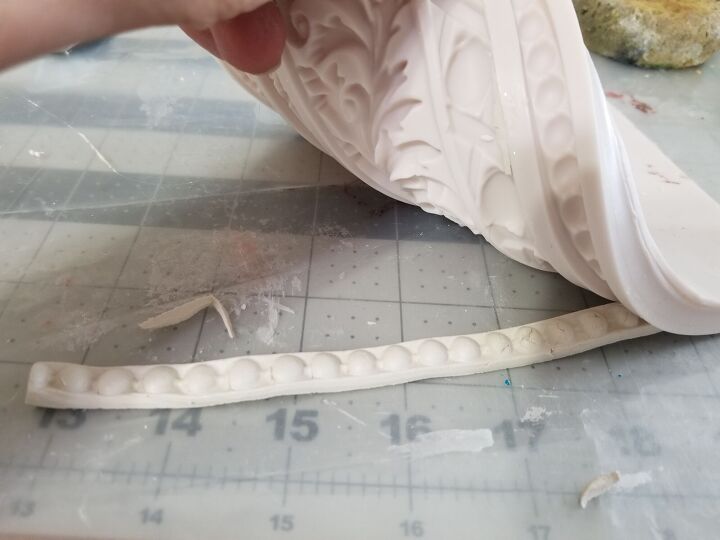
It comes out easily
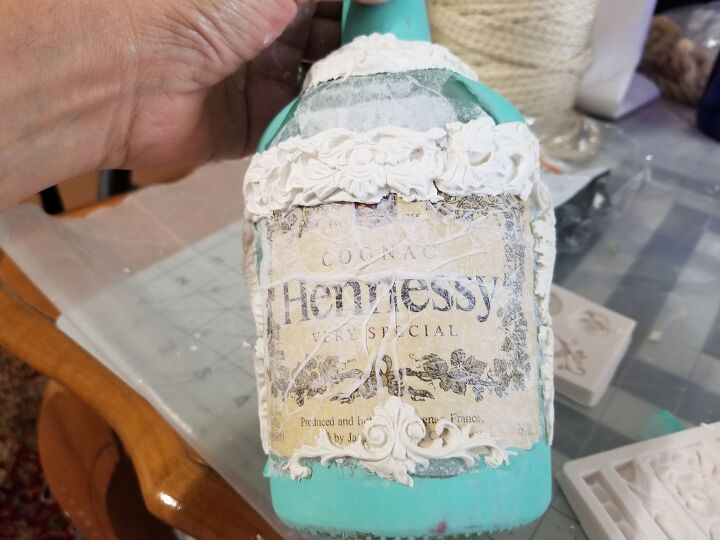
For this bottle, after I glued the tissue paper on top of the label, I liked the look so I decided to use the label for the design. All I needed there was to "age" it by adding some brown glaze.
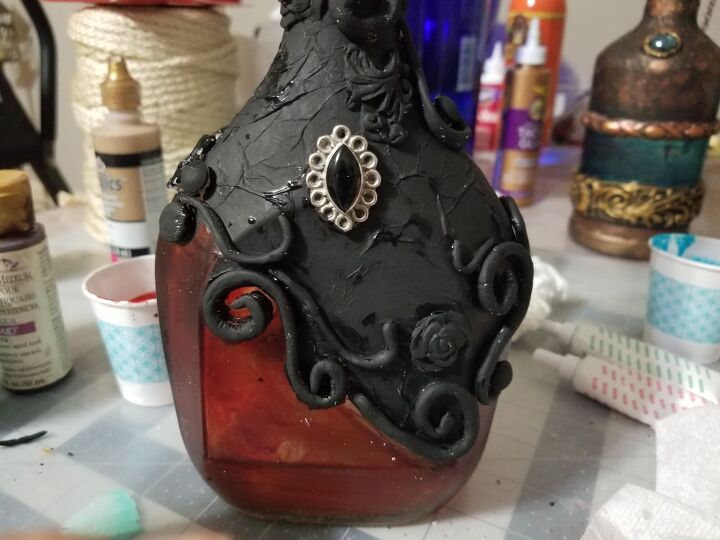
This one was giving me a hard time because the pieces kept falling off  (again, the glue was not the best for this)

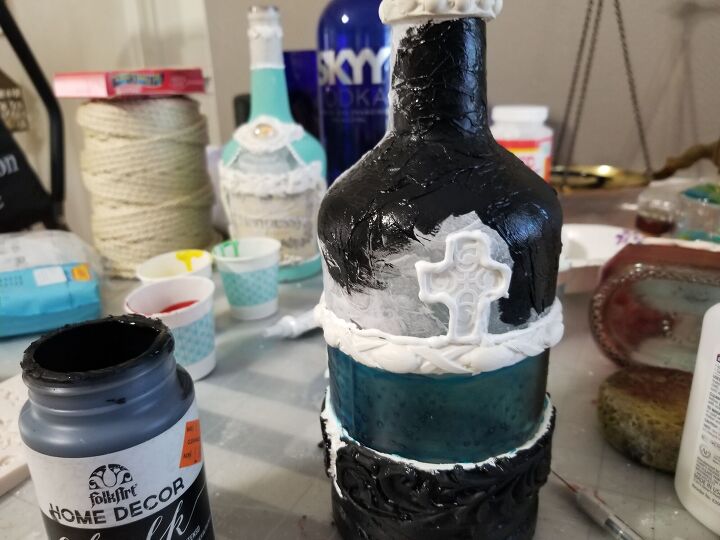
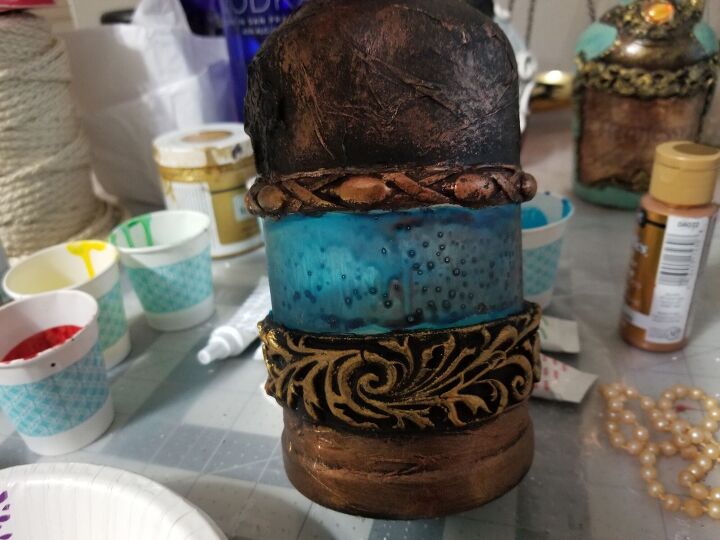
After 24 hours, the clay was ready for paint. I used black chalk paint.
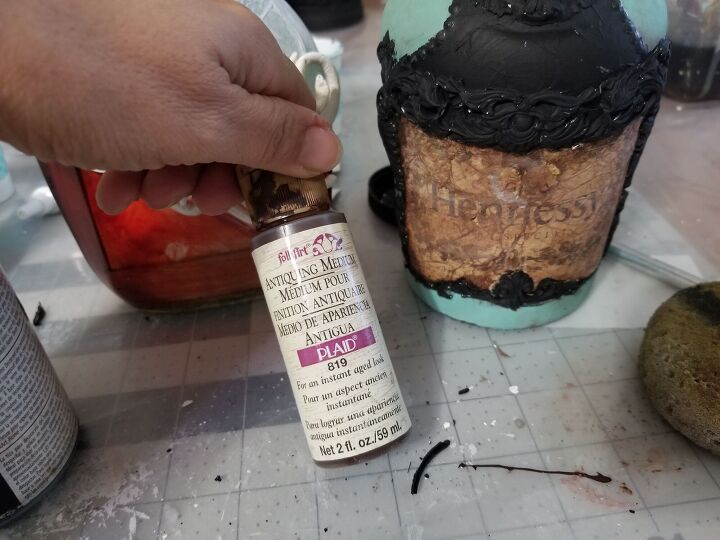
The aging worked great! it almost looked like leather.
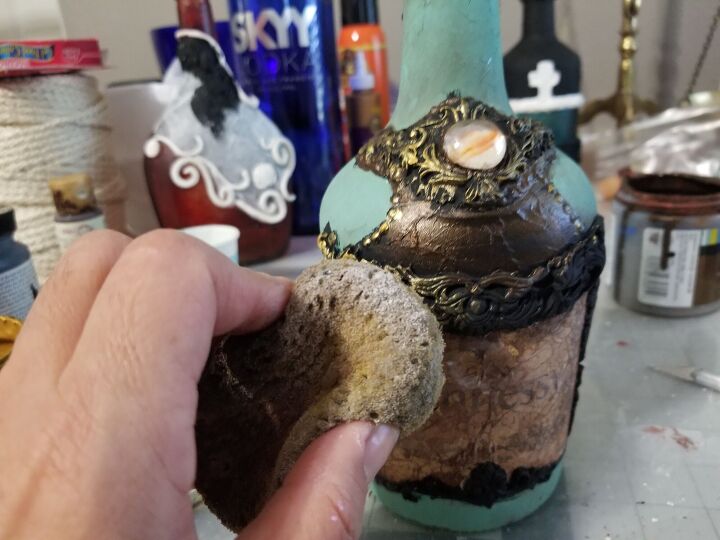
finally, I attached a stone for embellishment and with a sponge, dabbed some golds to the raised surfaces and the magic happened!
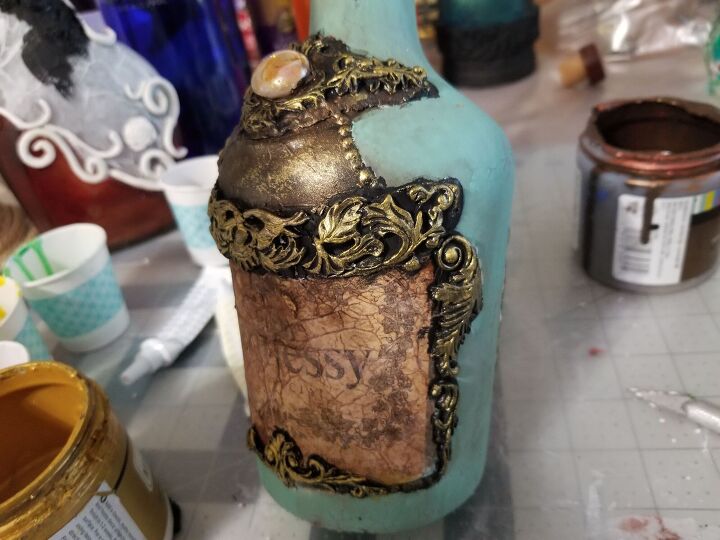
I finished some areas with mod podge for protection and gloss.
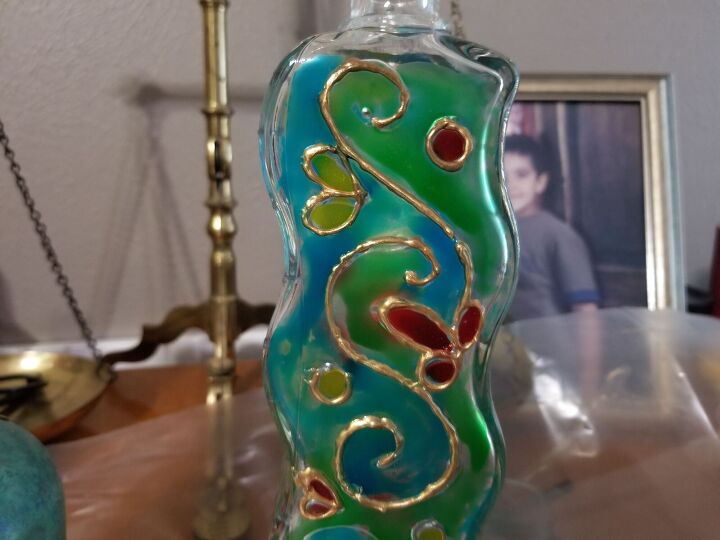
After I finished with the colors, I went back to outline again but this time with a gold dimensional paint.

I had so much fun with these bottles and I am pleased with the results. I hope I have inspired you to make your own.
DIY home decor using recycled glass bottles
Resources for this project:
See all materials


Comments
Join the conversation
-
Absolutely beautiful
-
Great use of liquor bottle although I know some who find a full bottle best decoration ever


Frequently asked questions
Have a question about this project?
They look fantastic. I see some of them have caps so did you use the original caps from the bottles or something else? What a great job.