


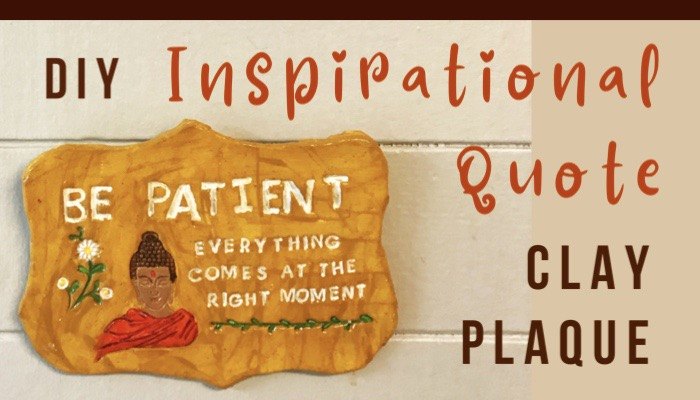
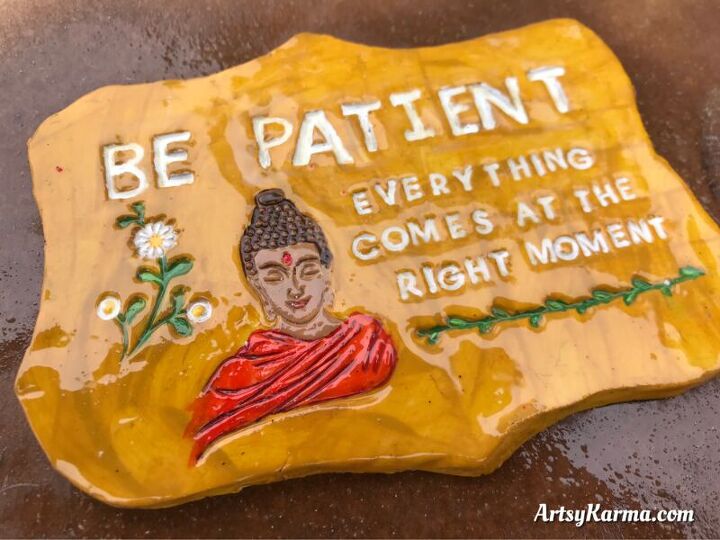
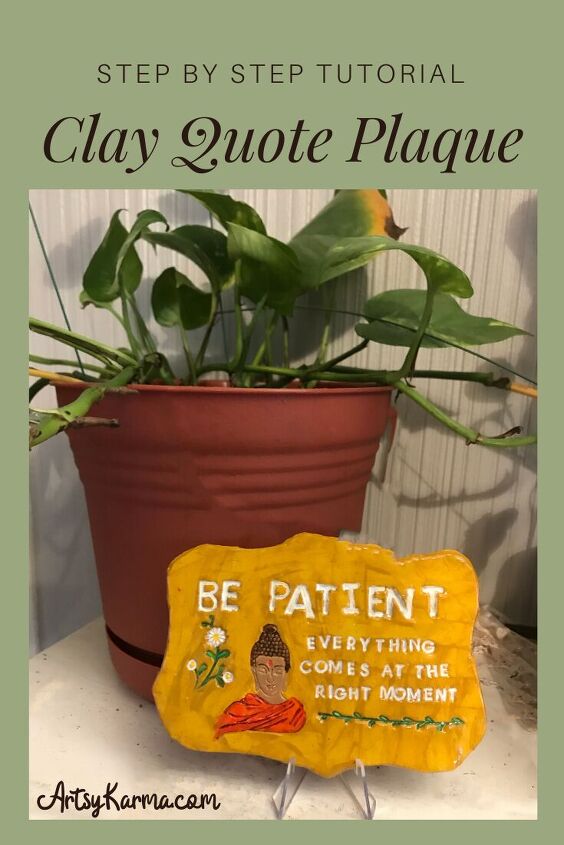
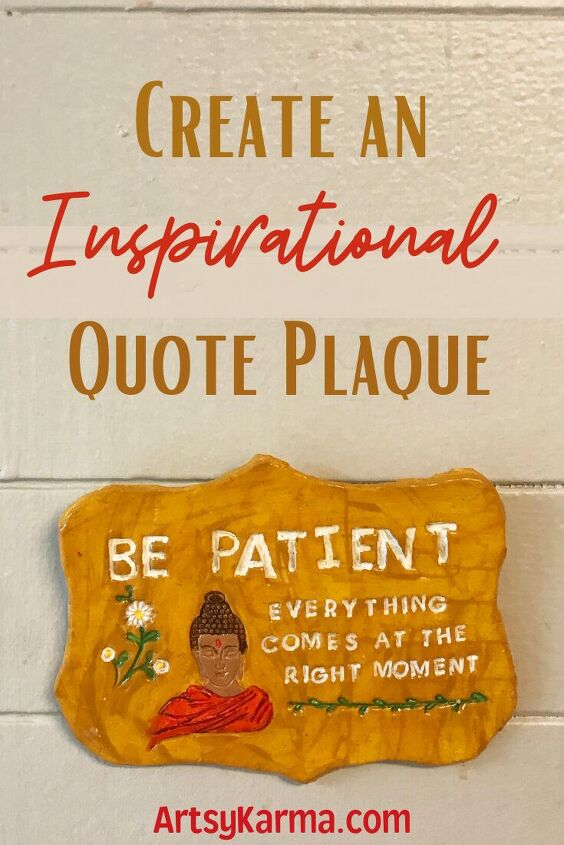
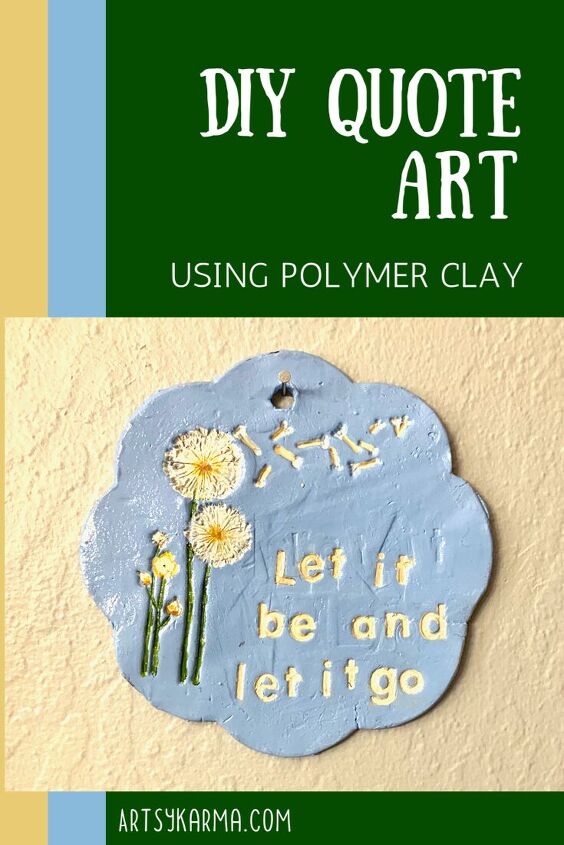
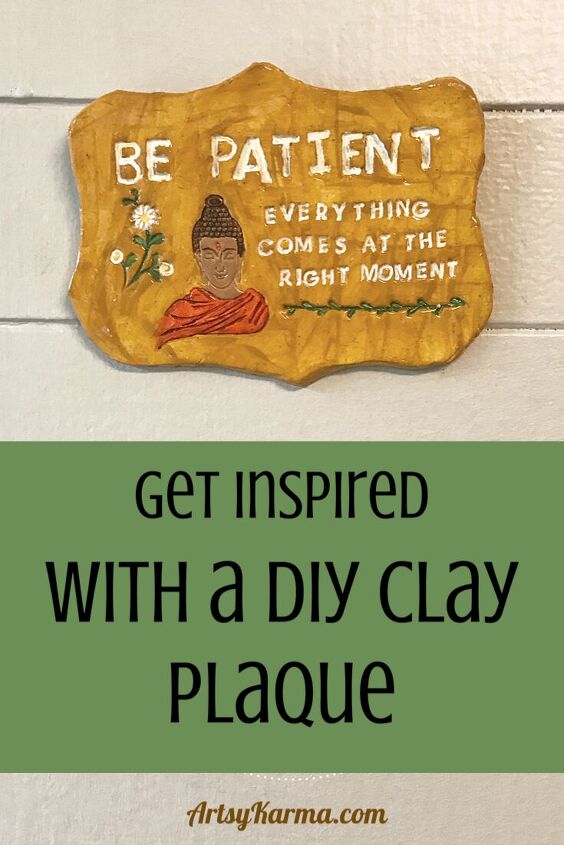
Make an Inspirational Quote Plaque Using Clay

Some folks may roll their eyes at inspirational quotes. Profess that it’s for the weak-minded.
And you know what? I must bow my head in shame as I admit I was one of them.
But boy, for the last several years, I have fully discovered the power of these positive sayings.
Unfortunately, one must be open and willing to change their perspective on the idea if it’s going to be of benefit. You can’t force people to open their minds and their hearts to what wondrous ideas and realizations exist out there. All you can do is wish for them to someday understand.
Some examples of inspirational quotes you could use, Pinterest is full of ideas.
And so, I introduce you to my “inspiring” project:
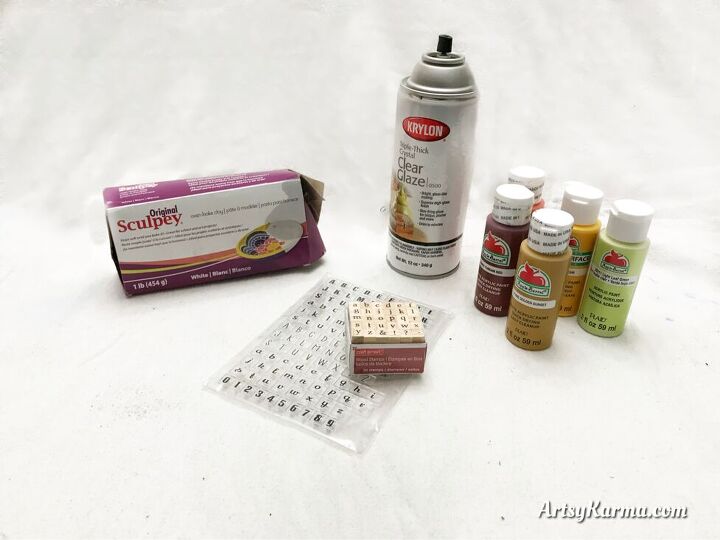
The supplies you’ll need:
- Polymer clay
- Alphabet stamps
- Any other image stamps
- Craft paint
- Extra thick gloss spray
Step 1:
Roll out your clay big enough to fit your inspirational saying.
This may take a bit of planning. Or you could just roll out a lot.

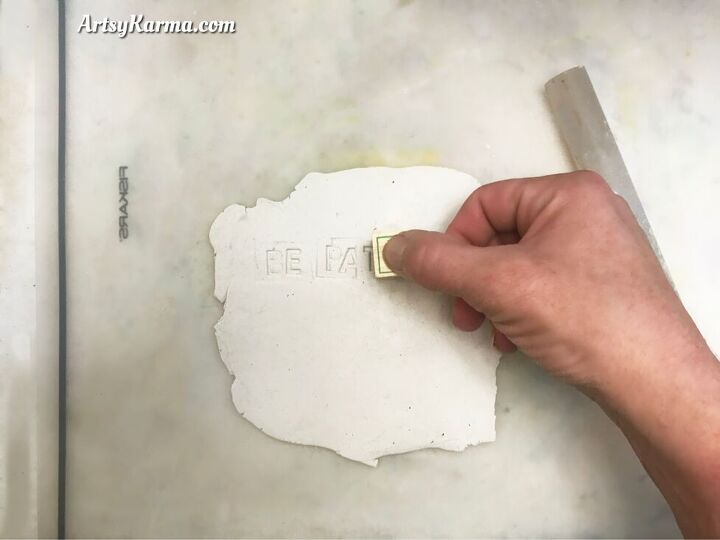
Step 2:
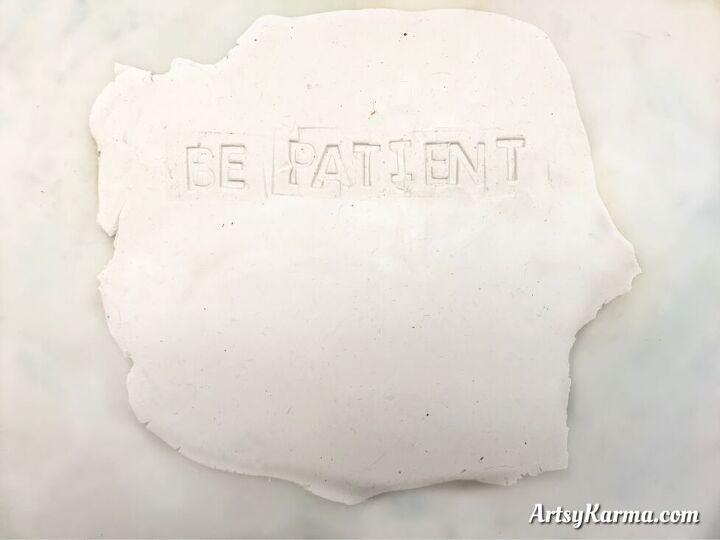
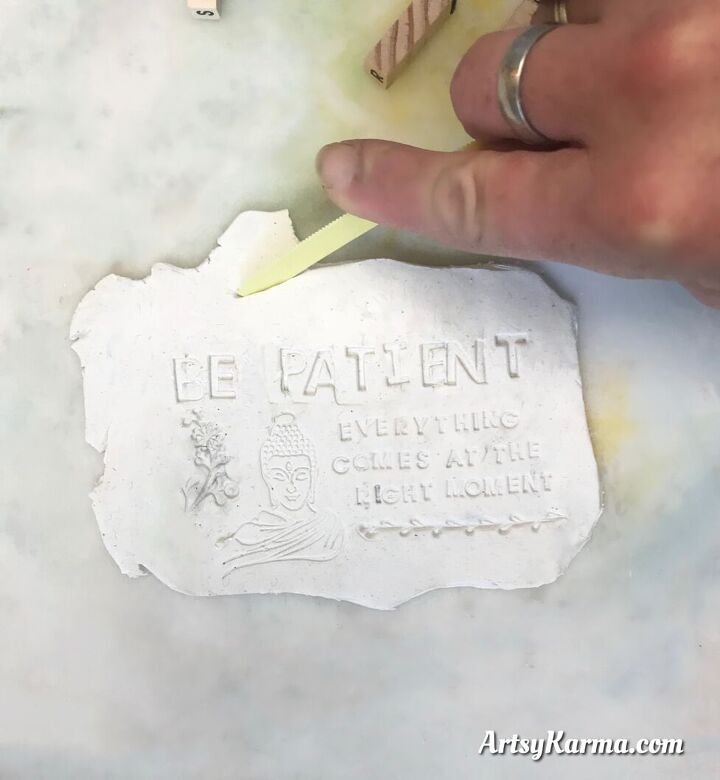
Push your letter stamps into the clay.
I hover my head flat against the table, so I can see where to place the letters so they’re more or less straight. They can go wonky if you don’t pay close attention.
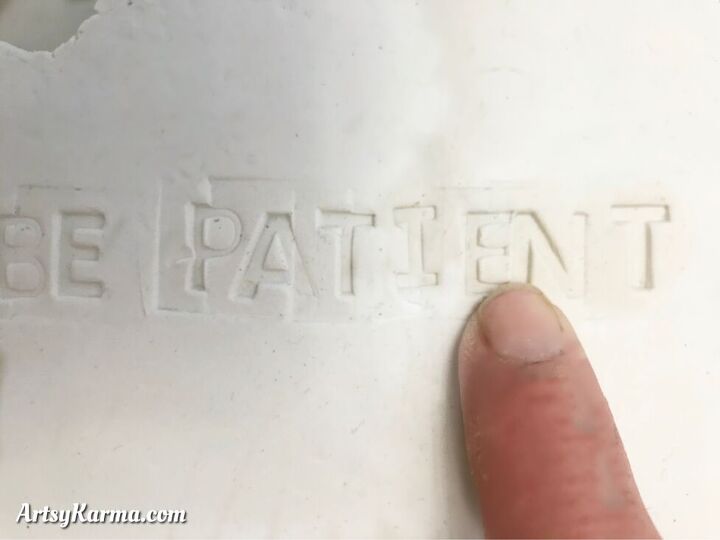
Step 3:
Smooth out the indents of the stamp block by rubbing it gently over with your finger.
For big mess ups, you can roll the area with your rolling pin.
Step 4:
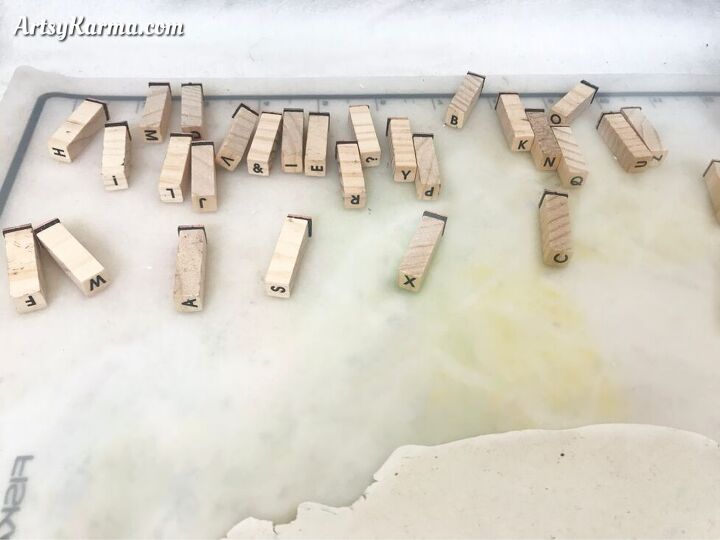
If you picked out a long quote or saying, you’re probably going to have to use smaller stamps (I got mine in the dollar bins at Michaels.)
I find it easiest if I lay all the letters out in a way I can see them all, like so:
Step 5:
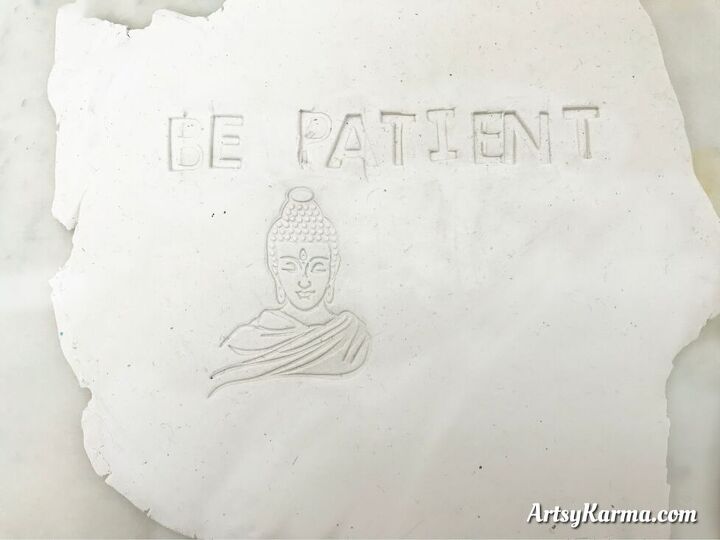
Add any additional image stamps.
Again, this is where some planning might need to take place.
Step 6:
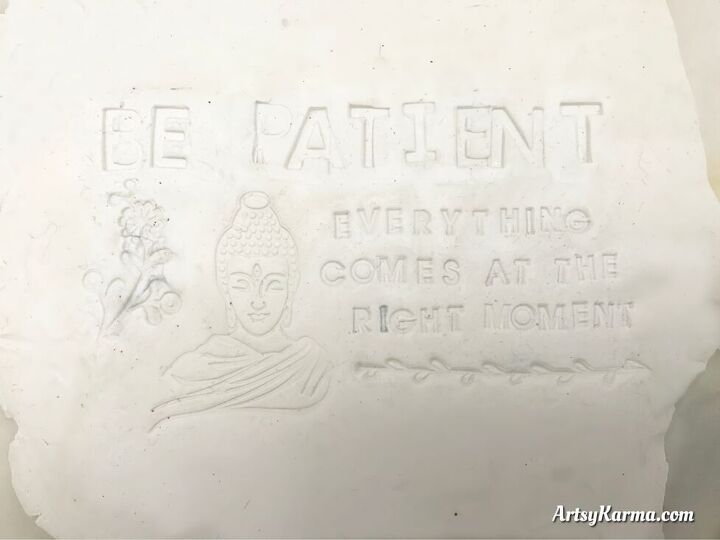
Once you have your images and words in place, smooth out any indents the best you can.
Step 7:
Cut around your quote to shape it how you want.
You can also add a hole at the top as a way to hang it.
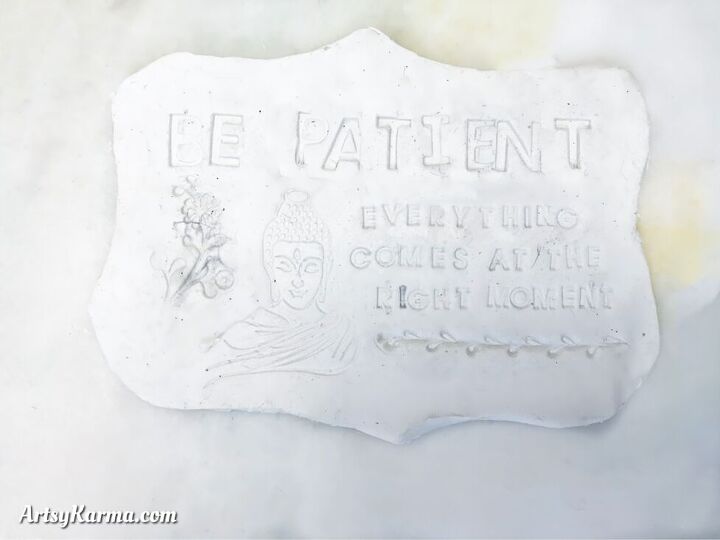
Step 8:
Bake it as the directions on your clay package indicate.
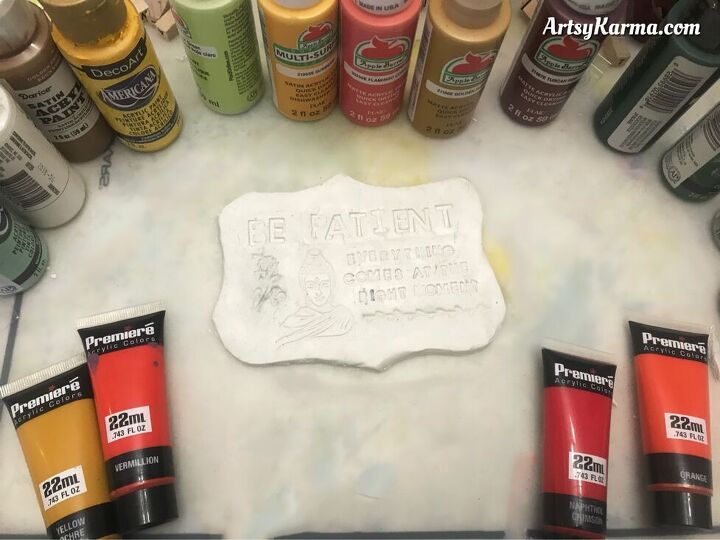
Now comes my favorite part - the painting.
Step 9:
Get your colors ready.
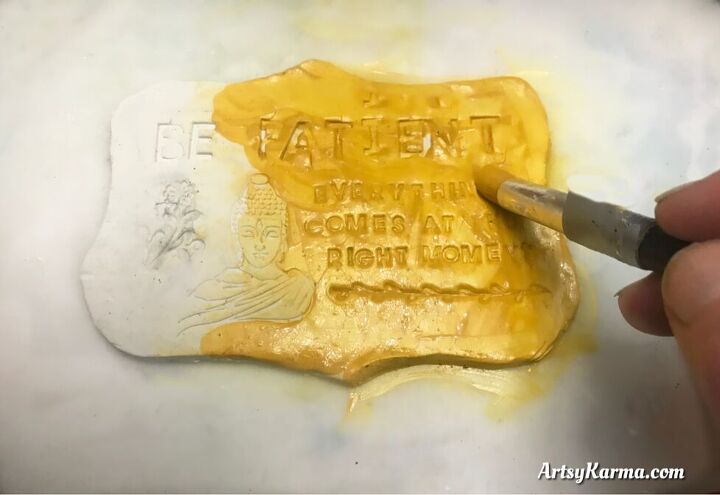
Step 10:
Paint the background.
And don't worry about filling in the stamped part. You'll be painting over it.
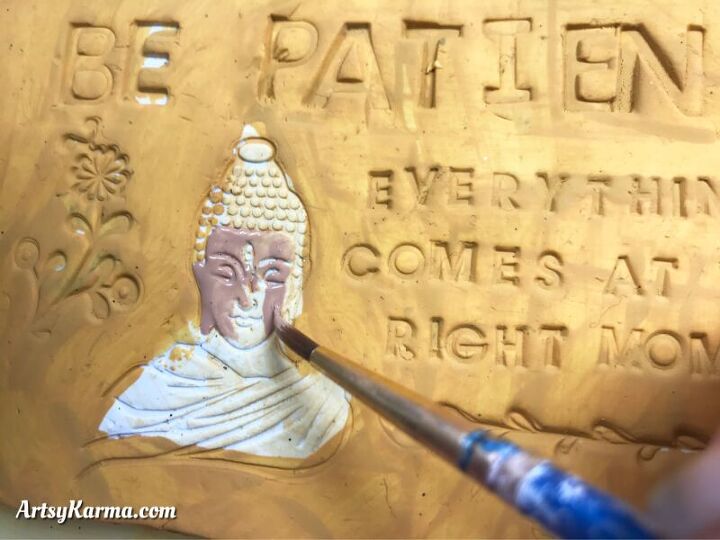
Step 11:
Paint the images how you want.
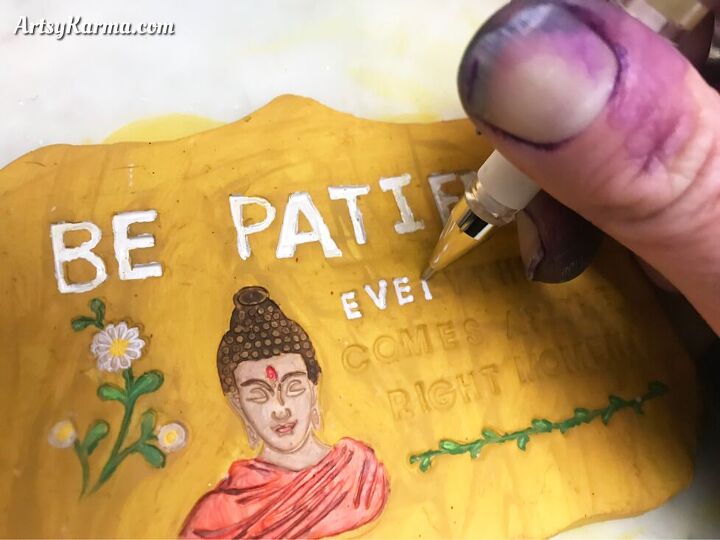
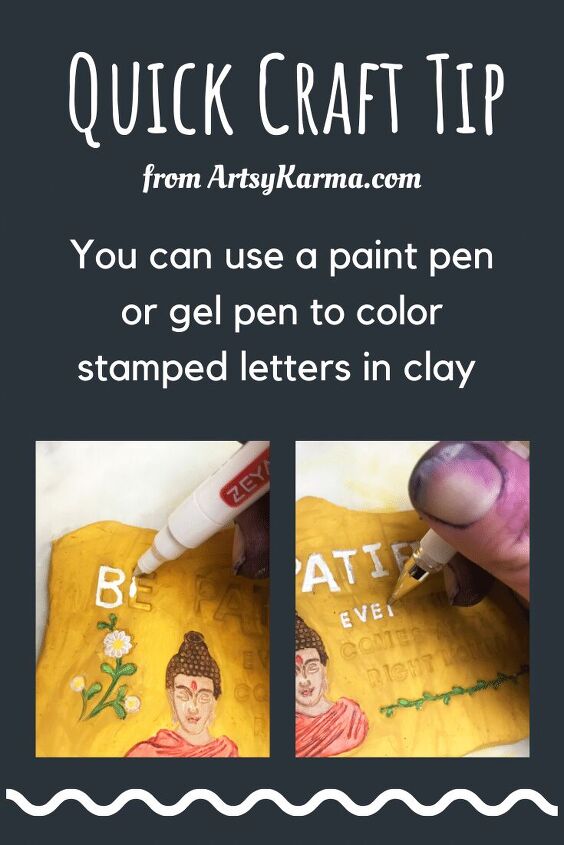
Step 12:
Fill in the words with a paint pen.
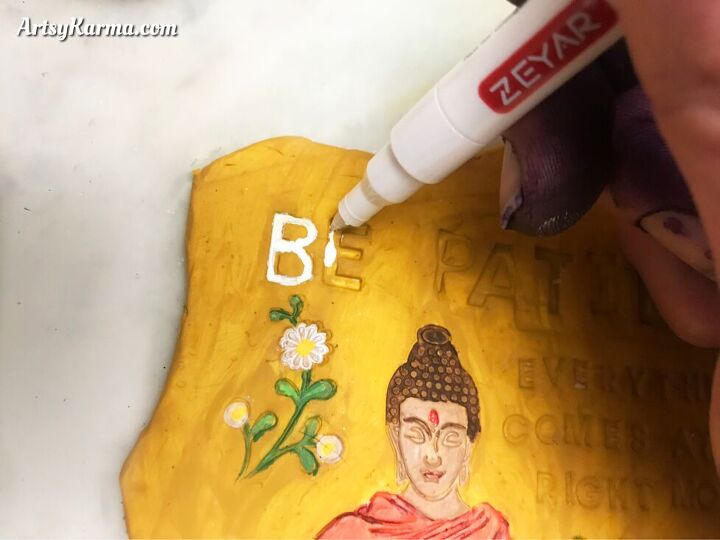
Step 13:
Use a smaller point paint or gel pen if you have smaller letters.
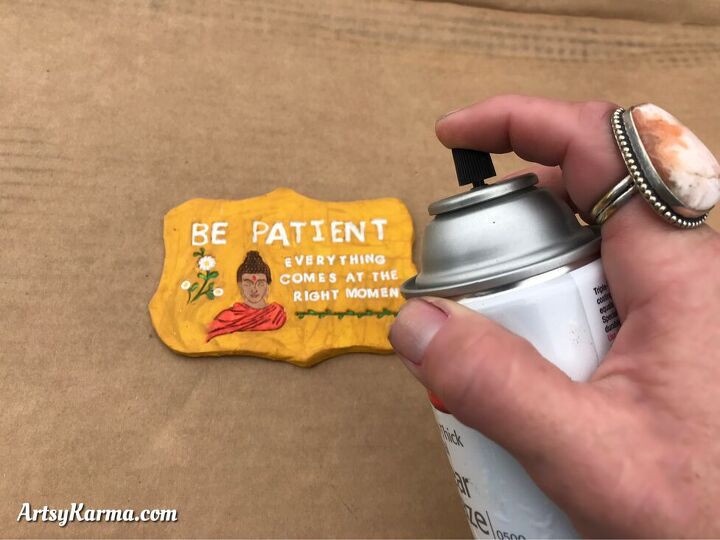
Step 14:
Spray your plaque with a high gloss spray to give it a ceramic look.
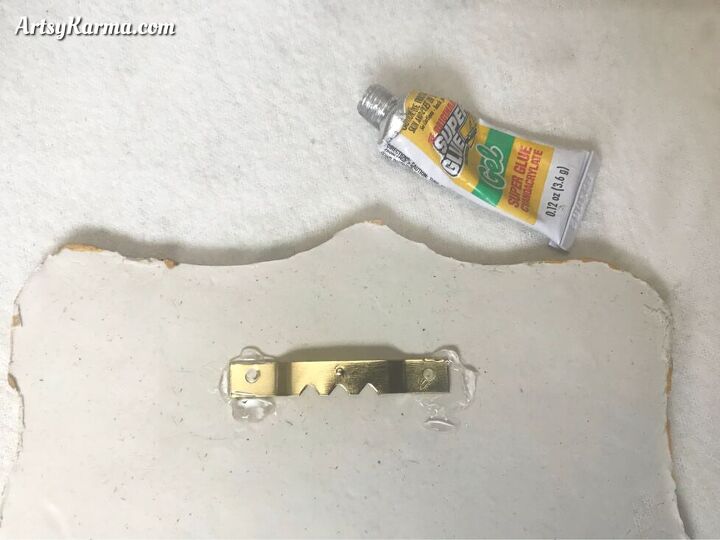
Step 15:
If you didn't add a hole as a hanger, add a hanging hook of some type.
Hang it proudly. Let it inspire you every time you look at it!
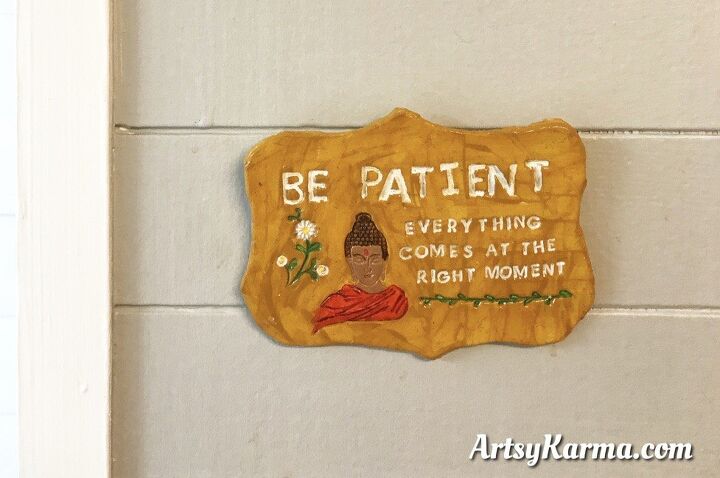
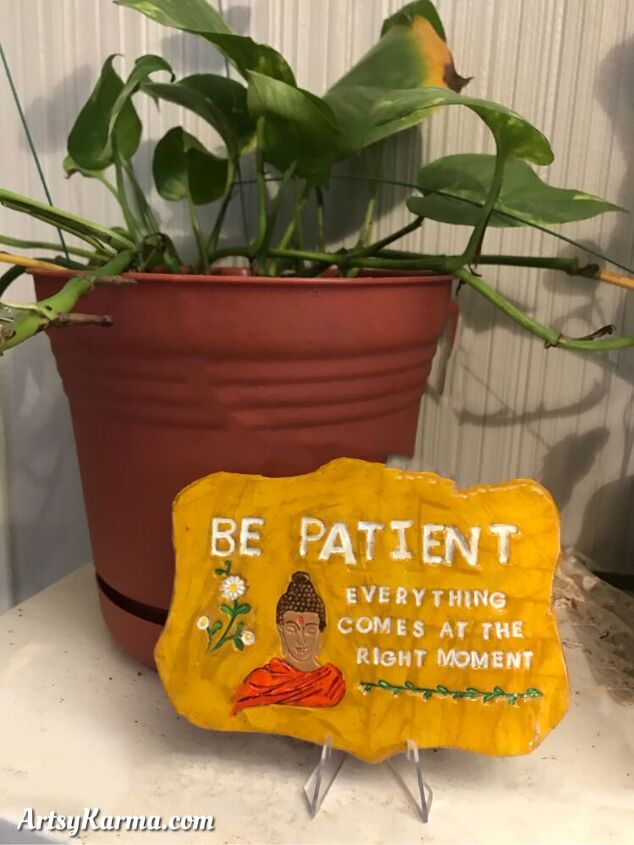
You can also display it in other ways.
Here is another plaque I made.
This one included the hole to hang.
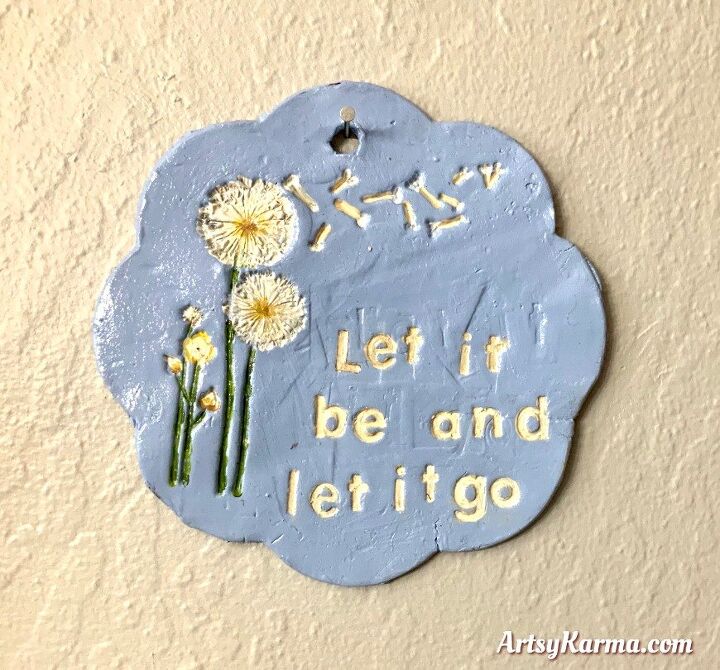
I think the meaning of Let it Go is a powerful one that can put many at ease.
Here is some info about it:

And for another craft tutorial using polymer clay, check out my post - DIY: Polymer Clay Ring Dish That Sparkles.
Buy the supplies on Amazon:
Tags:


Frequently asked questions
Have a question about this project?