


Make Any Material Look Like Glazed Ceramic With This Easy Hack
Inside: Looking to make over a thrifted vase or planter? Here’s my simple solution to transform a garage sale find into a glossy glazed ceramic pottery treasure with paint. ⟹
I always pop into estate sales near me. Because…
1) FOMO that I might miss an amazing deal on something I didn’t even realize I wanted, and 2) CURIOSITY. I’m the nosy neighbor that likes to see the inside of some of these houses.
And a couple of weeks ago I spotted something that I DID want. It just wasn’t the right color or material. But at $30, it was going home with me in the chance I COULD make it that thing in my mind.
This thrift purchase was originally brown resin. And it DID become that amazing deal I’m glad I didn’t miss.
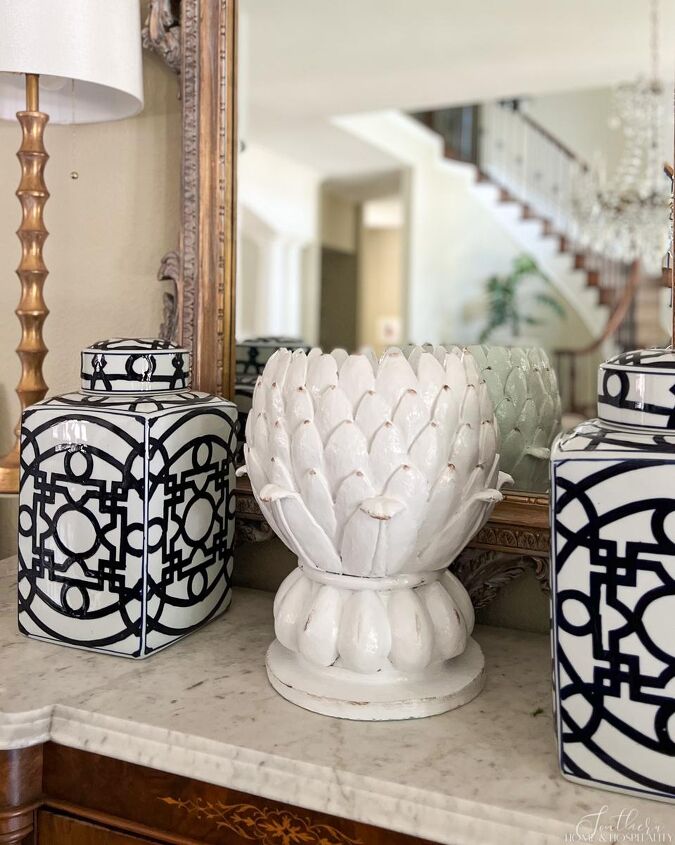
And during its makeover, I found a super simple solution to make it look like this glazed ceramic pottery and a new favorite craft paint!
The inspiration planter that stuck in my head.
When I was looking at all of the latest beautiful offerings during my visit to High Point Market this year, this artichoke planter called my name.

It was my favorite item in a store of so many lovelies. But at almost $500 I took a hard pass. Fast forward to the estate sale, and I actually spot an artichoke planter. What are the chances?
My thrifted diamond in the rough.
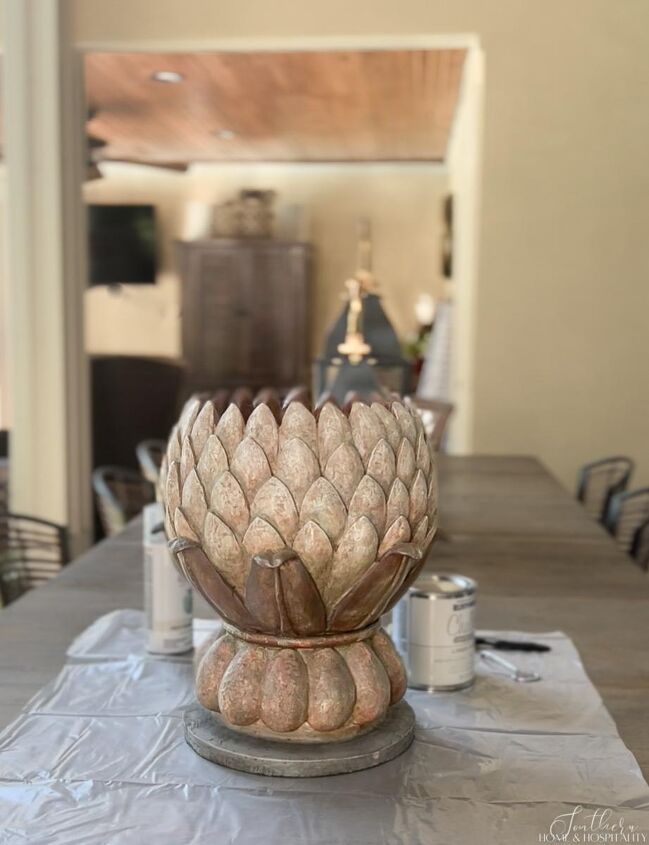
Even at $30 I felt like it was a decent deal. It was large. Heavy as a brick. And the original price tag was heavy too…$184. The bad news was it had an old world finish. Could I make this brown resin look similar to that timeless white glazed stoneware inspiration planter?
Step One–the easy part.
This post contains Amazon and other affiliate links for your convenience. As an Amazon Associate I earn from qualifying purchases. If you purchase something through any link, I may receive a small commission, at no extra charge to you. I only recommend products that I love or would purchase for myself. See my full disclosure here.
The first step was a no brainer…to paint it white.
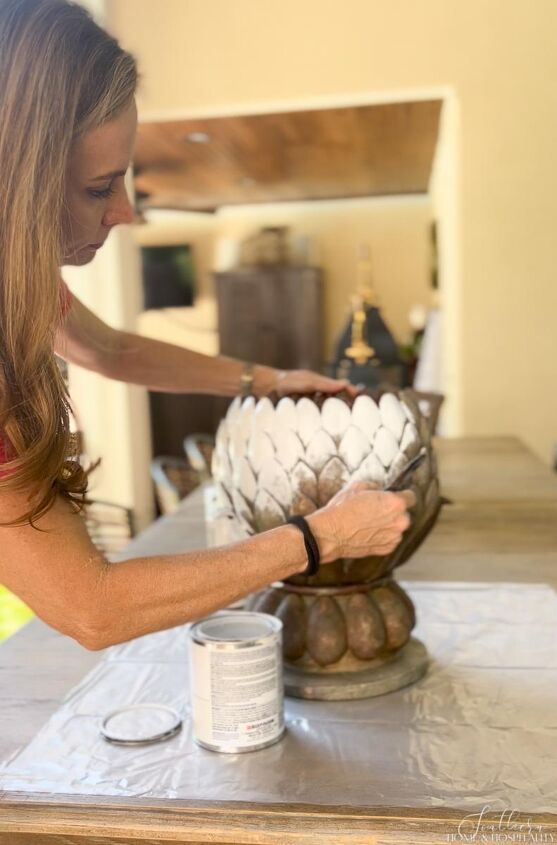
I had this Rustoleum “Chalked” paint in Linen White leftover from whitewashing a fireplace and the linen white color was exactly the shade I wanted.
You can see the easy process I used to whitewash stone and brick here.
I could have used spray paint and sped the job up, but this wasn’t difficult. And on this very hot day, the paint dried almost immediately between coats.
Step Two–how do I make resin look like ceramic?
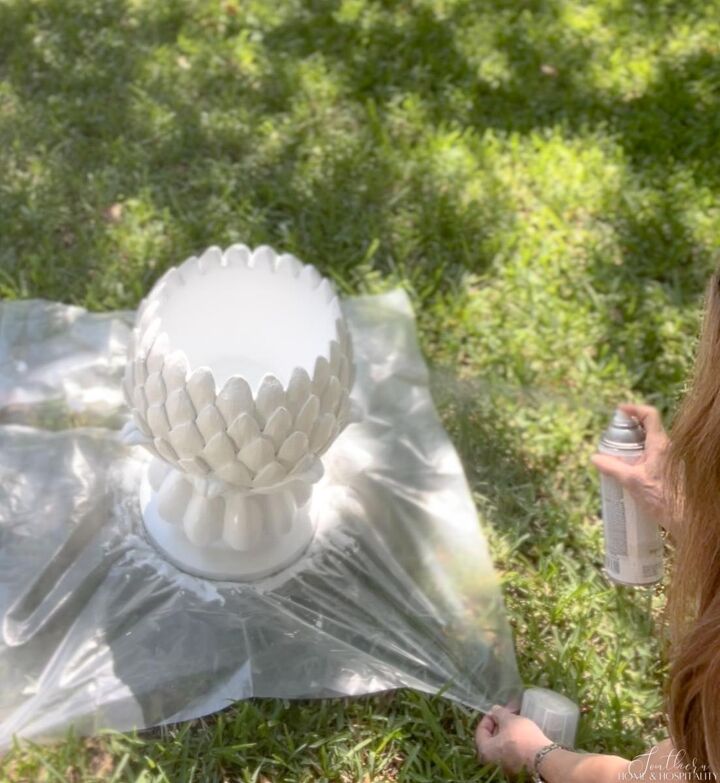
I took a trip down the spray paint aisle at Home Depot in search of a glossy topcoat to mimic the shine of fire glazed ceramic and this caught my eye: Rustoleum Triple Thick Glaze High Gloss Coating.
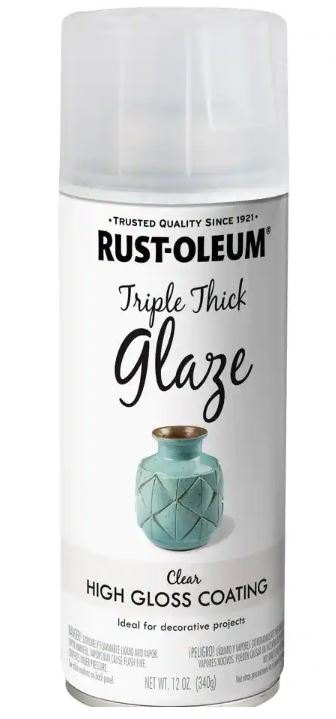
I mean, the name basically said to me, “I’m made for this project!”
And this was going to be a true test of how glossy it was on its own because it was going over the flattest, matte-est chalk paint finish.
I sprayed three coats over the white paint, letting them dry for about 5 minutes in between.
After just the first coat I thought, this might actually work!
Step Three–The finishing touch.
In studying the inspiration for this planter, it had some brown “aging” detail.
So I dry brushed and dabbed just the tips of the artichoke leaves with some brown antique wax craft paint like the inspiration piece.
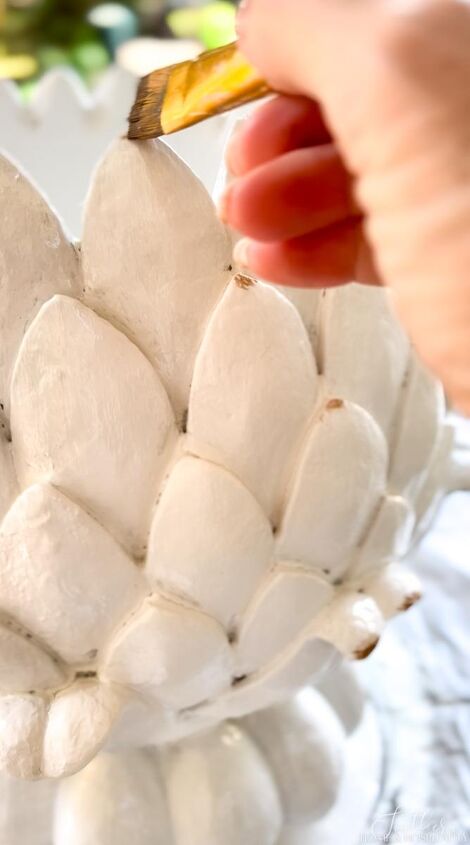
And even added a few more “age spots” around the base.

Did it work?
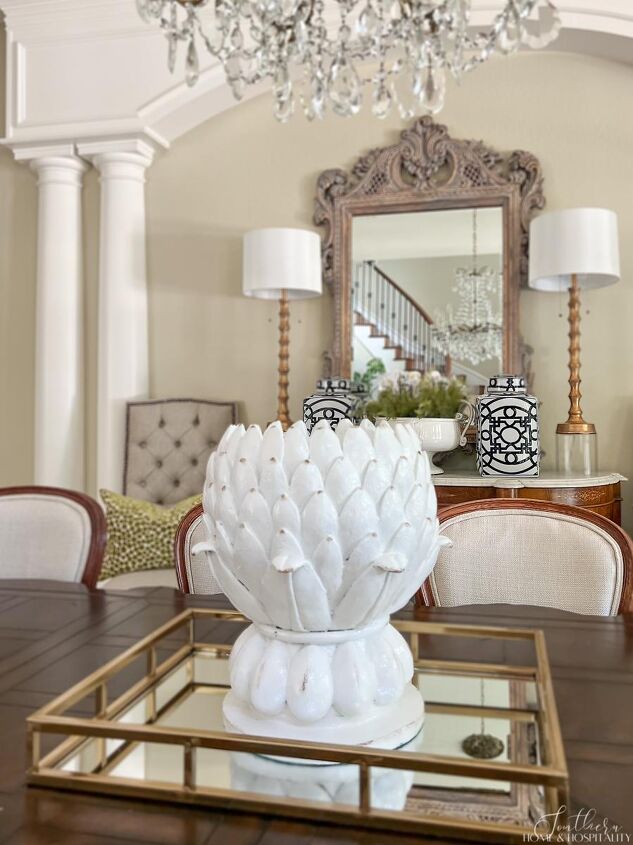
Is it a copy for the gorgeous inspiration planter? No, and I didn’t expect it to be. But the price tag is a whole lot better, and I’m happy enough overall with the way it came out to use it. My resin planter has a texture to it so it may not pass muster for ceramic on close inspection. A smoother material should have even more realistic results.
But the big win from this experiment is the discovery of the Rustoleum Triple Thick Glaze High Gloss Coating. Now that I know that it creates this lovely, glossy, thick-looking top coat, I can’t wait to try it on other materials to make them over as kiln glazed ceramic!
So for $30 and some paint, I feel like I scored a deal.
Oh and just in case you’re wondering, the estate sale house was gorgeous, so this thrifting “snoop” was a winner all around.

As always, I appreciate your visit, comments, and shares here on the blog! I’d love it if you also follow along with me on Pinterest, Instagram, and Facebook so you won’t miss any of my inspiration and ideas.
Don’t forget to sign up for updates to keep in touch…I have lots of fun and useful freebies you may be interested in in my subscriber-only library like my cheat sheets for where to place lighting, bathroom fixtures, artwork, and furniture!
Pin this your craft board to refer to later:

Resources for this project:


Comments
Join the conversation
-
Great tutorial! I’m thinking of trying it on some cardboard Putz houses to get those glazed ceramic house looks! Fingers crossed! 🤞
-
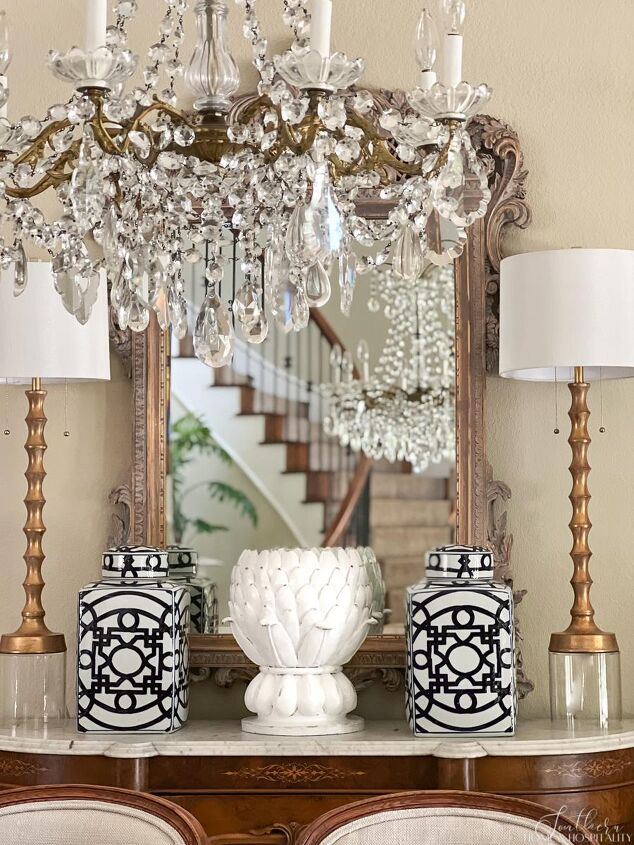
Nice job, thanks. Good info. The whole vignette with the chandelier, mirror and brass lamps! Is a wow for sure!


Frequently asked questions
Have a question about this project?