Make Your Own Nosegay

Joy Us garden
by Joy Us garden
You Don’t Have To Be A Florist To Make A Nosegay
When I first moved to San Francisco I worked for a very large florist. There were at least 10 full time designers and the shop was very busy. This company had quite a few big hotel contracts and did a lot of weddings so I saw multitudes of floral creativity. I used to love it when the drivers would come back from the early morning trips to the flower market with their trucks full of blooms. At that point, everything would look and smell so much better!


Let’s be honest here – I worked in the interior plant and event division. At first the closest I got to touching flowers was choosing potted mums, orchids, bromeliads, azaleas and the like in the greenhouse for my clients. As time went on, I started to peruse the design department every day to see what the designers were working on. This rather long winded introduction is to let you know that any floristry I have learned is purely by osmosis. If I can make a nosegay, then you can make a nosegay.
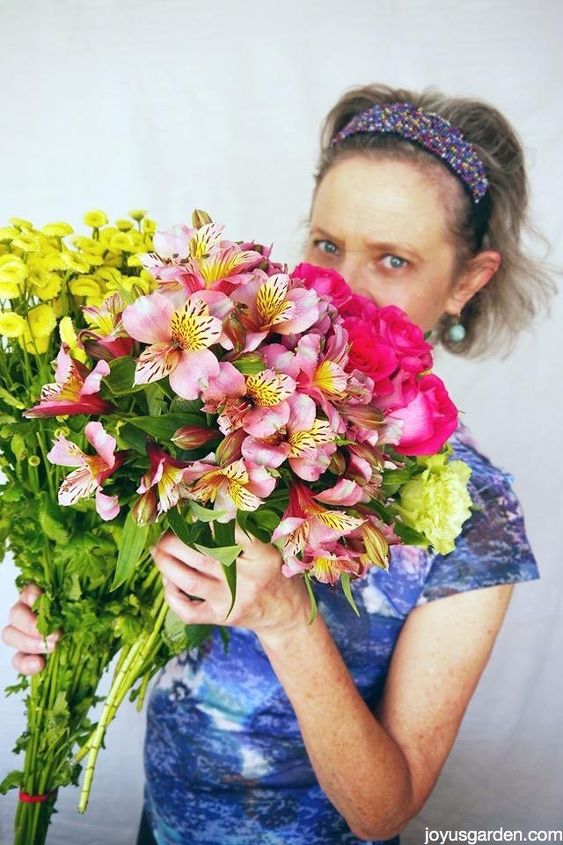
I’m a total garden nut but do love playing with flowers almost as much plants. A vase full of blooms aways make me grin from ear to ear. Nosegays, also called tussie mussies or posies, originated in Victorian times. They were traditionally small, given as a gift and smelled sweet, hence the “nose”. Today the term nosegay is used more to describe a style of bouquet.
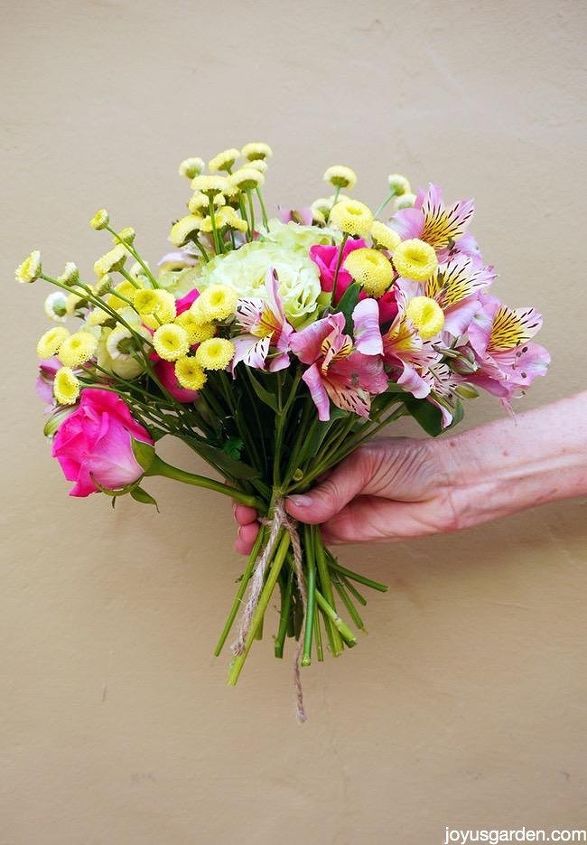
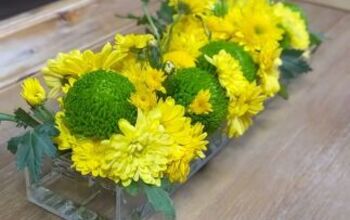
I used 2 colors of roses, alstroemeria & button mums to make this nosegay.


Here are some things which will help you make a beautiful nosegay. If you want it to be a larger bouquet, then just add more flowers & don’t cut the stems so short.


1. Buy flowers which are as fresh as possible. They look the best & will last the longest. I bought the ones you see above at the Santa Barbara Farmers Market. It was important to me to buy local, American grown flowers. Now that I live in Arizona I hope I can find California grown flowers to keep that tradition going.


2. Clean any unsightly or damaged outer petals off the flowers – this especially applies to roses. Also, remove all or some of the foliage. In a piece as small as this, it tends to cover the flowers. You can always some in at the end.
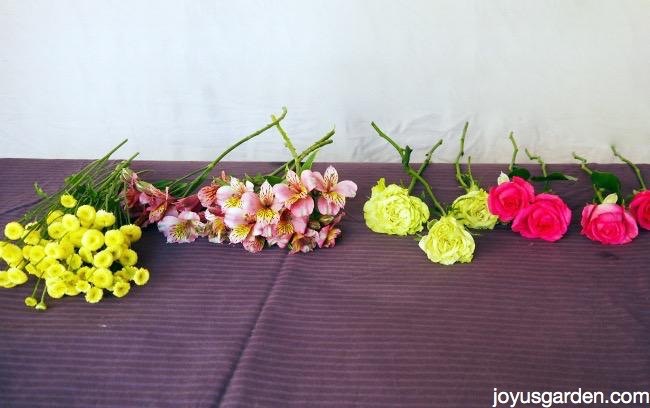
The flowers all ready to go.


3. I like to have the flowers grouped by type & color as you see above. This makes it easier & faster.


4. I criss cross the first 3 or 4 stems (like making the tripod of a teepee) which gives a good solid base.


5. I then arrange the other stems 1 by 1 at an angle to that tripod base. This makes the flowers fan out instead of just sticking straight up & down. It gives the nosegay that signature circular form.


6. I added the button mums in at the end. I do that with any smaller flowers like this, baby’s breath, waxflower or statice which are fillers. I think they add a bit of playfulness.


7. When the nosegay is the size I want, I then pull any flowers up a bit that are sinking down in. All the flowers in my nosegays deserve equal attention!


8. I firmly hold the stems of the nosegay towards the top & tie them off at that point. I used a simple piece of jute twine but any ribbon or cord which appeals to you will do the trick.
I cut off the stems so they were all fairly even.


When I was learning how to make a hand held bouquet like this, it took me a few attempts before I was anywhere near happy with the results. Summer is fast approaching and everything is in full bloom. This is a fine time to pick some flowers out of your garden (or buy them!) and make a nosegay or 2 or 3 of your own.


If you’re craving more floral DIYs, then check out these corsage & boutonnière how to’s.


Happy creating,


Nell


www.joyusgarden.com
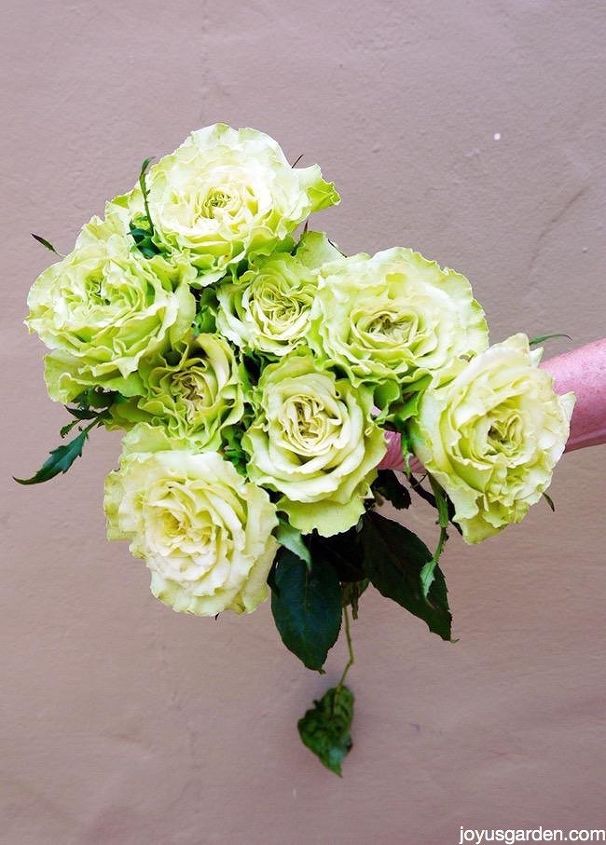
Did you notice the green roses in this nosegay? I love green flowers … blog post on them coming soon!
Joy Us garden
Want more details about this and other DIY projects? Check out my blog post!
Go
Frequently asked questions
Have a question about this project?
Comments
Join the conversation
Next