


Mason Jars With Acrylic Pouring
2 Materials
$00
0 Minutes
Easy
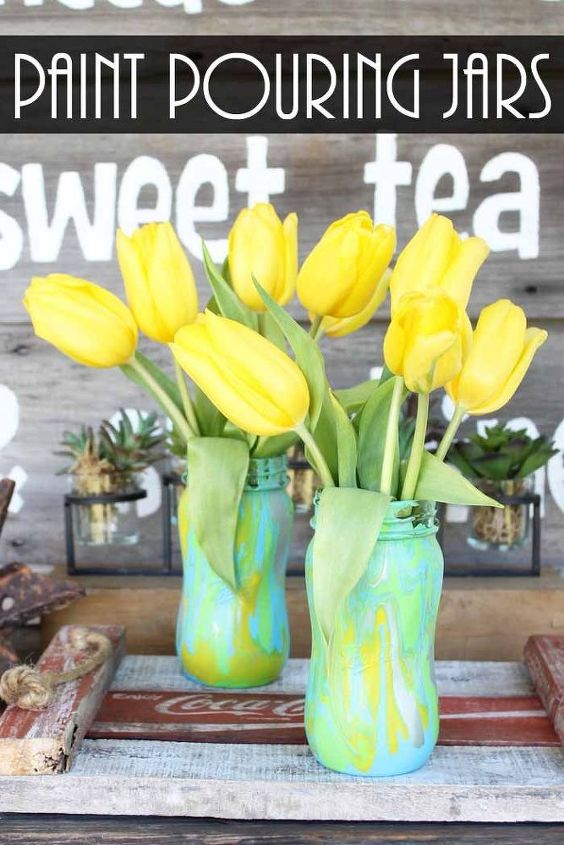
Acrylic pouring is a great technique for any surface. You may be familiar with seeing it on canvas. Today we're going to use pouring for a fun mason jar craft. Customize your colors to fit any décor or holiday. These make great gifts!
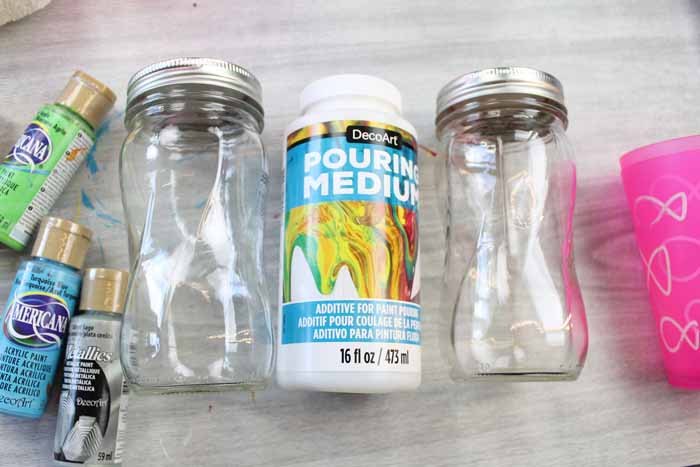
SUPPLIES NEEDED for acrylic pouring:
Some links below may be affiliate links which means that you do not pay anymore, however, a portion of your purchase will go to support this site.
- Mason jars, spiral jars, or your decorative choice
- DecoArt Pouring Medium
- Acrylic paints (in any colors you love) (I like to add a metallic to my pours)
- Plastic cup (this will get ruined so make sure you can throw away)
- Wood craft sticks
- Small cups
- Box
Instructions:
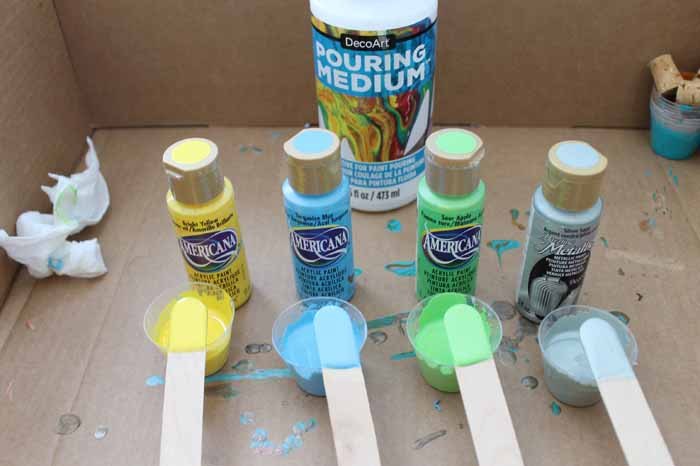
Start by adding the pouring medium to small cups. The pouring medium doesn’t alter the drying time or the color. It simply thins the paint and allows it to easily flow across a surface. It's super easy to use and perfect for acrylic pouring on any surface.
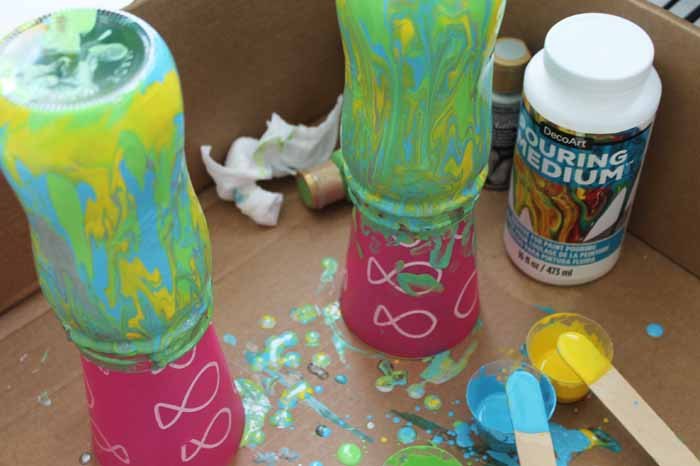
For acrylic paint, try a mixture of 1:1 for your paint to pouring medium mixture. You can change it up if the mix seems to thick or thin. Add in the paint to each cup and mix well. I like to use craft sticks for this portion. I also like to do my project inside of a box to control any spills.
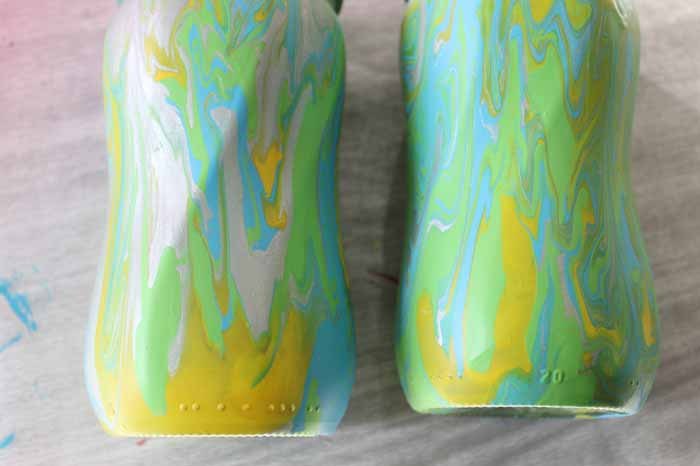
Use the craft sticks to start adding paint to your mason jar. You can use any colors that you like on your jars and as many different colors as you would like. Keep adding the paint and tilting the jar to get complete coverage.
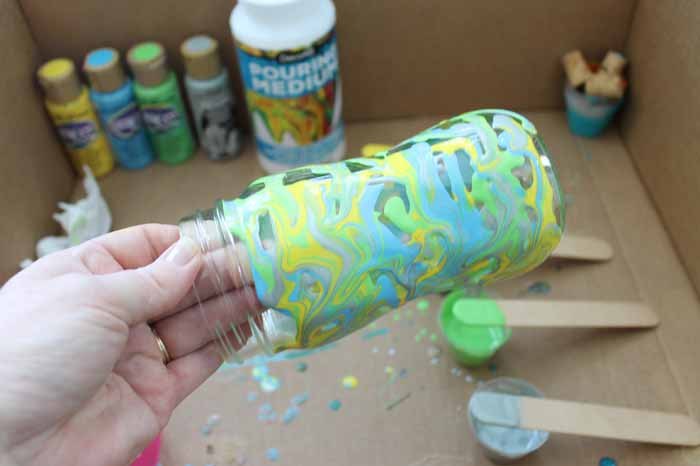
Once covered, turn the jar upside down to dry in a plastic cup. You can make as many jars and combinations as you like! Once dry, these make beautiful vases and gift ideas.
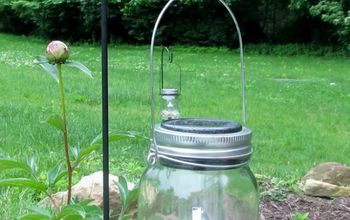
They make a perfect spring vase!
Check out my blog for more spring tips and techniques.

Want more details about this and other DIY projects? Check out my blog post!
Comments
Join the conversation
2 of 12 comments
-
I will be doing this as a summer project when the kids are out of school and it's a rainy day. Then they can use their finished project in their room for a pencil holder,hair tie holder,depending on size of jar maybe even their brush and come set can fit...Thank You for sharing
-
Those are really pretty, I’m going to make some! I think the only thing I would add is when the jar is dry, I might take one color, (like maybe the yellow that’s in your photo), and go around the top edge where the lid would screw on. Thanks for the idea!


Frequently asked questions
Have a question about this project?
Is there Video to watch because I also thought it was on the inside. Otherwise it’s all over your hands
Is there Video to watch because I also thought it was on the inside. Otherwise it’s all over your hands
I am not alone on this question but, are u painting the inside or outside of the jar?? I think it is the outside.