


My DIY Adjustable Easel
I’m not at all an artist but occasionally I do like to dabble and relax with a bit of paint on canvas.
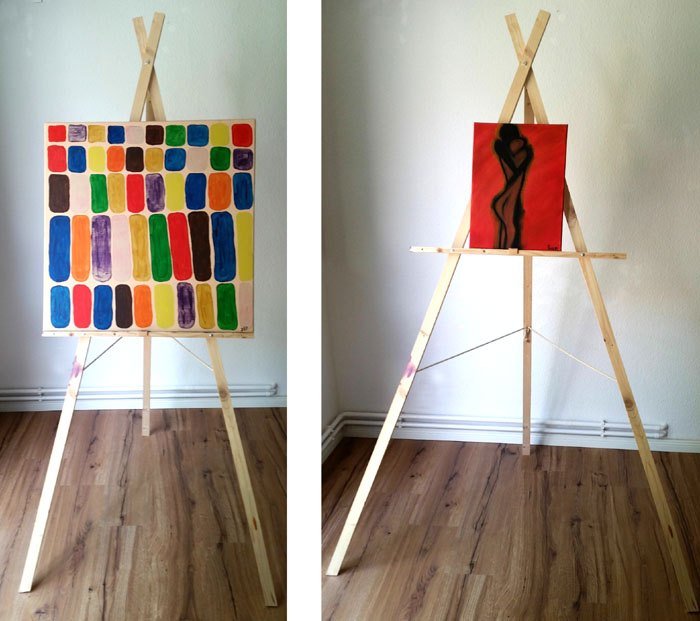
As trying to chill out and create a masterpiece bent over a flat surface is pretty darn uncomfortable and the cost of a proper “artist’s easel” is way out of my budget I hit up my local home improvement store and figured out how to make my very own fancy schmancy adjustable easel:
Here’s what I did:
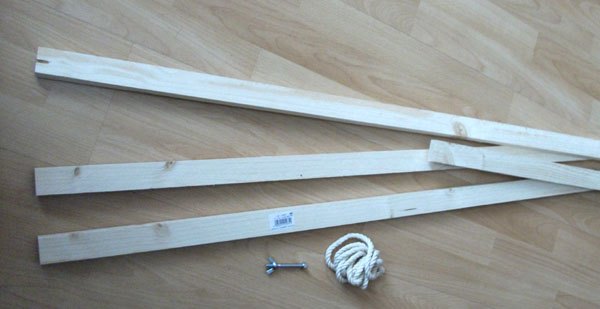
I grabbed three 2 meter long pieces of thin framing lumber + a piece of 50cm scrap wood, a wingnut, rope, a small hinge and a couple of nuts and bolts that were long enough to go through the wood pieces when stacked together.
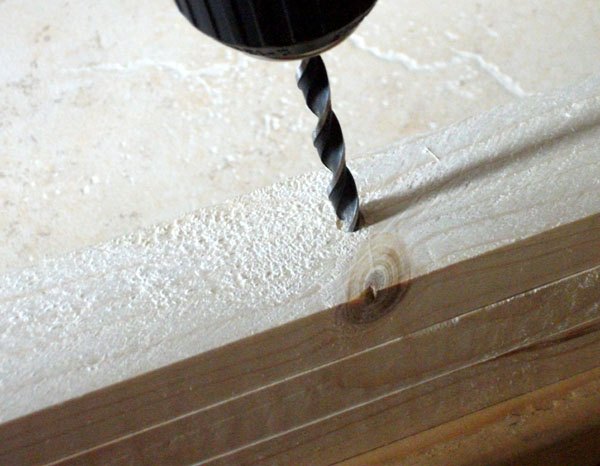
I stacked two of the lumber pieces evenly together and drilled a hole through the top of them.
Then popped a long bolt through the holes.
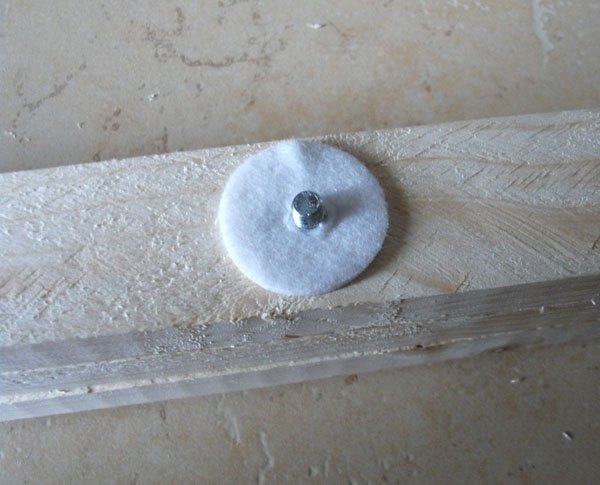
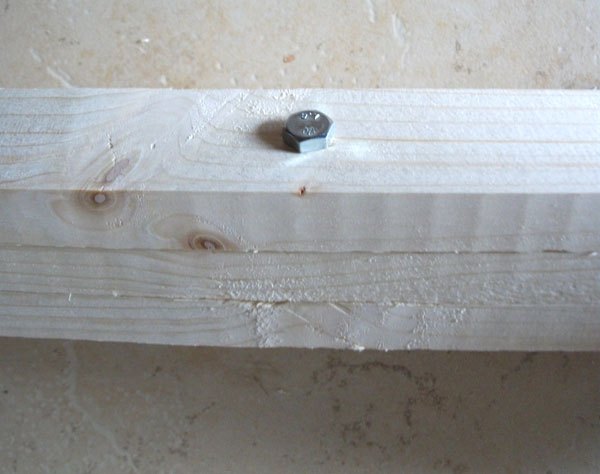
Flipped it all over and slipped a piece of scrap felt over the bolt end.
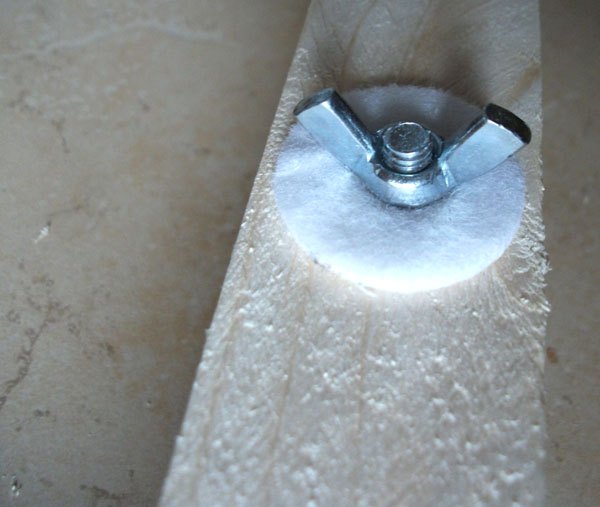
Then screwed on the wingnut.
(the felt allows the wingnut to be easily tightened and loosened without damaging the wood)
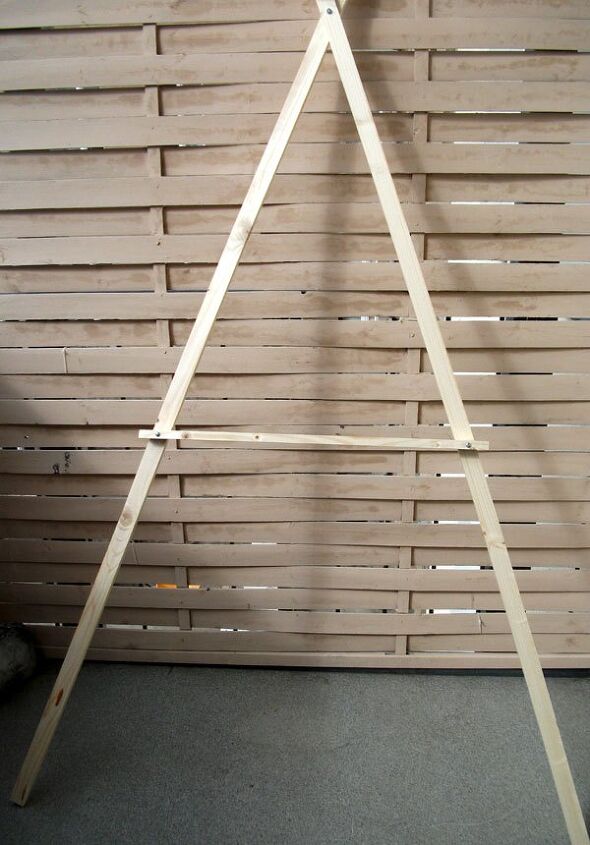
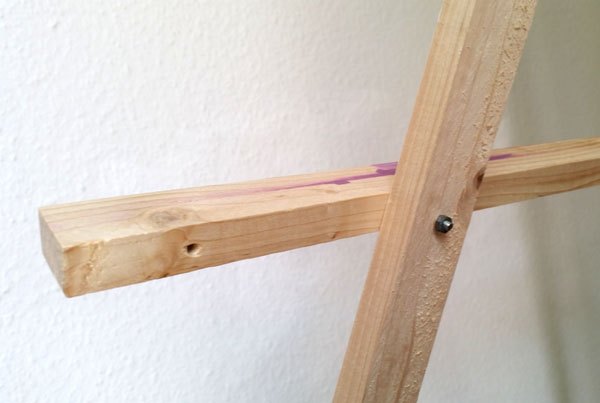
I pulled the two pieces apart to form an "A" shape and then bolted the scrap wood piece to the front to hold the canvas.
(using nuts and bolts to attach the canvas shelf means it can be easily removed and adjusted when needed)
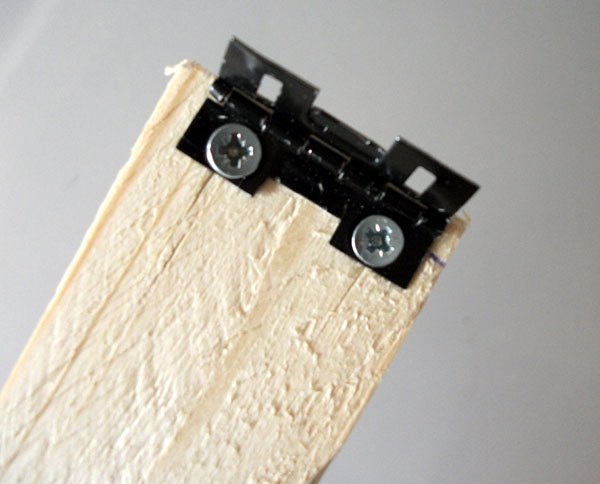
I grabbed that small hinge and attached it to the end of the remaining 2 meter wood piece.
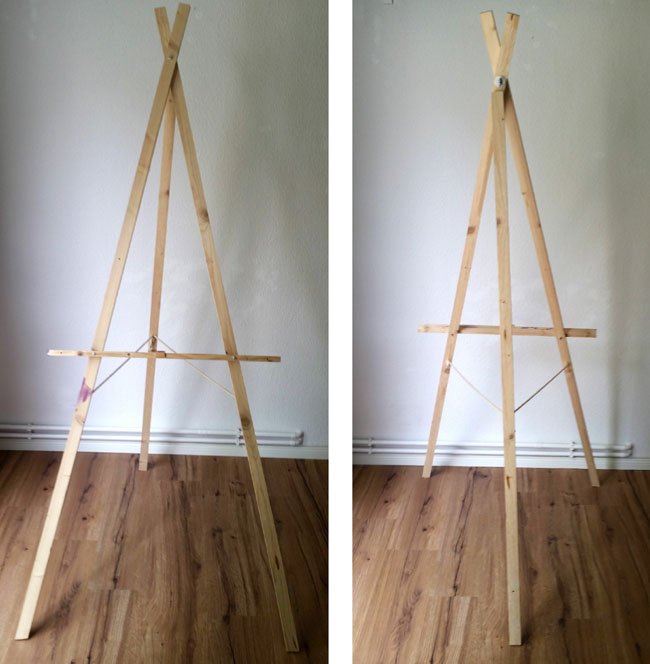
Then attached it just below the wingnut on the back of my almost done easel to create the third leg. (a bit of rope stapled between the legs made it super stable!)
The front horizontal shelf can be adjusted to suit both large and small canvases thanks to those easily removable nuts and bolts.

I glued a small piece of wood to the middle of the shelf to help keep the canvas in place while painting – sometimes my brush strokes can get a wee bit wild!
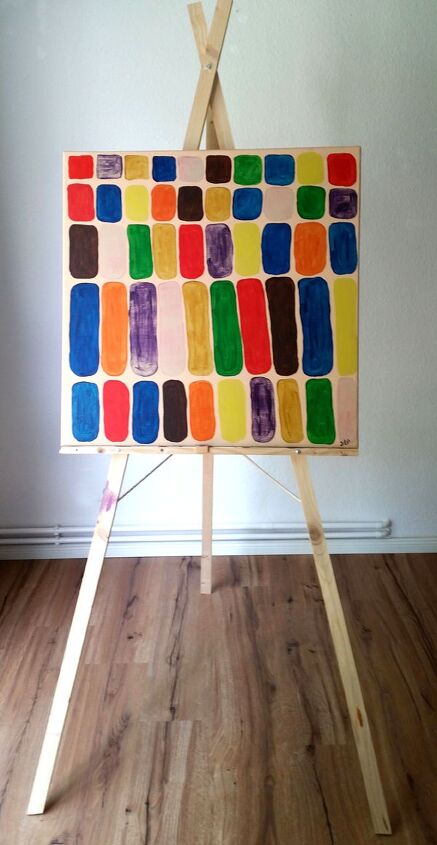
Pretty cool, eh?
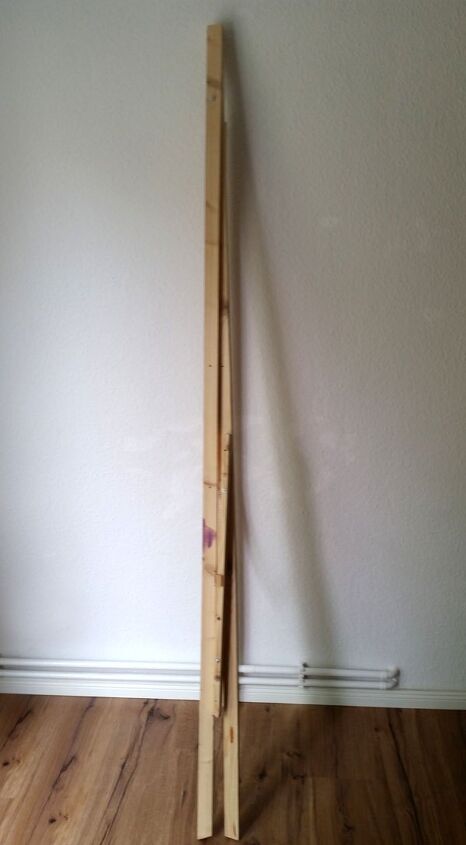
Thanks to that wingnut it folds up neat and tidy for easy storage too!

Not bad for a DIY easel if I do say so myself!


Comments
Join the conversation
-
So simple but a great easel. This would be great for kids. Great job and share.
-
Nicely done!


Frequently asked questions
Have a question about this project?