


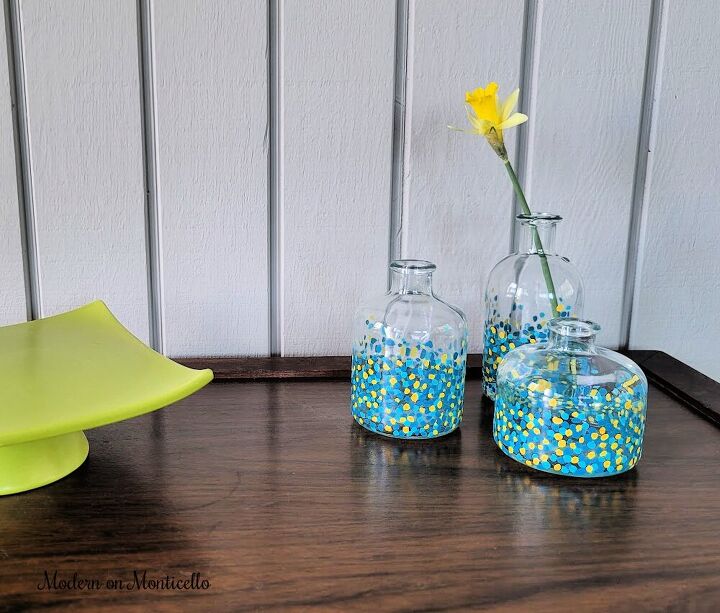
Painted Confetti Bud Vases

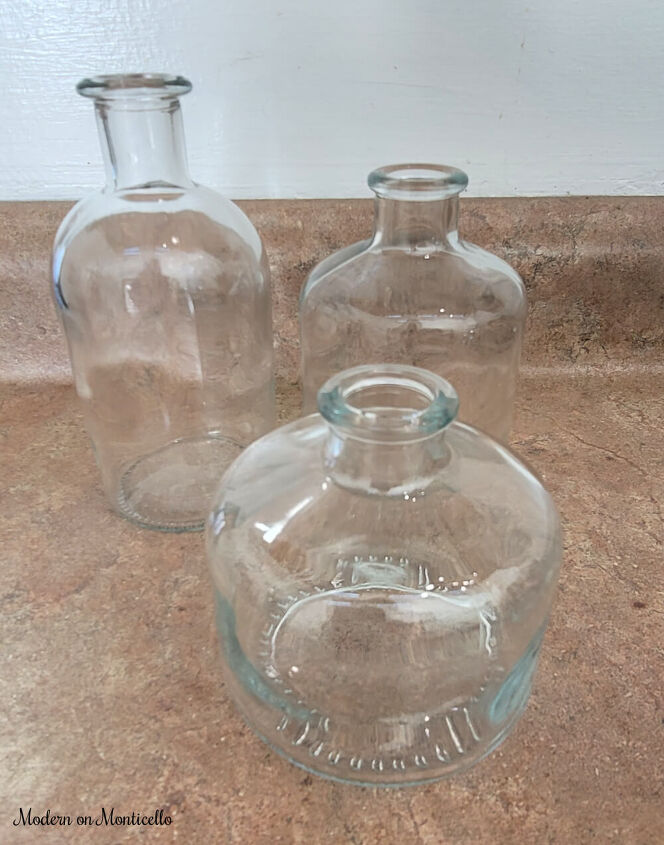
Target’s Dollar Spot area always has some fun and inexpensive home décor items. Especially if you are looking to upcycle and personalize some cute items for your own home. Recently, I found this trio of small bud vases that are adorable on their own but I tried a simple paint technique to make them in to these colorful painted confetti bud bases.
The inspiration for this project came from scrolling through Pinterest (of course).
When I saw these small bud vases at Target’s Dollar Spot, for a great price at only $3 for the set.
I put them in my cart knowing I would eventually figure out something to do with them.
On the drive home I remembered the pin I had seen for a vase painted in a confetti dot pattern and knew that repeating the process would be so easy on these three small vases.
From my craft room stash I pulled out two blue acrylic paints for multi-surfaces, and one bright yellow paint. I knew this type of paint would stick easily to the glass surface.
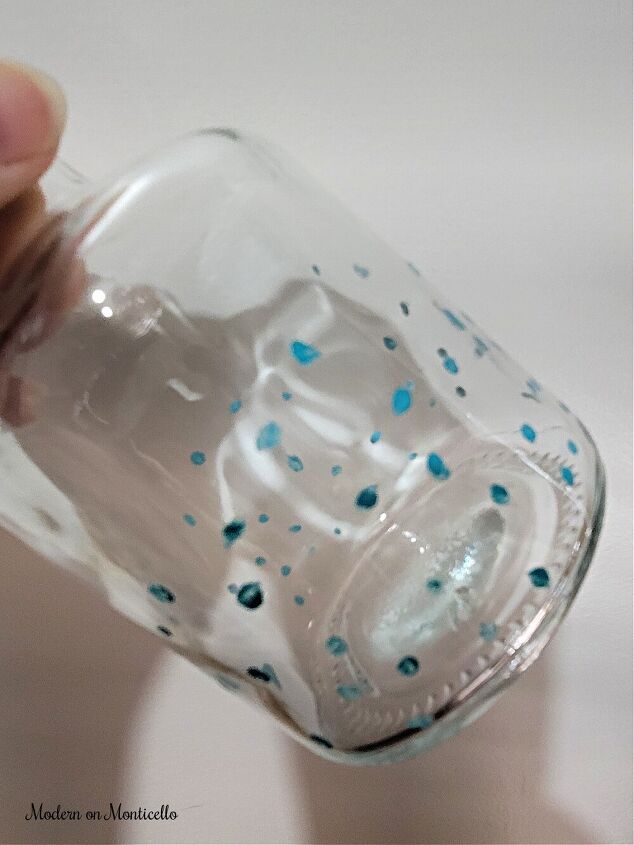
I started my first layer of small dots in the darker shade of blue going all around the lower half of the bud vase. I allowed that layer to dry for at least 10 to 15 minutes. Then I switched to the lighter shade of blue and filled in with small dots mixed with the darker dots.
Sorry for the slightly fuzzy photos. Taking close up pictures of tiny glass vases was a bit of a challenge since the painted dots on all sides were visible and makes it look out of focus.
Again, I let that layer of paint dry for 15 minutes, and then started filling in with the yellow painted dots.
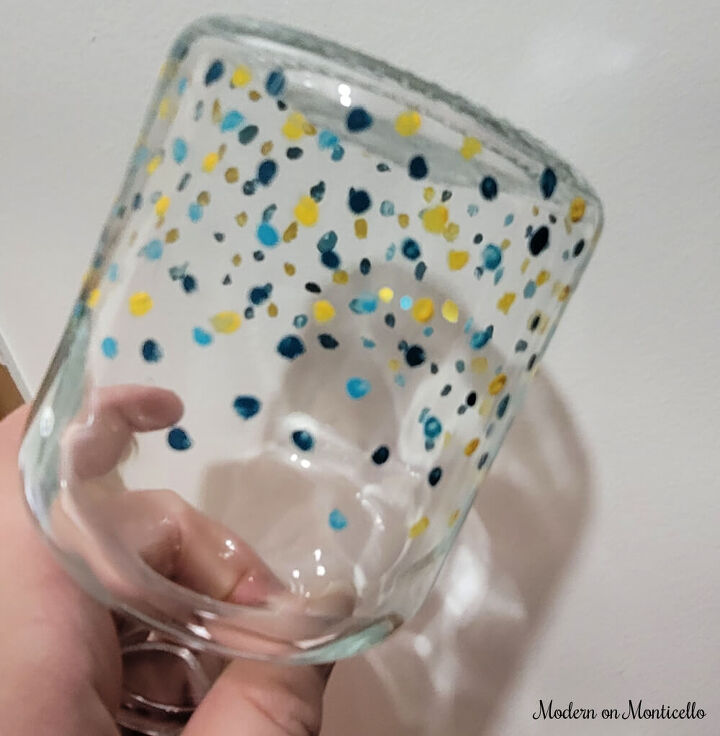
There wasn’t really a pattern or a method I was trying to follow when applying the dots. Except to make sure that no two dots of the same color were too close to each other. At least on the first layer for each color.
On the second layer of each color, the idea is just to fill in the empty spots with painted dots as much as possible working around the entire lower level of the vase.
Paint lots of dots!
The third and forth passes (or more) around the vases will mostly fill in with whatever color seems to need more painted dots in any of the three paint colors.
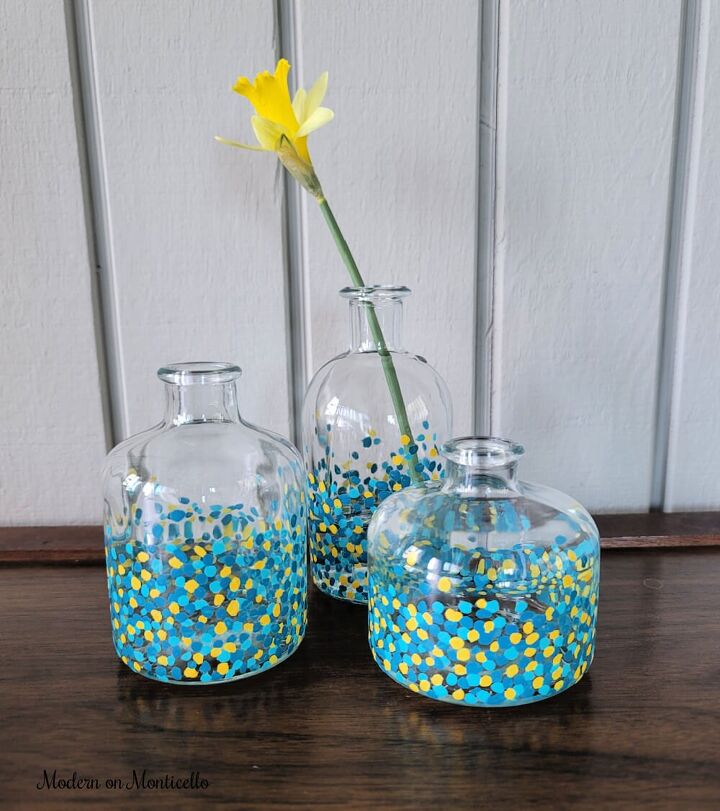
I also randomly applied painted dots above the line of the lower half on the vases so that the dots appeared to fade up to the opening. This was my personal preference on the look but you will figure out as you go along of how heavy the application of painted dots you want and the predominant color.
There really isn’t a right or wrong way to using this paint technique.
Just add as many dots of colored paint and stacked then together as much as you feel like it, and in any pattern.
The final step, after allowing the paint to dry for a few days, was to apply a coat of Triple Thick Gloss Glaze to seal the paint permanently on the vase.
This was a simple and fun, and stress free type of project. It only required a little patience to paint so many dots around the bud vases to create these colorful painted confetti bud vases.
If you can’t find the bud vases at your local Target, you can easily recreate this same look for recycled jars or old vases of any type.
Pin For Later
Resources for this project:


Comments
Join the conversation
-
I love them. Simple but really impactful. I'm going to do some. Not sure what colors yet though. Probably some version of greens.
-
Very pretty. Tyfs


Frequently asked questions
Have a question about this project?
At first I was like ewww not sure I like this, then the finished product was so cool. I love it!