


Painted Glitter Coffee Mug

I am a coffee addict and I have a to-go mug in my hand every morning when I walk out the door. I love pretty coffee mugs, but do not like spending money on them, so I decided to make a pretty coffee mug!
Supplies:
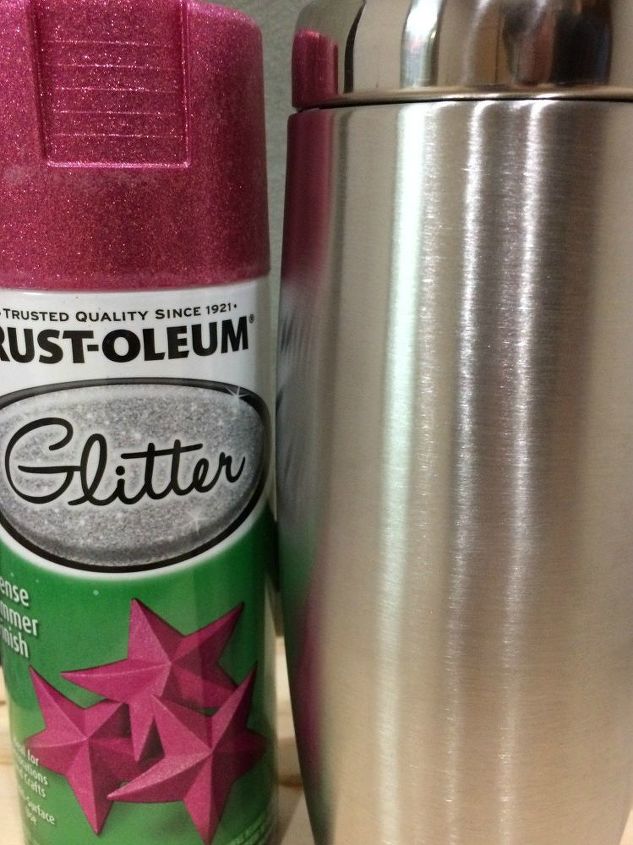
Stainless steel coffee cup
Painters Tape
Rust-Oleum Pink Glitter spray paint
Rust-Oleum Gold Metallic spray paint
Rust-Oleum Glitter Clear Sealer
Plastic wrap
Vinyl decal cut with my Cricut Explore Air
Transfer tape
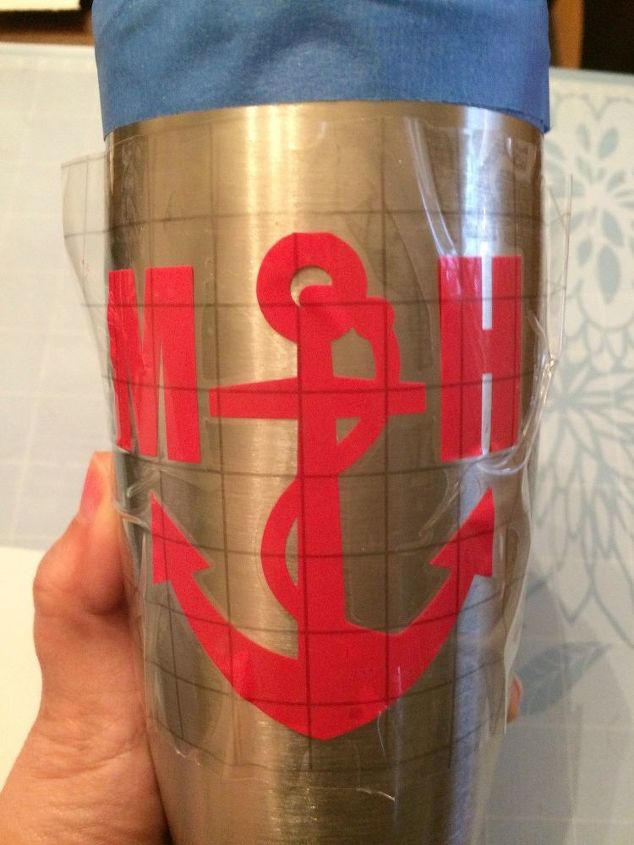
Find a stencil or make one with your cutting machine. I used Transfer Tape to remove my design from the cutting mat and apply it to my cup. The transfer tape helps keep the design straight and together. Make sure to press it down really well and smooth out all the wrinkles.
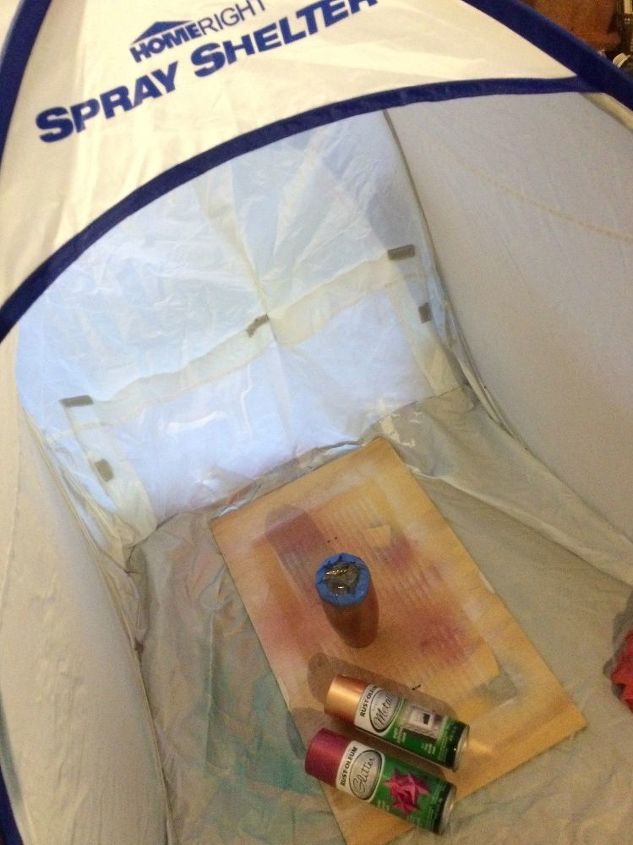
Place a piece of plastic wrap over the mouth of the cup and secure it with painters tape. I went around the cup twice to make sure I had a good seal. I turned the cup upside down and sprayed it with two light coats of the gold metallic, letting it dry in between coats. The following day, I sprayed the cup with two coats of glitter.
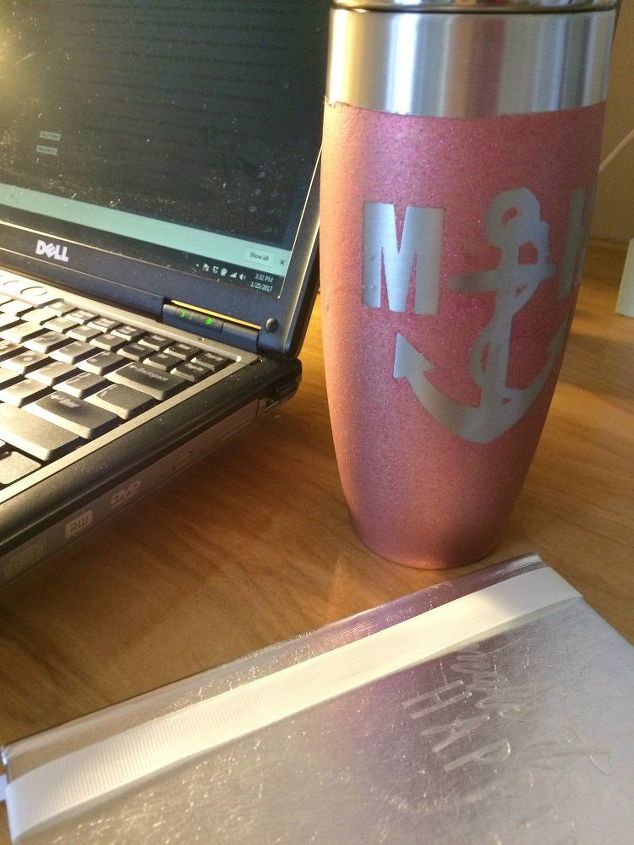
Apply two coats of clear sealer to keep the glitter from flaking off. I actually took the vinyl off before sealing, but I would suggest removing it after the sealer dries, so the sealer does not get on the cup. You have your own personalized mug!
For more projects like this, visit my blog at: http://www.realgirlsrealm.com/


Frequently asked questions
Have a question about this project?