


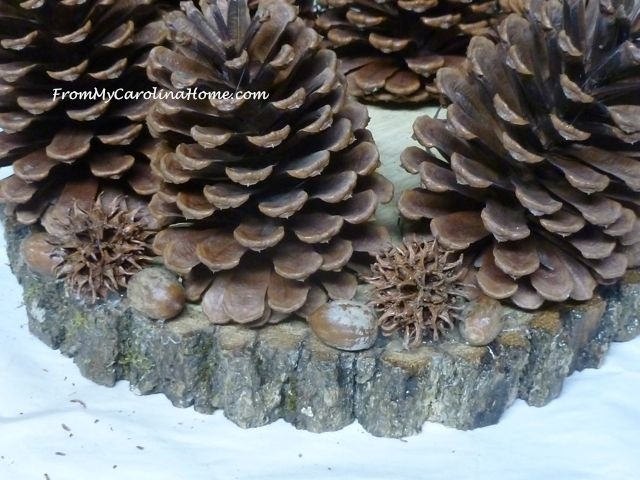
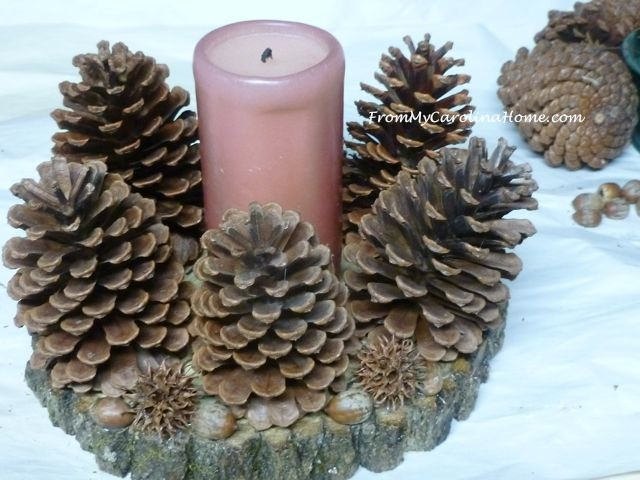
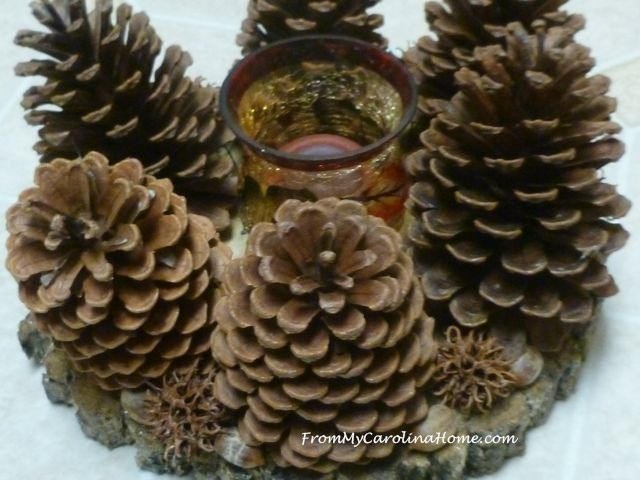
Pine Cone Candle Wreath

Comments
Join the conversation
-
Absolutely love this and will make. We call sweet gum itchy balls LOL
-
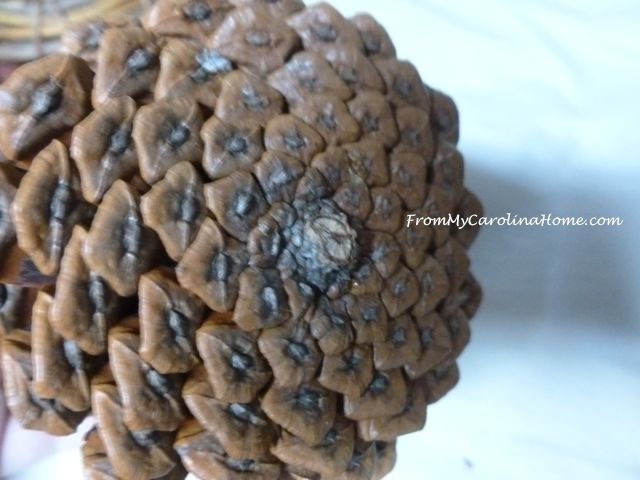
Years ago while in college, I collected some pine cones that looked like roses. They were extremely pretty and I kept a dishpan full of them for various crafts. I used some old vinyl records, put one over a shallow dish (a pie plate worked well) then placed them in the oven at a low temperature and watched while the edges melted enough to ruffle then removed and allowed to cool. BE SURE TO STAY AND WATCH THIS PROCESS AS IT HAPPENS QUITE QUICKLY ONCE IT STARTS AND IF LEFT TO LONG WILL DESTROY PROJECT! This made a wonderful base for my table centerpiece. I painted them with spray paint, of Copper, gold or bronze. On the bottom, I put a circle of felt so that it was finished. A coffee filter could be used for a pattern for the circle and placed in the center prior to painting will leave an unpainted placement for the felt. This gives good surface to glue the felt. In the Center of the top, I placed a painted jar lid as a base for my chimney (found at a second hand store) and hot glued it in place. I used the rose shaped cones, some regular cones, and chestnuts and hot glued them in place. After everything was glued into place, I used a spray polyurethane to spray the entire project. It gave a nice shine to the project and were fun gifts. 50 years later, I still have one of the centerpieces. LOL
Tip: put the chimney into the lid while placing the cones into the centerpiece. The makes sure that there will be room for the chimney when finished. I found that it was really easy to place them to close to the center and then have to redo or find another chimney.
A friend recently suggested using tile adhesive to hold the cones and chestnuts. The hot glue did after time sometimes release, so for a more permanent adhesion that might work better.


Frequently asked questions
Have a question about this project?
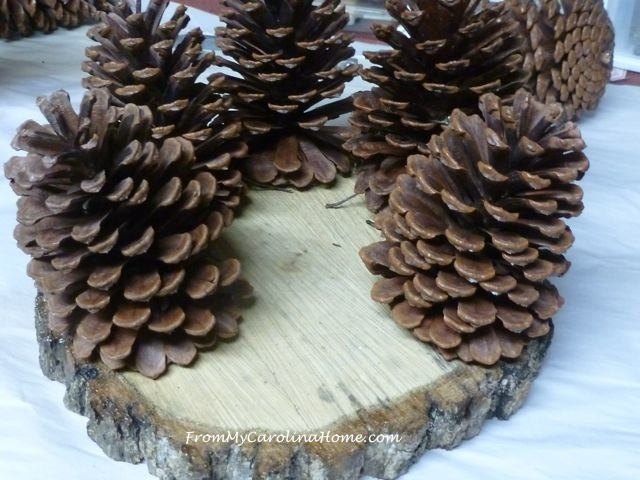
If you collected the pine cones, did you put them into a 245 degree oven (on foil) to kill any bugs in the cones? You can't see them, but if collected from outdoors they are there.
Love it. Have you done wreaths with cones? I hope if you collected them, you put them in a 245 degree oven first (on foil) for at least a hour kills bug as pine weevils. I learned the hard way. I lived in Pine Cone country and I should have known to do that.
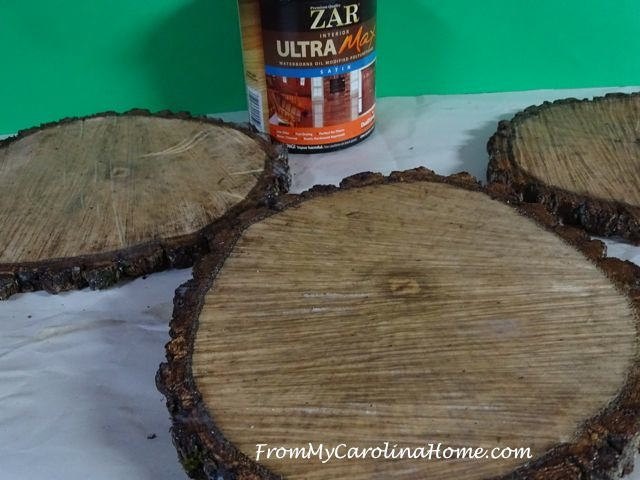
Did you put varnish on the pine cones as well?