


REPURPOSING A STARBUCKS PITCHER
Can you believe it’s almost Thanksgiving?
Are you ready for it? Have you started decorating for Christmas before Thanksgiving?
Before I get started with our repurposing project, I want to thank each one of you for your words of encouragement and prayers. I saw my doctor Friday and everything with my foot is looking great! This was the first time the bandage was taken off. I personally could not look at it. I am having a hard time coming to terms with a toe missing! OMG, I broke out in a severe rash with the antibiotics I was put on. Wow, I itched everywhere! It is finally subsiding but man oh man, it was a rough few days.
My family and I would also like to express the immense gratitude we have for your support after the loss of Gazer! You all mean so much, Thank you.
Ok, now on to today’s fun and easy project.
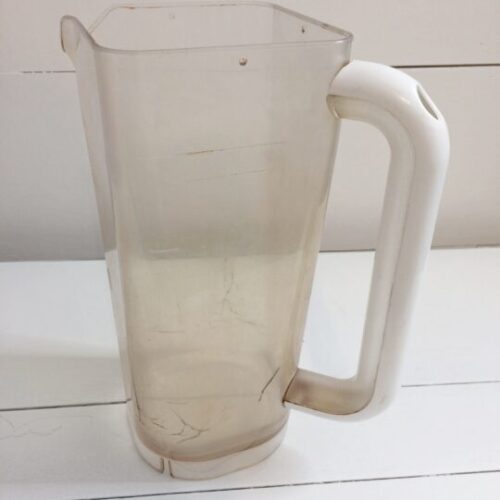
A few years ago my daughter blessed me with four Starbucks pitchers. I don’t know if this happens at every Starbucks but every so often they throw them out because they have cracked or show their age. My daughter happened to be there when they were going to throw them out and asked if she could buy them. She picked these up for a dollar apiece.
She knows her mama loves to repurpose things and figured that I could do something with them.
You can check out the post on the first two I did here.
Sometimes it takes me a while to figure out what to do with the items I collect but it eventually comes to me.
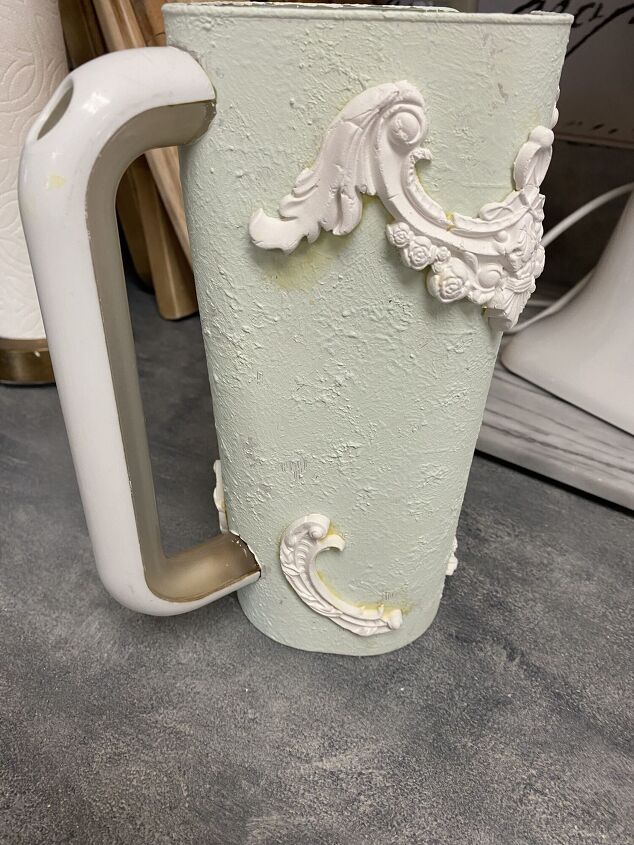
All of these pitchers hold water very well. I haven’t seen any leaks so far. They are just very stained.
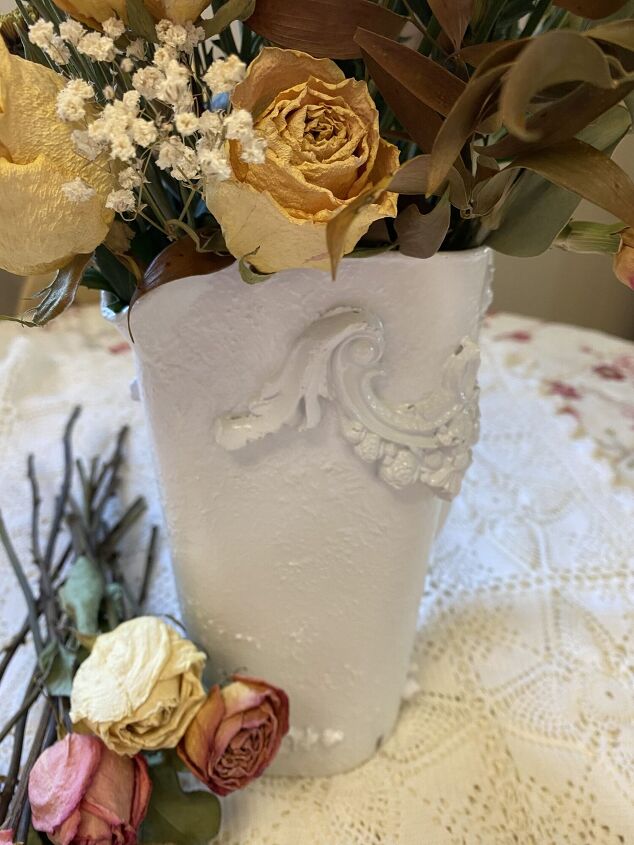
Because they hold water, I wanted to leave them as a vase to use for flowers.

I mixed DIY paint in Mint Chip and baking soda.
I used a paintbrush to make the stippling effect on the pitcher. This gives a nice texture to the outside of the pitcher.
However, I did not like the color of the mint chip after it was dried. It was at this point I didn’t know what to do with it. Letting it sit overnight, I came back the next day with an idea.
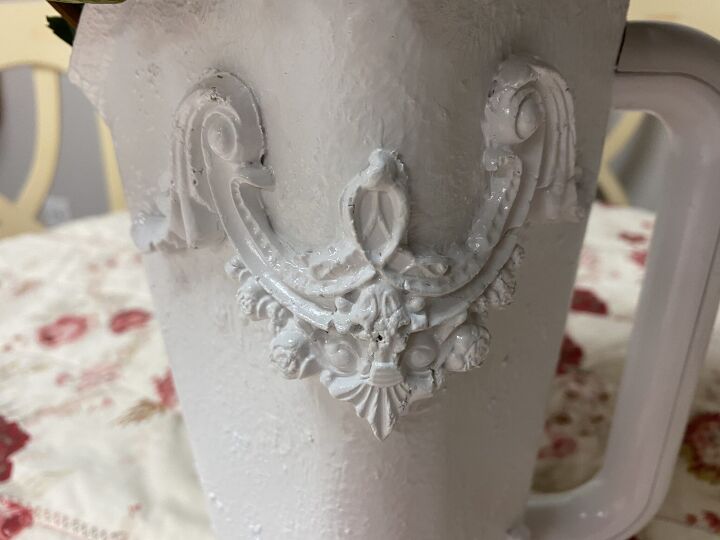
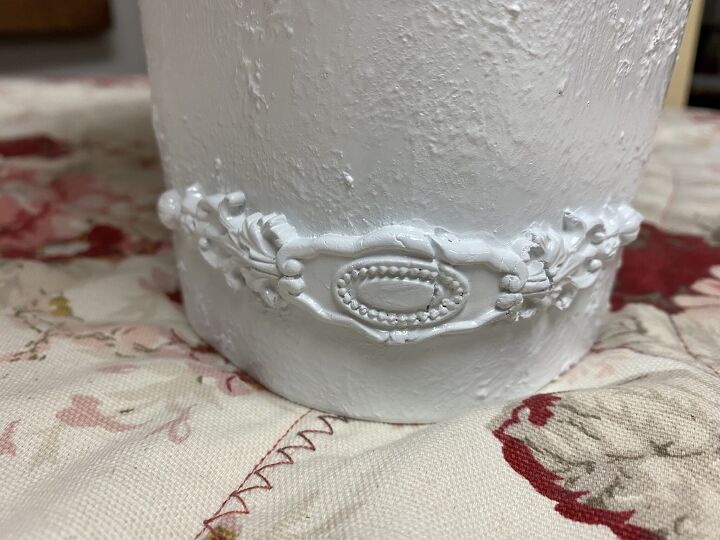
Classic Elements mold from IOD.
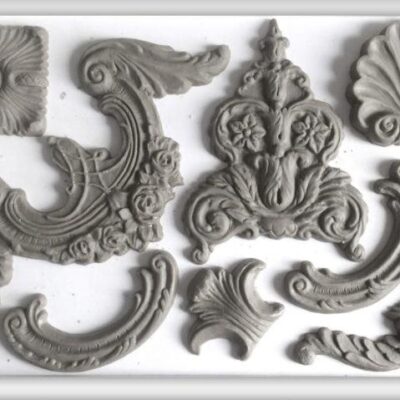
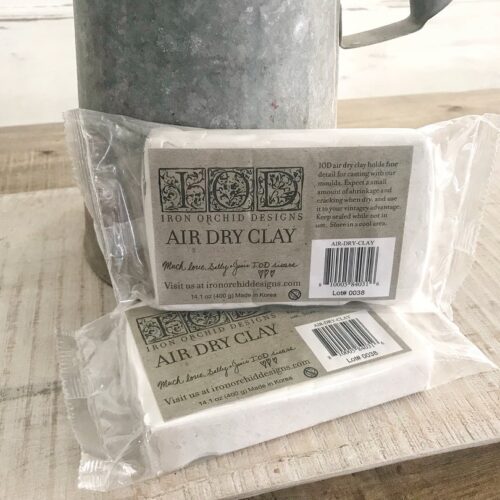
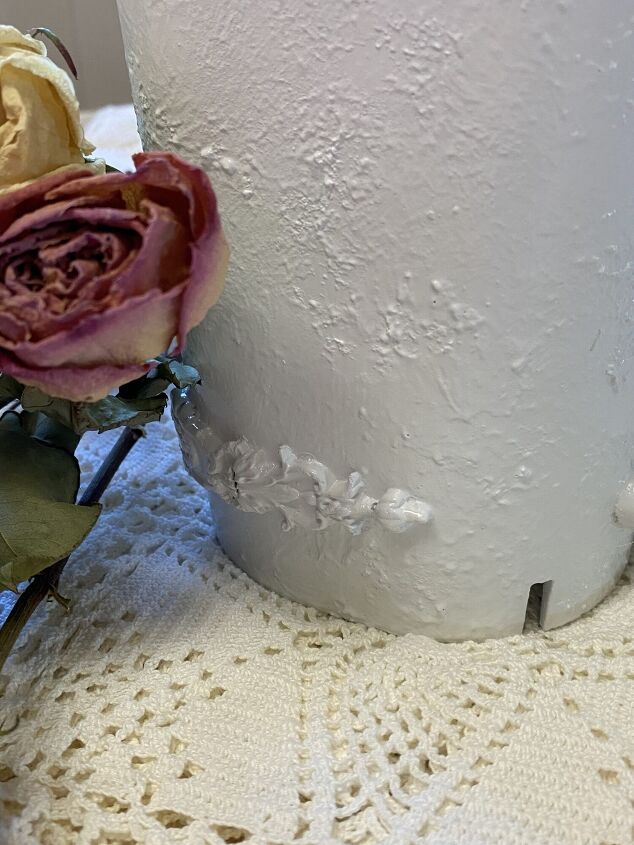
I used IOD paper clay to make the molds and learned a trick on the way.
First, warm the clay up with your hands so it’s more malleable and just overall easier to work with. Sprinkle the mold you are going to use with cornstarch, this will help the clay pop out easier. Next, fill in the mold with the pieces of clay.
After you remove the clay from your mold, you add glue (I use Titebond) to the back of the mold and then set it into place to dry. Sometimes you may have to use frog tape (or masking tape) if that is all you have, to hold the mold in place until it has dried.
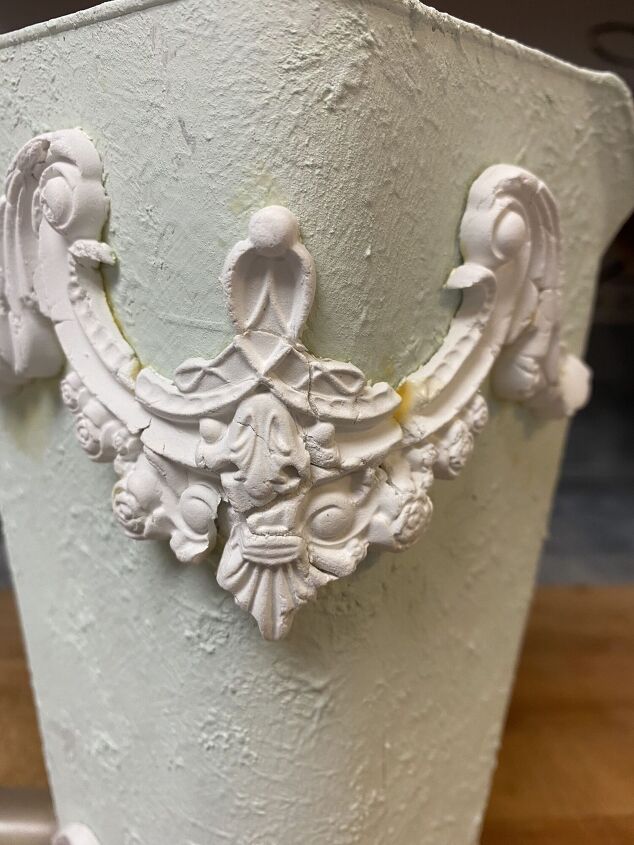
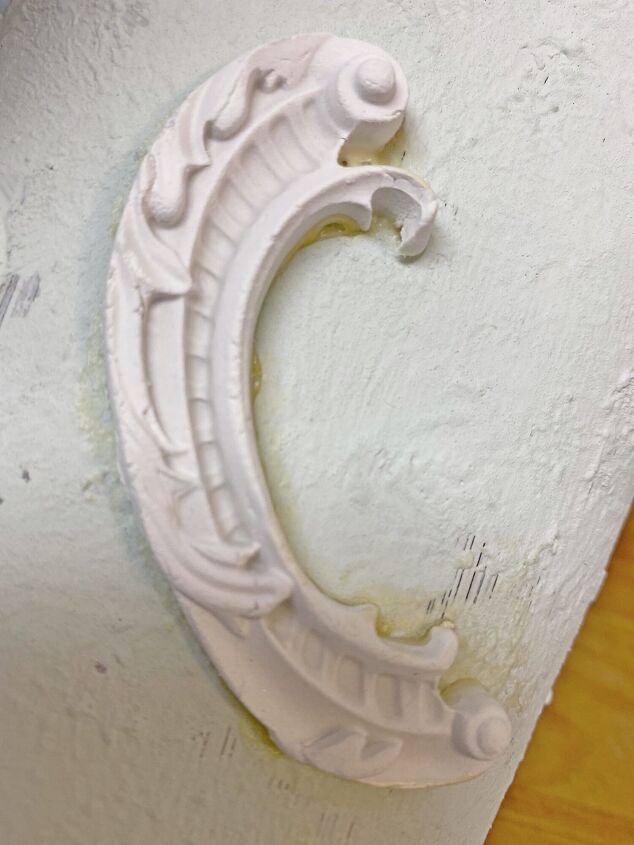
When the clay starts to dry, it cracks.
Normally that is ok, I usually want a rustic look. Sometimes we don’t want it to crack and here is a little trick I found.
After warming the clay in your hand, make a piece as long as you think you will need. Don’t piece it together. (Meaning placing it into the mold chunk by chunk). You want one continuous piece, like a snake. Work it into your mold until it is completely filled. I realize this might be harder with bigger molds.
And this, my friends, creates a smooth, no cracks finish. (At least it did on mine).
You can also see the yellow glue in the pictures above, not pretty! Don’t worry, when you spray paint your final coats of paint onto the pitcher, it will not show! Another trick to make the molds look not as cracked is to add a little glue to the cracks. Or you can add paint and build it up, this is the method I did. You can still see the cracks but they are not as noticable as they were before the paint.
Wish I would have figured this out with the very first mold. BUT, it does give a worn look if it is cracked.
Here is the piece that hardly cracked at all.
The next step was to get rid of the green. After waiting for the molds to dry, I used Rust-oleum spray paint in gloss white to give it a shiny finish. This took two coats of paint.
Just to let you know, whatever color is your base coat will come through inside the pitcher. Of course, mine has a green tint to it. However, you will only see the green if it is empty.
I sprayed the entire piece, top to bottom minus the inside. You don’t want to paint the inside if you plan to put water in it.
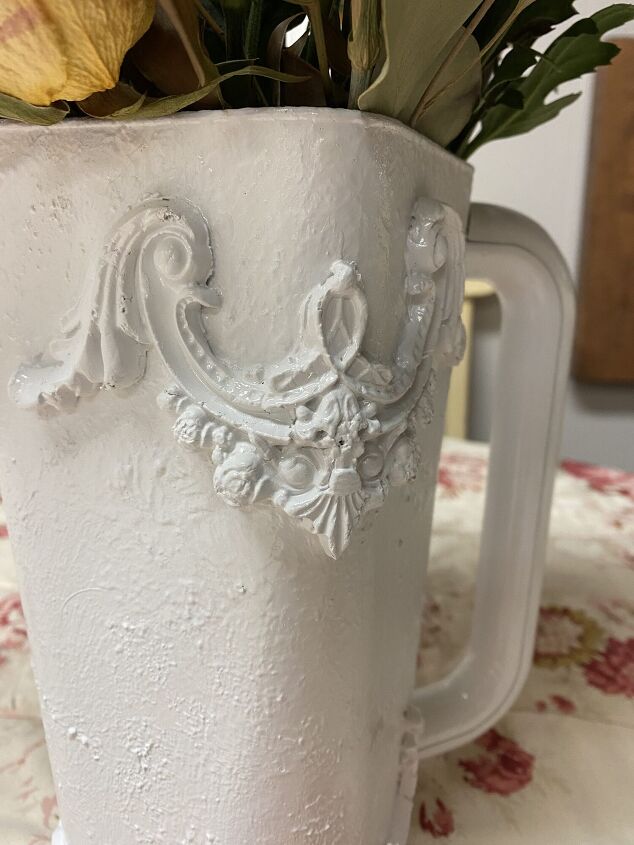
I am thinking of adding a dark wax to it but not sure if that is the way I want to go or not! For now, I am loving the texture from the stippling and baking soda and the molds I added.
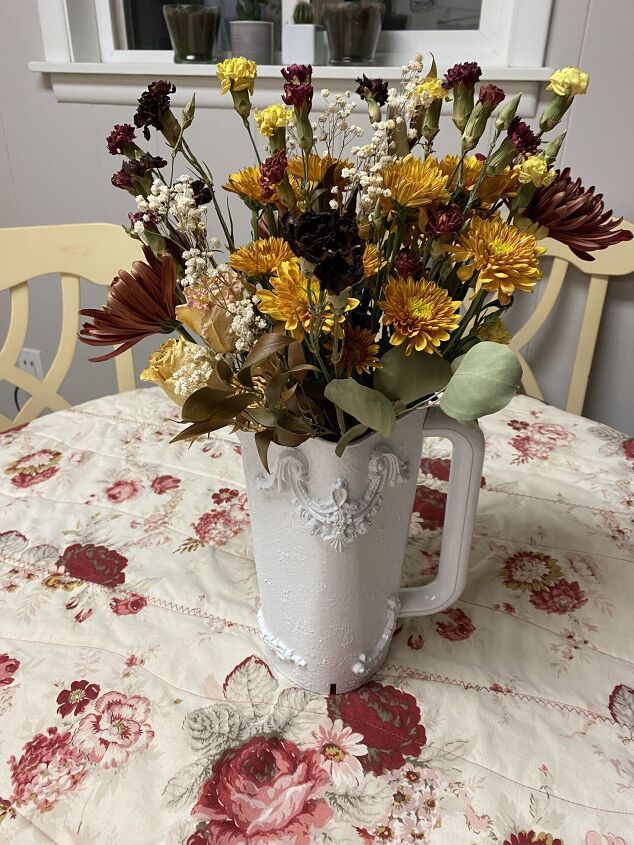
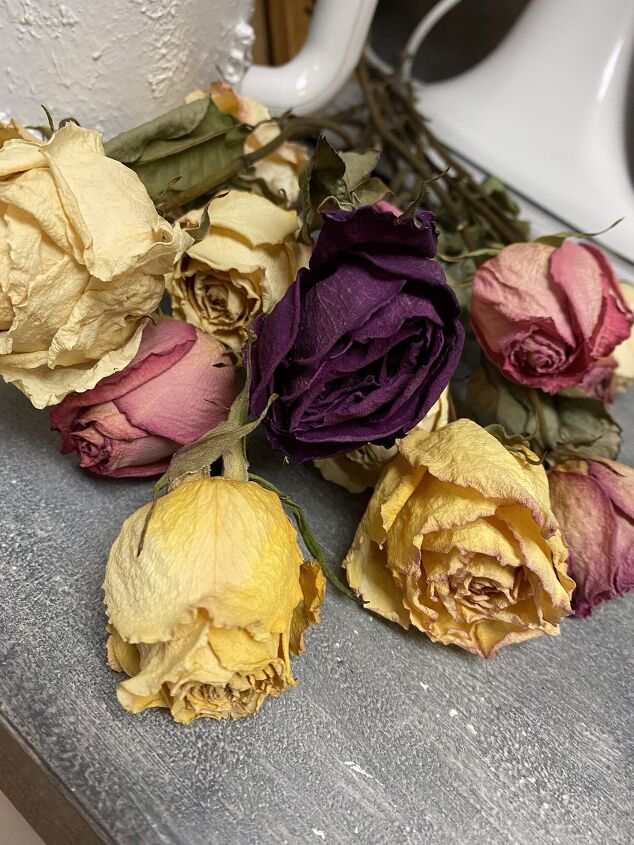
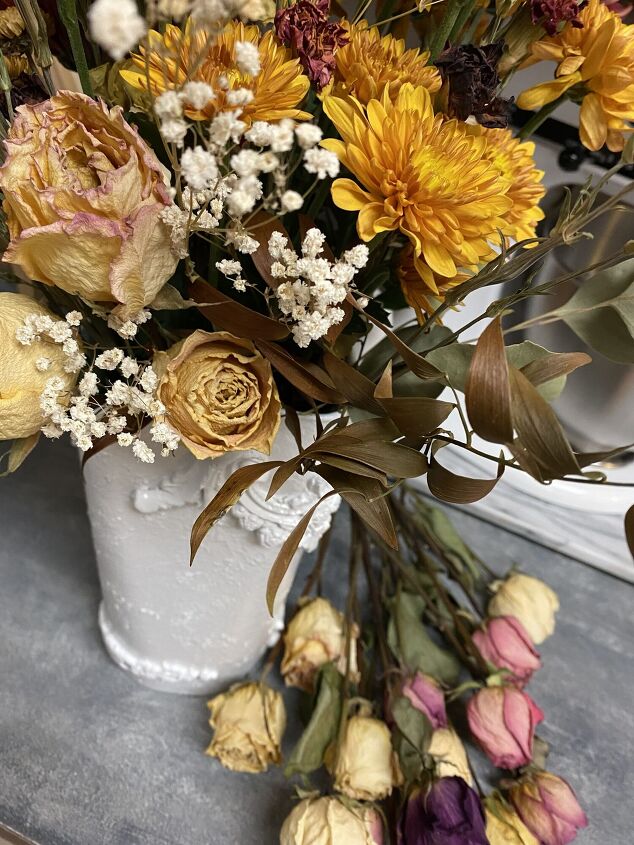
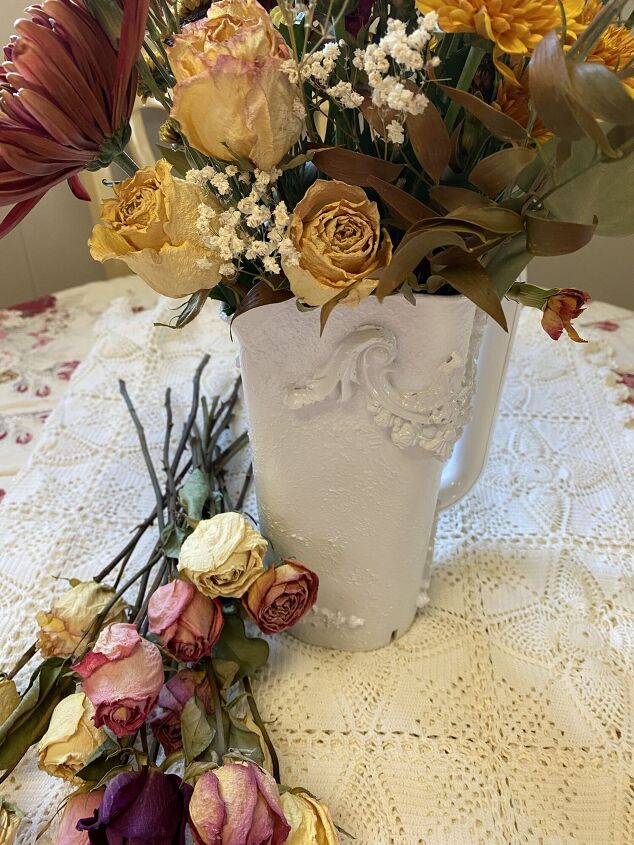
I added a mix of real and dried flowers to display it.
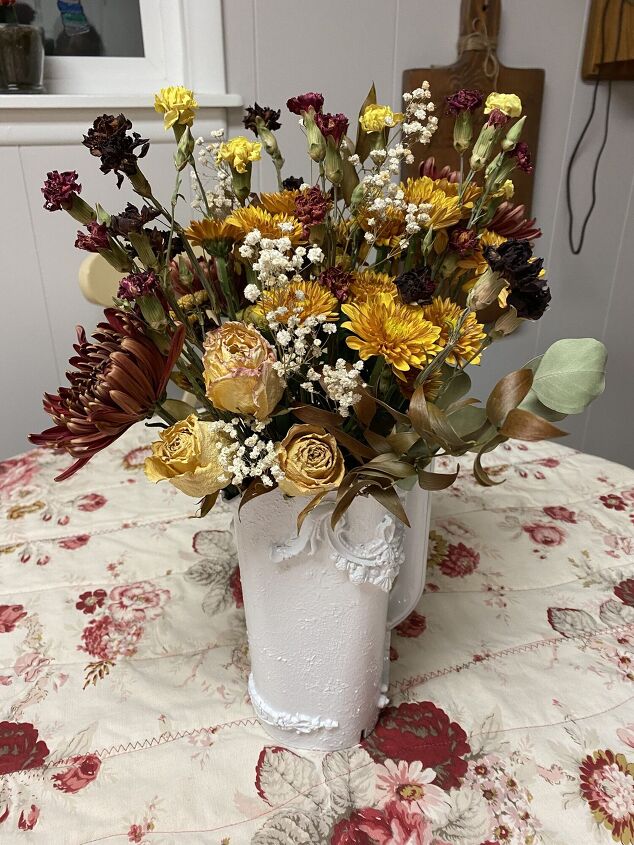

What do you think?
My mom made this lap quilt a long time ago for my birthday. Isn’t it beautiful? It goes so well with this pitcher of flowers!
Would you add the dark wax?
Do you have a pitcher that needs repurposing?
That’s it for this project, have a great weekend!
If you liked this post, please pin it. It helps grow my blog.


Comments
Join the conversation
-
This is so beautiful I never thought of doing this I’m kind of jealous but I’m definitely gonna do it for like a present because it’s very very nice thank you for the idea
-
Lovely! The tip for the mould is really helpful too!


Frequently asked questions
Have a question about this project?