


Reversible Headboard Slipcover

When we moved into our current home, there were several spaces that badly needed a change. Our bedroom was one of them, but it was low on the list of priorities... until I decided it wasn't! I decided to participate in the One Room Challenge & tackle our sanctuary - our master bedroom.
I wanted a change but couldn’t justify buying more furniture when what we have are all perfectly fine, solid pieces that’ll last & last. Since I didn't necessarily want to change the furniture permanently & since I love the look & feel of upholstered beds, I chose to DIY a slipcover for our bed.
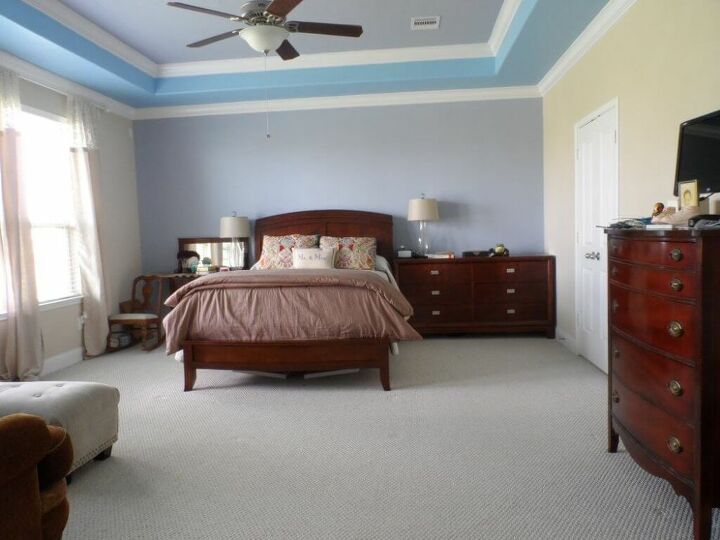
Take a look at this before shot of our master bedroom. This is just months after moving in. Y’all I know I don’t believe in buying sets of furniture. Even though all the pieces in this room were completely separate – the bed from a big box store, my grandmother’s high boy, DH’s dresser from The Dump, my “vanity”/”side table” from a yard sale – they all have the same kind of wood tones.
Even with all the other changes in the room, the huge expanse of wood just didn't do us any justice.
Since I was washing my slipcover, I thought it would be a lot easier to show you how I made it by video instead of just telling you about it. So have a look at this video that I quickly put together.
Or if you prefer to read, the steps are essentially:
- Find some fabric that you love. I wanted the option to be able to change my cover based on the season, so on one side I have a gray velvet & on the other side I have white linen. You could easily just do 1 fabric for both sides.
- Pre-wash the fabric. My fabric would normally be dry clean only, but I wanted to be able to take it off wash it so I took a small cutting of each fabric and washed it. When that did not shrink or destroy the fabric I went ahead and washed all the fabric.
- Measure the headboard, then measure & either mark or place a few pins on 1 piece of the fabric based on the headboard measurements adding a little extra (about 2 inches) on all sides.
- Lay the fabric right sides facing together with batting on the outside of each. Here is the order: batting → fabric with right side up (facing you) → fabric with right side down (facing away from you) → batting.
- Pin through all 4 layers of fabric & batting. Cut everything to size so that it will be even all the way around.
- Pin the fabric together all the way around the perimeter leaving the bottom open.
- Pin a hem along the bottom so that it would be a nice clean edge.
- First, sew the hem across the bottom.
- Now pin the hems together (or just hold them since the foot on your machine should keep them together) & stitch the perimeter from the edge of the hem all the way around to the hem on the other side.
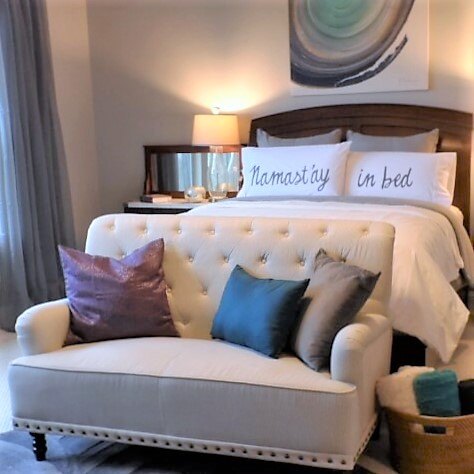
Now your slipcover is done & ready to transform the look of your bed!! Take a look at the difference the headboard slipcover makes on our bed below!

Of course, there are other changes in the room but that large expanse of wood just had to go! I’m so glad I considered this option because it lightened the room so much & even DH loves it.
The best part is the cost - all in, I spent about $30. Head over to this blog post to see how you can further customize your own headboard slipcover AND how much you can save over retail. Hint... It's a LOT of $$!
Resources for this project:
See all materials


Frequently asked questions
Have a question about this project?