


T-Shirt Yarn Dream Catcher - Make Your Own
So I recently discovered T-shirt yarn and I think I'm in love. It’s kinda like ordinary yarn just thicker and there are so many things you can do with it. I bought three balls a while back on sale without having any idea what I'd use them for and then my daughter asked me to make her a tree of life dream catcher. Thanks baby girl - the T-shirt yarn would be perfect.
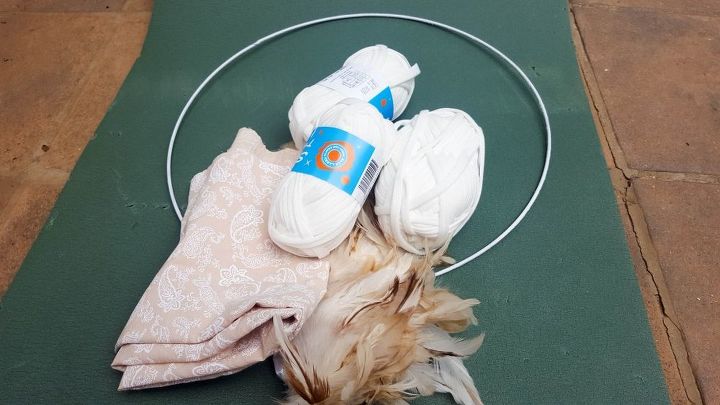
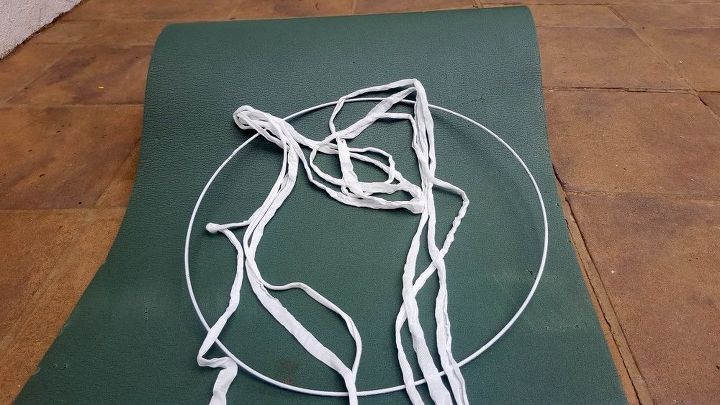
We had lots of fabric scraps and there was a wire loop lying around in the garage. I think it's from an old lampshade, but I'm not too sure. Anyhow's the dream catcher is really easy to make if you know how to plait or braid hair. And if you have a daughter that's one thing you probably know really well ;-) Cut the yarn into pieces that are about twice the diameter of the ring. An embroidery hoop would also work.
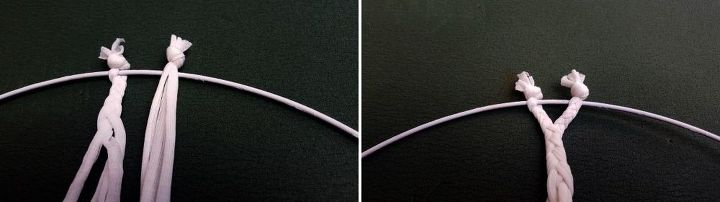
Take three of the pieces and knot them together and slip them over the hoop or ring. Begin braiding the pieces to form branches and twigs.
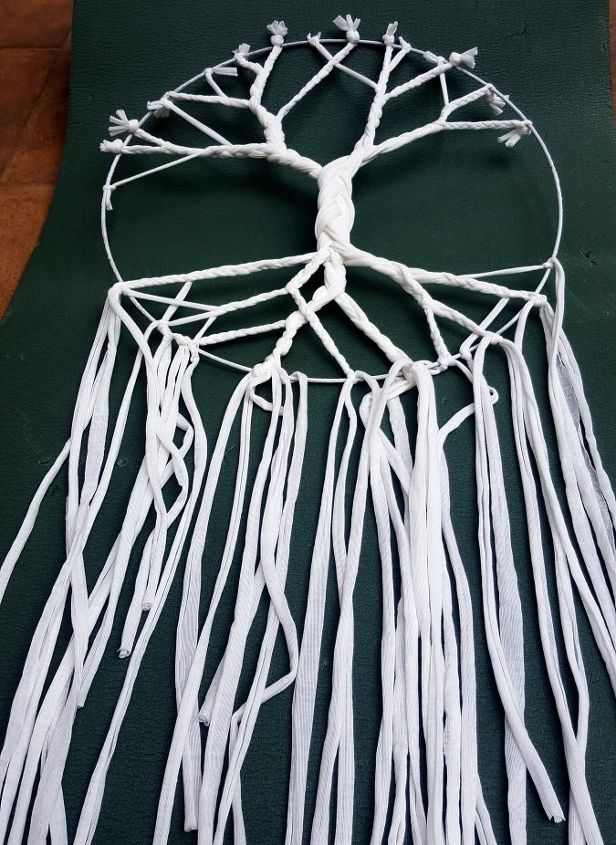
Work your way around the ring adding more branches and twigs as you go. When you have enough, braid all the branches together to form the truck. When the trunk is the right length, split the braid to form the roots. When you're done tie the roots to the ring or hoop and leave the extra bits of T-shirt yarn hanging down.
Add some fabric scraps, beads, feathers or what ever tickles your fancy to finish off the dream catcher.
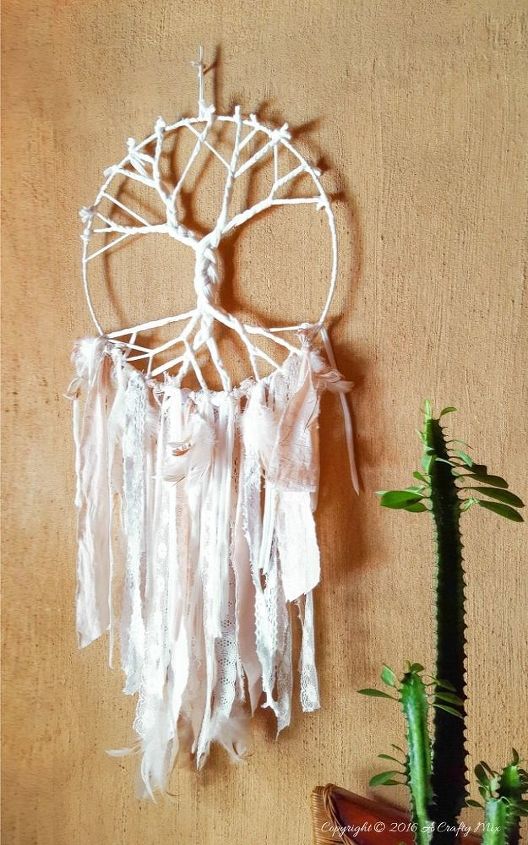
They're really easy to make and depending on how fast you braid, they can be made in about an hour. When my daughter saw how easy it was, she decided to make her own, so mommy got to keep this one ;-) I'm not complaining, it looks gorgeous in our bedroom. If you're not to keen on braiding you can make a tree of life using jewelry wire too. And if you're looking for a dreamcatcher that's a little more boho and full of vibrant, glorious colors then you'll love this silky, beaded version.
Pssstttt.....for the full tutorial and lots of step-by-step picture come visit us on the blog. We'd love to see you there.

Comments
Join the conversation
-
Love it!
-
On my to-do list. Awesome. I make the original type with fur, feather, beads. But this is just way too cute and pretty to pass up.


Frequently asked questions
Have a question about this project?