


Simple Glass Cake Stand DIY Project
Wanna make a simple glass cake stand diy project that’s cheap and easy?
Then you’ve come to the right place.
This diy glass cake stand was made using a thrifted plate and a Dollar Tree candle holder.
It was SO cheap to make!
And the best part … you can put your cake directly on the plate!!!
No joke.
I have seen SO MANY diy cake plates that you can’t actually use to serve food.
Do you know what I mean?
They painted directly on the top of the plate, or they decoupage t, or they do some other finish that isn’t food-safe.
Not this easy diy cake stand.
You can use this diy cake plate for decor or entertaining, and feel confident putting your cake directly on it.
Woop-woop!
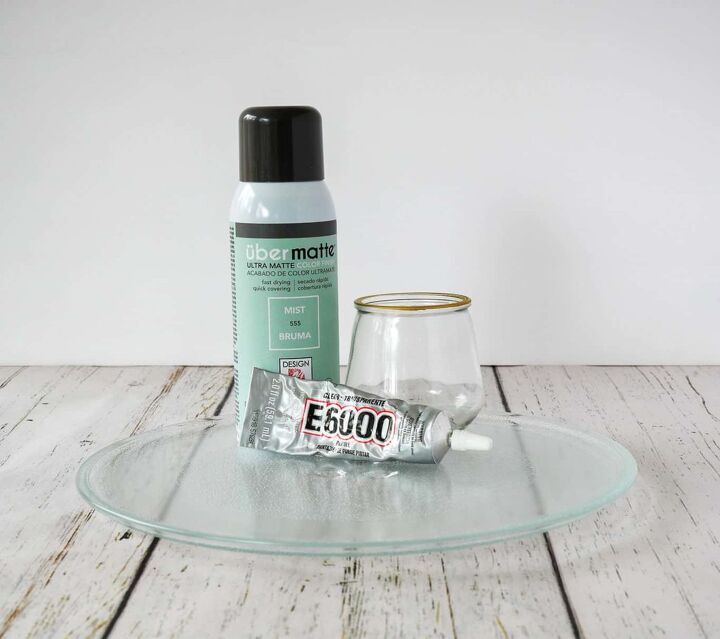
Supplies for Your Simple Glass Cake Stand DIY Project
- Microwave turntable plate
- Clear glass jar or vase
- Spray paint
- E6000 glue
How to Make a Food-Safe Glass Cake Stand
Step 1: Gather the supplies to make your simple glass cake plate
As I mentioned above, this glass cake stand diy is food-safe.
The reason why is two-fold. First, you will need a microwave glass turntable plate. Run to your local thrift store. I bet they have more than one.
Mine cost less than $2!
Second, you won’t be doing anything to the top of the plate. (More on that later.)
In addition to the microwave glass plate, also gather a glass jar or vase. One that has a thick rim and solid base. I found mine at Dollar Tree.
*Note: if you want a shorter diy glass cake plate, an Oui yogurt jar would work great.
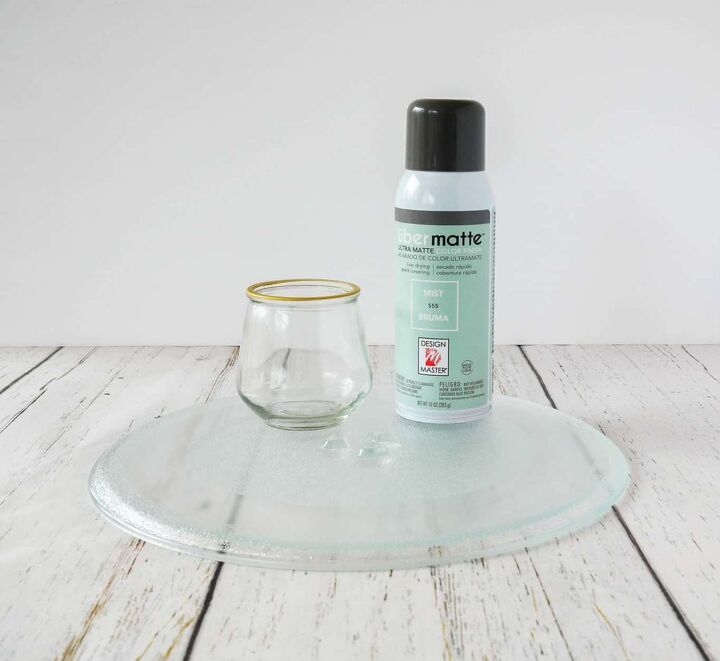
Then the last item you need to get is the spray paint color you want your diy glass cake plate to become.
Step 2: Prep and paint your diy cake stand
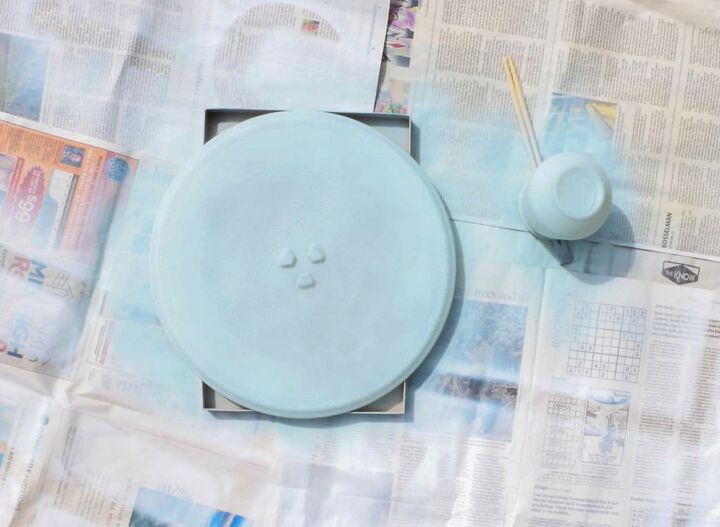
Before painting your glass microwave plate and jar, wash them with soap and water to remove any dirt, grime, or food particles.
Then wipe them down with rubbing alcohol.
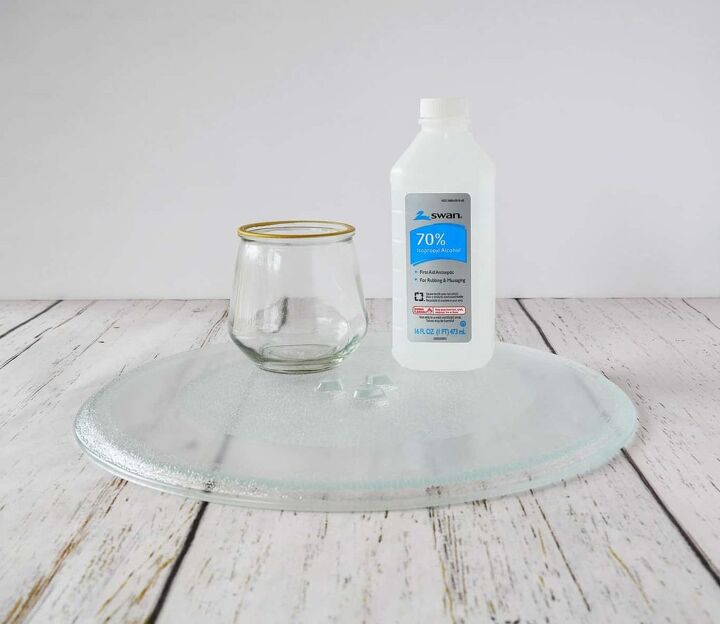
This will remove any oils or other gunk and help the paint adhere to the glass.
To spray paint your glass pieces, do it outside, or in a well-ventilated room. Be sure and lay down enough newspaper or a drop cloth to completely cover your work surface.
Lightly spray 2-3 coats of paint, covering the glass.
Start your spraying before the items, continue across them, and then finish once you have passed them.
Do NOT start spraying directly aimed at the plate or jar. This can cause drips and obvious spray patterns.
Also, do not paint the top of the plate.
I repeat ~ DO NOT PAINT THE TOP SIDE OF THE PLATE!
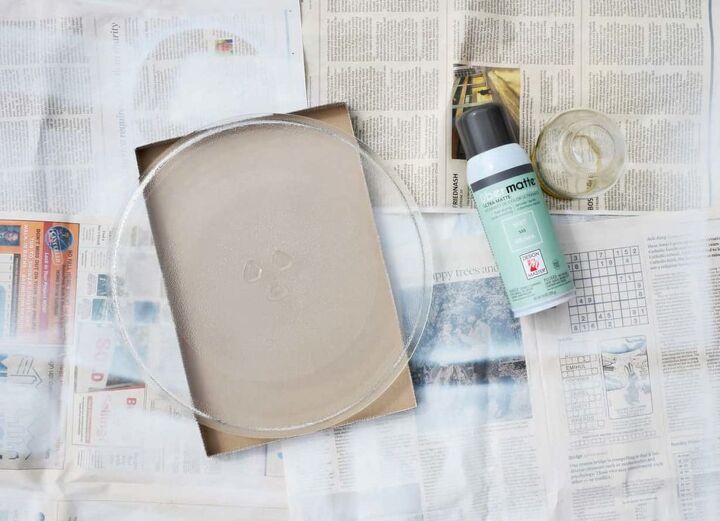
Place the microwave plate upside down and paint the underside. That way the paint can show through, and still be food-safe.
Step 3: Attach the glass plate to the glass jar/vase
Once your microwave glass plate and glass jar are completely painted and dry, it’s time to attach them.
You will adhere the open end of the jar/vase to the bottom of the glass plate.
I suggest doing this upside down with the top of the glass cake plate facing down.
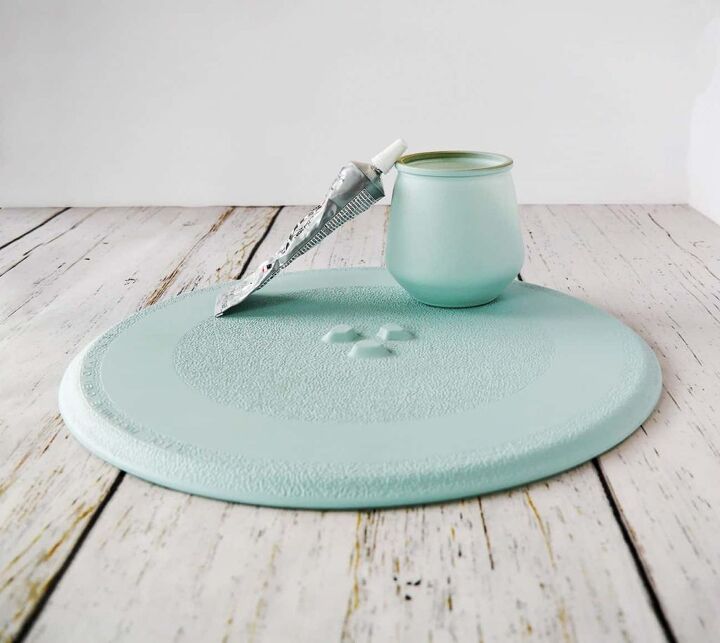
Using E6000 adhesive, run a bead of glue along the top of the jar. Then place it on the bottom, in the middle of your plate.
Allow the glue to dry for 24 hours.
Now flip it over.
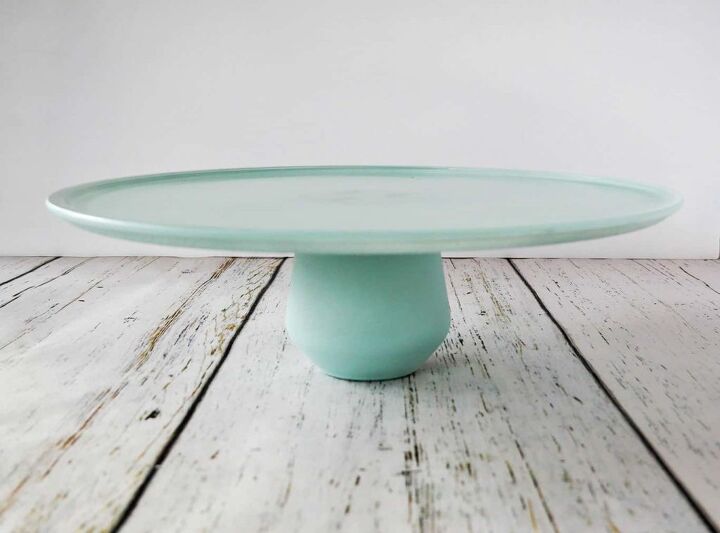
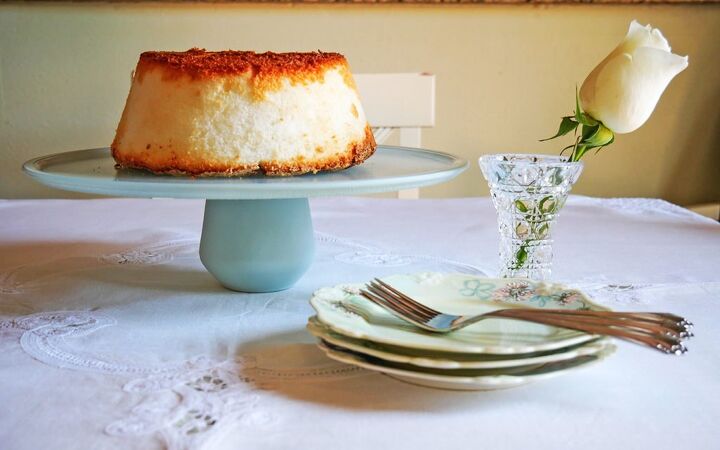
Voila! You have a simple, food-safe, glass cake stand.
Time to bake a cake (or cupcakes)!
Check out other easy diy projects:
- DIY Unique Menu Holder
- DIY Wine Cork Napkin Rings
- Simple Moss Bowl Centerpiece DIY
- Diamond Napkin Rings
- Twisted Paper Flower Napkin Rings
- Simple 2-Tier Tray
- Faux Leather Napkin Rings


Frequently asked questions
Have a question about this project?