


Soda Can Craft: How to Make Stunning Realistic Plant Leaves

Do you want to bring some greenery into your home but lack a green thumb? Looking for a fun and creative way to achieve this?
If you love crafting and upcycling then you are going to love today's innovative soda can craft. I am going to show you how to make metal leaves from soda pop cans to create an artificial hosta plant.
This fun DIY project is not only environmentally friendly but also inexpensive and easy to make.
This post was transcribed by a member of the Hometalk editorial team from the original HometalkTV episode.
Tools and Materials:
- Soda cans
- Craft knife
- Scissors
- Glue gun
- Iron
- Spray paint
- Floral wire
- Wooden dowels
- Planter
- Soil
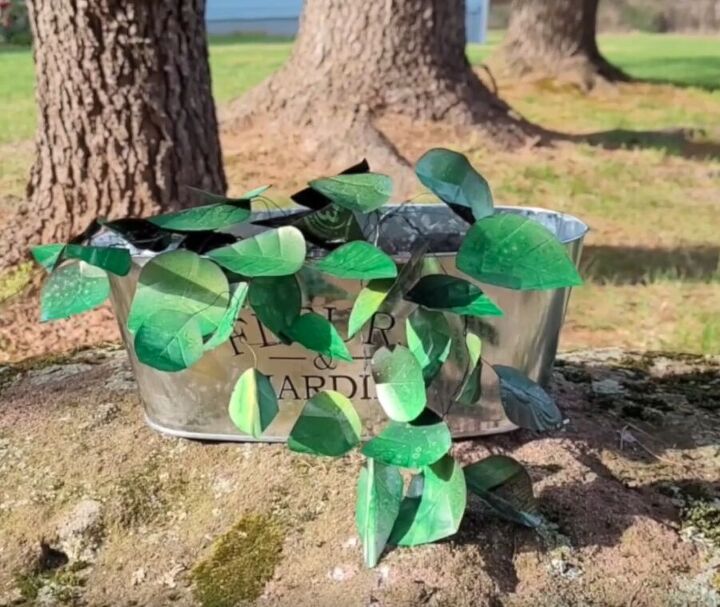
These gorgeous DIY fake plants can be placed in a container, adding a touch of beauty to your patio. The best part? You won't have to worry about watering them!
Enjoy the fun of crafting while creating inexpensive and environmentally friendly home decor.
1. Prepare the Soda Cans
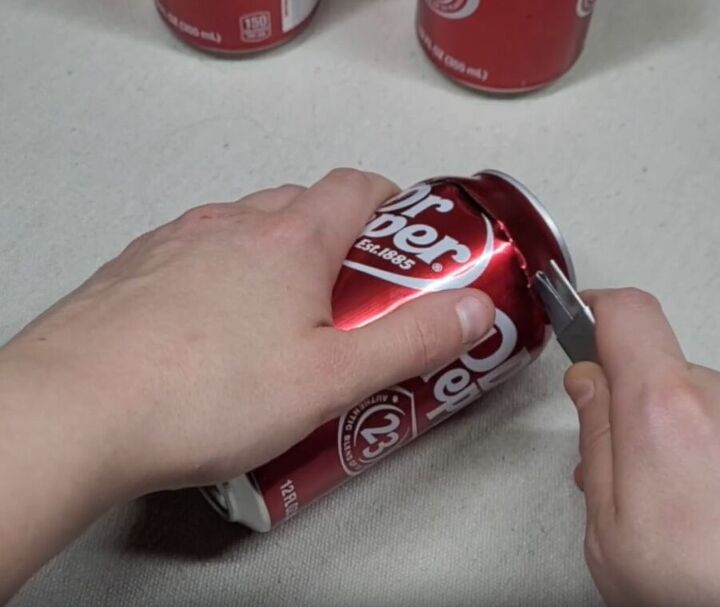
To create this charming recycled craft, collect five empty soda cans. Make sure the cans are clean and dry inside. Use a craft knife to cut the top of each can carefully.
It is important to stay safe by keeping your hands away from the sharp edges created while cutting.
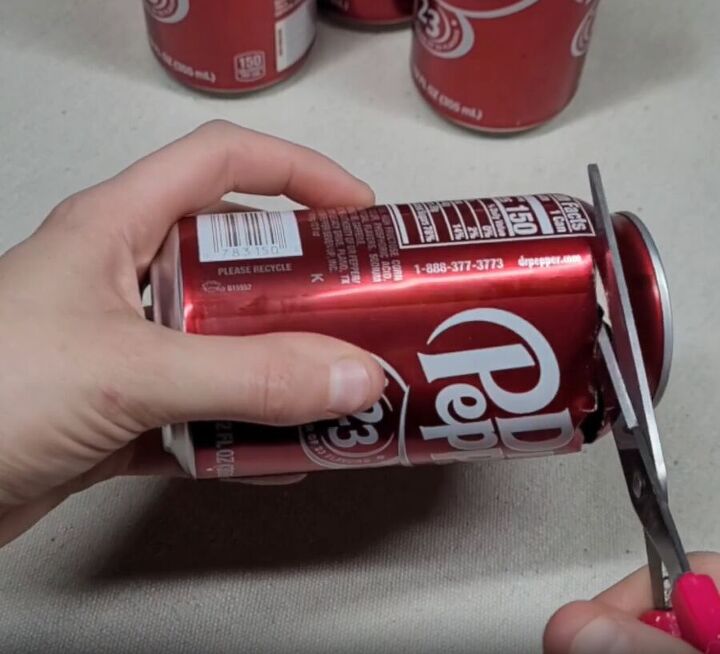
Once you have managed to create a slit with the knife, use a pair of scissors to continue cutting off the top of the can.
Now, make a lengthwise slit all the way down to the bottom. Continue removing the bottom section of the can with your scissors.
Remember to take the remaining scraps to the recycling bin.
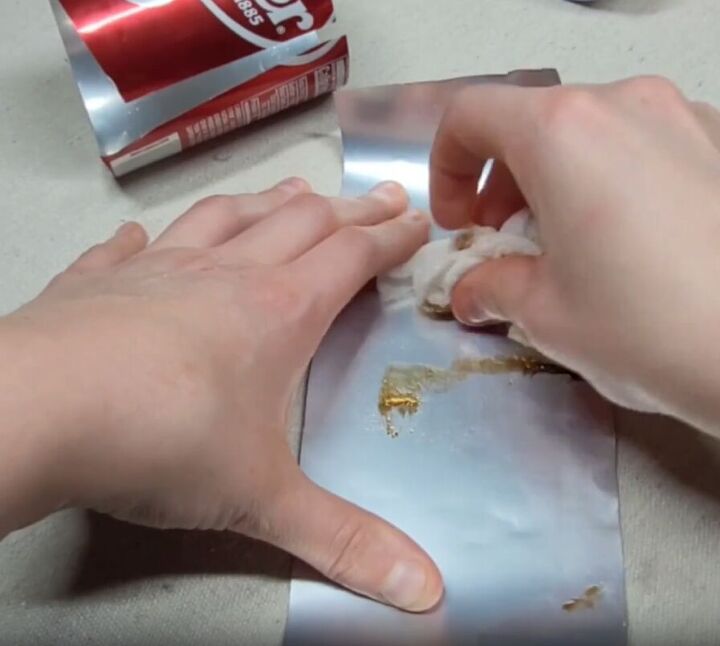
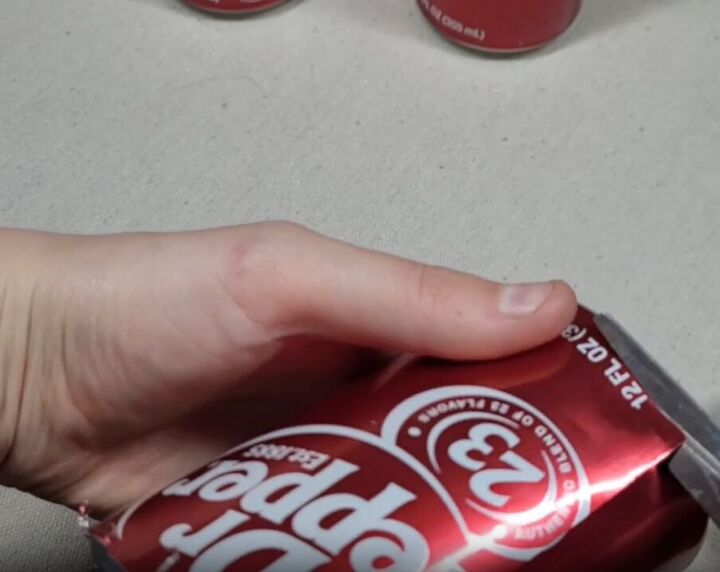
Clean any residue left inside the cans and let them dry.
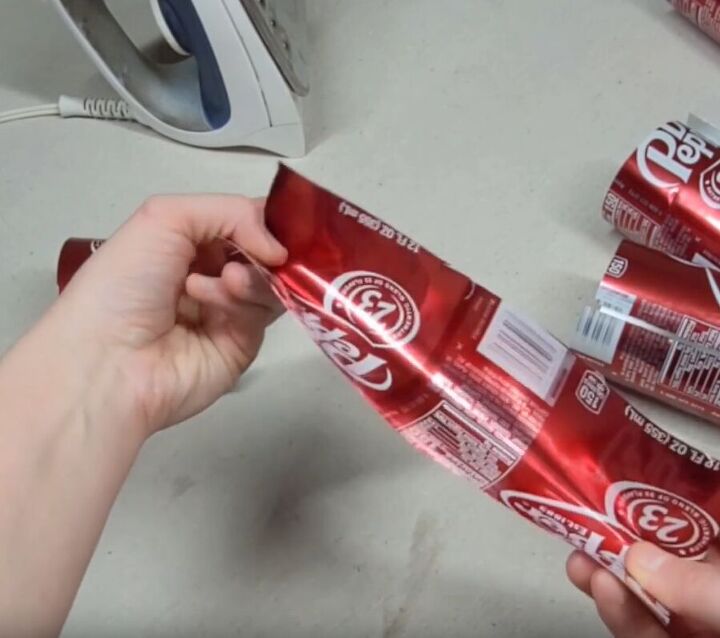
To make the aluminum sheets more manageable, gently bend them in the opposite direction of their natural curve, flattening them slightly.
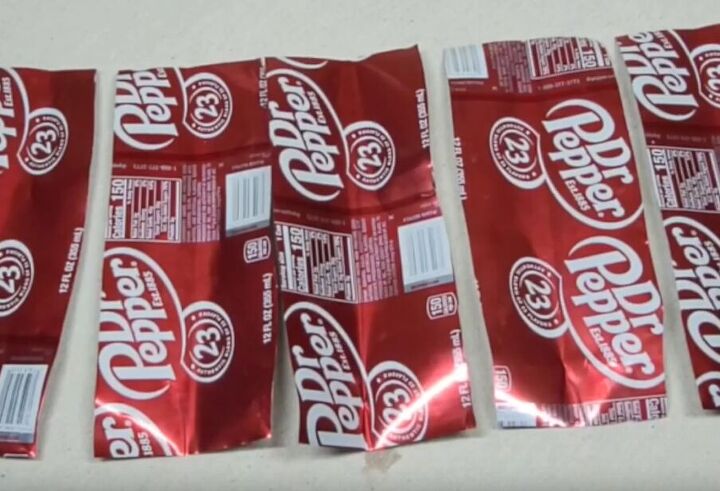
Lay the sheets out on a flat surface and cover them with a cloth.
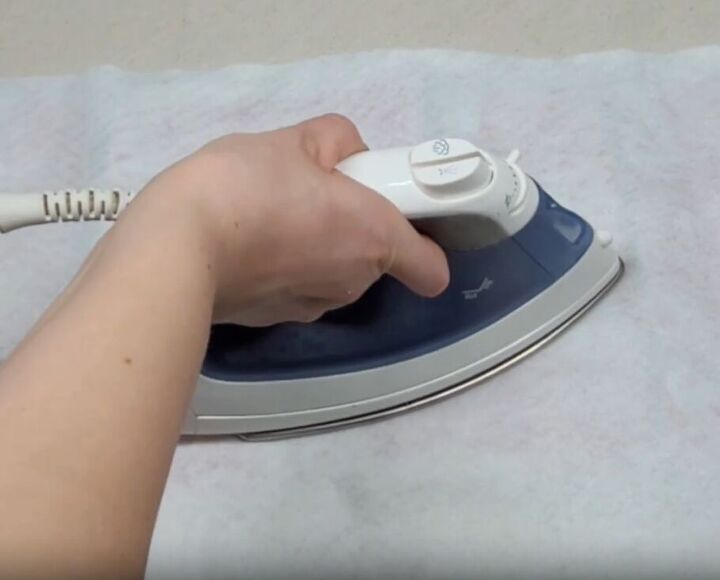
Now, use an iron to press down on the aluminum sheets, helping them flatten out even more. This will make them easier to work with as you dive into the crafting process.
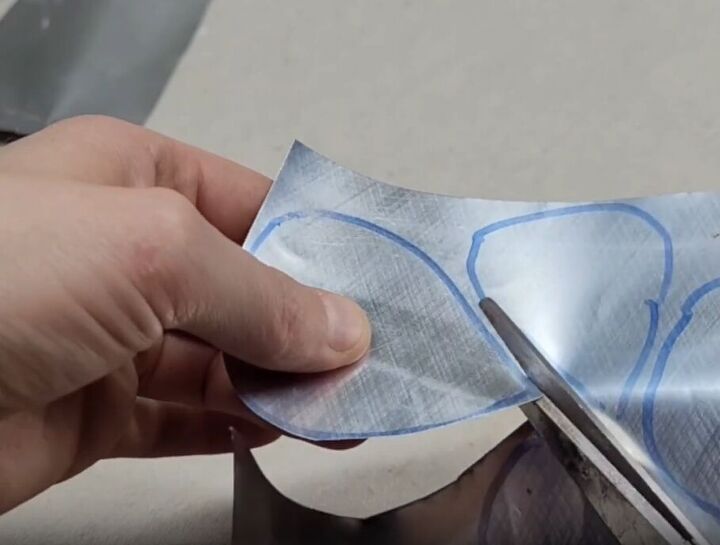
2. Cut and Shape the Leaves
Draw leaf shapes in different sizes on the aluminum sheets. Be very careful when cutting them out, as the edges can be sharp. You should be able to get about 5 to 10 leaves on each sheet.
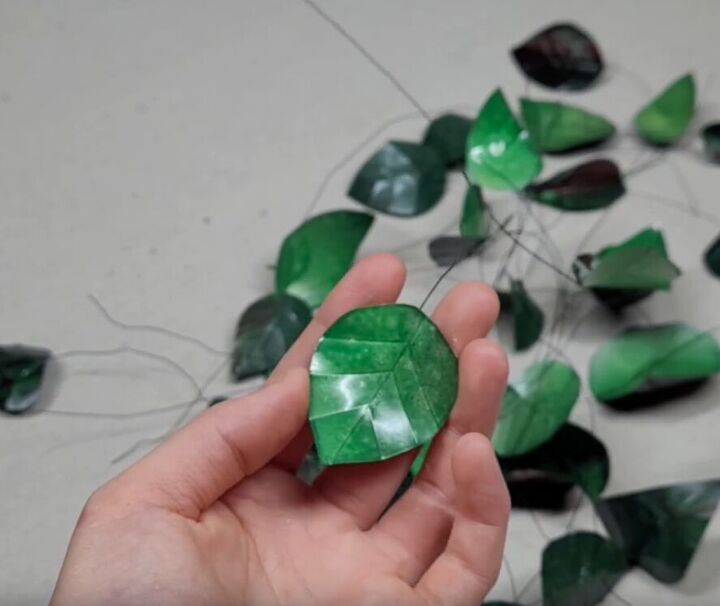
Once all the leaves are cut, use a metal tool to indent details into each leaf.
To give the leaves a natural shape, experiment by folding some of them upward along the center. Others can be folded inward to create a curved effect at the bottom.
This technique adds a realistic touch to the leaves.

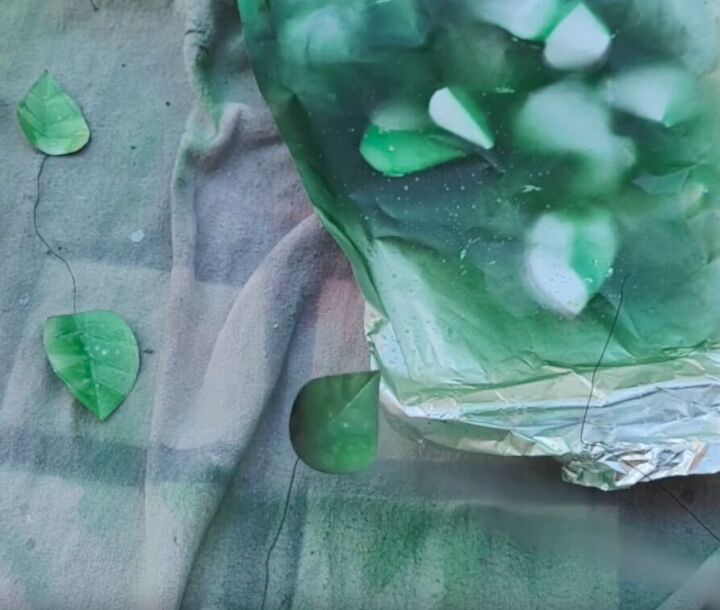
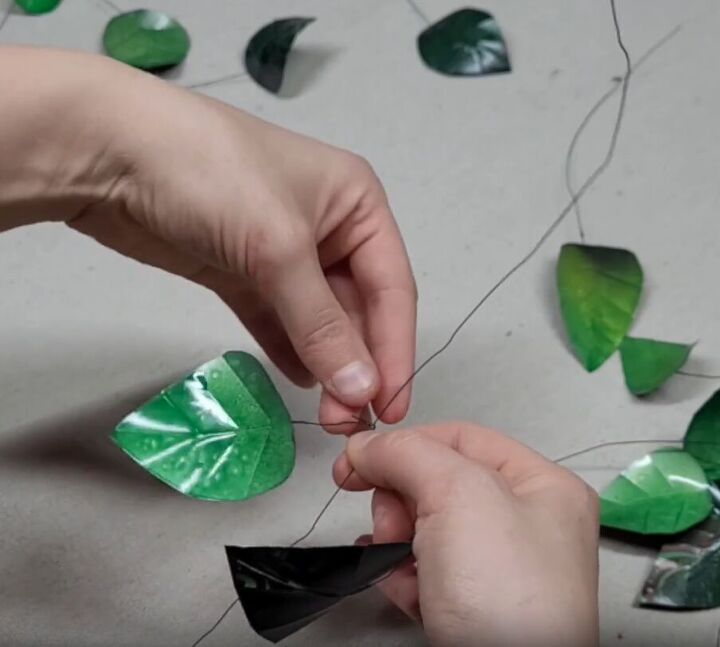
3. Attach the Wire to the Leaves
Cut some floral wire and apply glue generously to the back of a leaf.

Stick the wire onto it, holding it in place for a couple of seconds.
Continue gluing down the leaves, waiting about an hour and a half for the glue to dry.
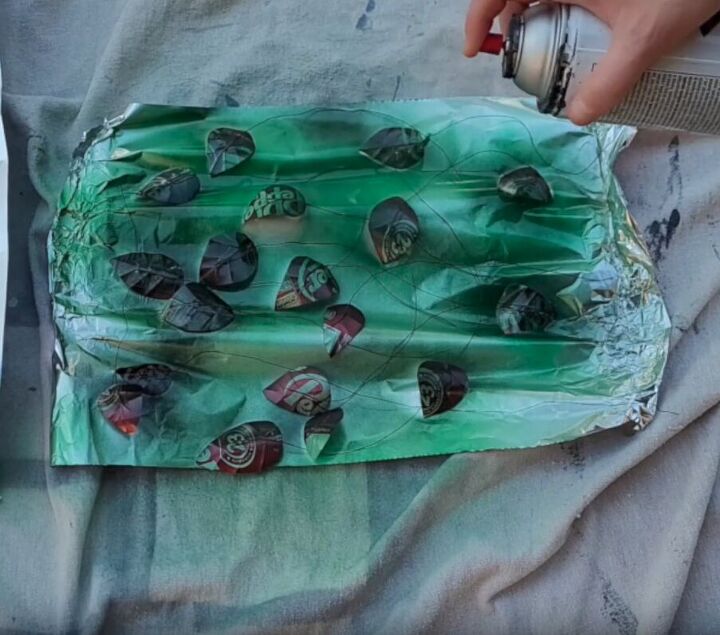
4. Paint the Leaves
Spray paint the leaves with light green as the base color, followed by a light black coat.

Flip the leaves and paint the other side green.
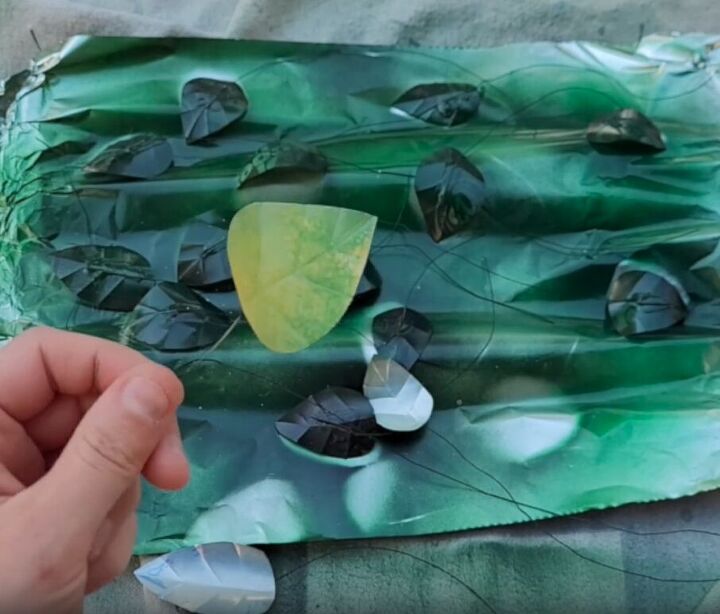
Then add a touch of yellow for vibrant coloration.
Enhance the leaf edges with a light coverage of black spray paint to create a natural and defined look.
The spray paint technique used results in the artificial plant looking more realistic.
5. Assemble the Aluminum Can Art
Now take a long piece of floral wire and start attaching your leaves. Begin by twisting the larger leaves to the top.
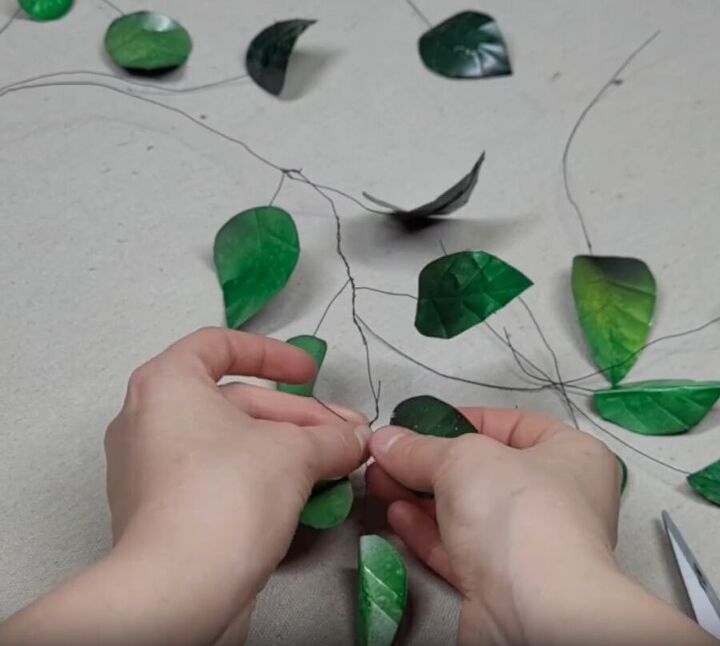
Move downwards, spacing the leaves slightly and giving them a voluminous and fluffy look. You can cut off any excess wire.
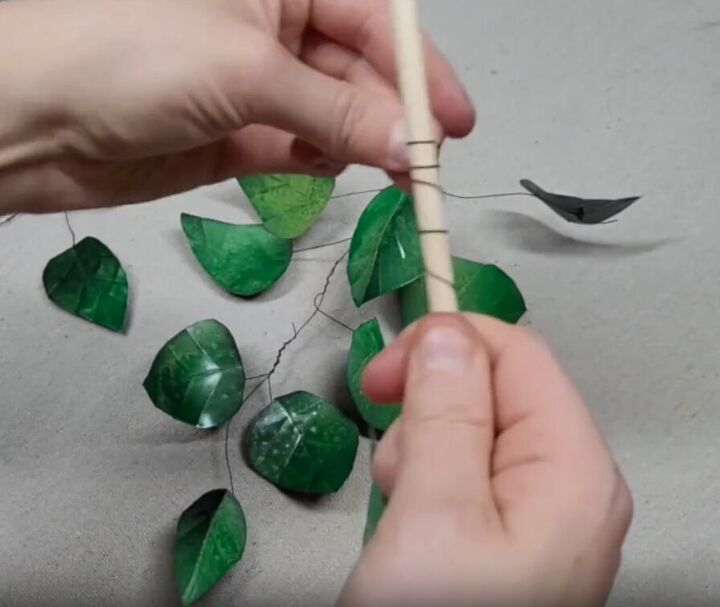
Twist the wire around wooden dowels. You want to attach 2 or 3 branches to each dowel. Ensure the faux plant are hanging down a bit.
Twist each branch around the dowel as close to the center as possible.

Fill up your planter with soil and bury the wooden dowels inside. Move the leaves around and have some of them hang down.
More Aluminum Can Art Projects
Soda Can Craft Tutorial: Faux Hosta Plant
By following these simple steps, you can create your own beautiful and unique soda can art. This DIY project is a fun and eco-friendly way to add greenery to your home. So, grab some cans, scissors, and wire, and get started on your own aluminum can plant leaves today!
If you have any questions or comments, feel free to share them below.
Comments
Join the conversation
-
Hope that whoever tries this project gets a tetanus shot first!!😊
-
Looks fun!


Frequently asked questions
Have a question about this project?