


Solid Wood Smart Lamp

by
Zac Builds
5 Materials
$65
4 Hours
Medium
So I've been wanting a desk lamp for a while. Something that I could install a smart lightbulb into and integrate into my smart home setup. I looked around for a pre-made but didn't find anything I thought was nice enough to spend my hard earned dollars on.
That's when I decided to hit the wood shop and build my own smart lamp.
By the time I was done I had a fully voice controlled lamp that integrated seamlessly into Google Home setup and (too me, at least) looked awesome! Let me show you how I did it!
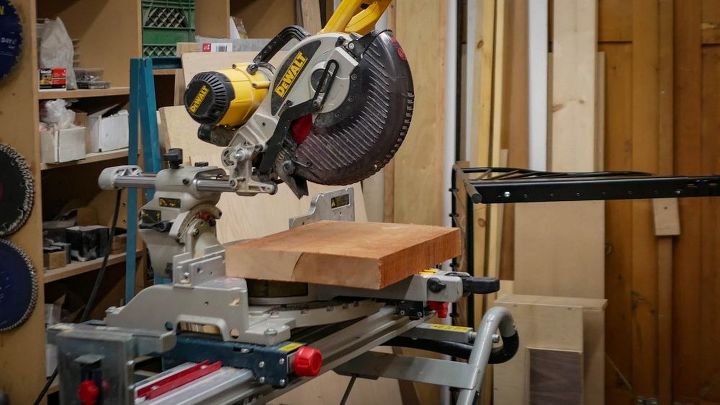
Here's the chunk of mahogany that I started with. It was left over from a bookcase I built a couple of weeks ago.
You can check that build out here: http://www.hometalk.com/diy/build/furniture/i... my mitre saw I cut it into two pieces that were 7" x 7".

Because the pieces of mahogany I had were actually quite raw and slightly cupped I ran them through a thickness planner to remove the top layer of wood and flatten them out.
This process removed about 1/8" from the thickness of each piece of wood but left them perfectly smooth and flat.
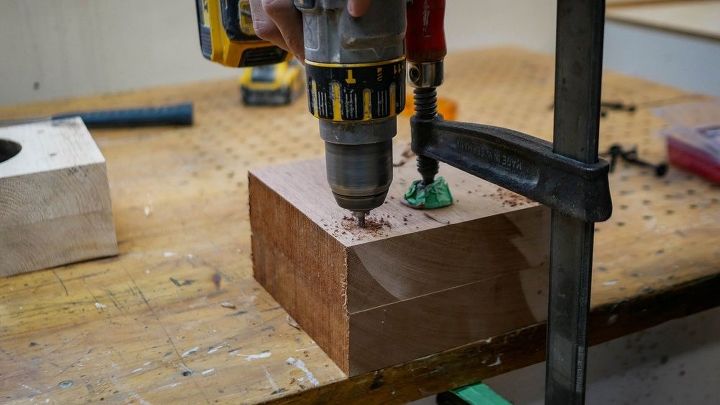
Next I clamped the two pieces together.
To create a solid block of wood I had to screw them together, but before I could do that I had to pre-drill 4 holes, one for each screw I intend to use. I pre-drilled the holes in order to prevent the wood from splitting.
I used my cordless drill and a drill bit that's just slightly smaller than the screws I'm going to be using.
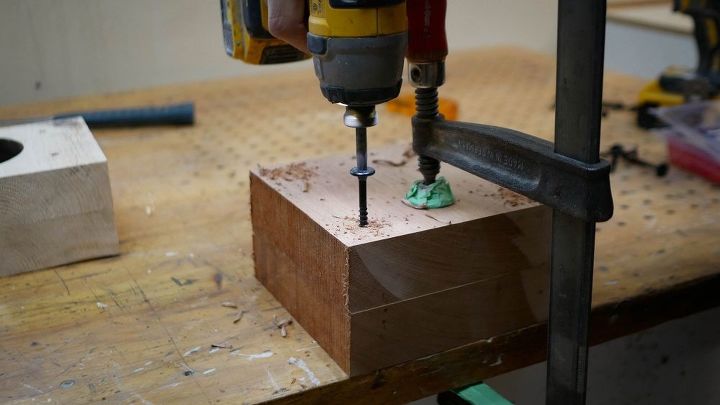
After rummaging through my box of misc screws and fasteners I found these "HeadLOK" screws by Fasten Master. They are probably over kill for this project, but they have a cool black finish and suit this build quite nicely.
I used my impact gun to sink the screws into the holes I just drilled until they were flush with the woods surface.
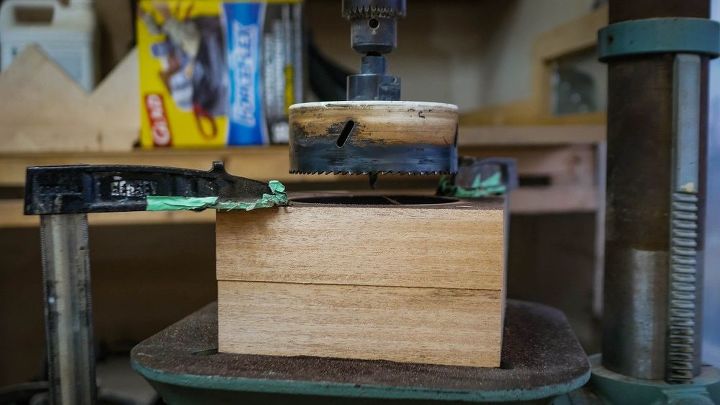
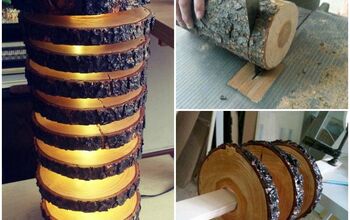
Now came for the really fun part! I setup my drill press with a 4 3/4" hole saw.
My hole saw wasn't exactly the sharpest so I can't really say I "cut" my way through the block, more like burned my way through it. It didn't take long before I filled my workshop with the scent of burning mahogany.
Here's what the wood block looked like after I was finished with the drill press and hole saw. Check out those burn marks!
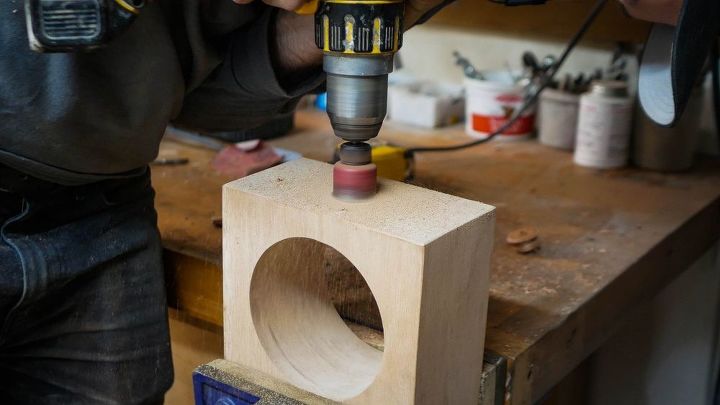
To get rid of them I combined a sanding drum with my cordless drill. I set the cordless drill to it's highest speed and slowly sanded the inside of the lamp until all of the burn marks were gone.
At first I thought I was going to have to do this step by hand, so I'm glad I came up with the method. That being said it still took quite a bit of time, but it was way better than doing it ALL by hand.
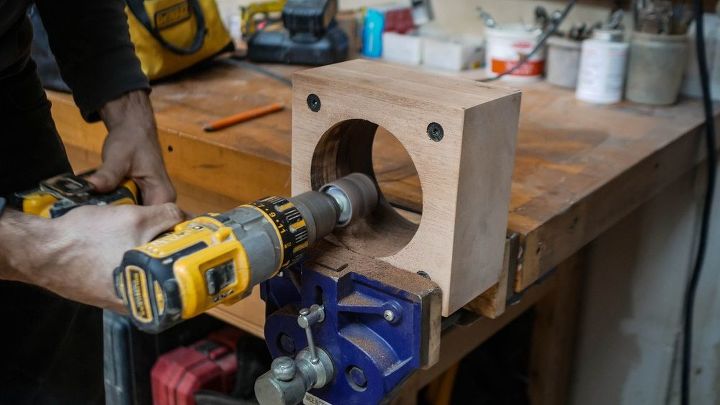
Next I had to create a hole where the light socket would be inserted into the lamp. I used a 1 1/4" hole saw combined with my cordless drill to cut a hole through the wood block. My lightbulb socket has a diameter of exactly 1 1/4", so it fits snuggling into this hole.
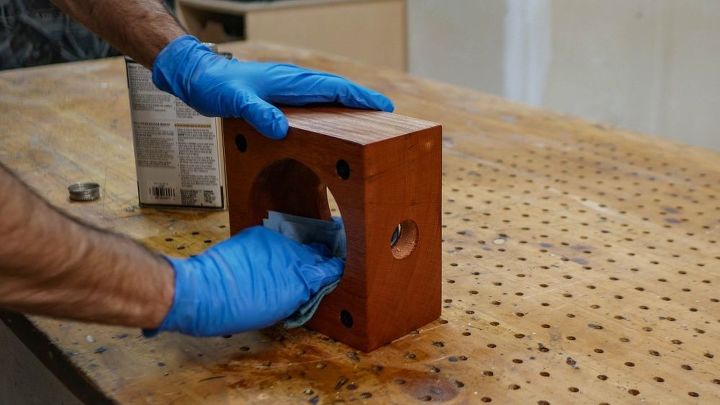
Many of you may have noticed that my mahogany didn't have its rich red signature colour.
I poured danish oil out onto a rag and then rubbed it into the wood.
The oil will help protect the wood from moisture, but more importantly it brings out the grain and color of the wood. There's that rich red colour mahogany is so well known for!
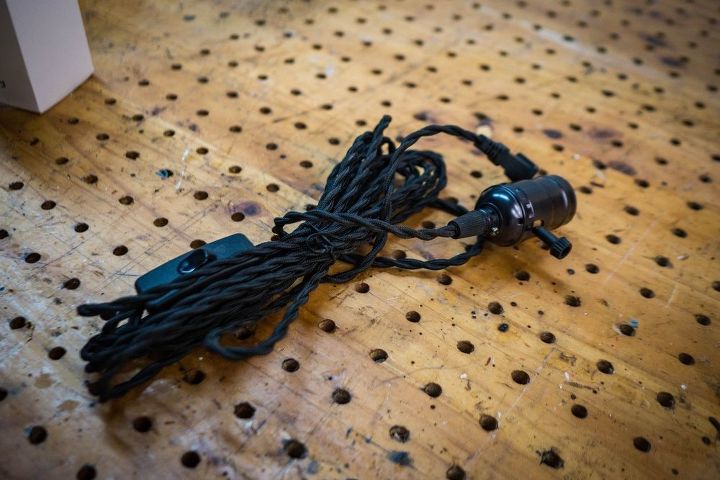
Here's the lightbulb socket and cord I ordered off amazon.ca I'm a sucker for braided cords and vintage-y looking sockets. Funnily enough it has two power switches, one on the socket itself and one inline in the cord. Since I'll be using it in my smart home setup, I'll probably never end up using either of those power switches.
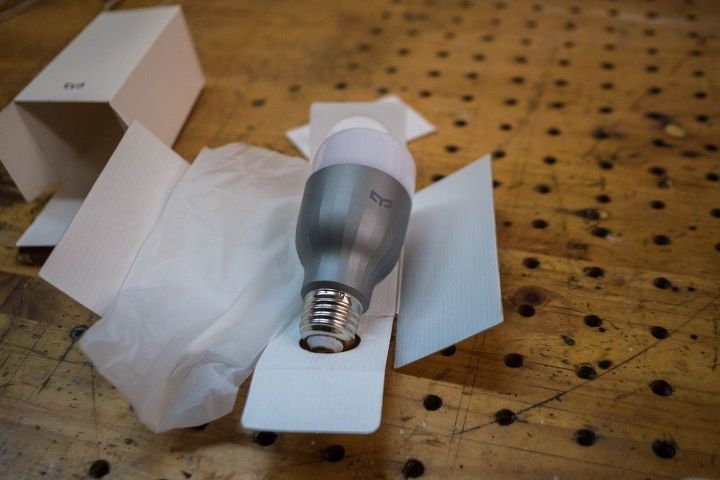
The only other component in this build is this Yeelight smart bulb.
Two thing attracted me to the Yeelight, it's price and it's looks. I think the Yeelight is probably the cheapest smart bulb made by a reputable company. I paid $35 for it which is almost half the price of a comparable Philips Hue or LIFX bulb. It's fully RGB, has its own app, and integrates nicely with Google Home and Amazon Alexa.
Outside of the price, it's just the best looking (subjective) smart bulb I could find. It's got a cool grey body and a matte lens. I'll do a full review of the Yeelight on my site in the near future.
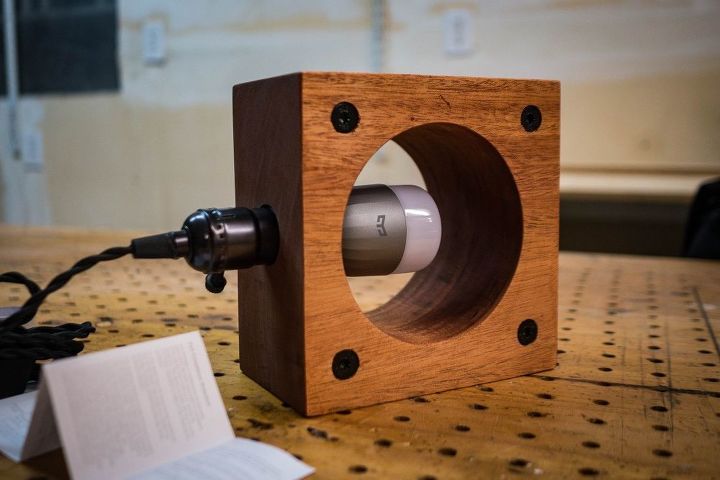
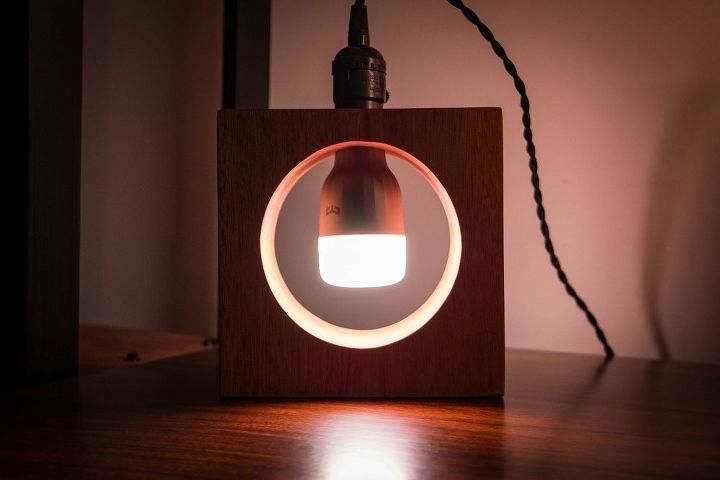
Test fit time! Everything fits and it even fits well!
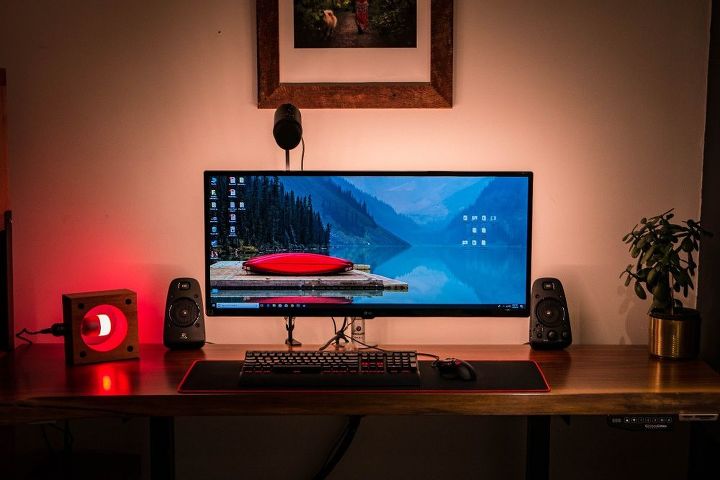
Here it is back on my desk which will be it's home for the time being. I've got a red accent thing going on my desk so I made it red for this photo, but usually I actually have it set as a warm white colour to match the rest of the lights in my room.
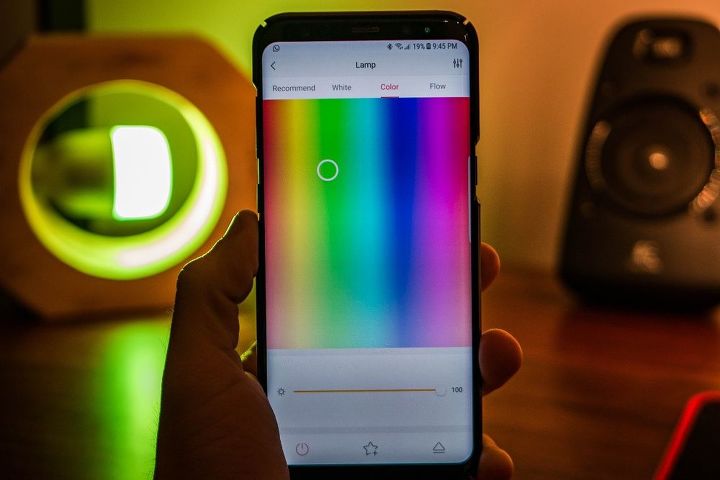
The app that controls the light is not bad, but not great either. I wish it had more options for day and night cycles. I've had it crash on me a couple of times, but the light never stopped functioning. Overall I give it a B-.
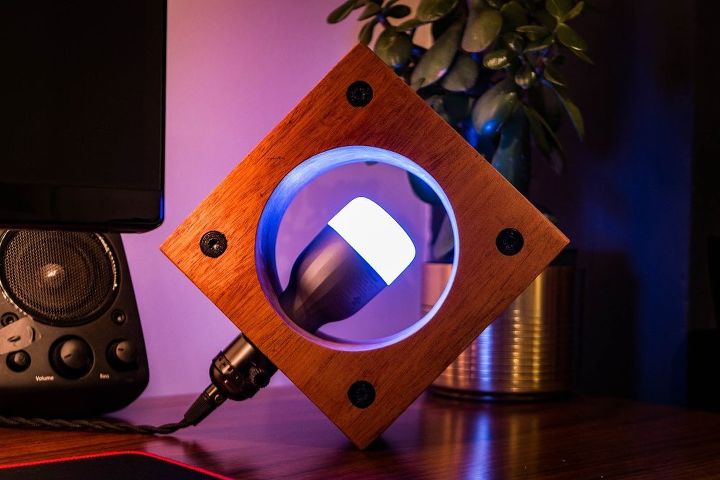
Also you can see just how many colour options you have! They're virtually endless.
That's okay though I'll mostly be controlling it with my voice anyways. Thanks Google Home!
I'm still experimenting with different positions and orientations for it. I really can't decide which one I like best!
Thanks for checking out my build everyone! Feel free to ask me questions or leave your comments below! Checkout my website listed below for a more in depth build guide!


Any price and availability information displayed on [relevant Amazon Site(s), as applicable] at the time of purchase will apply to the purchase of this product.
Hometalk may collect a small share of sales from the links on this page.More info
Want more details about this and other DIY projects? Check out my blog post!
Comments
Join the conversation
2 of 4 comments
-
Wow!! 14 year old me is living for those colored bulbs right now
 #throwback
 -
Haha the best part is I can have it set to crazy neons when no one else is looking, and then when I have company over I cant switch it back to regular white and look like a mature adult :)


Frequently asked questions
Have a question about this project?