


Table Centerpiece Made From a Wooden, Wine Box Carrier

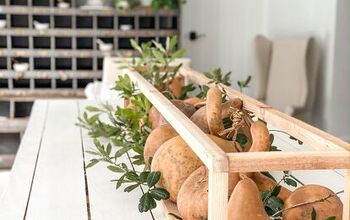
If it's wooden it doesn't get past my eyes because wood is so versatile and easy to work with. If I don't like the finish I'll sand or strip it and start fresh, if I don't like the color I'll paint over it which you'll see both examples of in this post. I know your curious as to what in the world a wine box centerpiece would turn out like so here's your first sneak peek!
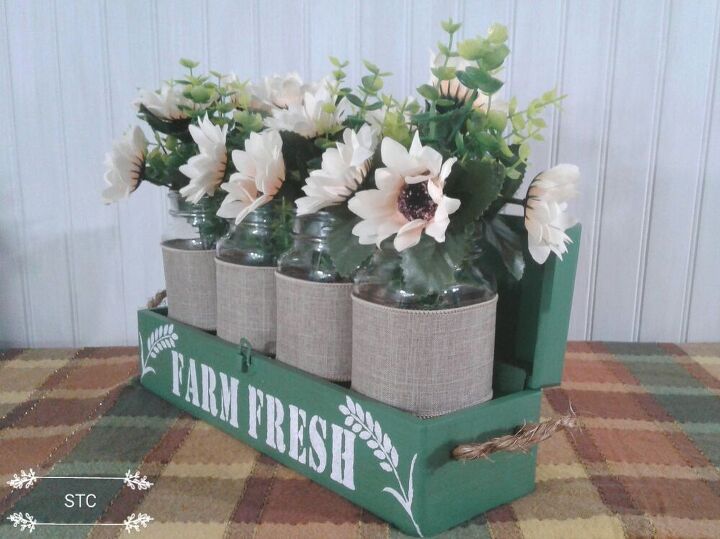
I'm a calm, soothing, go-to green kinda girl so I chose that as the base color and the florals are interchangeable with the seasons, just pull out and refresh as you like! It doesnt get much easier than that for busy folks who just don't have the extra time to fuss over decorating for the seasons! !
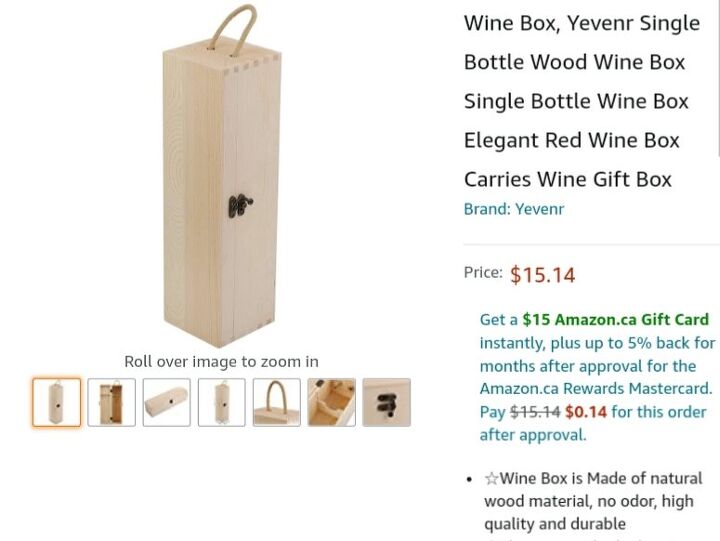
First you'll need a single wine box carrier, I found this one on Amazon to illustrate but mine was recycled from the thrift store for much less.
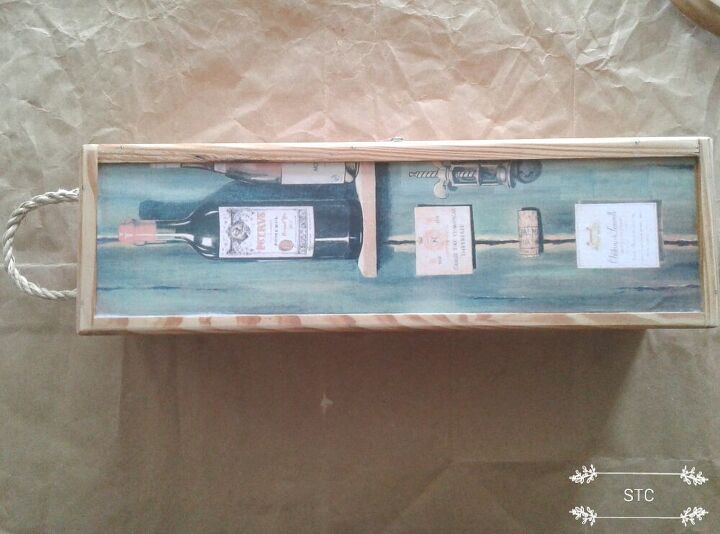
So you'll see mine had a decoupaged picture on the front and it had a coat of varnish which made it look dated. I sanded the box first to get down to bare wood but if you buy a new box you'll be able to avoid this step.
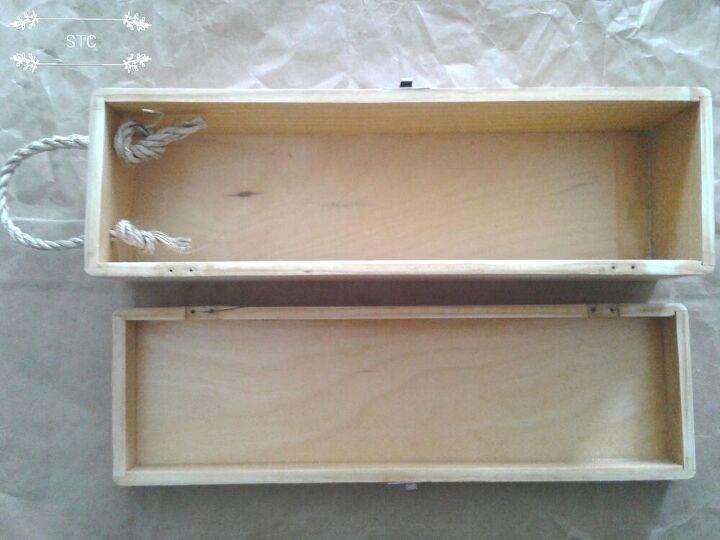
Oh yes I did, I got a little aggressive in sanding and broke the hinges so is it now a write -off? I had to think this one out....after fiddling with different ideas I found a way around my boo-boo.
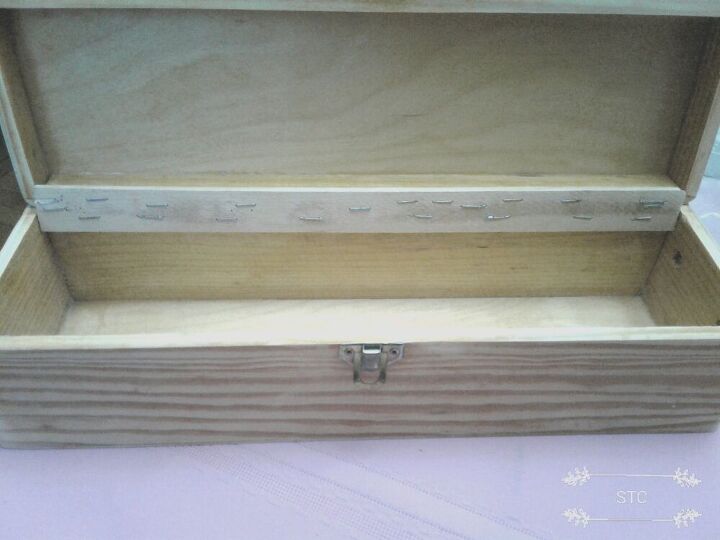
I decided that I wanted it open anyhow to be able to use the interior for a display so it didn't even need hinges. I used a scrap strip of wood, a paint stir stick would be a great substitute to secure the lid in a fixed open position. It went easier than I thought I just stapled it in place...piece of cake!
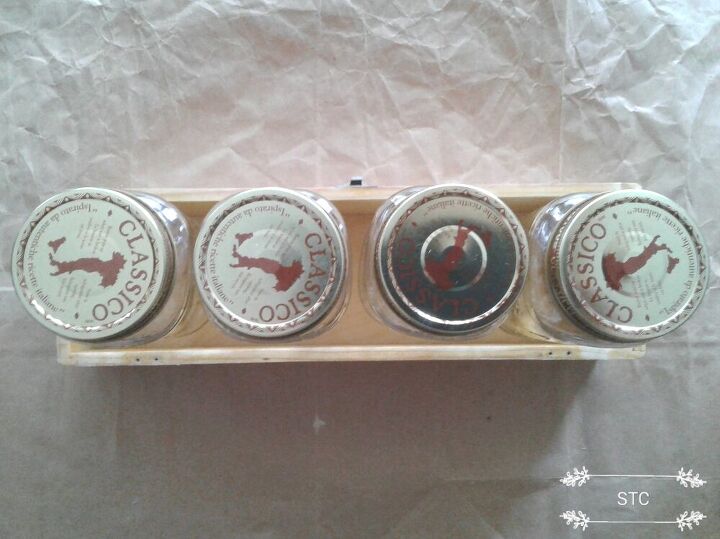
Back on track and pushing forward I came up with the perfect holders for the florals, my ever reliable, empty spaghetti sauce jars! Four of them fit into the cavity perfectly, onward I go with the creative flow just rolling out!
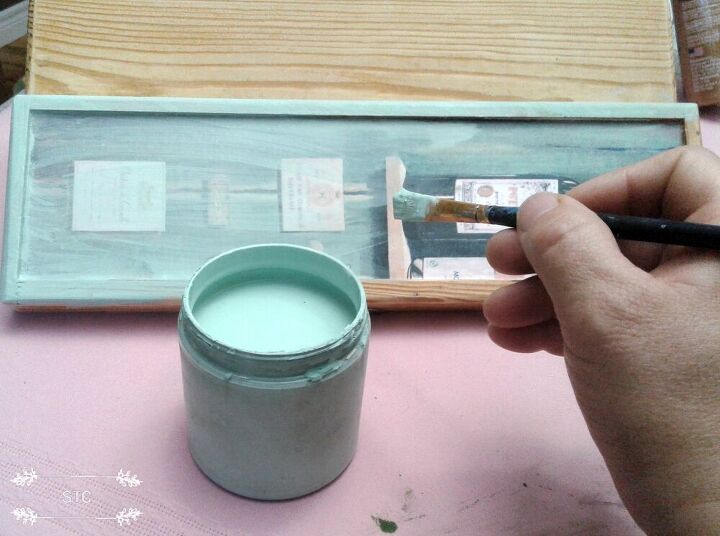
Yes, yes I did I break out the mint green paint thinking it was a great choice! WRONG!! That's more of a spring green color and we are heading towards Fall so I went back to my paints to choose another color.
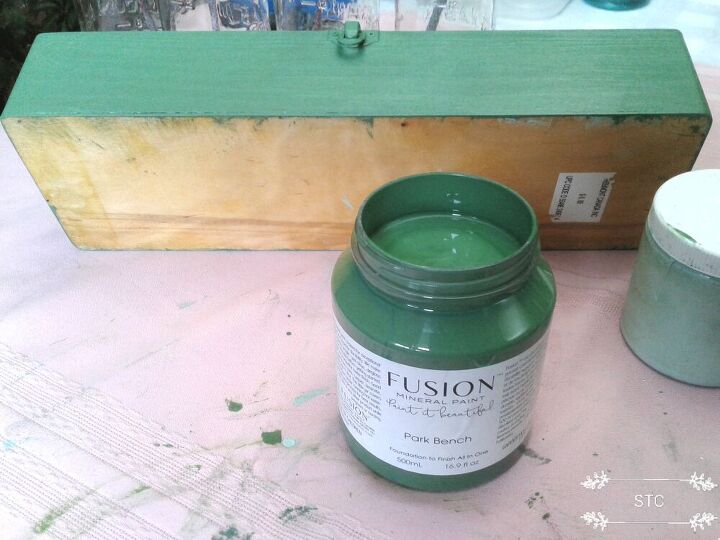
There that's much better, a lot of the time I mix up paints to get the desirable shade too so that's always an idea to keep in mind...experiment with your color mixing skills.
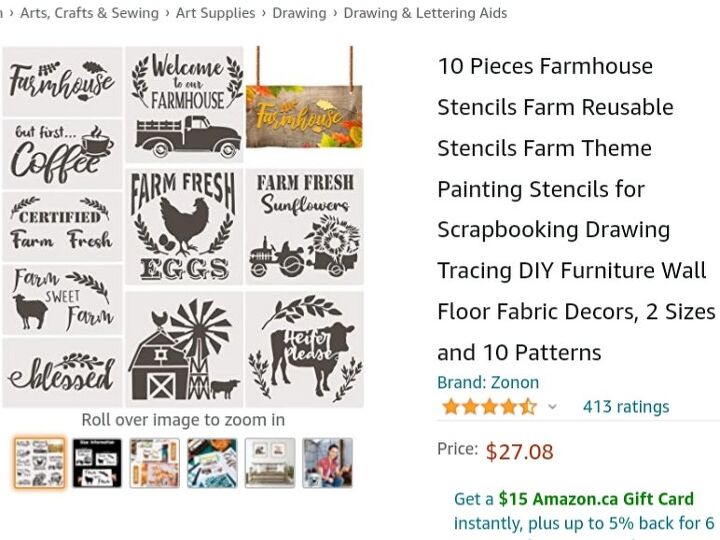
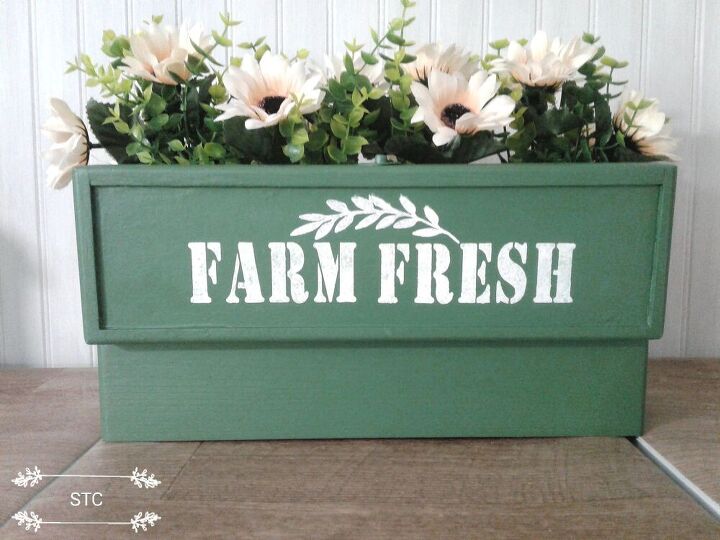
I painted the entire box in the darker green and now I was looking to give it a bit of personality so I went with my new stencil set as seen above.
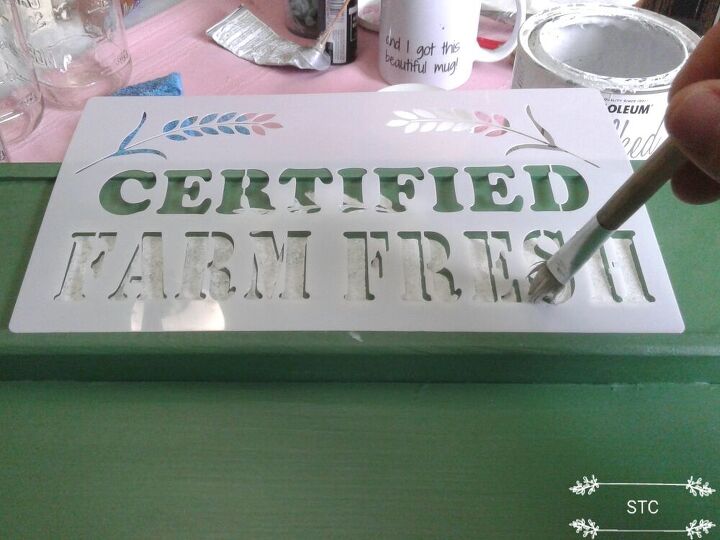
Most of the stencils wee too big to use in their entirety so I focused on what would fit and modified it as I went.
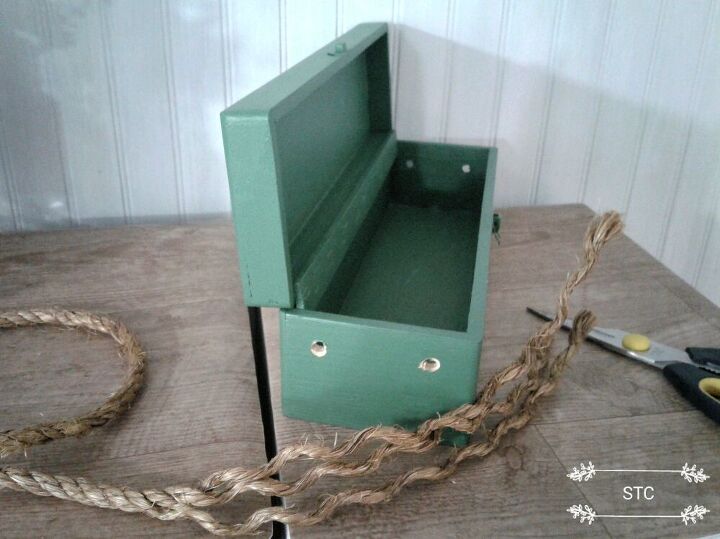
The top had previously had two holes drilled to fit the rope handle into so I replicated that on the other end so I could have rope handles on either side. I used a large sisal rope and just unravelled it to give me smaller strands to fit the holes.
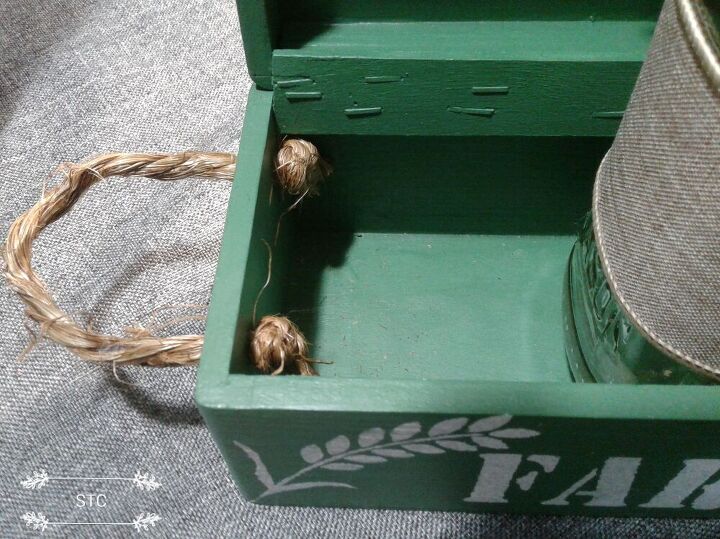
Simply feed the rope through the holes and tie a knot on each end to prevent it was slipping back out.
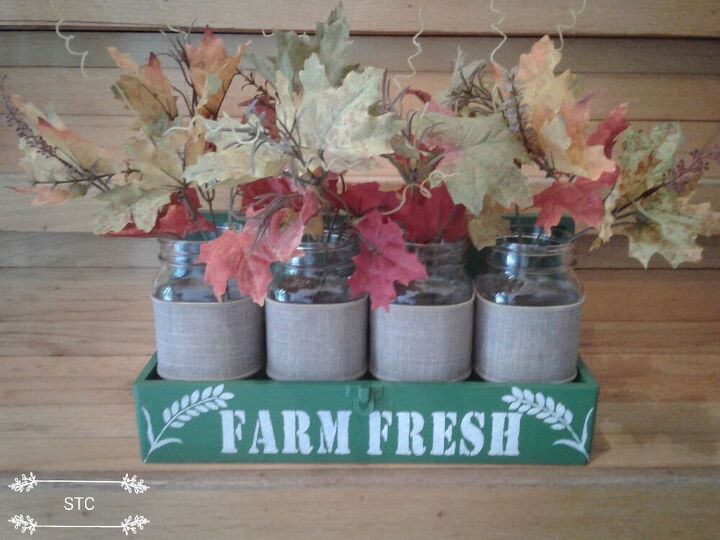
So you'll notice I wrapped each bottle in a linen ribbon to dress them up a bit and also prevent clangeddy, clang, clang of them bouncing off one another. Just cut out some burlap strips for this would be fine as well if you don't have the wired ribbon and hot glue in place. I popped in some Fall leaves as my first instinct but it didn't win me over because it's still Summer yet and I don't want to race colored leaves into my home yet!
As with the base front I applied the same stencil to the box lid so this way it has personality showing on either side and the flowers are still visible from this angle too, pretty neat if I do say so to myself.
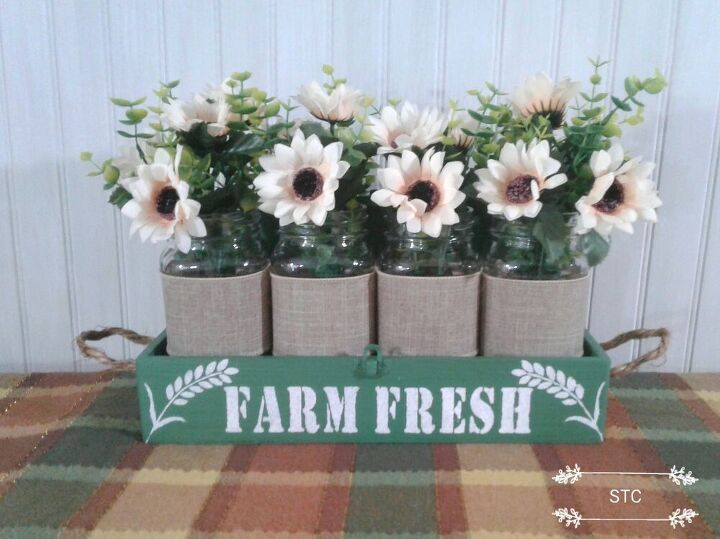
I chose some faux eucalyptus greenery and a small sunflower type bloom to ease me into Fall and its a neutral palette to suit any home. That's it... simple, easy and unique piece of home decor made from a tossed wine box and recycled spaghetti sauce jars! Thanks for checking in on my latest project and you can be sure there's twenty others waiting to be finished on the sidelines! 😄
Resources for this project:
See all materials


Comments
Join the conversation
-
I love it! Clangeddy clang clang. Very good description. That is a terrible sound. How cute with small Xmas trees too.
-
Brilliant I've had an old wine box like that kicking abought for ages. Now I know what to do with it. Your display is awesome! We'll done. (Ann) ENGLAND)


Frequently asked questions
Have a question about this project?