


Thrift Lamp Transformation
This post was transcribed by a member of the Hometalk editorial team from the original HometalkTV episode.
The next time you are at the thrift store be sure to check the lamp section to make this inexpensive, high-end piece.
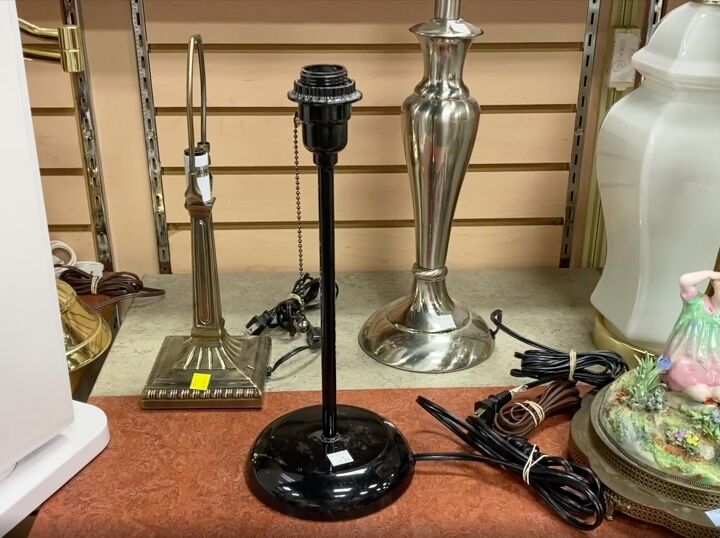
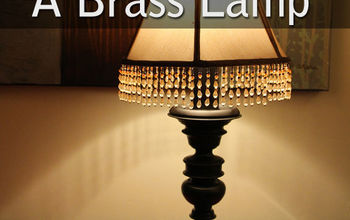
I found this lamp recently at the thrift store, and I want to give it a more modern high-end home decor look.
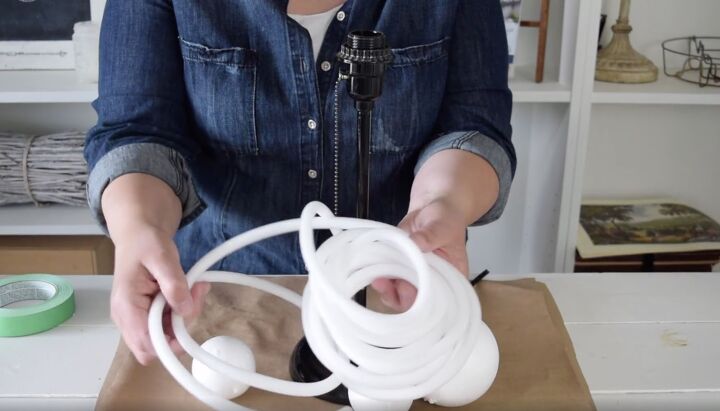
For this project, you're going to need two different sizes of styrofoam balls and some styrofoam rope.
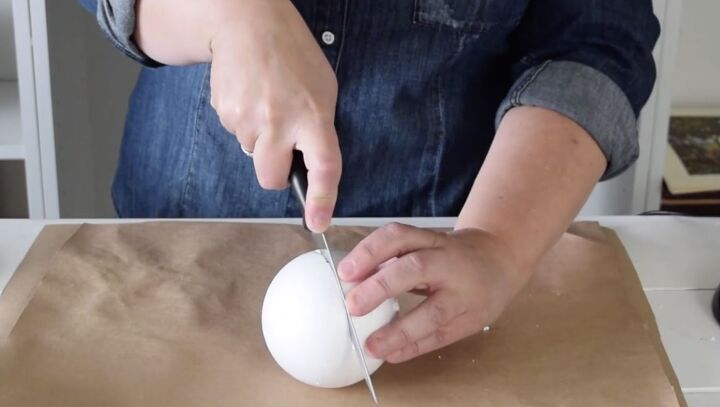
To start you want to cut a large styrofoam ball in half. Use a sharp knife and carefully keep working your way around the ball until you get right through. It doesn't need to be perfect because you’re going to cover it up later.
Once you have your ball cut in half, you need to carve out the middle. Find the middle of your ball and carve a little semi-circle in each half. This will allow the ball to fit over the post of the lamp.
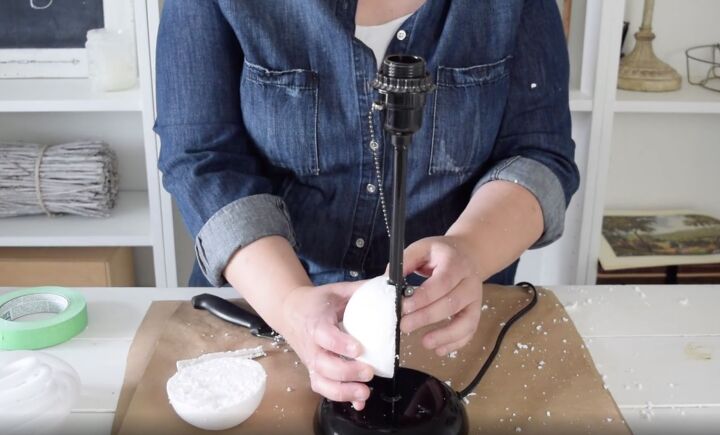
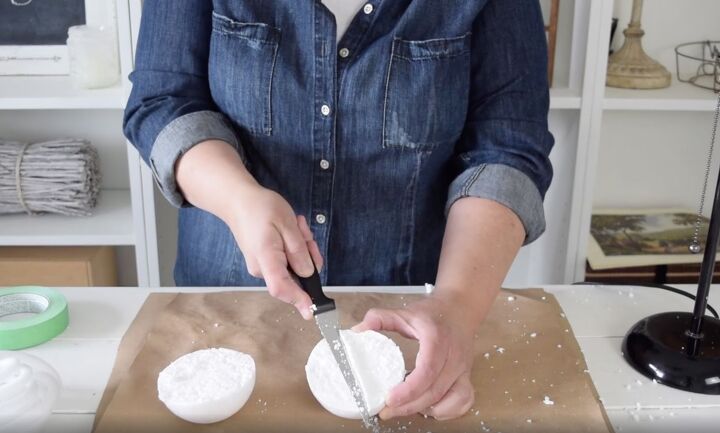
Make sure the ball fits over the lamp post and carve out more if you need to.
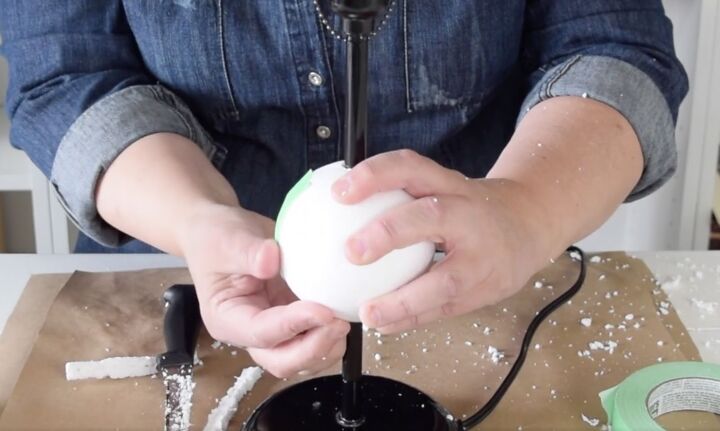
After both halves fit, use some painter's tape to hold them together around the lamp post.
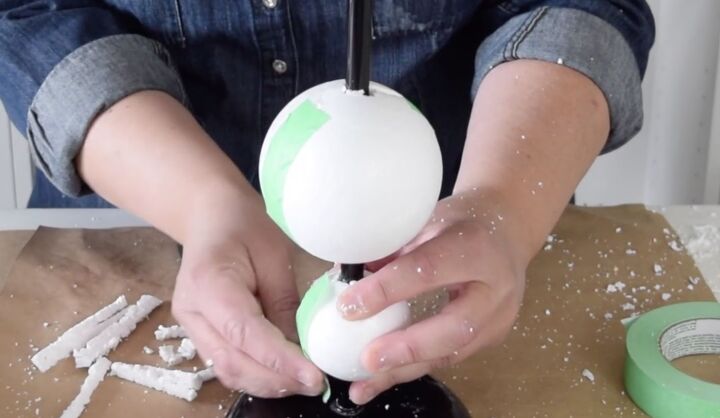
Next, add some smaller styrofoam balls, one above and one below the larger one. Cut and attach them the same way.

After the styrofoam balls are attached, fill in the gaps with the styrofoam rope. Measure out the length you need and hold it in place around the lamp post with some painter’s tape.
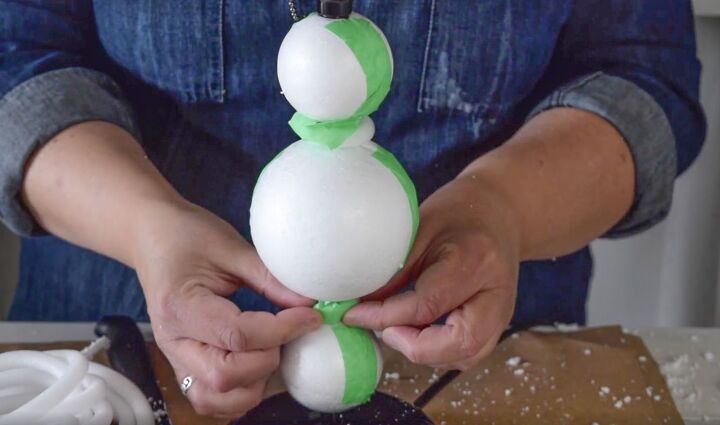
Loop it around twice if you need to fill more space.
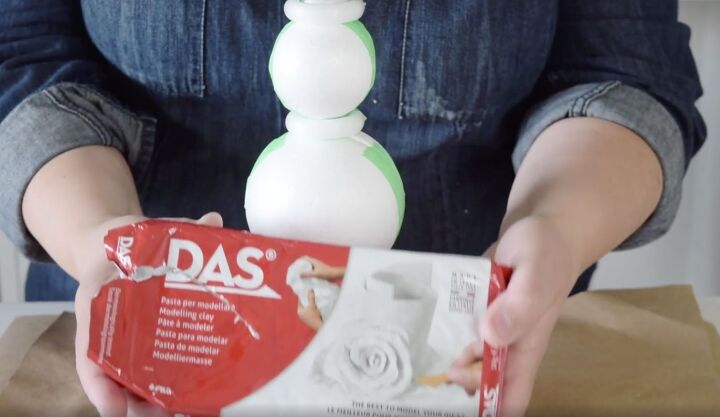
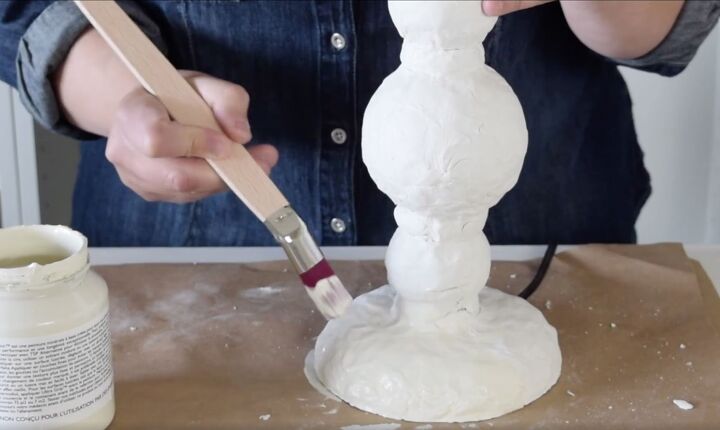
Now that you have all the styrofoam in place, you want to go ahead and start covering the lamp post with air-dry clay.
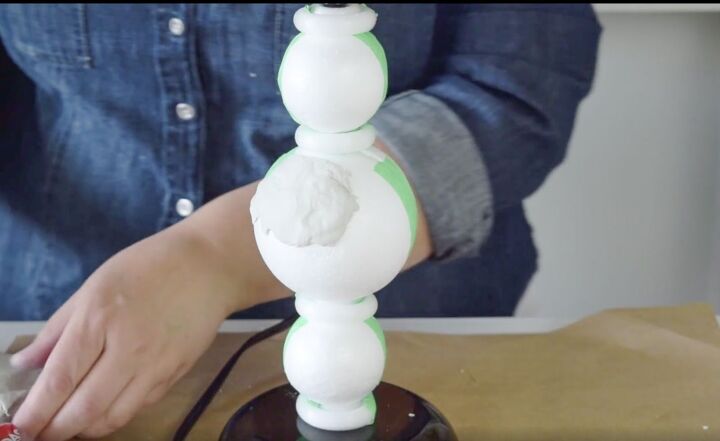
Break off little pieces of the air-dry clay and push it onto the styrofoam.
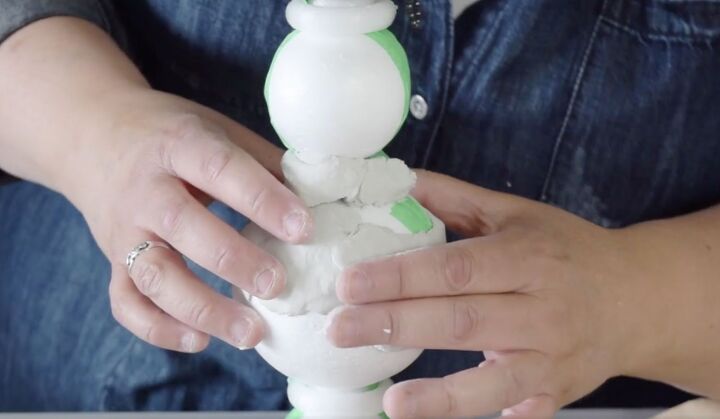
Keep adding clay until the balls and rope are all covered. Don’t worry about smoothing it out completely, the texture will add character when you are done.
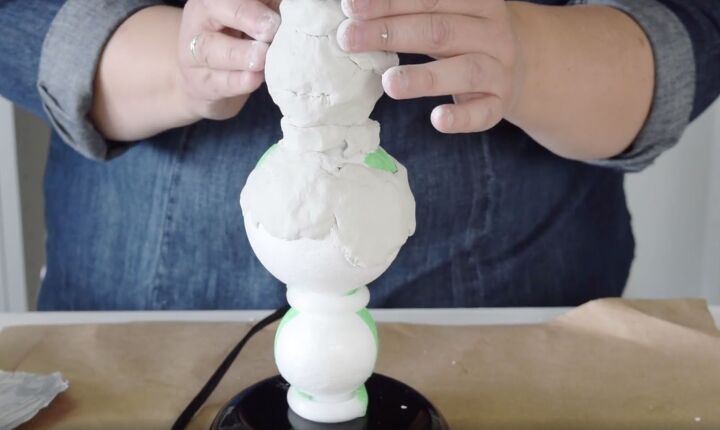
When you get to the base of the lamp you can either leave it as it is or cover it up with clay. I chose to cover mine up so that the look would be consistent.

Once you have all your clay on and it's the texture and shape that you like, you're going to go ahead and let this sit for as long as your directions say for your clay. I usually leave it for about 24 hours because I want to make sure it's dry the whole way through and not just on the surface.
After the clay is dry, paint the clay using creamy white colored paint. I used Fusion Mineral Paint in Raw Silk. Make sure you get it into all those little nooks and crannies, because sometimes when air dry clay is fully hardened, it will leave little cracks.
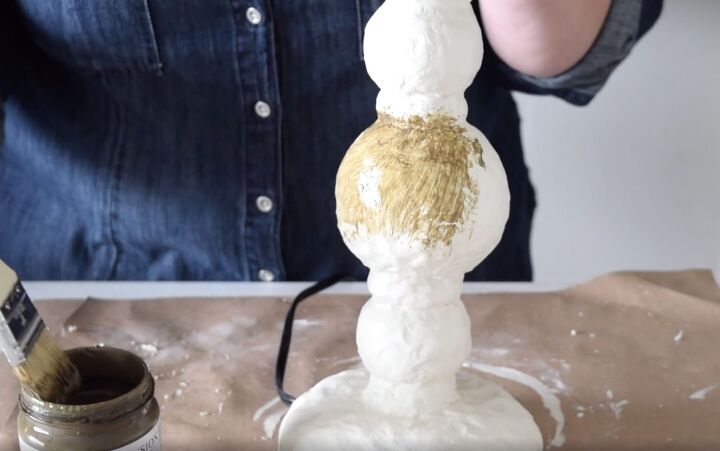
To finish the lamp and add some faux age to it, add a layer of antiquing glaze over the paint. This can be brushed on with a chip brush.
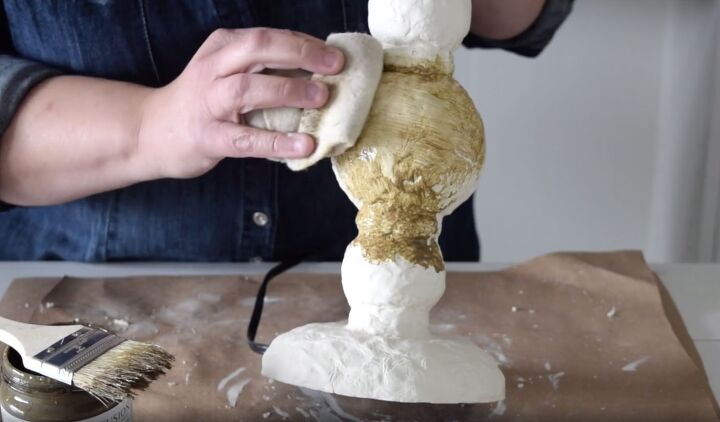
Rub the glaze in with a soft cloth. The glaze will give it a beautiful look and show all of that detail and texture that you've created.
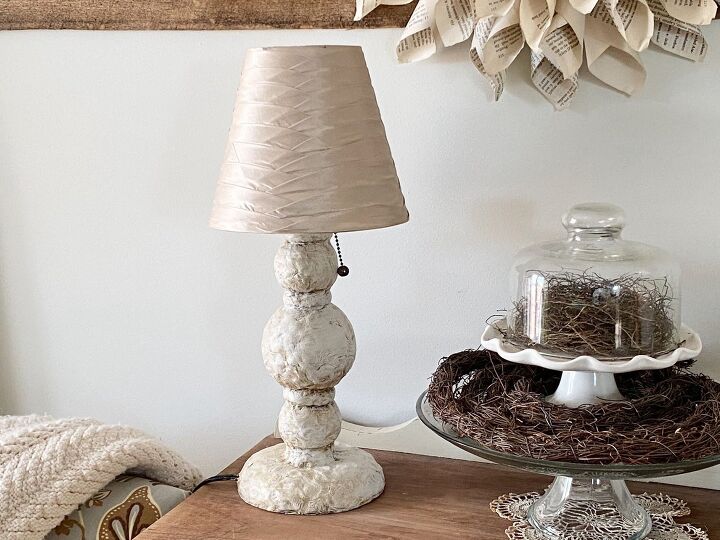
I am so thrilled with how this thrift store lamp turned out. You would never guess that it was the same $3 find. Thank you so much to smorhome for inspiring this project.

Comments
Join the conversation
-
I love this. I can't wait to try it.
-
Nicely done. Keep it up!


Frequently asked questions
Have a question about this project?
Looks great! I was considering buying new lamps for my bedroom. I want something in bright colors, cuz my bedroom is decorated with stuff from India in very bright colors. I'm wondering if I could do this and paint them not antiquie, but bright red or another bright colors? What do you think? 🌈🌻✌️😊☯️💜
Why not use spackle instead of the clay? I think it would be easier to work with.