


Trash to Treasure Storage
My sister and I saw an empty box with shelves in it at Joann's Fabrics store. They let us take it....😁
My video isn't the greatest. I just wanted to show the steps I took. I may re-do it later, fyi
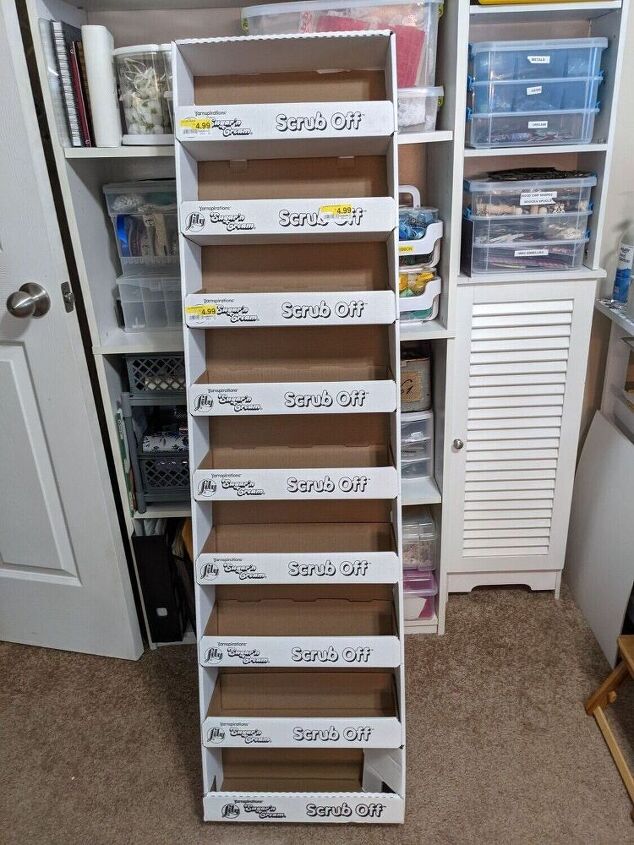
Here is the box. Great, isn't it? What recycling crafter could resist! Not me!
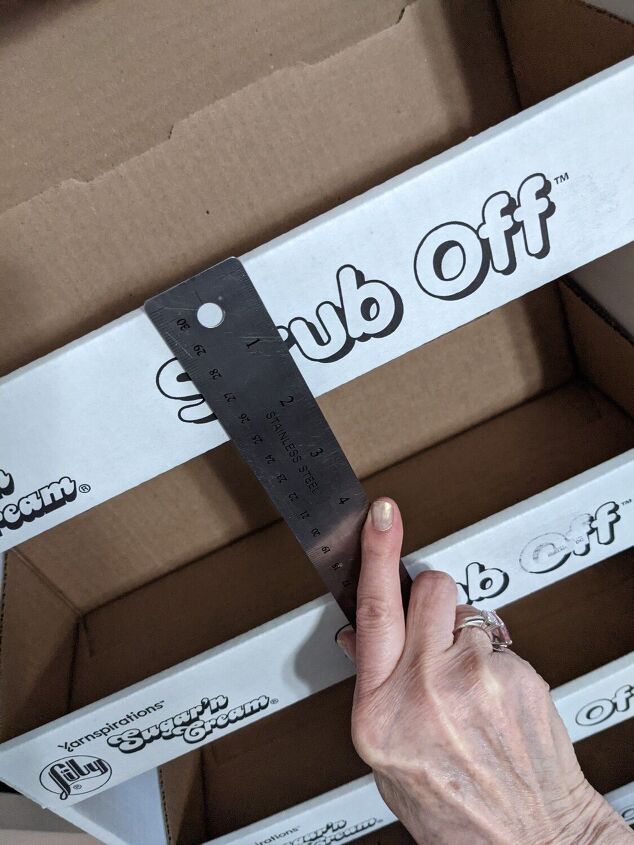
First I took off labels and measured so I could add contact paper
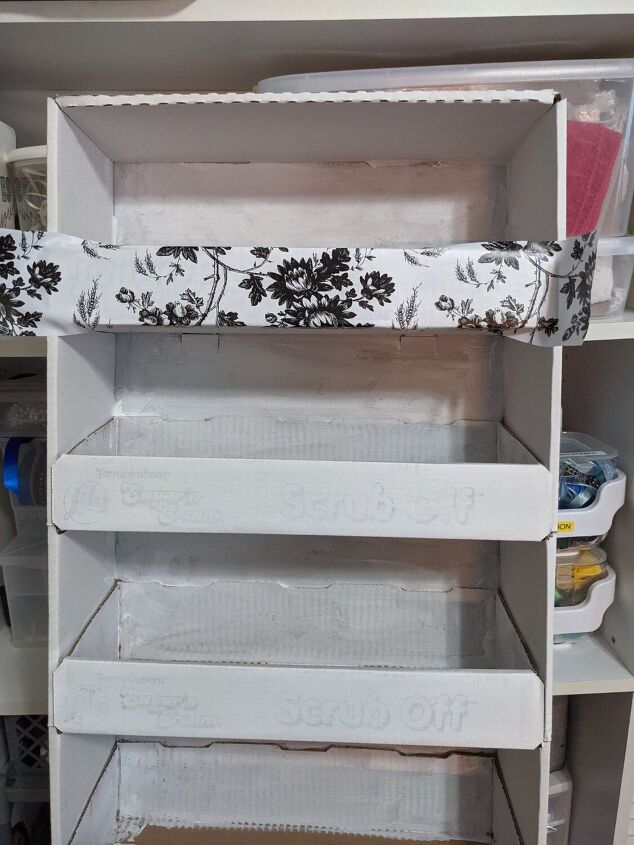
Then I painted the front and part of the inside white and cut out Dollar Tree contact paper to adhere to the top, sides, and front
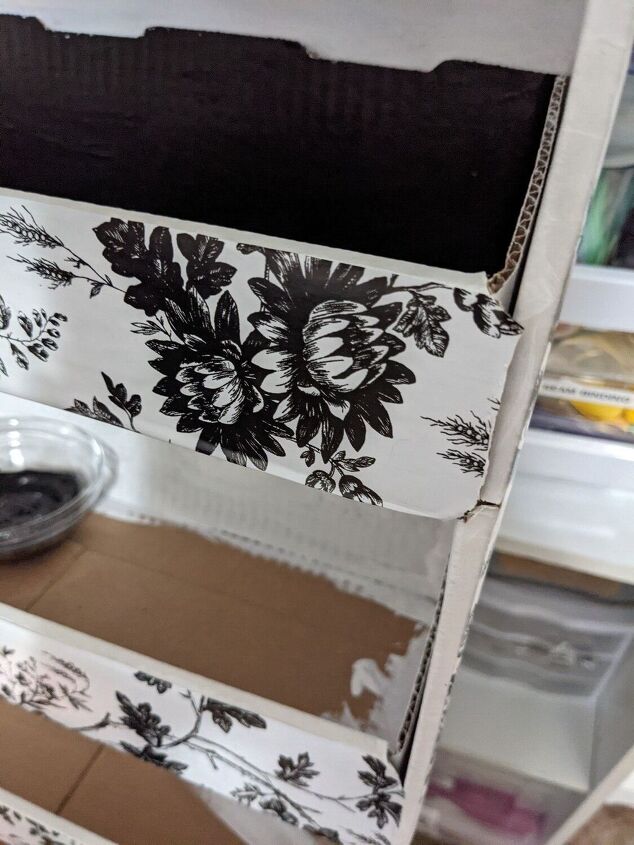
And then I had a bright idea to paint black....not easy once the paper was already on. I could have taken it off, but I probably would've messed up the paper, wasting it
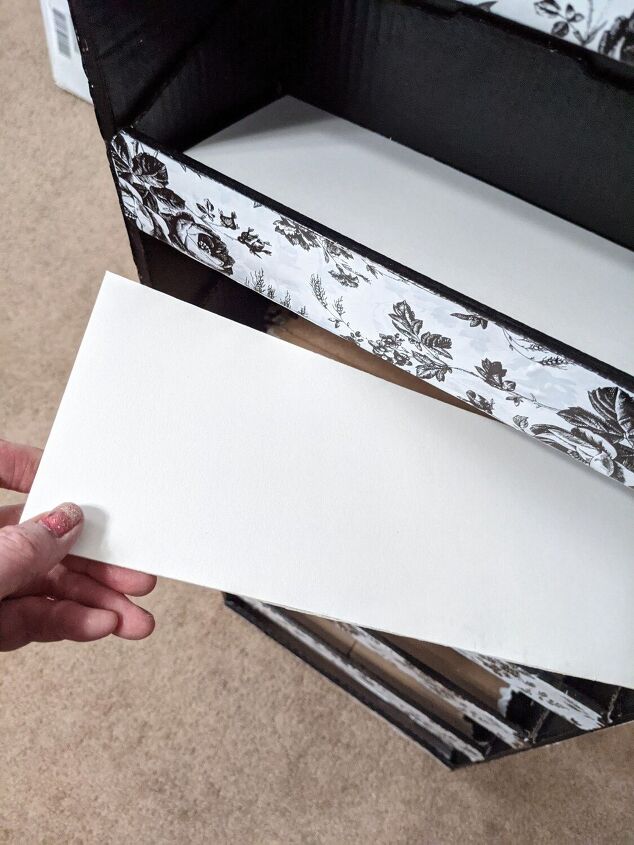
Once the paint was done, I cut out heavy chipboard for each shelf to make them more stable
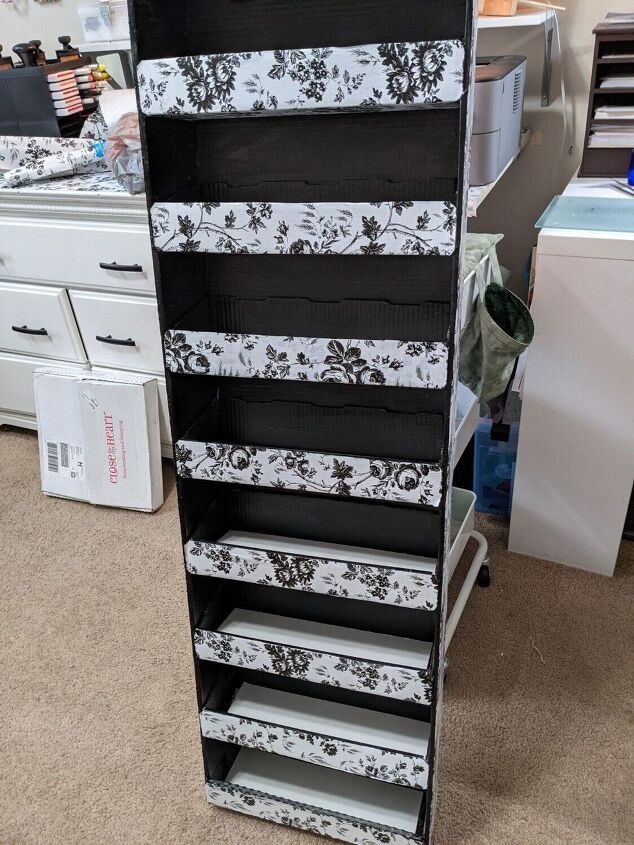
Here it is, finished!
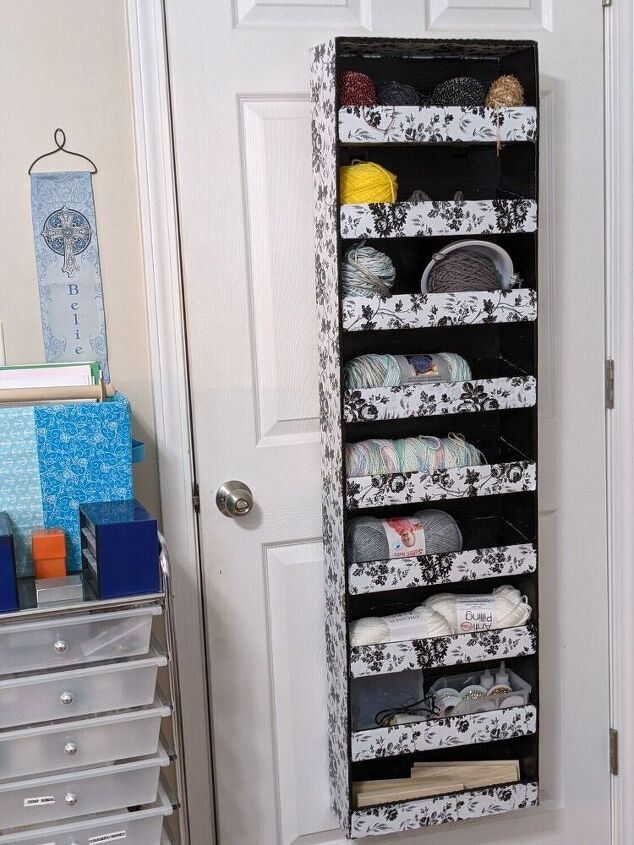
Now it's on the back of my door. 
Resources for this project:


Comments
Join the conversation
-
For everyone who wants one, check your convenience stores. They usually have displays on the sales floor that will be thrown out after the promotion ends. I just scored a coffin shaped Fanta shelf with metal bar supports under the shelves from my job at a gas station. We just throw these things away so if you want them, we are happy to give em as long as you are prompt!! They take up space so act fast!
-
Ofcourse!!


Frequently asked questions
Have a question about this project?
How does it hang on door and how much weight do you think it can support?
FANTASTIC IDEA!!! You were in the right place at the right time to score that baby!!! 👍👍👍 THAT is THE perfect storage solution for crafters!! I love your creative thinking to use the contact paper- and painting it black makes it look SO sharp!!
As others have asked- I want to know too…how DID you mount it on the door??? Whatever you used would have to be able to hold a decent amount of weight. Another possible option might be to use a heavier piece of plywood on the bottom shelf, then attach small castors! (I would probably do a piece of plywood on the inside AND on the outside just to provide more stability. Actually, it would probably more than enough to just use the same chipboard on the bottom as you used on the other shelves, then a piece of plywood on the underside- (something more substantial to attach the castors to!) Having castors would allow it to be moved closer to your work area for easier access while working, then moved back out of the way afterwards!! 😉 patti
How did you attach it to the back of your door?