


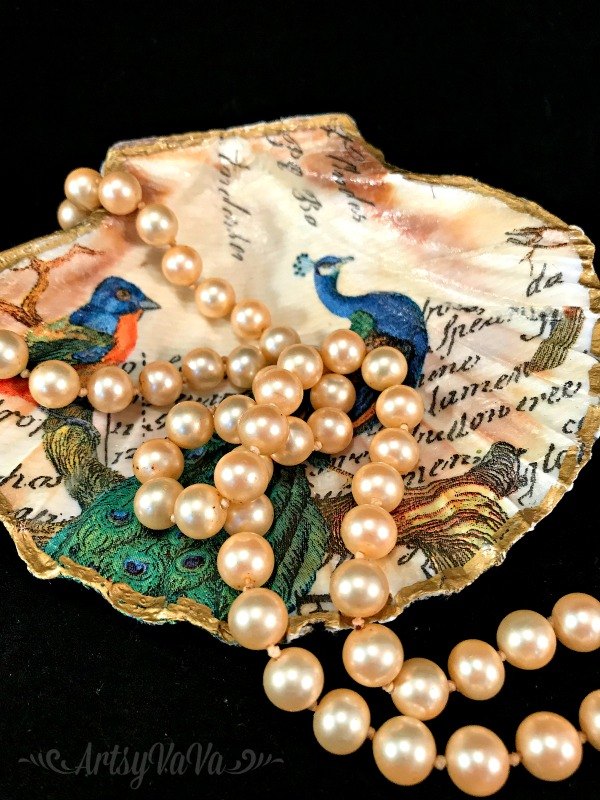
Trinkets From The Sea

It’s that time of year when we start planning our beach vacations. Do you collect shells on your beach trips, then get home and don’t know what to do with them? This DIY trinket dish will make your larger shells both beautiful and useful. Unfortunately, the beach that I go to has very few shells, and the ones I do find are small. So, for this project I ordered baking shells online.
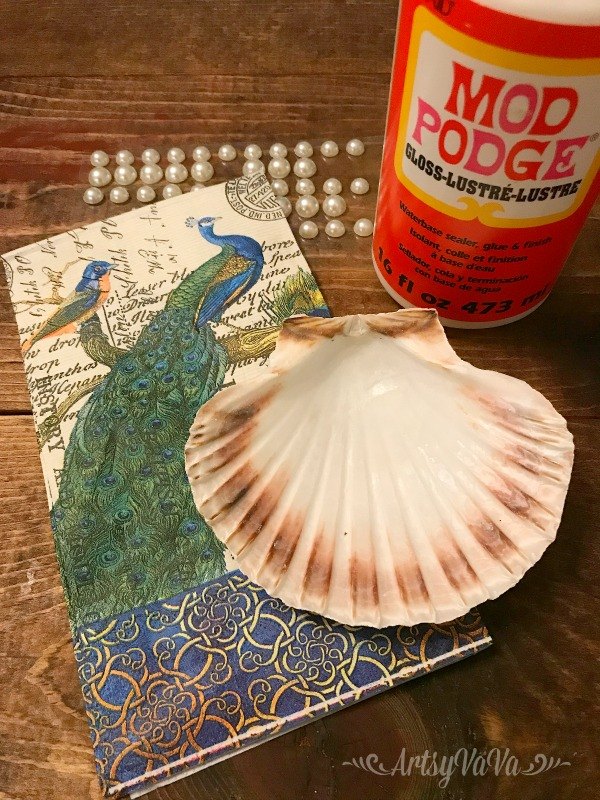
All you need to create this beautiful trinket dish is a large shell, ModPodge, a patterned napkin, a paintbrush, paint pen, and adhesive back half pearls
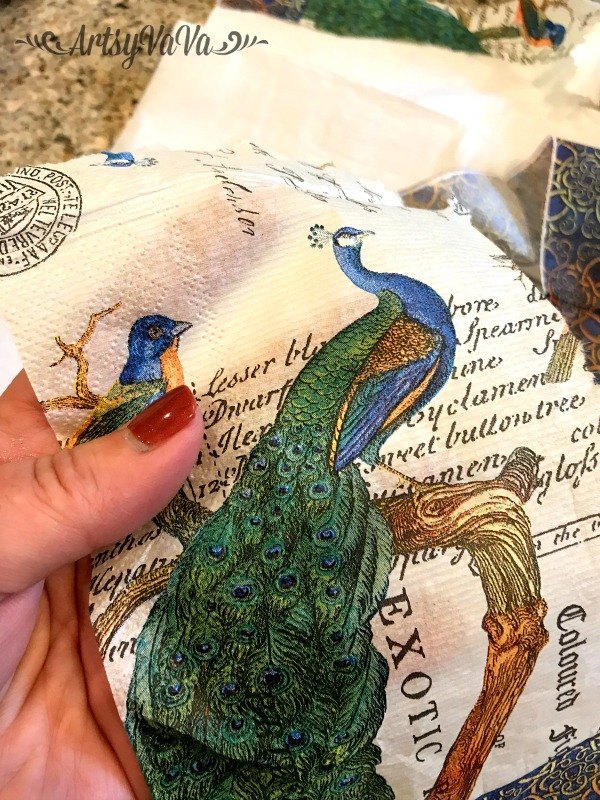
Separate the napkin's layers of paper so that you are just left with the top, printed piece. If you skip this step, the napkin won't adhere to the shell properly.
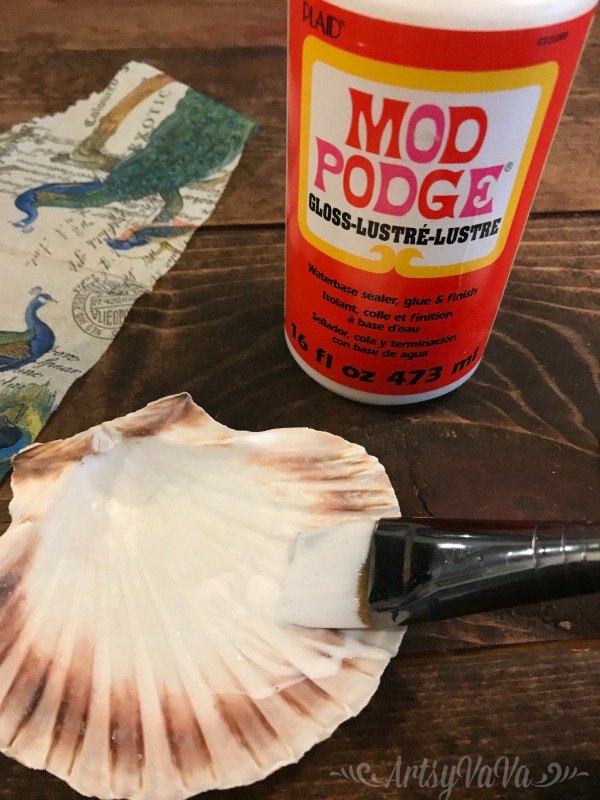
Apply a coat of ModPodge to the shell. Place the napkin on the shell, then add another coat of ModPodge over the top of the napkin.
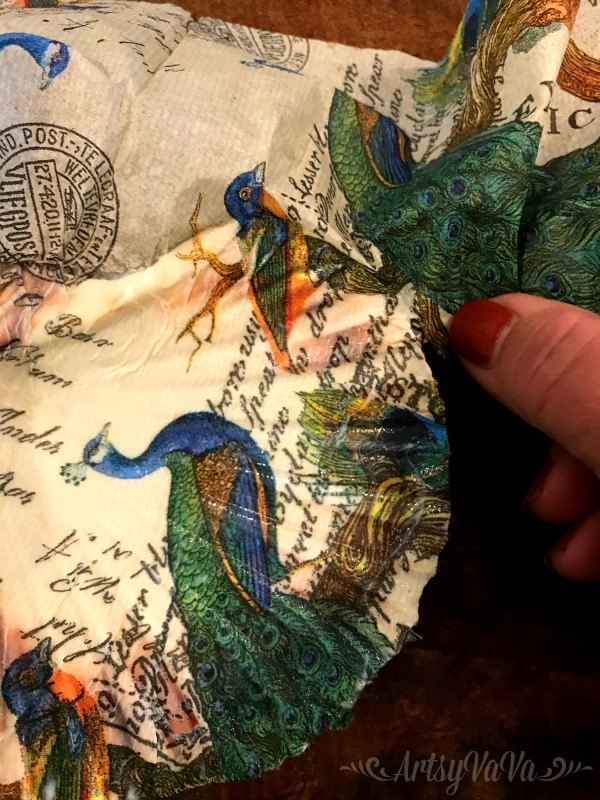
Tear away the excess napkin.
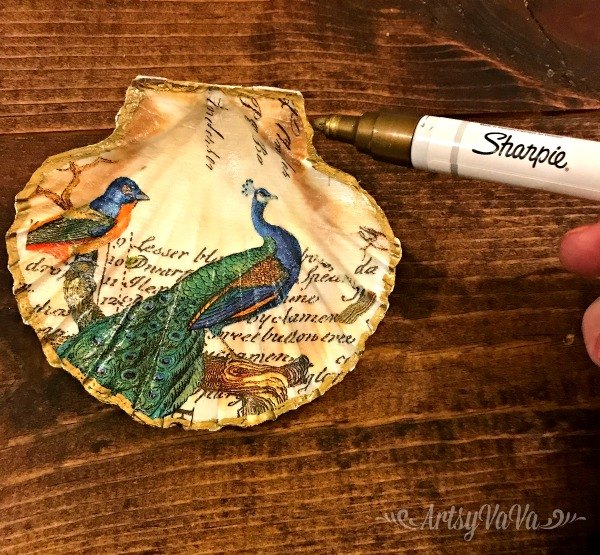
Add a metallic edge to the shell using a paint pen.
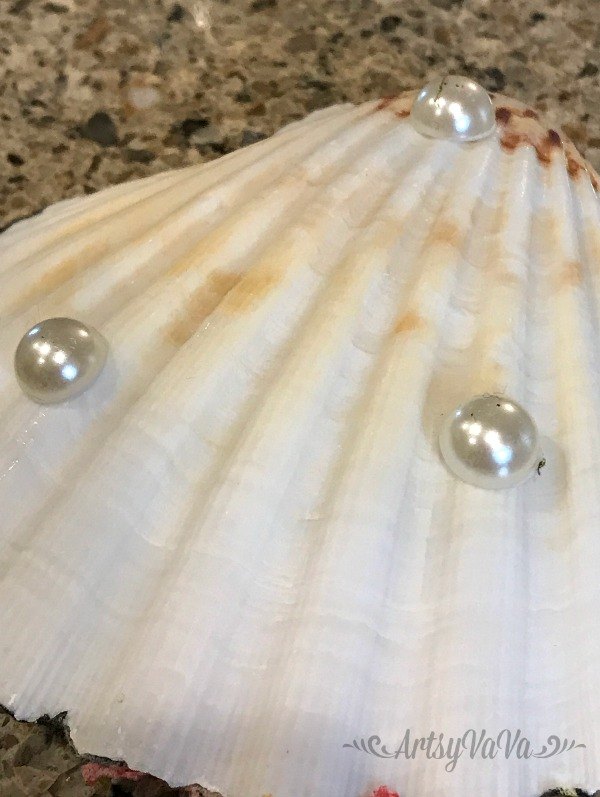
To make the trinket dish stable, place 3 adhesive back half pearls on the bottom of the shell. These can be found in the scrapbook section of the craft store.
Luckily the shells come with several in a package if you order them. That's a good thing, because you're going to want to make more for gifts!
Resources for this project:
See all materials


Comments
Join the conversation
-
So cute and lovely. Great idea using pearls for feet.
-
Love !


Frequently asked questions
Have a question about this project?