


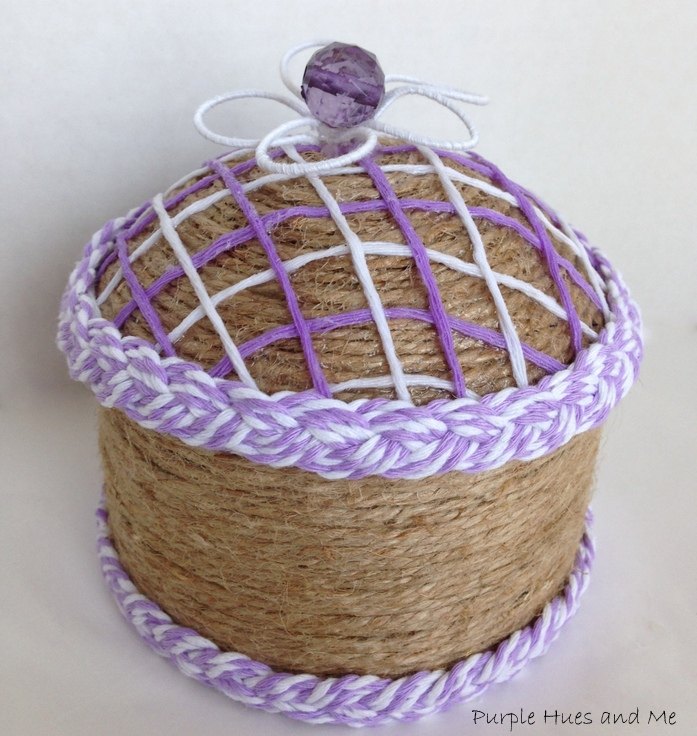
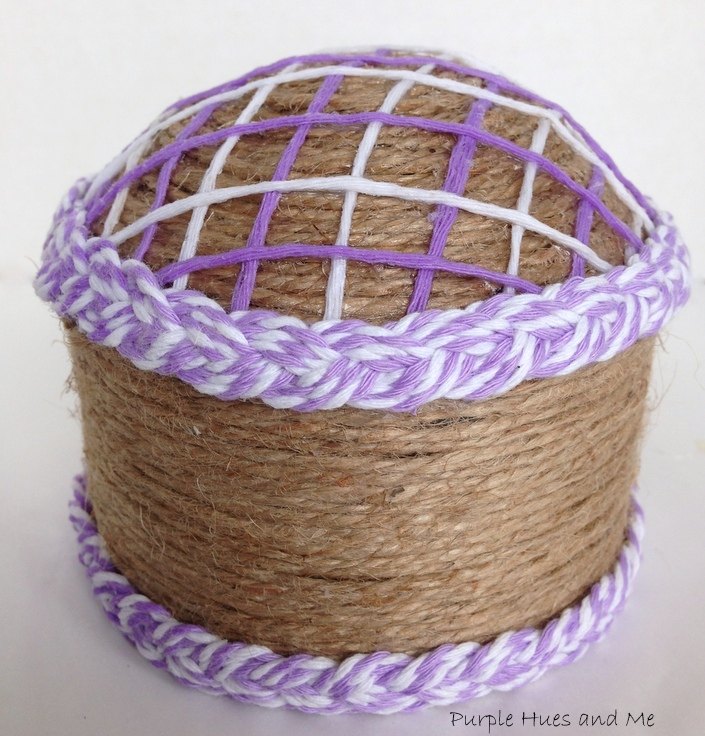
Twine Altered Tuna Can
Go GREEN and help the environment by creating something useful and adorable instead of throwing those cans away!
I keep lots of cans in all sizes in my stash! You just never know when you might need a can for a recycle/upcycle project! It's amazing what you can create with a can, twine and glue like this adorable container with a top!
And it's all so simple to make! Start by placing a line of tacky glue at the can's edge and begin wrapping jute twine around the can, adding glue as you wrap.
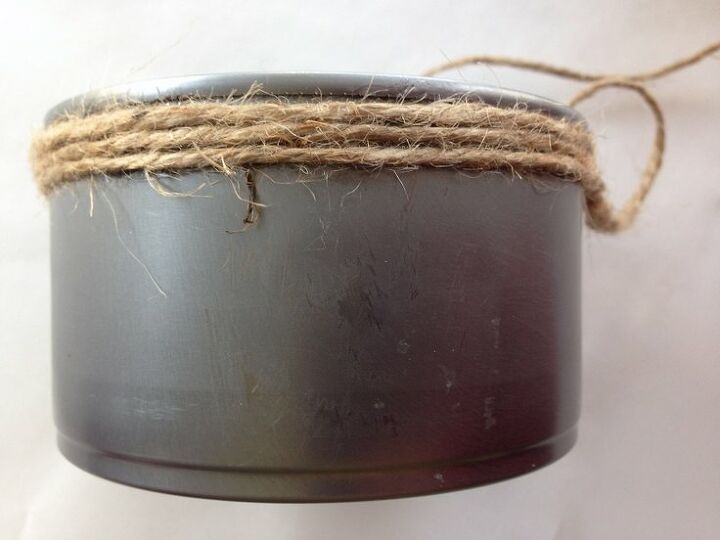
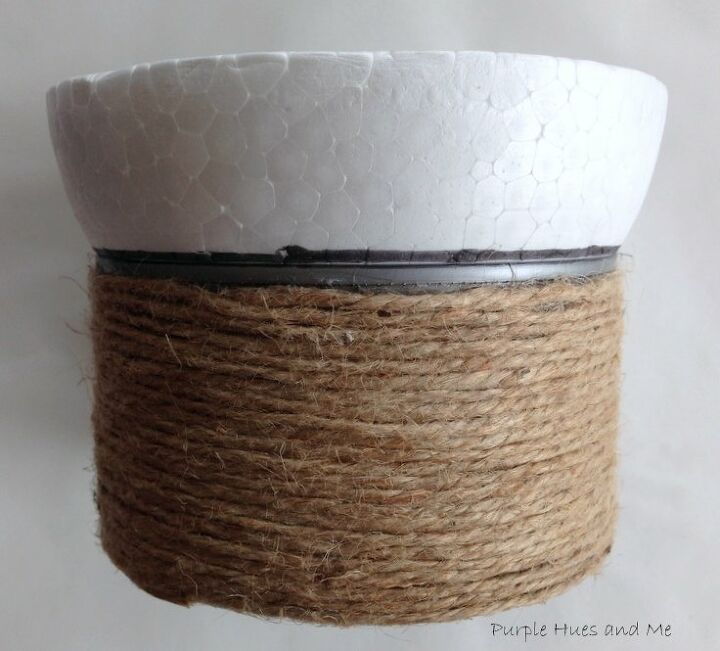
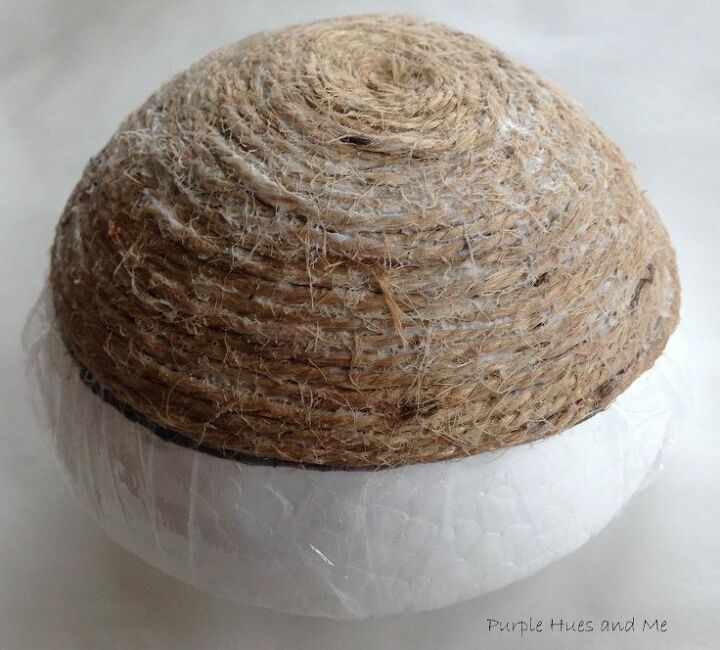
Once you've completely wrapped the can, cut off the excess twine. To make the top, take half of a smoothfoam ball and place the round portion in the can, making sure it sits level and straight. Next, draw a line using a magic marker around ball where the top of can meets.
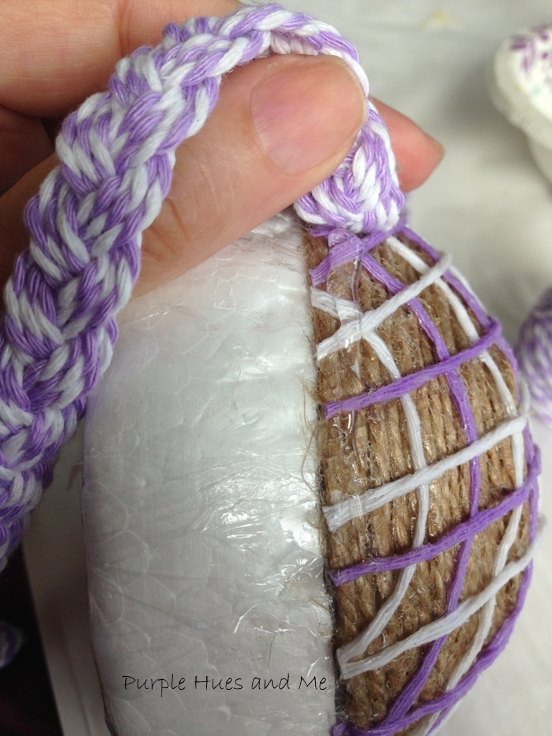
Next, wrap foam in plastic wrap, securing it at bottom and then add tacky glue following the drawn-on line. Then place jute twine on glue and begin wrapping around the smoothfoam,
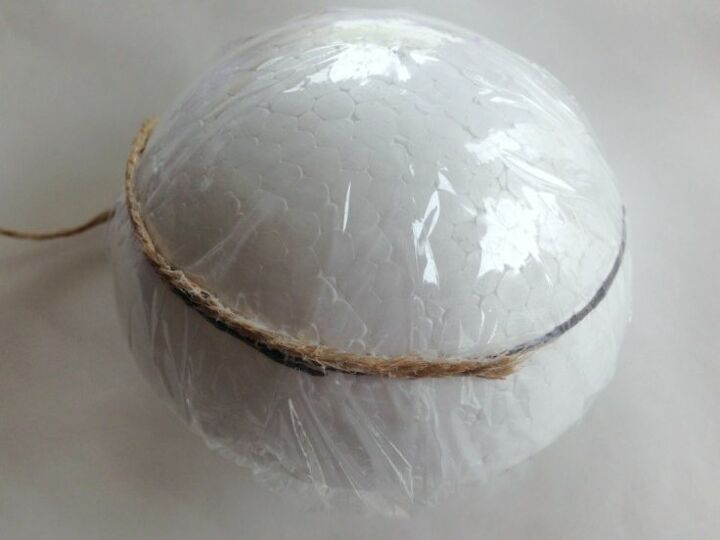
adding tacky glue to twine as you wrap and keeping the rows straight and together until reaching top center. Cut off excess twine and let glue dry.
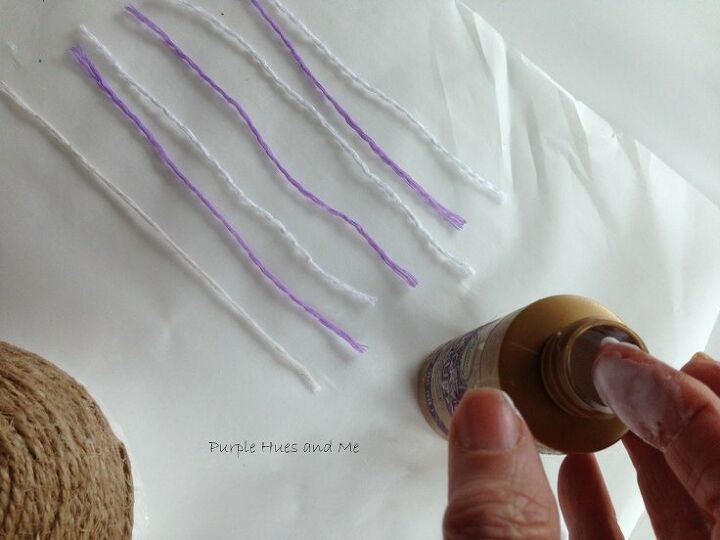
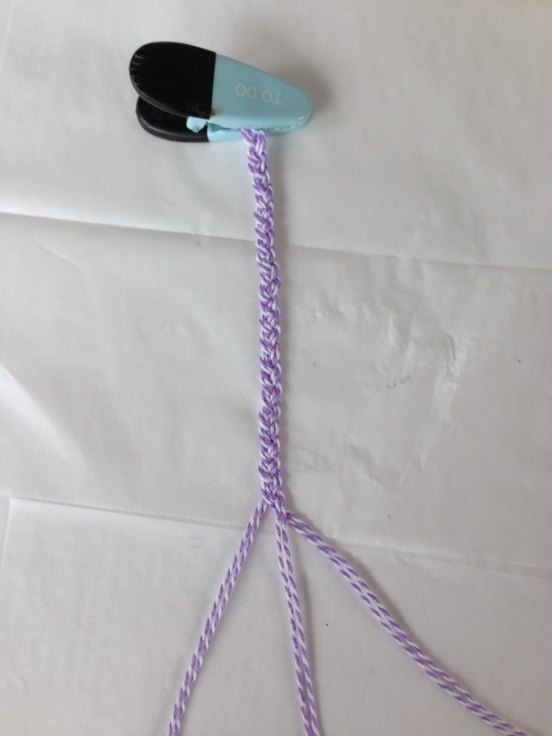
To make a decorative criss-cross look on the top, separate the threads of baker's twine, then slather tacky glue all over individual pieces to make the threads straight and firm. Let dry on parchment paper.
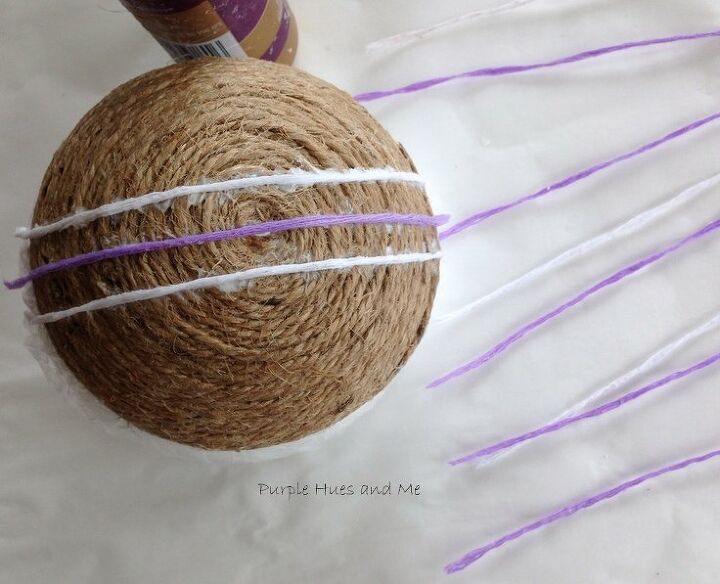
Begin the design by running a line of tacky glue across the top and placing the thread on top of the glue, smoothing it down into the glue for a good connection. Next, continue spacing out lines of glue down on top and placing threads on glue making sure the threads are saturated into the glue until . . .
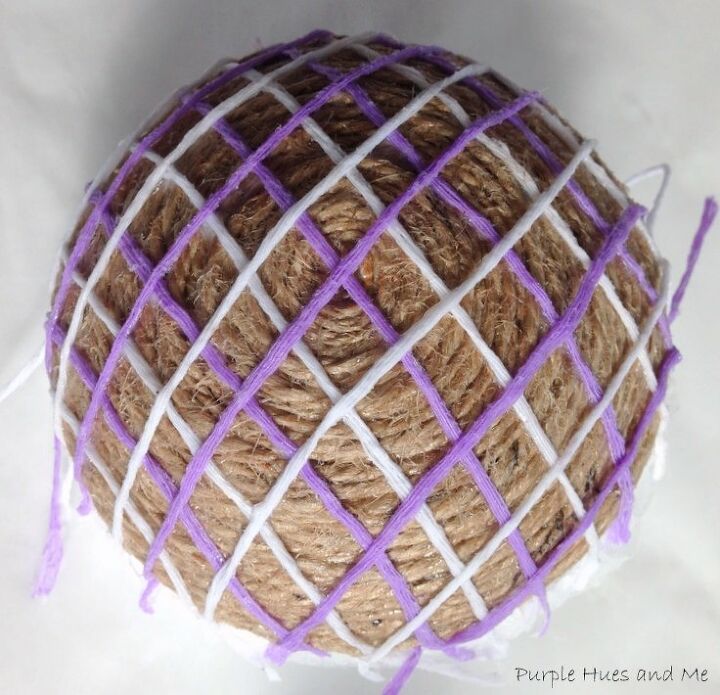
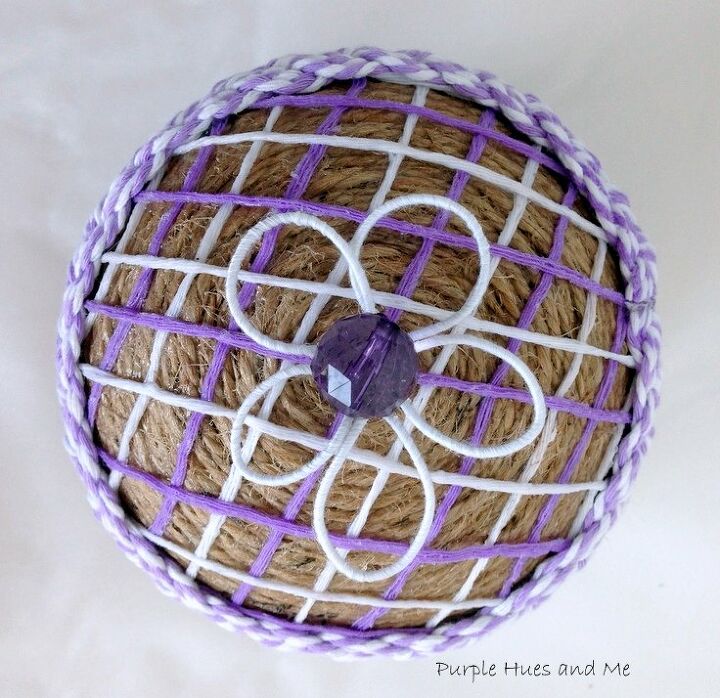
the top is covered. Next, add glue across the threads in a slanted pattern at the center top and continue placing the threads down in a criss-cross effect until the top is covered in a criss-cross design. Let dry.
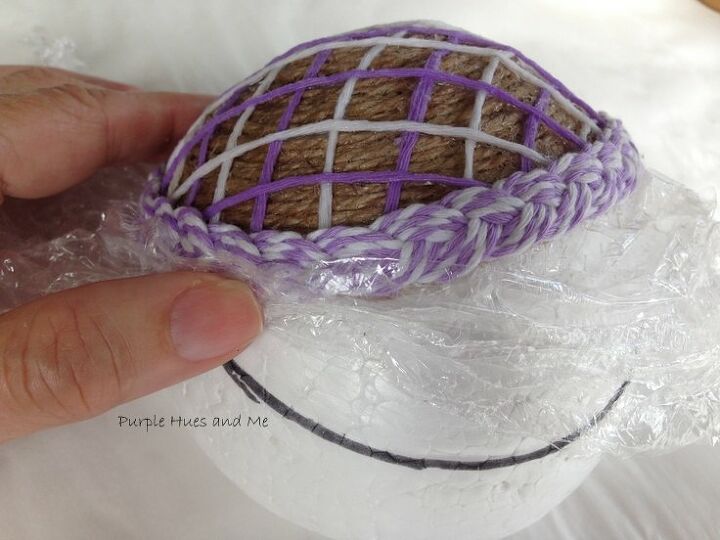
Once dry, cut off excess threads around base. Then braid strips of baker's twine for a decorative look around the bottom of top and can.
Next, measure braided twine around base and saturate the braid with tacky glue where it starts and ends so the braid won't unravel when cut. Let dry. Glue on the braid at the base of top using hot glue and also on the base of can.
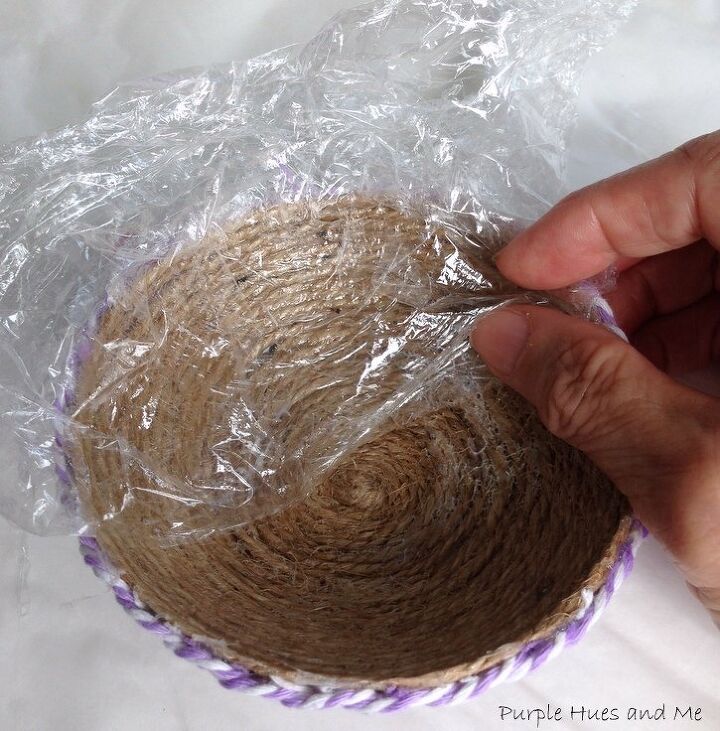
Then, loosen plastic wrap from foam and remove top.
Remove plastic wrap from inside the top and cut off stuck-on plastic around edges.
To make the top handle in the shape of a flower, twist 5 floral stem wires around a magic marker to make petals,
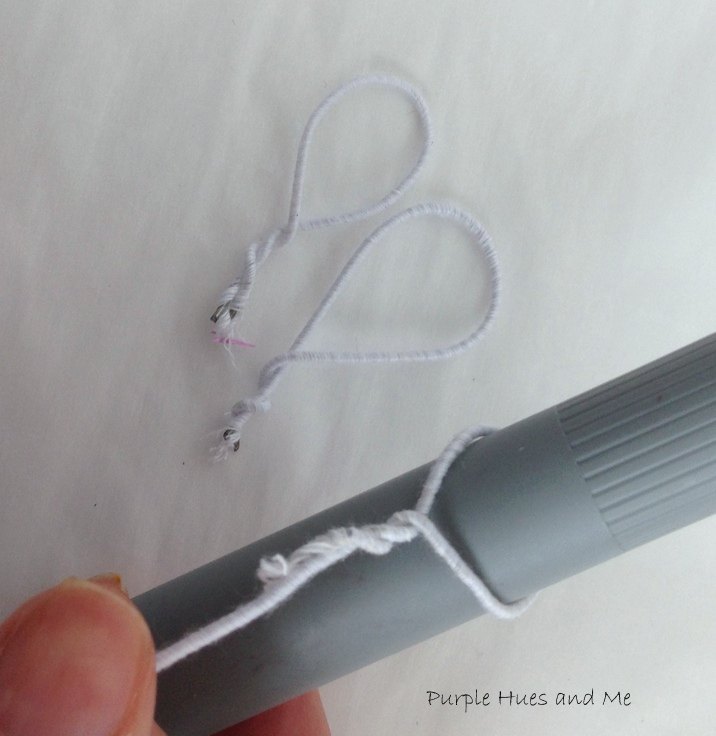
then glue all stems together, and cut off excess wires. Hot glue bead in the center of the petals and glue onto middle of top.
This container is adorable for keeping trinkets and what-knots in!
Resources for this project:
See all materials


Comments
Join the conversation
-
Cute, thanks so much. Endless possibilities with all sizes of cans.


Frequently asked questions
Have a question about this project?