


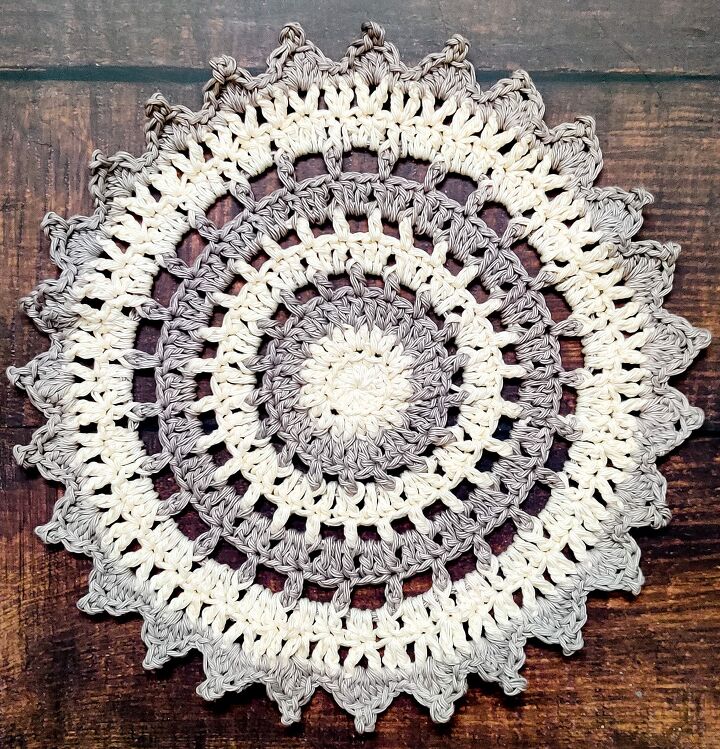
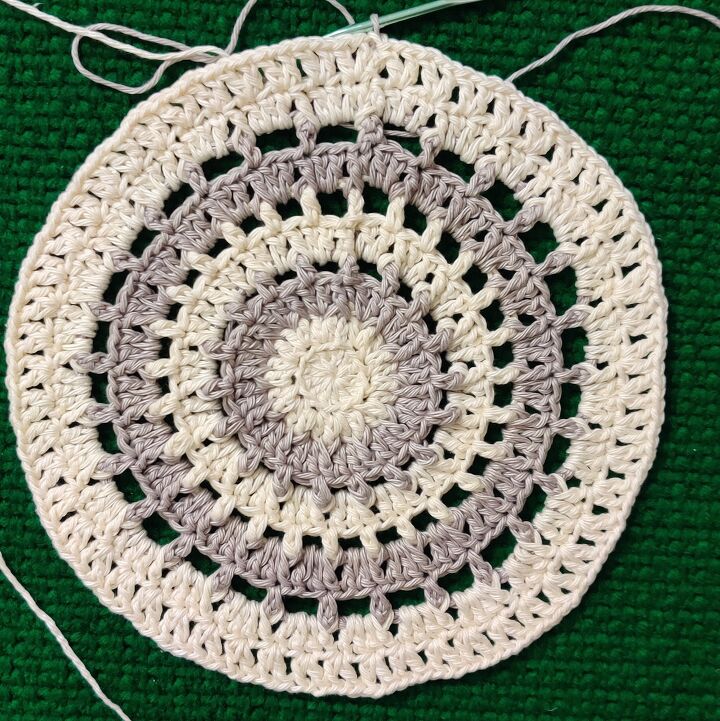
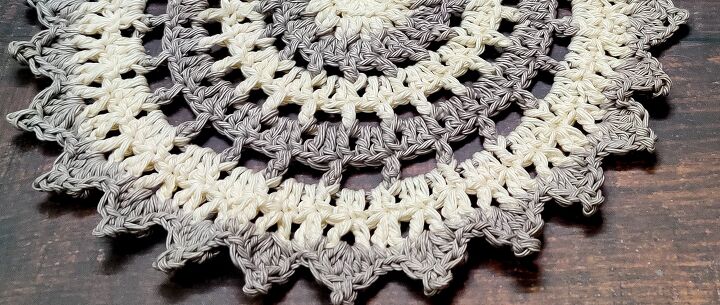
Two Shades Ombre Crochet Doily
Doilies are the type of crochet projects that you can crochet throughout the year. They are excellent crochet projects for both beginners and experienced crocheters. They are perfect for your table decor and they also make wonderful seasonal decorations. You can crochet one according to the holiday theme color. For me, crocheting a Doily and having a cup of Coffee is a blissful merriment.
Today am sharing the pattern for this pretty and easy to make Ombre Crochet Doily. It is made with dual colors. You can make one by changing the color tones according to your liking and they would also be pretty great with a single solid color. They are also great for gift giving be it any occasion.
Size:-
12 Inches - Can be customized to any size
Notes:-For this whole Pattern, the Starting Chain 2 is not counted as a stitch. It is Just to bring the yarn to a working height. Start the next stitch in the same stitch.
Here is the Video Tutorial:-
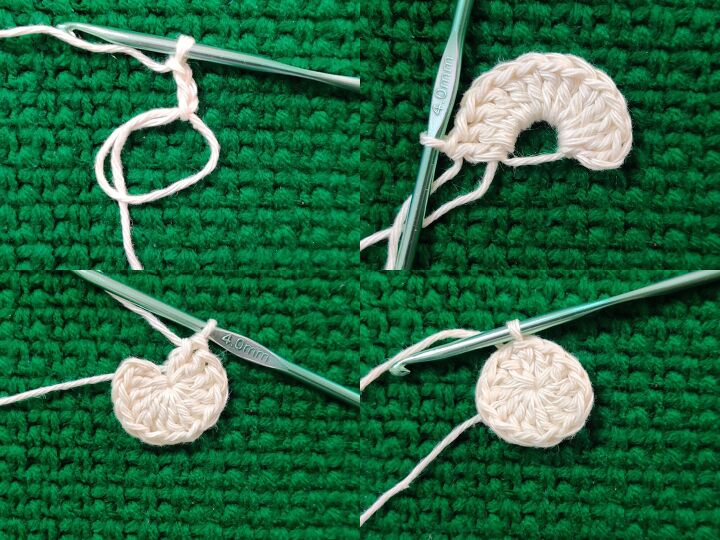
Round 1:-
Start with a Magic Circle.12 Double Crochets in the circle.
Pull the yarn end to close the gap.
Slip Stitch on top of the first Double Crochet.
12 Stitches.
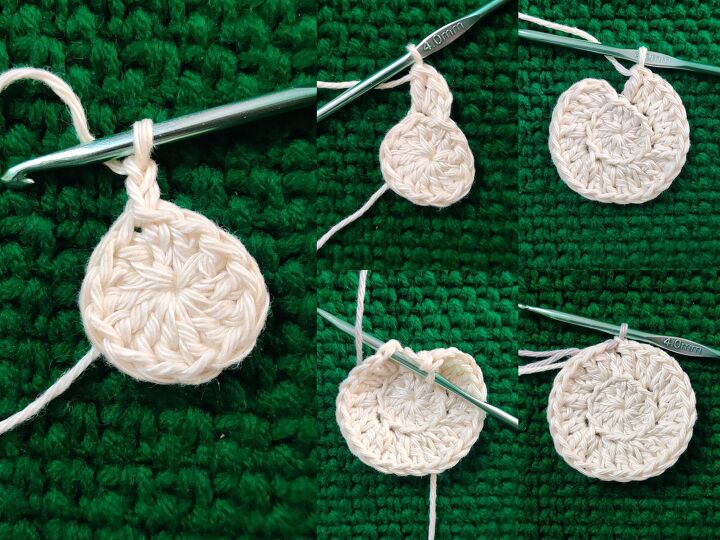
Round 2:-
Chain 2.
2 Back Loop Double Crochets in each stitch around.
Slip stitch on top of the first Double Crochet.
Change color while making the slip stitch.
24 stitches.
Round 3:-
Chain 2.
1 Front Post Double Crochet in the same stitch.
2 Double Crochets in the next stitch.
Repeat(1FPDC,2DC)
Slip stitch on top of the first Double Crochet.
36 Stitches.
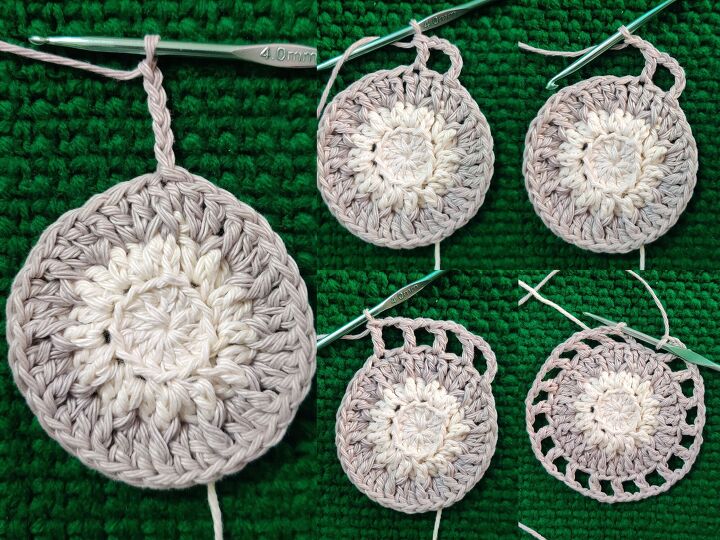
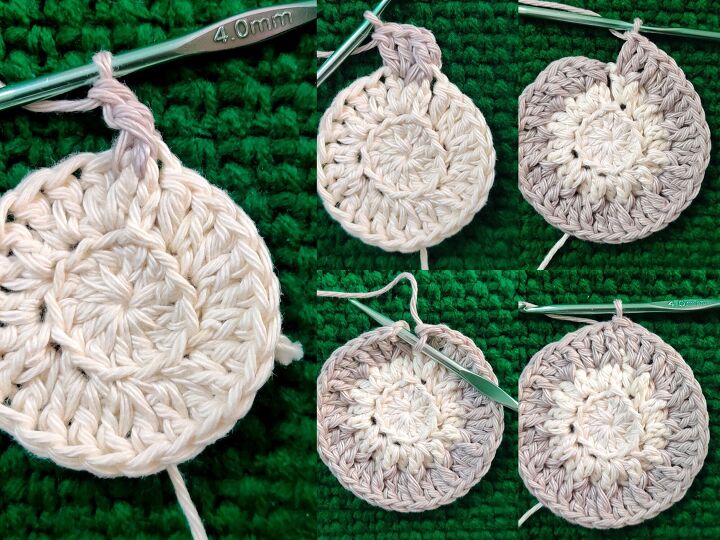
Round 4:-
Chain 5 - the starting chain 3 will be counted as 1 Double Crochet and the remaining stitches will be counted as Chain 2.
Skip 1 Stitch.
1 Double Crochet in the next stitch.
Repeat(1DC,Skip 1, Chain 2).
Slip stitch into the 3rd Chain.
Change color while making the slip stitch.
18 Chain Spaces.

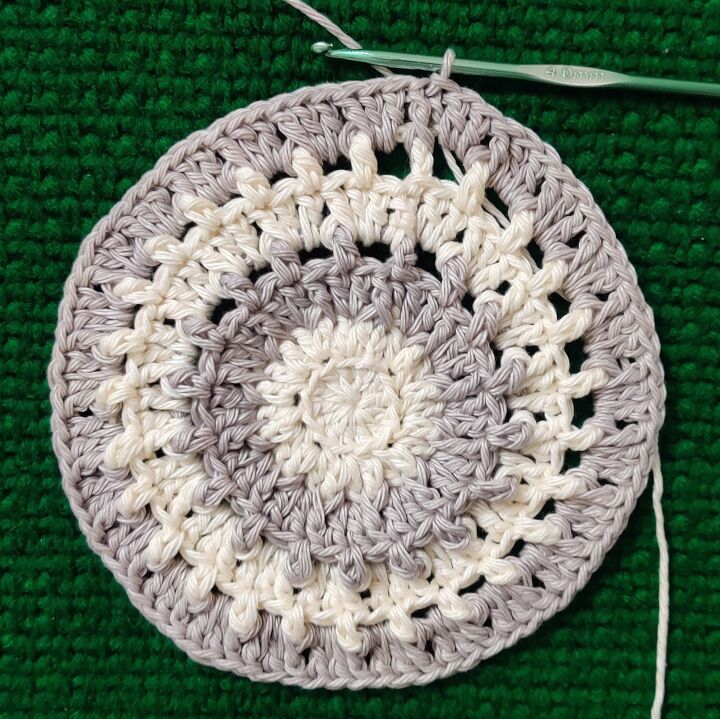
Round 5:-
Chain 2.
1 Front Post Double Crochet in the same stitch.
2 Double Crochets in the Chain 2 space.
Repeat(1FPDC,2DC).
Slip stitch on top of the first Front Post Double Crochet.
54 Stitches.
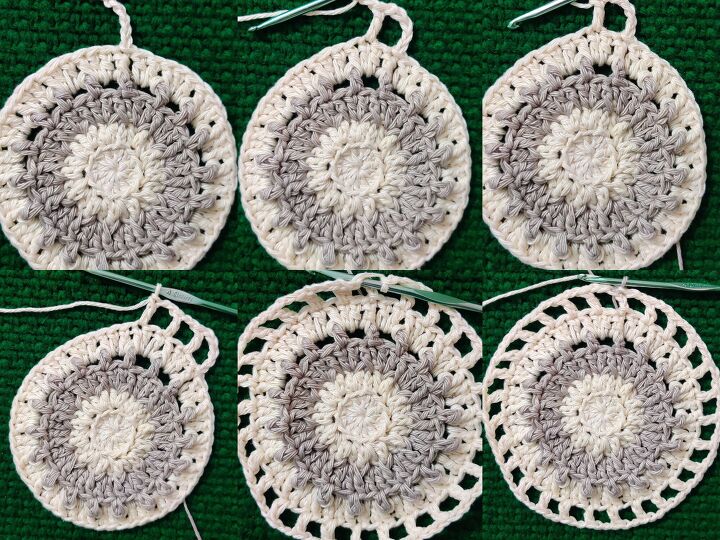
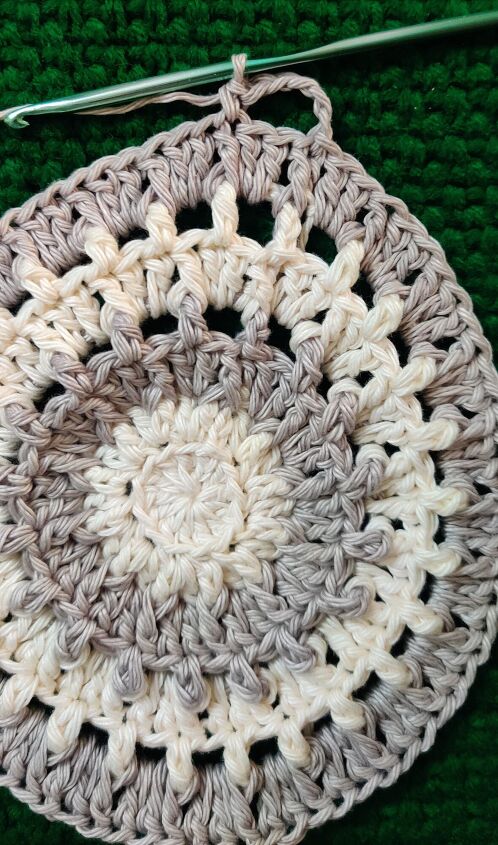
Round 6:-
Chain 5 - the starting chain 3 will be counted as 1 Double Crochet and the remaining stitches will be counted as Chain 2.
Skip 1 Stitch.
1 Double Crochet in the next stitch.
Repeat(1DC,Skip 1, Chain 2).
Slip stitch into the 3rd Chain.
Change color while making the slip stitch.
27 Chain Spaces.
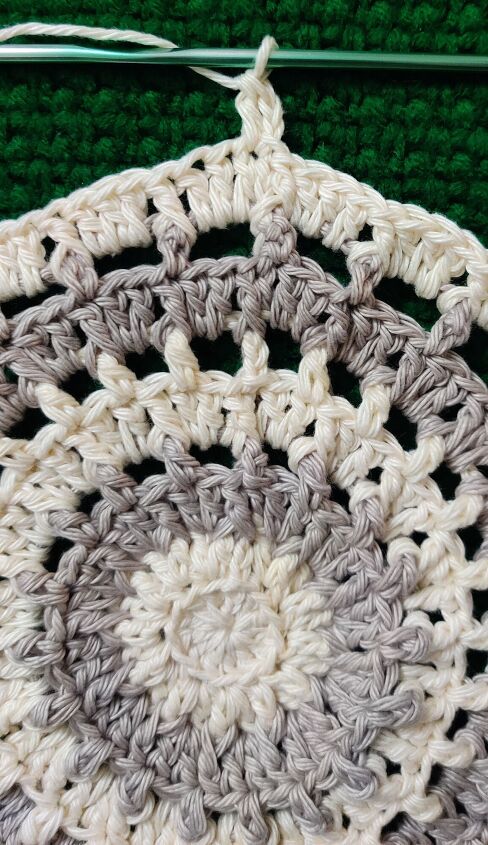
Round 7:-
Chain 2.
1 Front Post Double Crochet in the same stitch.
2 Double Crochets in the Chain 2 space.
Repeat(1FPDC,2DC).
Slip stitch on top of the first Front Post Double Crochet.
81 Stitches.
If you wish to make your doily larger then, keep repeating Round 4 and Round 5 untill you reach the size needed.
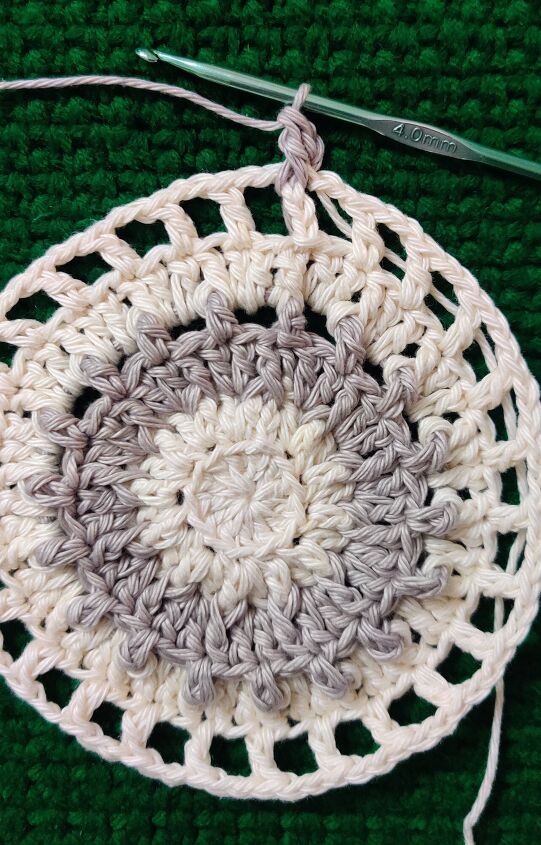
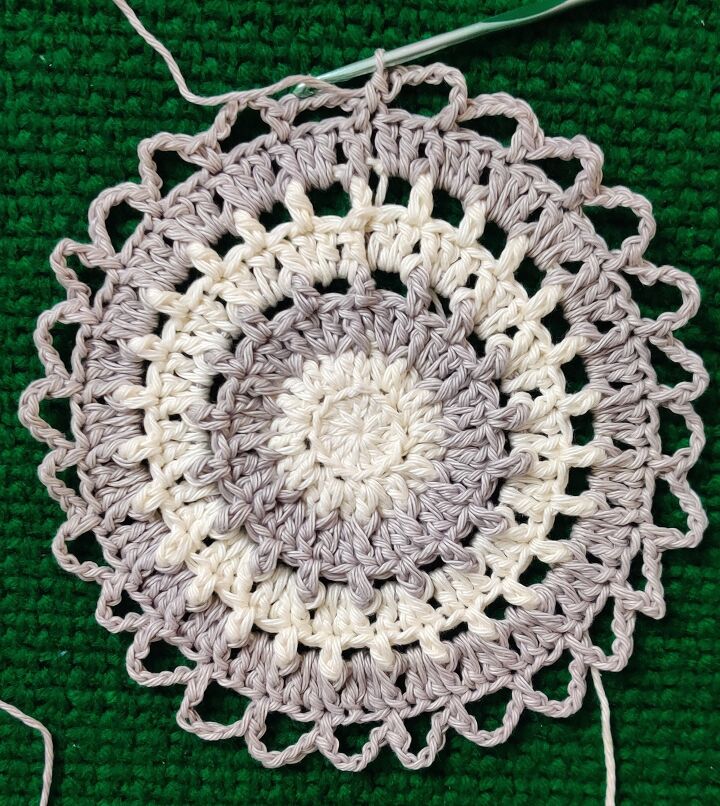
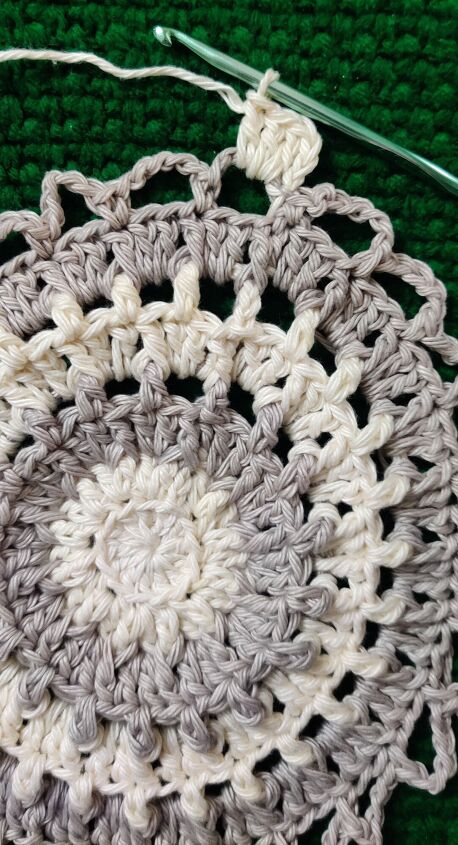
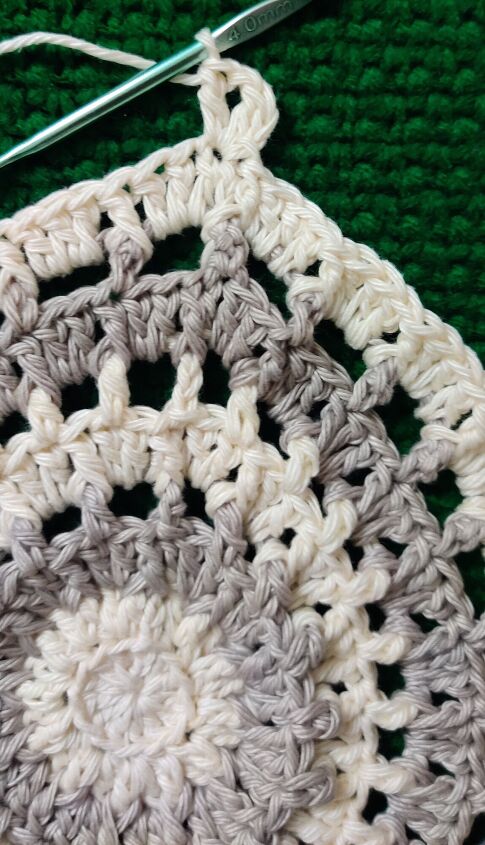
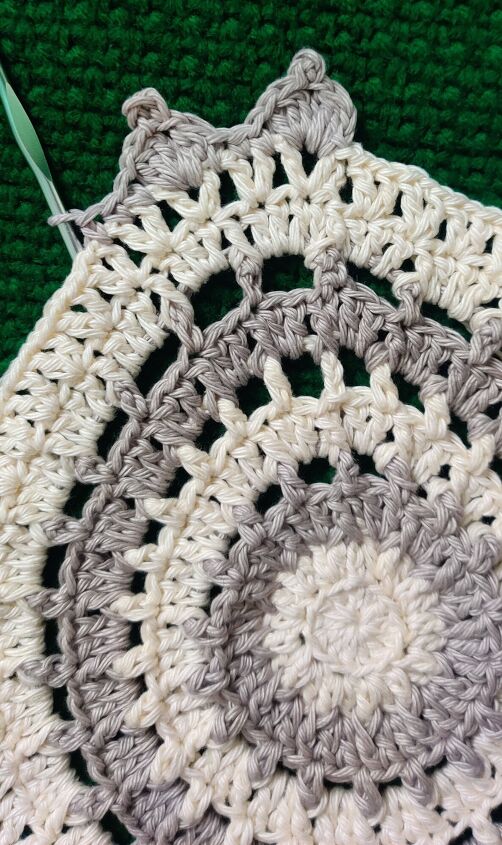
Round 8:-
Chain 5.
Skip 2.
1 Single Crochet in the next stitch.
Repeat(Ch5, Skip 2, 1SC)

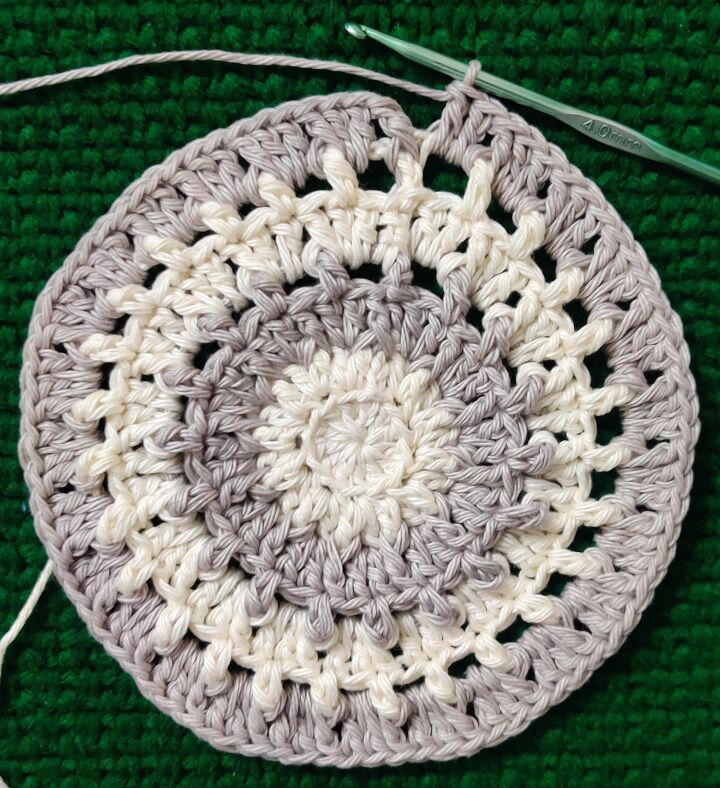
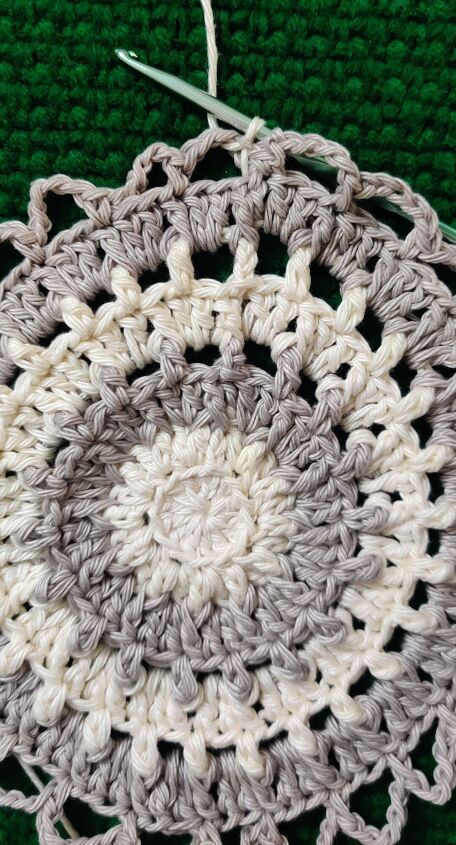
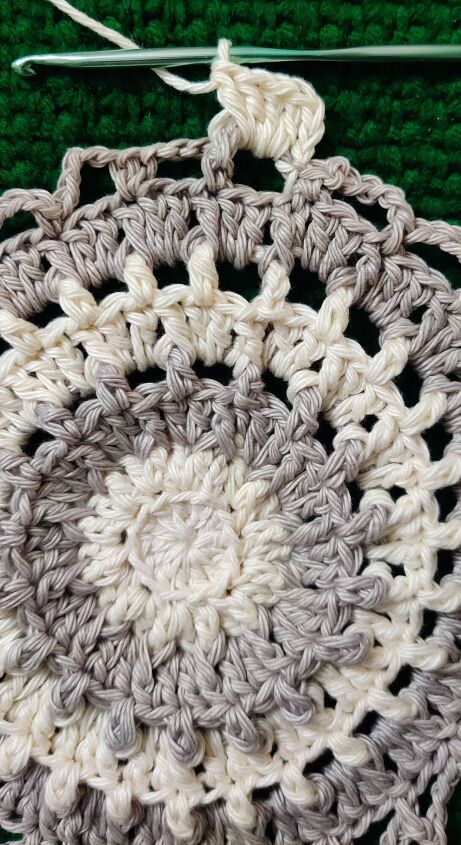
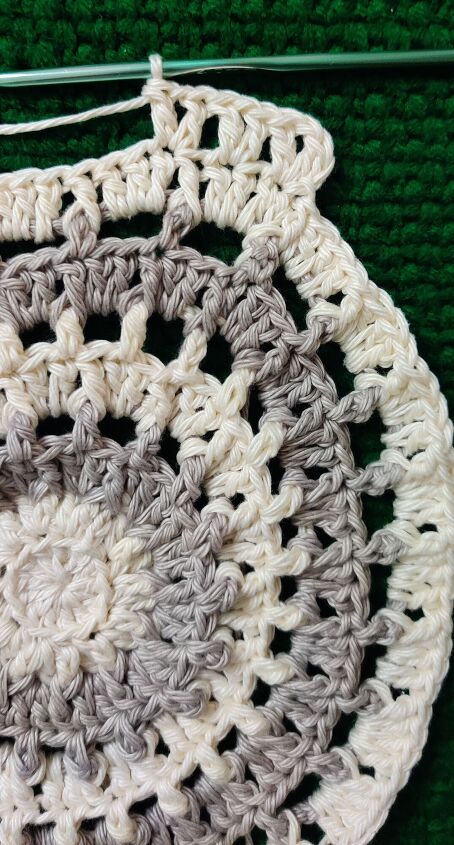
Round 9:-
Slip stitch into the Chain Space.
Change color while making the slip stitch.
Chain 2.
3 Double Crochets in the chain space.
1 Front Post Double Crochet on the next Single Crochet.
Repeat(3DC(in the Chain space),1FPDC(on the SC))
Slip stitch on top of the first Double Crochet.
108 Stitches.
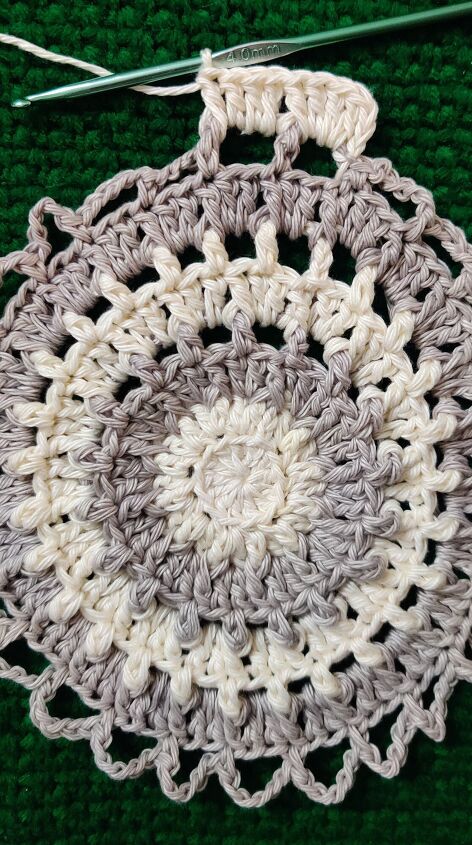

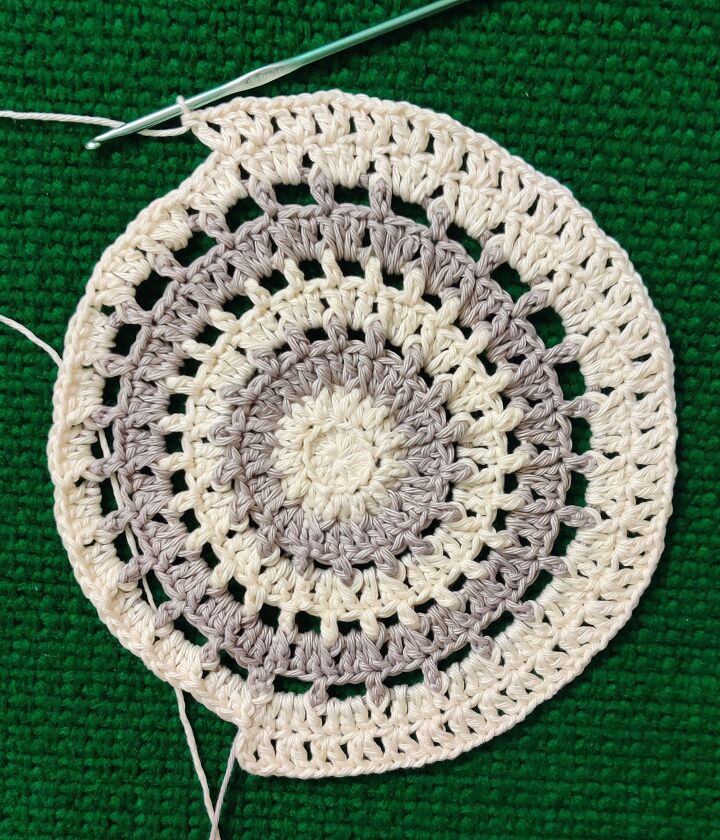
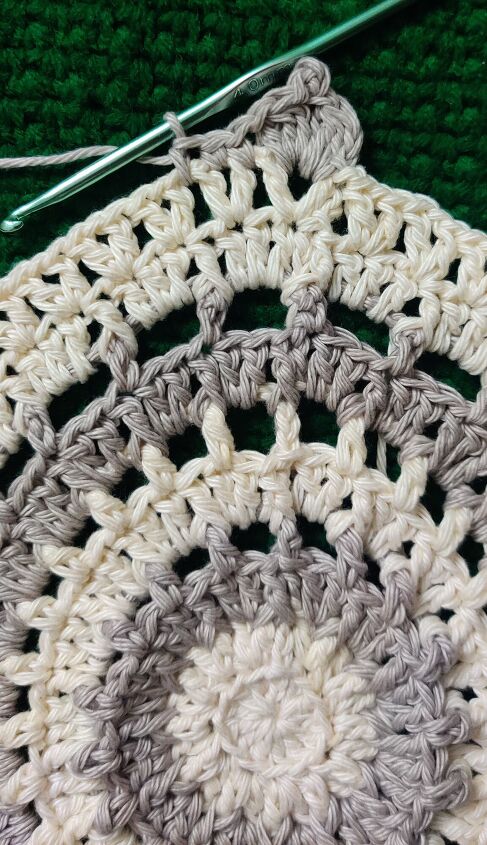
Round 10:-
Chain 2.Start the next stitch in the same stitch.
1 Double Crochet, Chain 1, 1 Double Crochet in the same stitch.
Skip the next stitch.
1 Double Crochet, Chain 1, 1 Double Crochet in the same stitch.
Repeat((1DC,Ch1,1DC)-(all in the same stitch),Skip 1).
Slip Stitch on top of the first Double Crochet.
Change color while making the slip stitch.
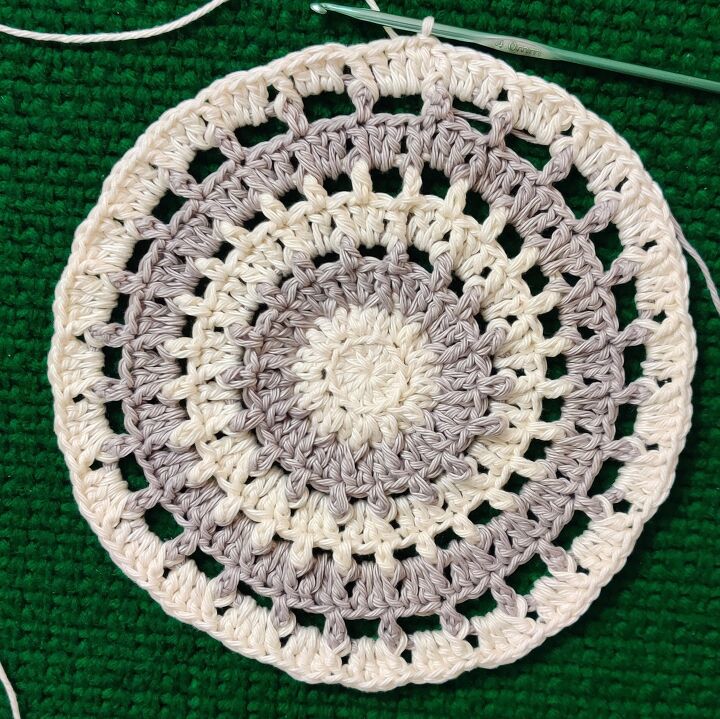
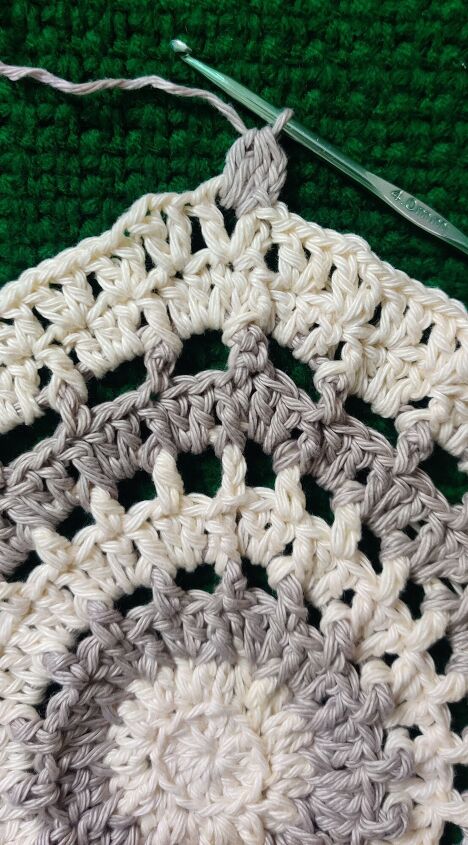
Round 11:- Border
Slip stitch into the Chain 1 Space.
Chain 2.
(1 Double Crochet Cluster, Chain 3 Picot, 1 Double Crochet Cluster) - all in the same chain space.
1 Single Crochet each in the next 3 Stitches.
Repeat((1DC Cluster, Ch3 Picot, 1DC Cluster), 1 SC each in the next 3 stitches)
Slip stitch and weave off.


Frequently asked questions
Have a question about this project?