


Up-cycled Painted Book Centerpieces

This is another fun, quick, and pretty DIY for up-cycling old books. We used these for my daughter’s wedding as part of the centerpieces on the tables. The books were stacked on one another, decorated with lace, flowers, twine etc... and we purchased small vintage clocks which sat on top of the books. Each clock was set to a time and as our guests entered the lobby, they were told which table to sit at, (i.e at 2 o’clock). The books and vintage clocks were a hit and my daughter loved them. You can use remnants of fabric, lace, faux flowers or anything else you have to adorn the books and personalize them. I also used pages from the books, to personalize them even more, you will see what I mean by that. FYI, my cost was a little higher because we made so many but it’s actually a very inexpensive DIY. I will approximate the cost of 1 set of books. I’m sure most of you will have remnants of lace and trimming laying around and maybe even old books. Alright, enough said, let’s get started.
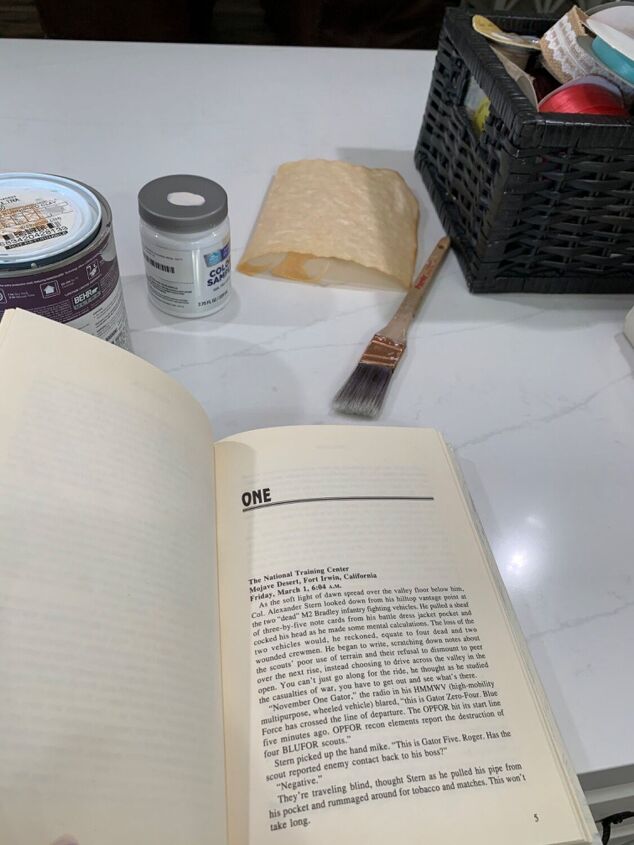
We purchased various sizes of books and got them from Goodwill and thrift stores because we needed quite a few being that we had over 20 tables at my daughter’s wedding. The thrift stores we found to have the best prices for the books. I purchased only hard cover books so that the paint would adhere more easily. You first want to make sure that you wipe them clean. I just used a warm sudsy washcloth to dust them off.
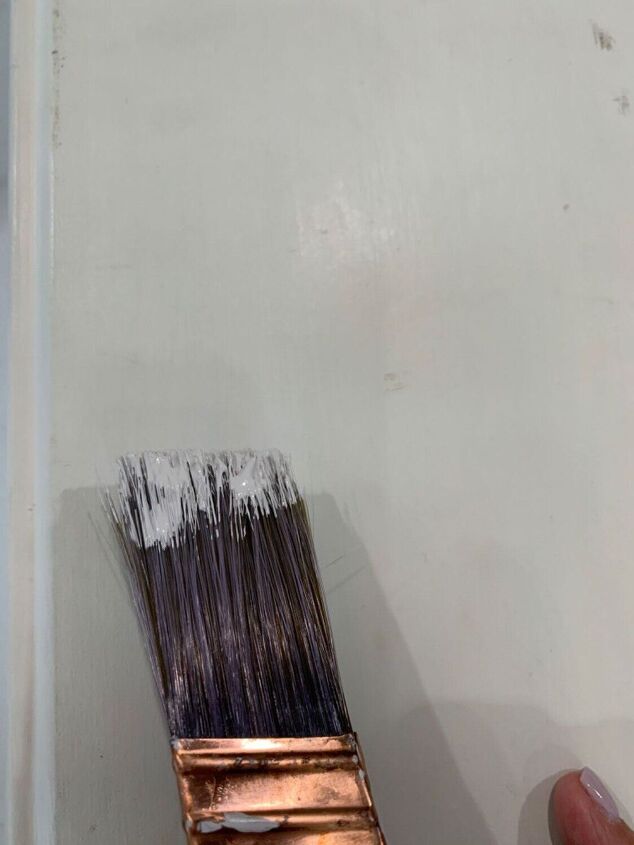
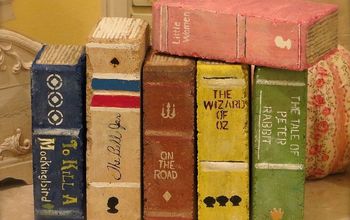
I purchased sample size paints from Lowe’s and chose colors that would match the theme of her wedding. The sample sizes aren’t very expensive either. Some required two coats of paint and others required only one. I did not want them to be fully covered but used more of a dry brush method because I wanted them to look slightly aged. After you are finished painting them make sure to allow them to dry thoroughly before you stack the books.

Choose the trimmings that will fit the theme that you’re aiming for. I used soft and neutral colors. Play around with various textures too, it adds character to the final project.
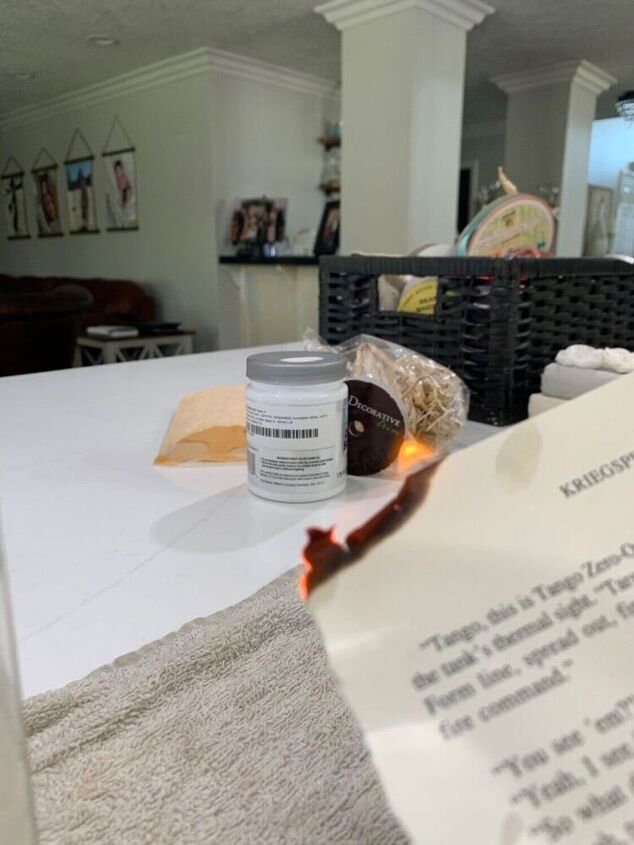
I decided to use pages from the books, burn them, and used them to print pictures of my daughter and her fiancé at the time. You will see in the following photo what I mean by that. The pictures that I chose were from their engagement shoot. All I did was lay a wet washcloth, placed it on the counter, and had a second wet wash cloth ready to go. I lit the edges of the paper on fire, while holding it close to the wash cloth that I had laying on the counter top. Once I burnt the edges, I laid it on the wet wash cloth and with the second wet wash cloth, I put out the fire. I know it may sound a little sketchy but it actually is not that bad. Just be very careful. This is completely optional!
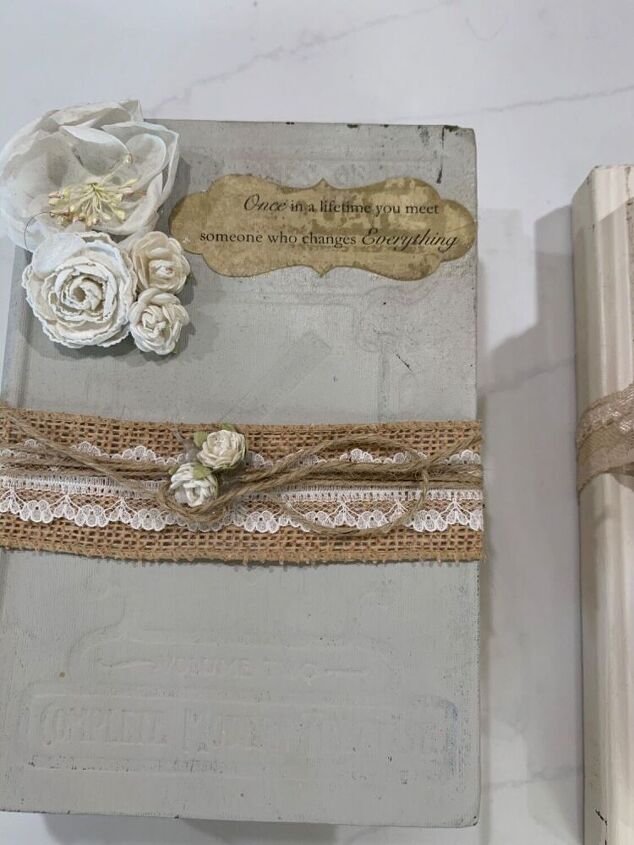
I then stacked the books on top of each other with the larger book being on the bottom and the smaller being on the top. Next, I wrapped various trimmings on various books, some had twine and others had lace and ribbon. I also added faux flowers to some of them. For the flowers I used hot glue to secure them in place and I used an adhesive spray to secure the pages that I had burnt on top of some of the books.
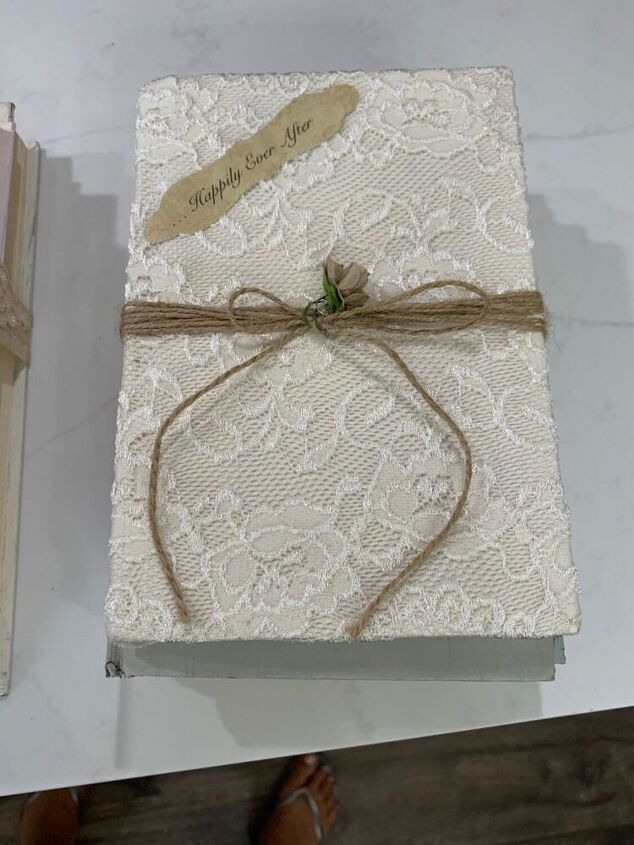
Here is another idea and a photo of one book that I wrapped in lace. It turned out very pretty I also wrapped it with twine.

Here is a close-up of how the burn pages turned out. As you can see, I printed pictures of my daughter and her fiancé at the time from their engagement shoot. Each book had different pictures, these were a hit at the wedding. I originally wanted to use Bible verses but that would mean tearing out pages from old Bibles and I just cannot get myself to do that LOL this worked out great though and the kids loved it. We all have a set at home.

This is a picture of some of the books that I did and the Vintage clock as it was used on the books. Her main centerpiece were Manzanita trees, miniature ones of course that had soft green moss and flowers. The books were stacked around it with the clocks and votive candles.
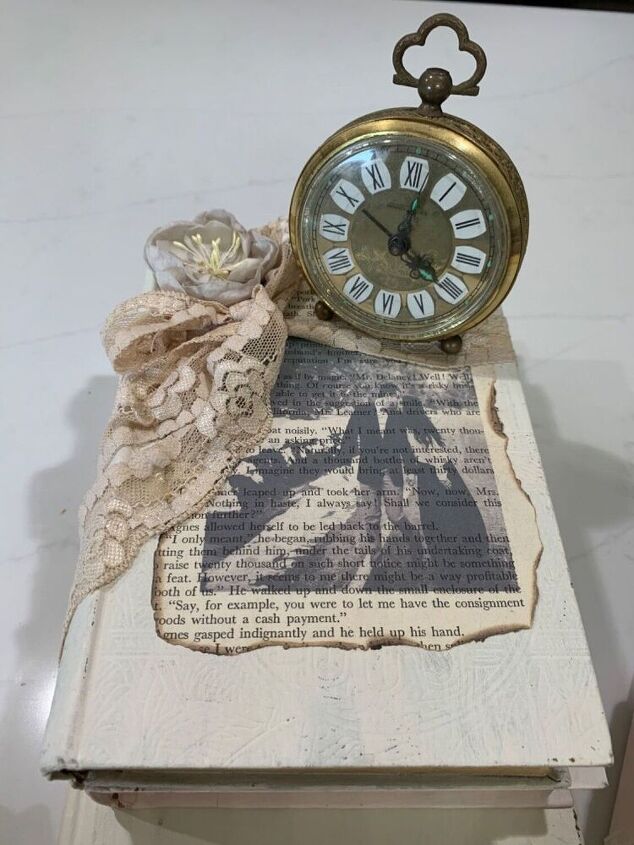
Here is a close-up of the book with the burnt pages. I hope you liked this project, thank you for viewing. It was a fun one. If you want to see some of my other projects and other things that I do please visit me on Instagram at https://www.instagram.com/mycreativekneads/


Comments
Join the conversation
-
Beautiful! Very clear instructions, too. I’ve seen these before, but using them as wedding reception table decor is genius! (I know what you mean about not tearing the Bible; I even have a problem with tearing hymnals for decorative purposes.)
-
Very beautiful! I wonder if cutting and pasting the bible verses on a vintage type paper would work? The picture looked like it was printed on the burnt pages. How did you do that?


Frequently asked questions
Have a question about this project?