


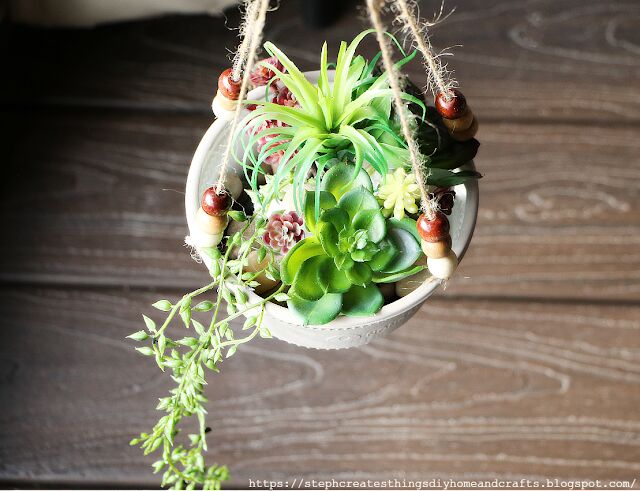
Upcycled Plastic Bowl Hanging Planter

Hi everyone! I hope that you are doing well. I recently hit 200 subscribers on my YouTube channel, and I really wanted to bring you all a craft that I think you will love. I had a few microwavable noodle bowls that I washed out and put away. I took a few days to think about what I could possibly create using these bowls. It finally came to me, and I decided I would take one of the plastic bowls, and upcycle it. We will take this plastic bowl, and create a hanging planter. I promise I will take you through each step, and as always I will provide a video tutorial. If you're ready, create with me!

Connect with me!
YouTube- Steph Creates-DIY Home & Crafts
Blog- https://stephcreatesthingsdiyhomeandcrafts.blogspot.com/
Instagram- https://www.instagram.com/stephcreatesdiyhomeandcrafts/
Pinterest- https://www.pinterest.com/Stephcreatesdiyhomeandcrafts/
Video tutorial
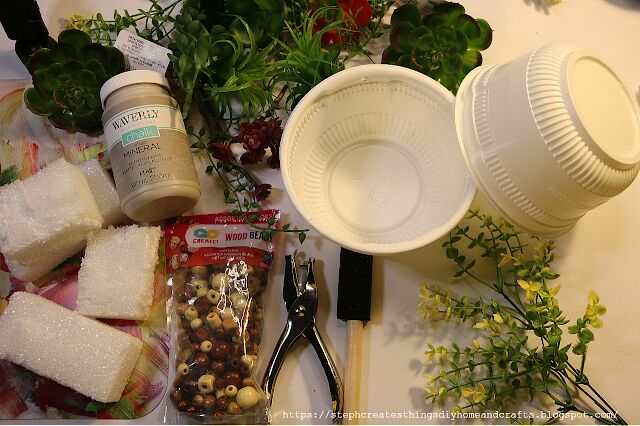
Materials
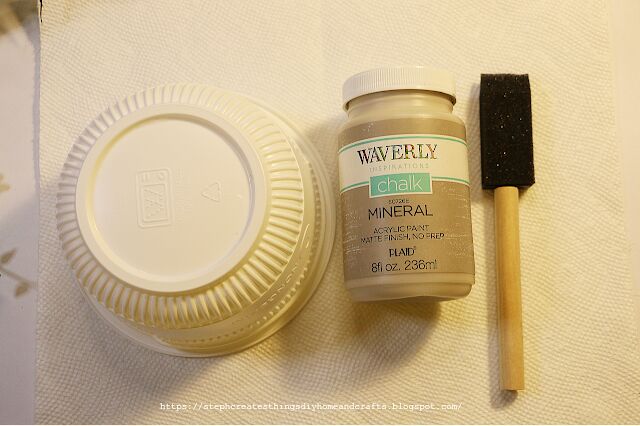
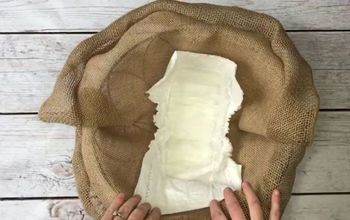
One Plastic Bowl I'm reusing a plastic noodle bowl
One hole puncher
TwineYou will need four sections of twine, and the same length
River pebbles, or craft rocks I purchased river pebbles at my local Dollar Tree
Medium size wood beads (optional)
Paint -I'm using Acrylic chalk paint. Color is called mineral
Hot glue
Faux succulents, and vines
Craft foam blocks
Paintbrush or sponge brush
Scissors
Floral snips
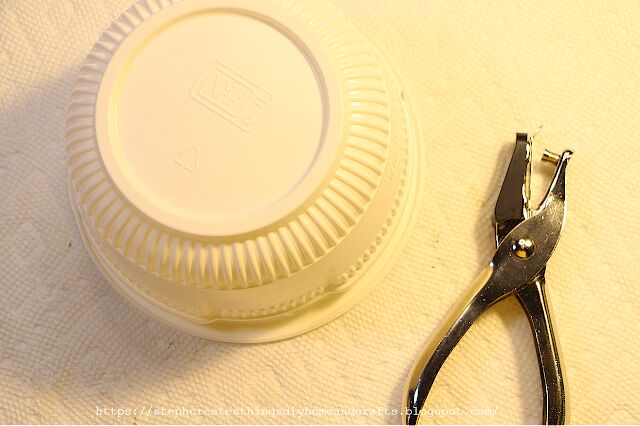
Begin with taking your hole puncher, and punching out four holes in your bowl.
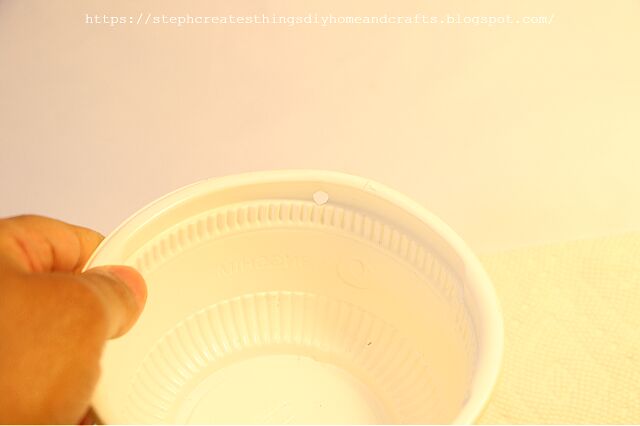
When punching out your holes, make sure that your holes are opposite from each other.
Next, take your paintbrush and apply paint to your bowl.
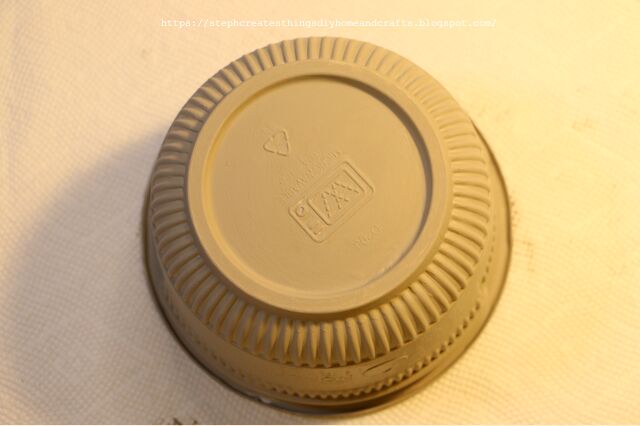
You will need around two coats of paint.
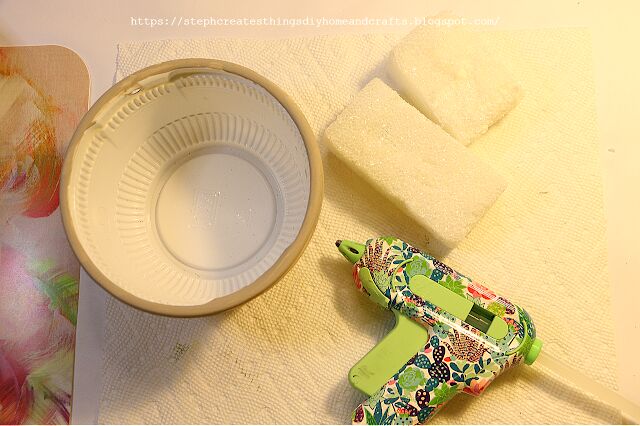
Take your craft foam blocks, and add them to your bowl. I used just a little hot glue on each piece and added them to the middle of my bowl.
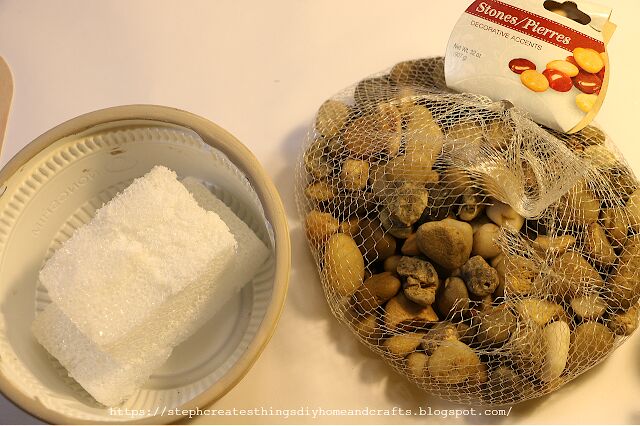
Next, take your craft rocks and begin to add them inside your bowl. I placed my river pebbles around my foam blocks. Be sure to leave the top surface of your foam block exposed.
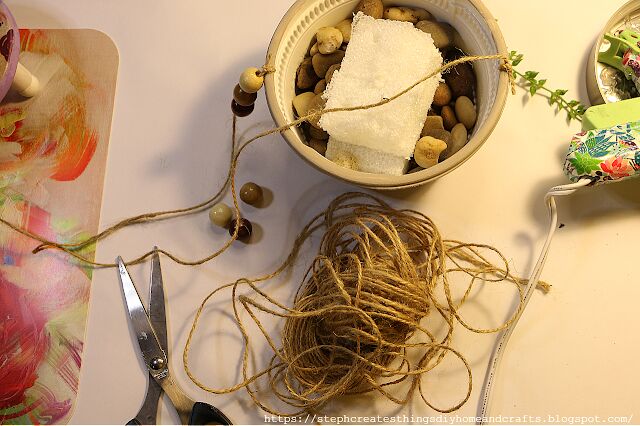
Next, take your twine, and insert it into the hole in your bowl. Once you have inserted your twine tie your twine off. After you have tied your twine to your bowl, determine how long you would like your twine section to be, and cut your twine. Repeat this step for each section of twine. You will need to have a total of four sections, and they will need to be the same length. After, take your beads and string them onto your twine. I used three wood beads on each twine section.
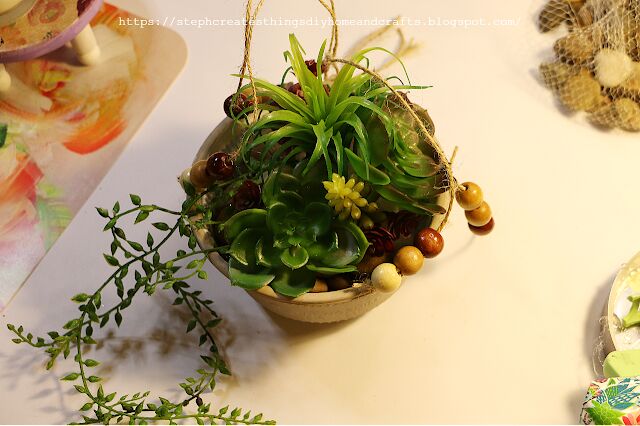
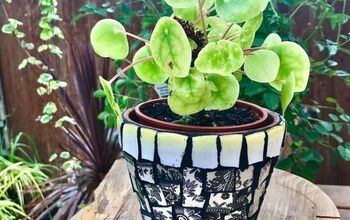
Next, begin to add your succulents and vines. Use your floral snips to cut succulents to size, and insert your succulents into your craft foam. I used just a little hot glue to attach my vines. Once I added my succulents I placed a few more of my river pebbles on top of my foam block.
After you have added all four sections of your twine make sure that your pot is level. Take your four sections of twine, bundle them together, and tie the top of the twine into a knot.

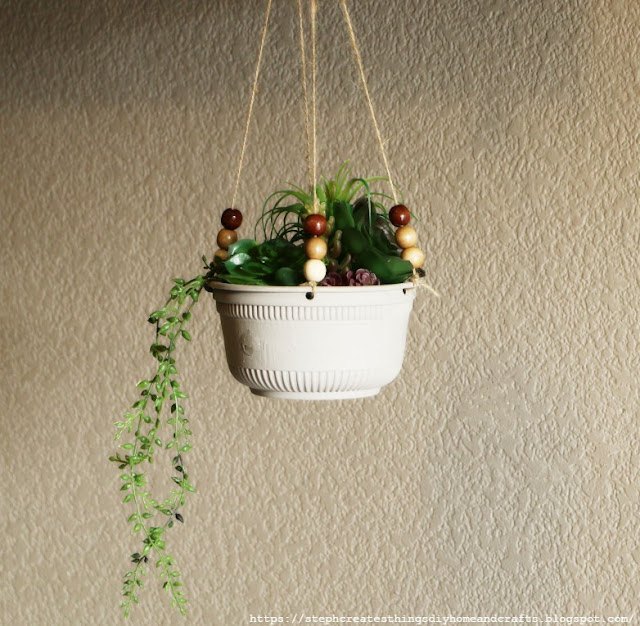
Your hanging planter is now complete. All that is left is to hang your beautiful creation. I love how this project turned out, and I would love to hear from all of you. Let me know if you decide to create your very own. Thank you so much for stopping by, and creating with me.

Pin Share Save
Resources for this project:
See all materials


Comments
Join the conversation
-
Super cute idea & I really love the beads on there. Going to give this a whirl.
-
I'll probably do this. It's a great idea.


Frequently asked questions
Have a question about this project?
Hi! I'm just wondering if the plastic bowl is thin enough to be able to be punched with a paper punch, it seems like it might bend with the stones or a plant with soil and water?? Very good use of recycleables! Carol. 🐱🐈️