


Upcycled Restoration Hardware Inspired Book Using Joint Compound

I don’t know anyone who doesn’t love Restoration Hardware do you? I don’t like their prices though 😬 When I saw some French inspired books in one of their stores, I had the idea of creating my own. I love using joint compound for projects because it can completely transform the item and give it a wonderful texture by creating dimension. For these reasons I decided to use it for this project. This was easy and it helped save a storage book from being discarded or given away 😂 Now I have something new to look at 😉
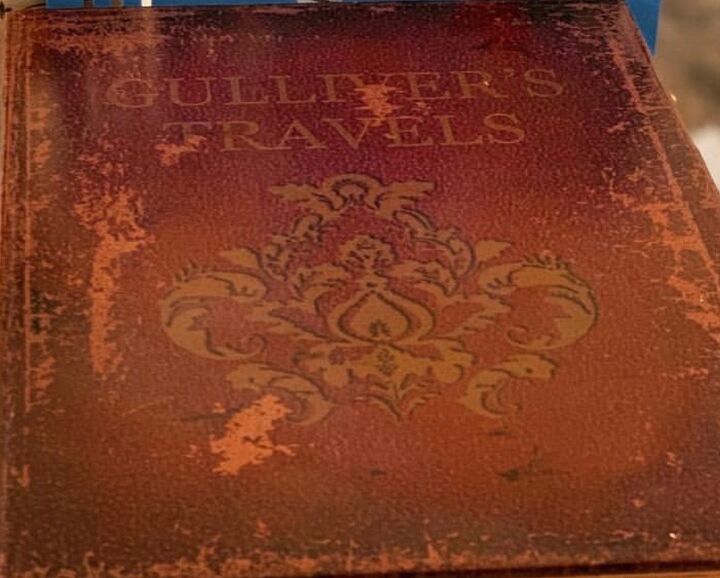
This is what the original book looked like. I’ve had it for a few years but it no longer fit into my current decor.
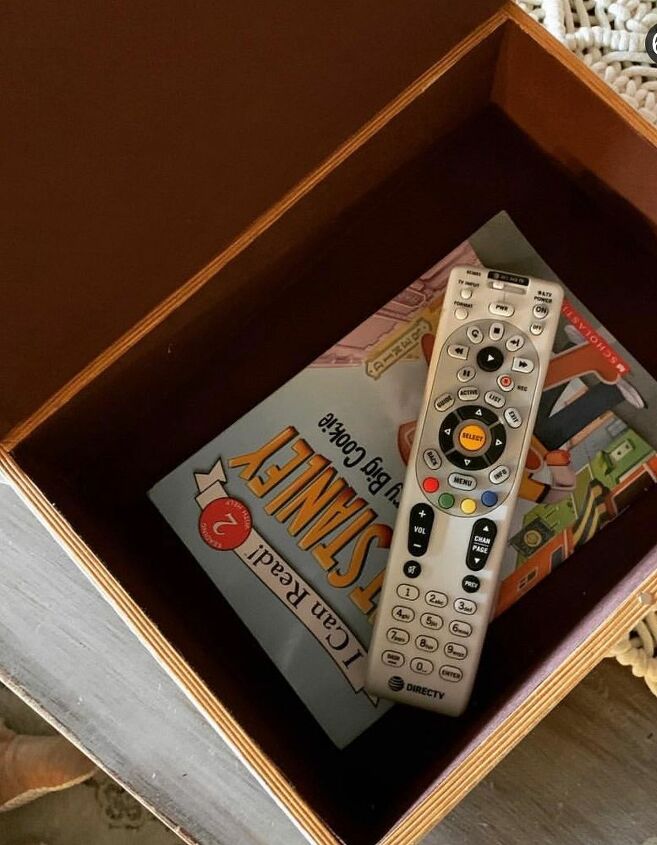
The book was actually a storage book that I used to store the TV remote control and my grandies used it for everything from books to snacks 😂 I can’t tell you everything I’ve found in this thing.
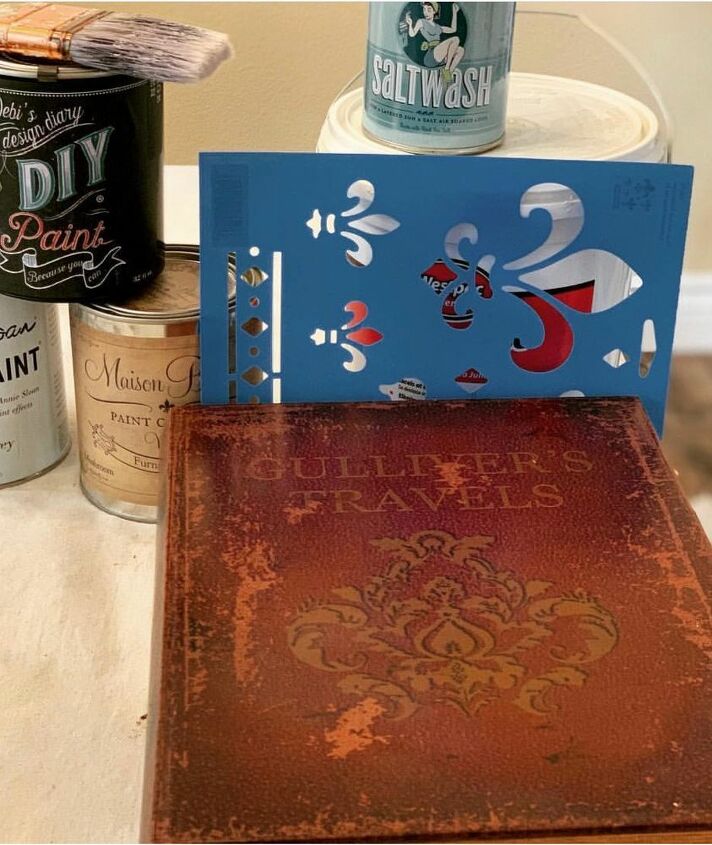
These are the items I used, the book, chalk paint, clear and dark wax, salt wash (I will explain what that is later), your choice of stencil, modge podge, twine, Kraft paper, French Script stamp and a black sharpie.
Don’t hate me but I was so into my project that I forgot to take step by step photos but I will explain each step.
- Clean the book if needed
- Apply the joint compound. I used the already mixed and ready to use and applied it using a brush and my hands if needed. I did one side first and the spine/side of the book and allowed it to dry completely before doing the back side. Your drying time will vary depending on the joint compound you use and how much you apply but you will most definitely know when it’s completely dry. I used a fast drying compound.
- Once it’s dried, I laid the stencil where I wanted to add the decor and applied more joint compound and allowed that to dry.
- Once the book was completely covered with the compound and it was fully dried, I started the paint job. I used a new product to me, and one that I love ❤️ it’s called Saltwash. This was added to my paint following its directions. It creates texture and a vintage look. Again, I painted one side, allowed it to dry and proceeded to the back side of the book.
- Once all the paint was dried, the next step was to apply the wax. I applied a clear wax first , this seals the paint and then applied the dark wax to the areas that I wanted to create an aged affect. I used various types of chalk paint and wax brands but since making this project, I was introduced to American Paint Co. Products which I love and will use moving forward.
- The final step is adding your details if you want or you can leave it as is. I chose to add more details. I used White Kraft paper and stamped it with a French script stamp. I then burnt the outer edges to give it an old worn look. Tip: I used a lighter and with a damp cloth behind it to stop further burning of the paper. Please be careful!ii 🔥 Then I modge podged the paper following the instructions. Finally, I free handed the writing on the side of the book. I also hot glued twine and went over it with a black sharpie for further detail. This was the final step.
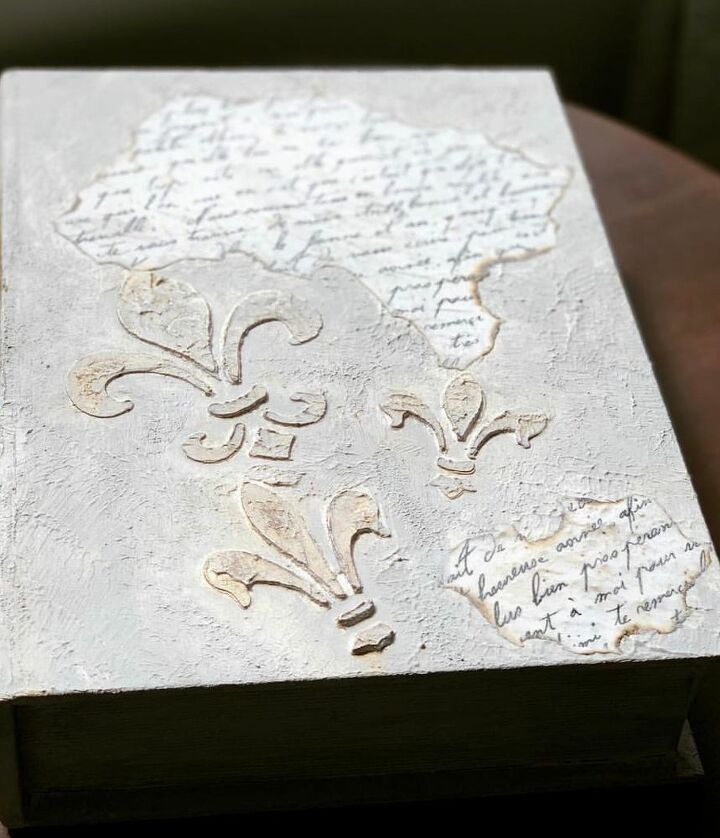
A close up view of the book cover transformation. You can see the depth and texture the joint compound and the Saltwash created 😍 The aged affect came from the dark wax.
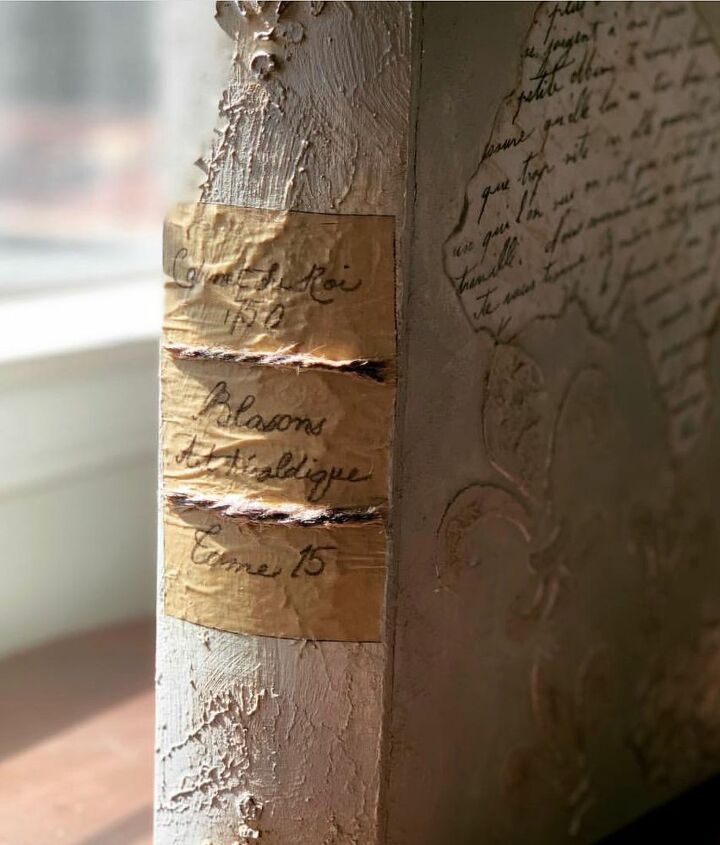
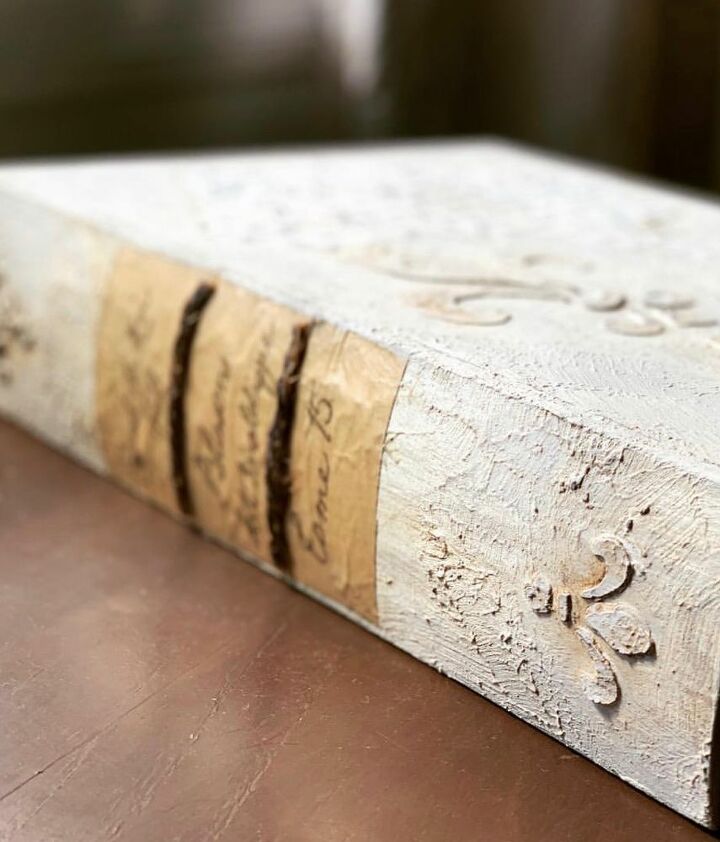
A close up view of the spine/side view of the book. As you can see, I used a brown Kraft paper, this one was thinner than the normal thicker kraft paper. I decided to use this so it would be more flexible when I applied it to the spine.

This is a view of one of the sides of the book. I went lighter with the joint compound here.

For the inside of the book rim, I was also light handed with the compound. I originally wasn’t going to do this part but when I closed the book, you could tell it wasn’t done 💁🏻♀️
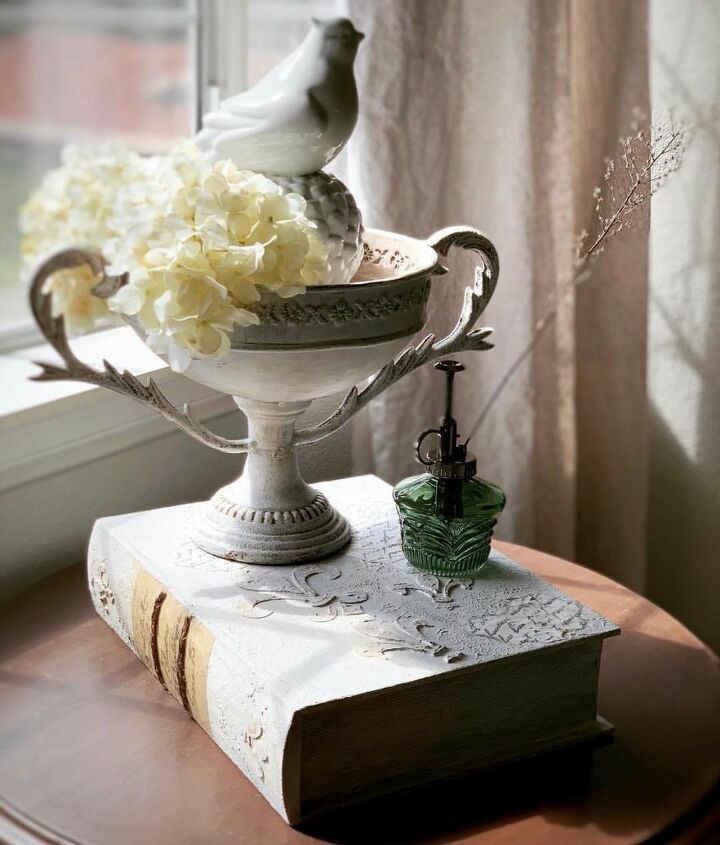
Here it is being used as a base for an urn that I also repainted. It doesn’t look like the same book does it? I think it’s a great transformation! Since this photo was taken, the book is back being used as a TV remote control storage box ohhh and my grandies secret hiding place 😂 I hope you like it and get inspired to create your own. Please keep in mind that I already had most of these products so it was very inexpensive to make but if you had to buy every single product it may get pricey. I think you can get away with using any paint that you have on hand until you accumulate the rest of the products. Good luck and happy DIYing. If you want to see more of what I do, please come visit me on Instagram at https://www.instagram.com/mycreativekneads/
Comments
Join the conversation
-
Aw so beautiful!!
-
Lovely!


Frequently asked questions
Have a question about this project?