


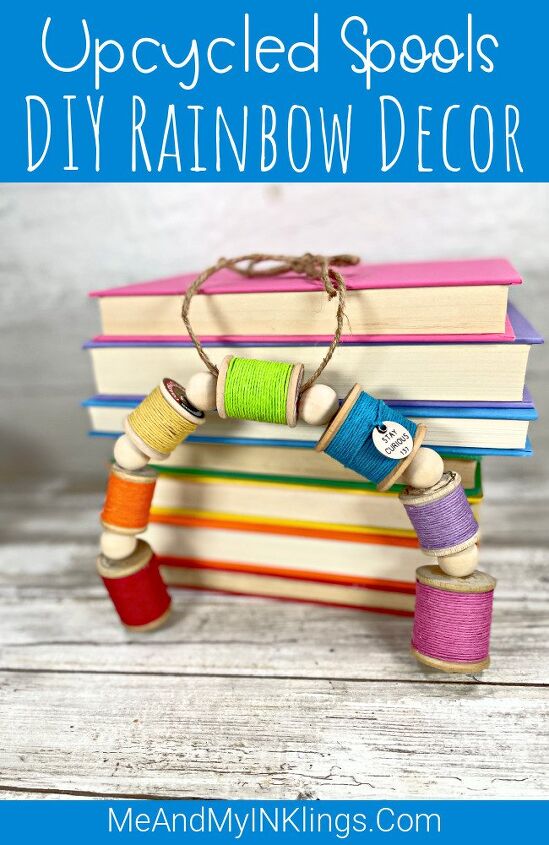
Upcycled Spools DIY Rainbow Decor
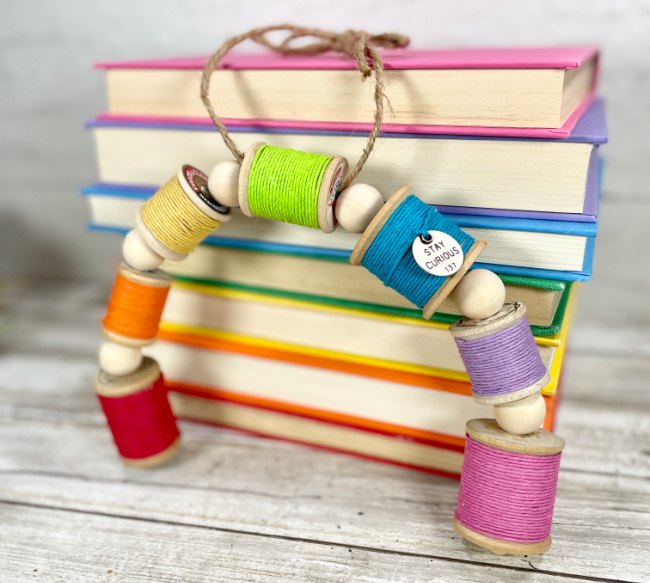
Create beautiful rainbow decor using upcycled spools and colored twine.
Decorating is so wonderful when using items that have personal meaning like spools found during a great antiquing trip with a best friend. These spools were some of many purchased in a giant antique mason jar. With the addition of the fabulous colors of twine from Hemptique, they turned into beautiful diy rainbow decor. This is one of my favorite upcycled spools DIY.
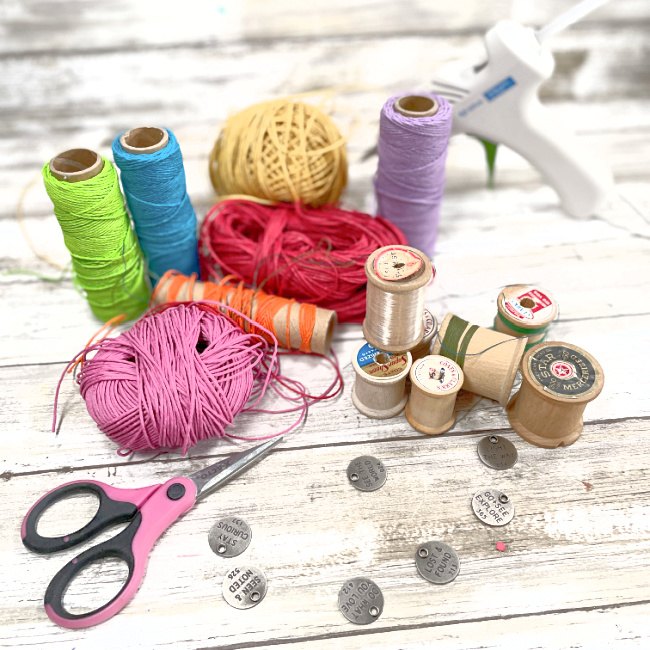
Materials and Supplies Needed
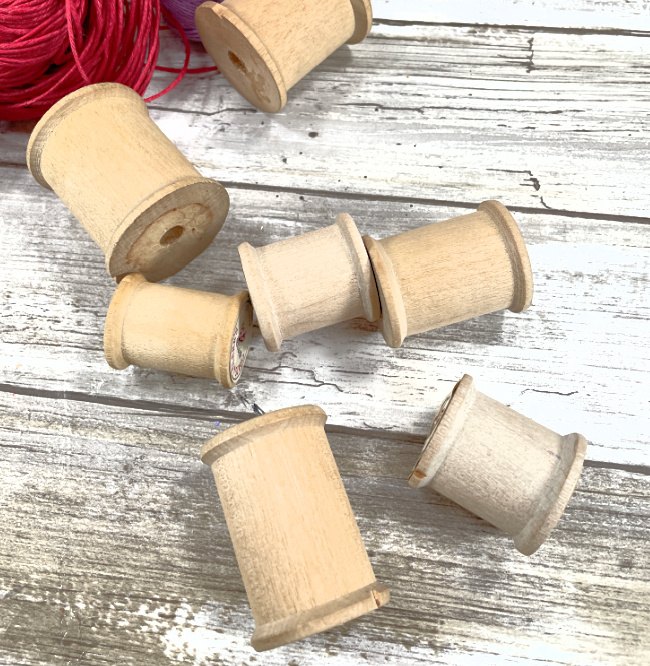
- Seven Wooden Spools
- Hemptique Twine (Hemp Cord) in Rainbow Colors
- Hot Glue
- Wire
- 6 Wooden Beads (Medium Size)
- 2 Wooden Beads (Small)
- Scissors/Wire Cutters
- Metal Quote Charm
Directions
Gather up the supplies needed for this project and prep by getting the spools cleaned up and ready. Remove any old threads. The stickers on the ends can be removed if desired. I think they add a lot of character so decided to leave them on.
Step One
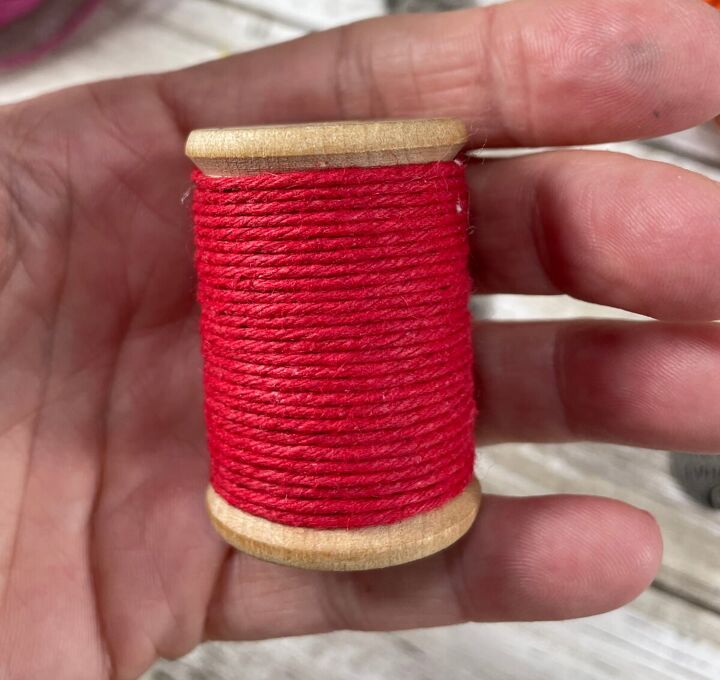
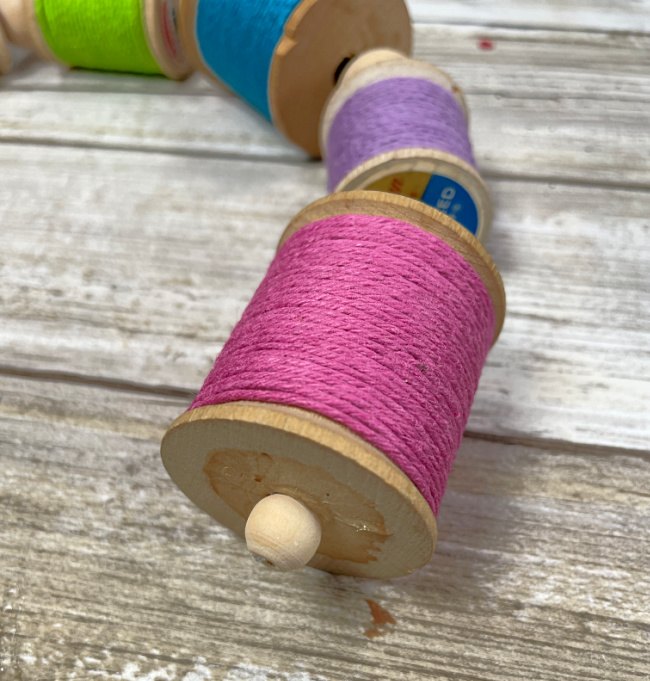
Start with one wooden spool. Place a small amount of hot glue at one end and attached the end of a spool of twine. I started with red and worked my way through the rainbow.
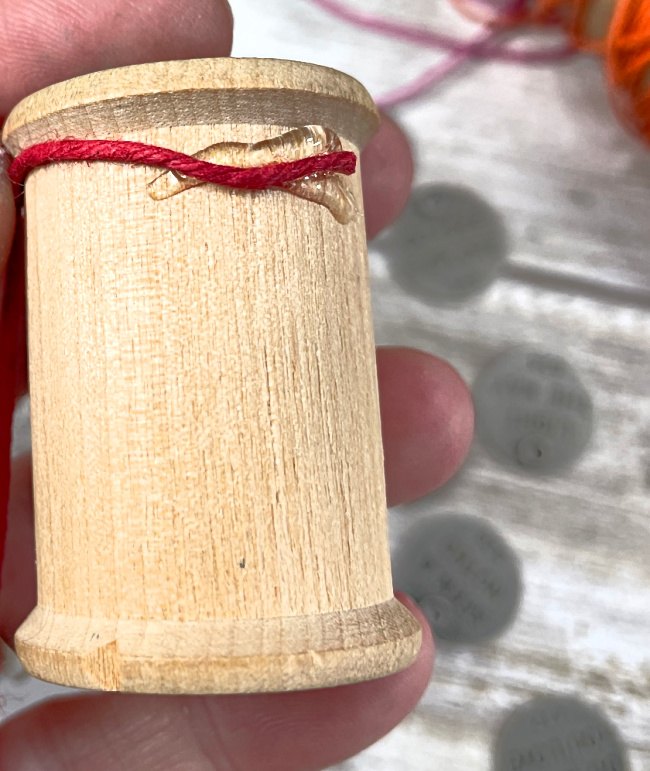
If your spools are different sizes, it is a good idea to think through the order that is best before starting.
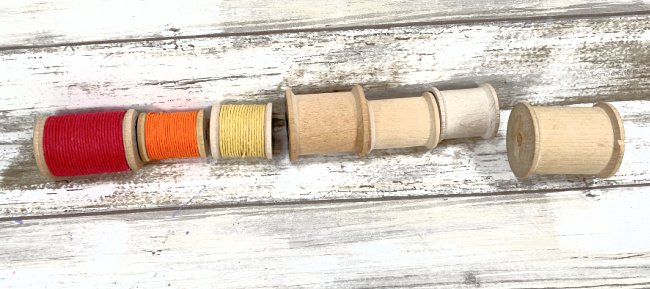
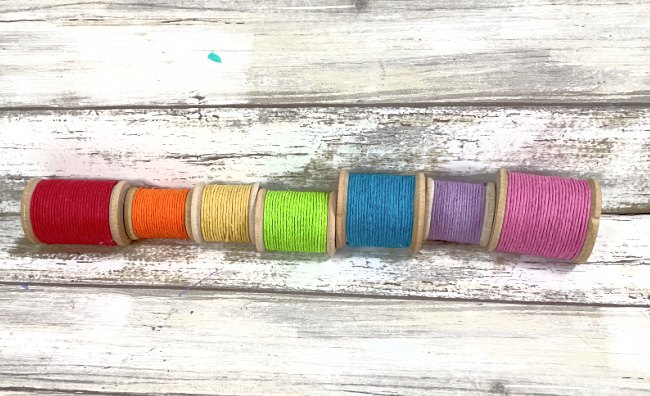
One by one, wrap all of your spools.
Step Two
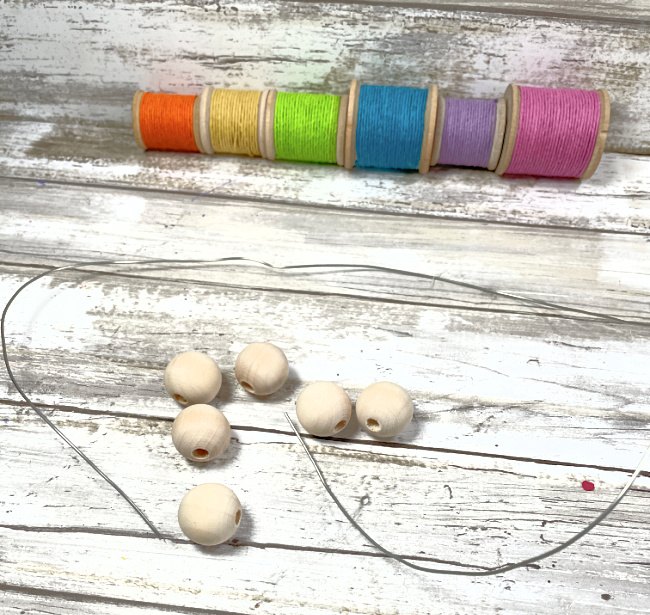
Cut a piece of wire the length of your spools lined up plus a few extra inches for the wooden beads. It doesn’t have to be exact as it can be cut down at the end of threading the spools and beads.
Step Three
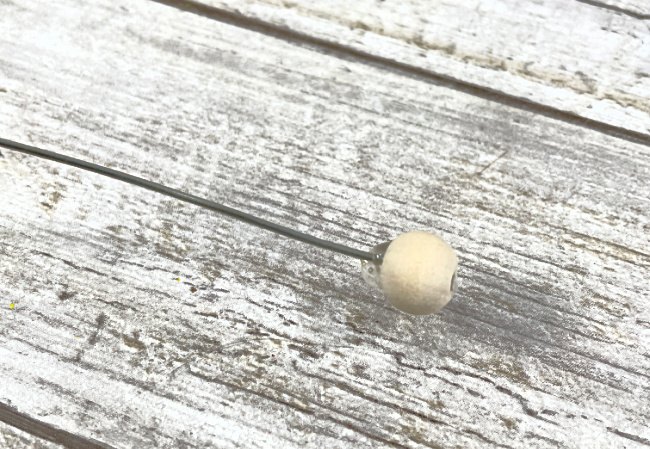
Thread the wire through a bead and use hot glue to seal the end of the wire inside the bead. this bead can be smaller than the others used in the project if desired.
Step Four
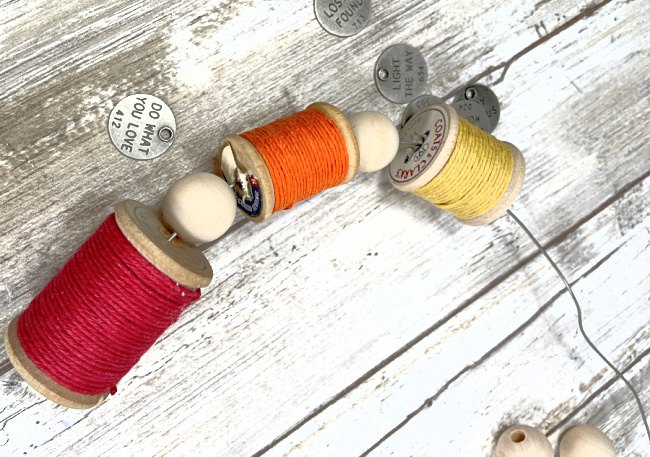
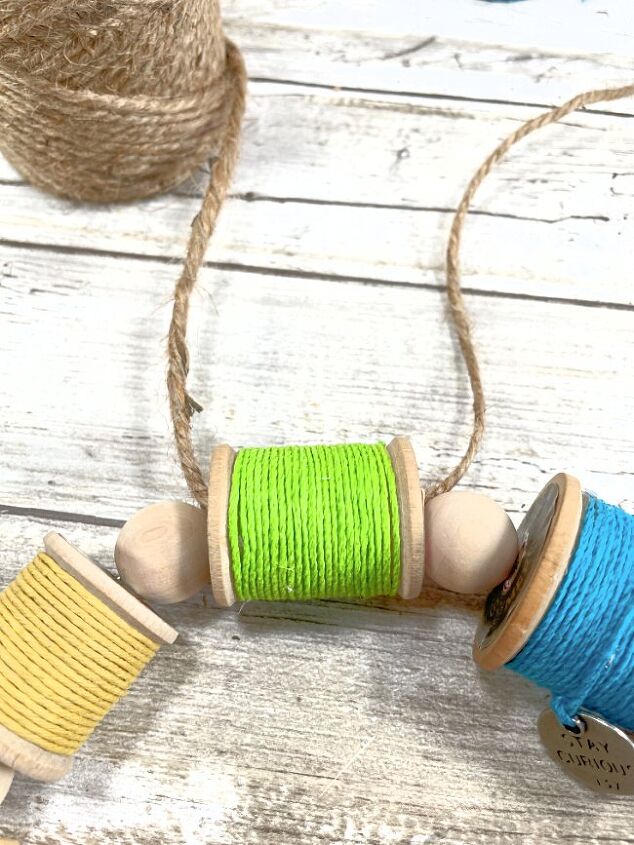
Thread your spools and beads onto the wire – alternating between spools and beads until they are all threaded.
Step Five
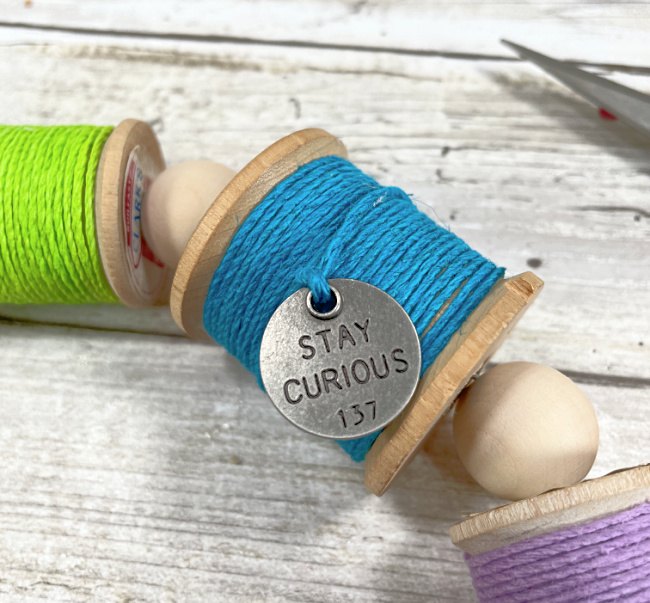
Add a metal charm with an inspirational message for that special added touch. I love this saying – Stay Curious.
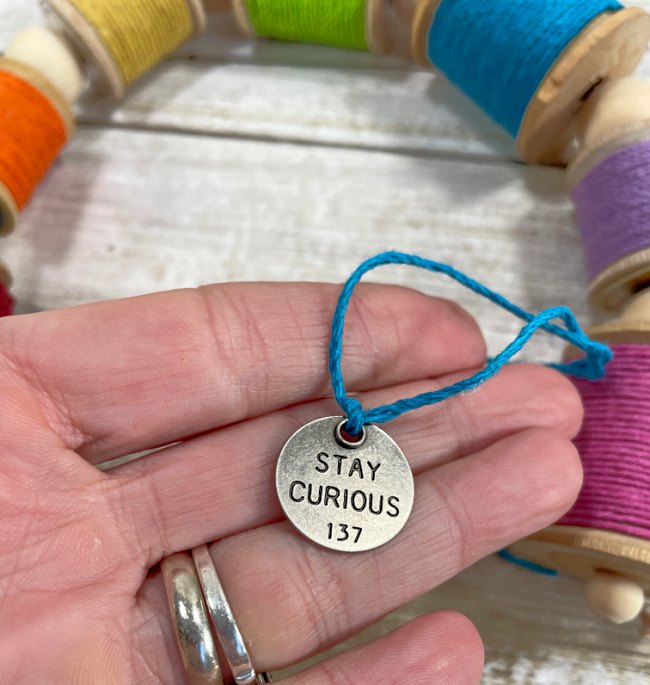
Tie twine through the hole and into a knot then tie that onto the corresponding wrapped spool.
Step Six
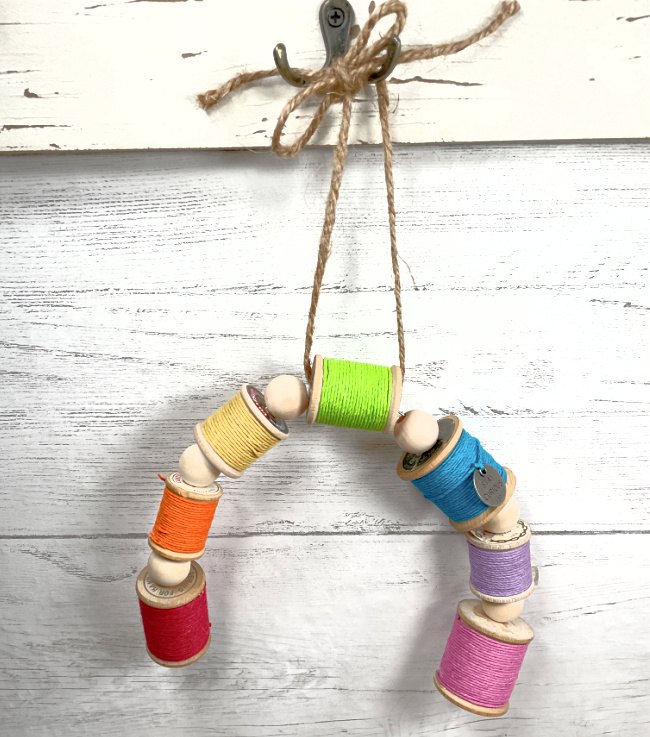
Add a hanger to the final spool rainbow by threading a piece of twine through the middle spool and creating a loop with a knot.
Hang your beautiful masterpiece up to admire.
Sharing is Caring! Too busy to make this right away?! Pin it for later! Pin this project to your favorite craft board on Pinterest and it’ll be waiting for you when you’re ready.
I would really love to hear what you think about this stencil making idea! If you try it out, I would sure like to see it! Share on Instagram, Facebook, or leave a comment/photo on the project pin on Pinterest!
This post contains affiliate links. If you make a purchase, it is no extra cost to you but supports me and my small business.
XO,
Laura
Resources for this project:
See all materials


Comments
Join the conversation
-
That is a spool for thread not ribbon. ribbon and thread are different. thread is thin and used for hand sewing or on a sewing machine and ribbon is flat and comes in different widths and is used for different decoration. ribbon can be used for a lot of different things.
-
I like that idea also. Thanks!


Frequently asked questions
Have a question about this project?