


Upcycling Glass Jars

I took 3 different jars and turned them into art supply organizers for my crafting table. These are a few ideas to spice up the crafting table and keep everything organized! I upcycled a yogurt jar, a peanut butter jar, and a candle jar.
You can watch this easy-to-follow step-by-step video or keep scrolling for instructions. Let's get started!
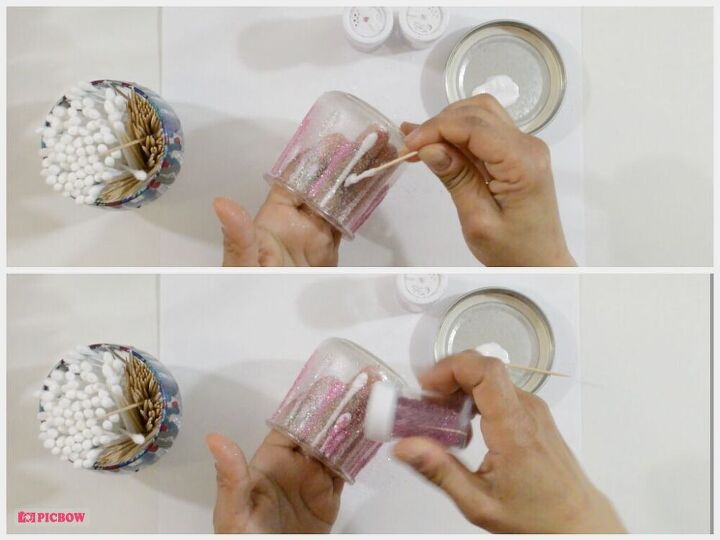
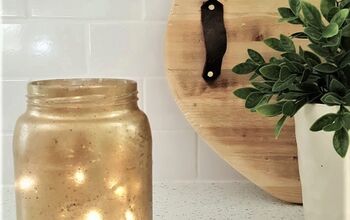
I upcycled the yogurt jar into my cotton swab and toothpick holder. Using a toothpick, I placed Mod Podge in the shape of a drip coming down from the top. I did them different heights all the way around. I then sprinkled each one with white and rose gold glitter, alternating between them. Once it dried, I brushed off the excess.
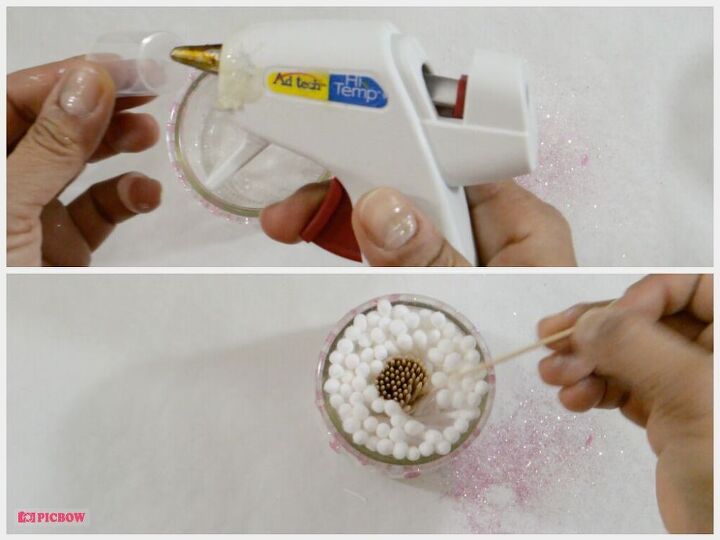
Because this container will store my crafting toothpicks and cotton swabs, I hot glued a cap into the middle of the jar. This will prevent them from mixing and make everything easier to access.
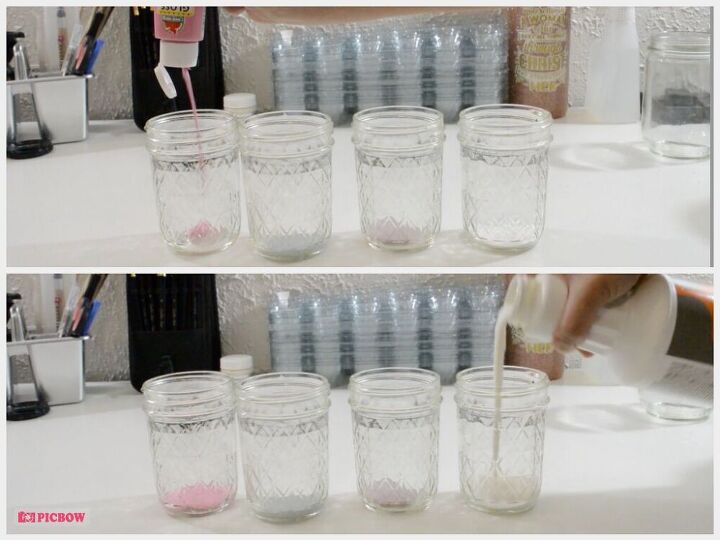
I upcycled the peanut butter Jar into my color pencil holder. I created the design by using the dirty poor technique.
1.) Using four separate cups, I poured white, grey, rose gold glitter paint, and pink paint into each cup.
2.) You want to add some Floetrol to each one.
3.) Mix each one very well.
4.) Add one drop of 3 in 1 silicon to the white paint only, and mix well. (Optional, It creates cells)
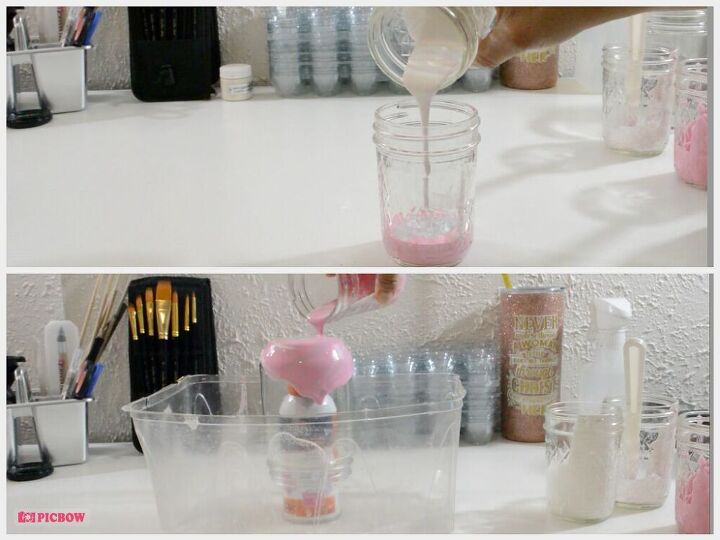
Pour all four colors into one cup and pour it, in a swirling motion, onto the peanut butter jar.
Place the peanut butter jar inside a plastic container. Place the jar upside down and make sure to suspend it with something. My jar is suspended by a spray glue bottle. It prevents a mess and allows the excess paint to drip off.
I added loose glitter to mine while it was drying.
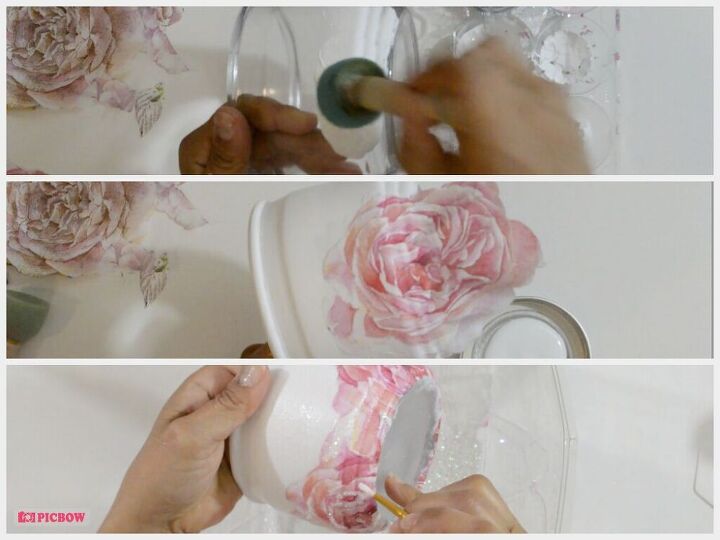
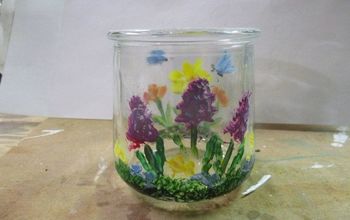
I upcycled the candle jar into my pouncer brush holder. It's the perfect height for them. I used the good old fashion decoupage technique for this one.
1.) Paint the entire jar with white matte acrylic paint. I gave mine two coats.
2.) Cut out some pretty roses from a napkin, and decoupage them onto the bottom half of the jar.
3.) Sealed the entire jar with Mod Podge, and let it dry
4.) Add glitter accents to all the roses and cover the rim as well.
5.) For added secureness I sprayed hair spray on the glitter. This stops fallout.
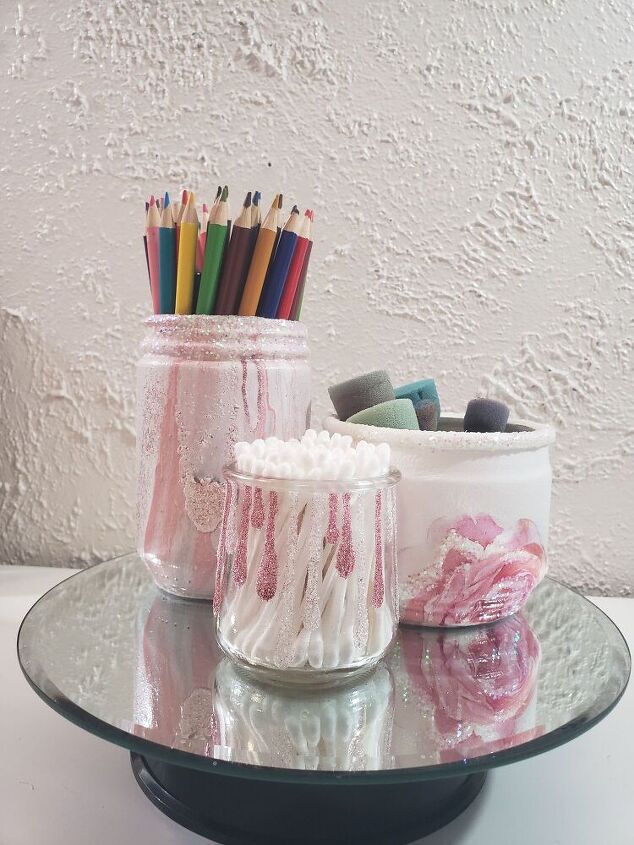
These are super easy, cute, and work perfectly for organizing my crafting table. You can always change the color to fit your home decor.


Frequently asked questions
Have a question about this project?