


Use UV Pigments to Make Funky Bear Ornaments

I got a bear mould included with a set of moulds I got from Amazon and wanted to make a really unique funky ornament from it and found some UV pigments I brought that I hadn’t used and I thought this would be the perfect time to try them out and see how they look in resin. I hope you like my post. This bear is now up in my Etsy store to buy.
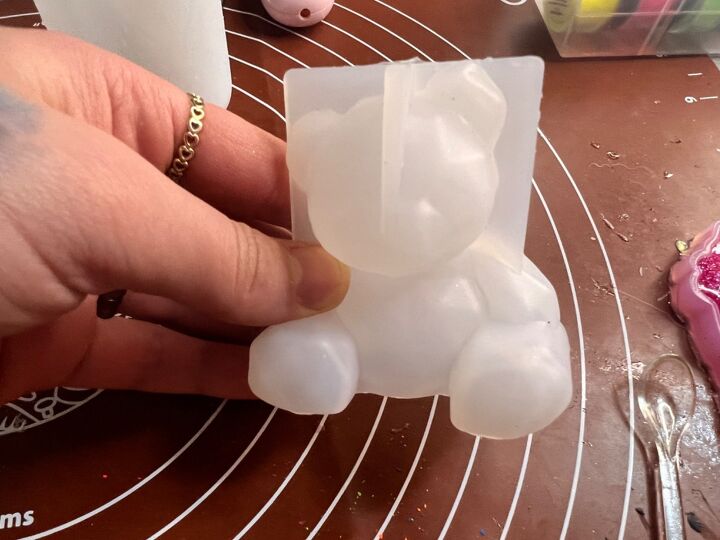
Before
I had this mould stashed away for ages because I couldn’t think of what kind of colours to go for or try together. I can’t believe from this simple mould how well the resin comes out from it.
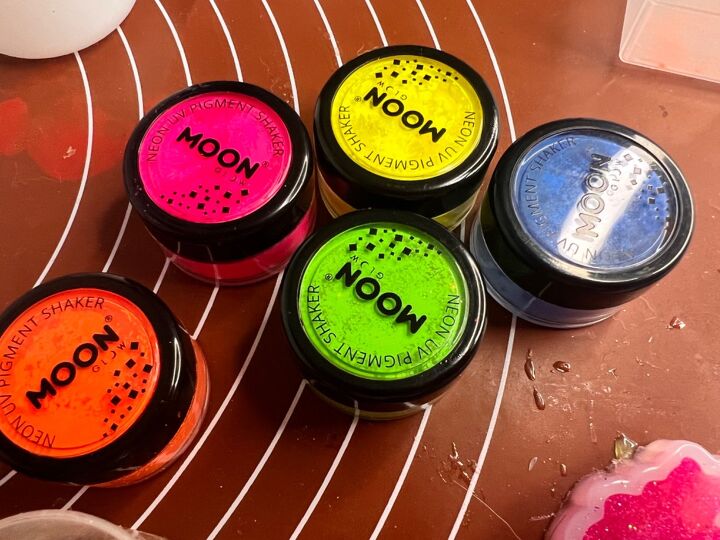
I got these UV pigments from Amazon to use for eye shadows but never got round to using them till I had this idea. I love how bright and beautiful the colours are and I was really intrigued to find out how well they would do in resin.
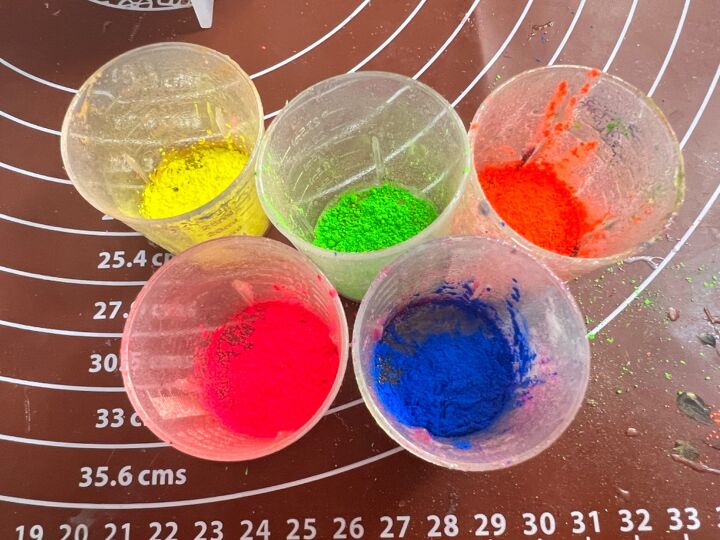
Firstly, I added a little bit of each coloured pigment to a plastic pot. I get these pots from Amazon. As I go on to mixing resin in I will add more pigment if I need to.
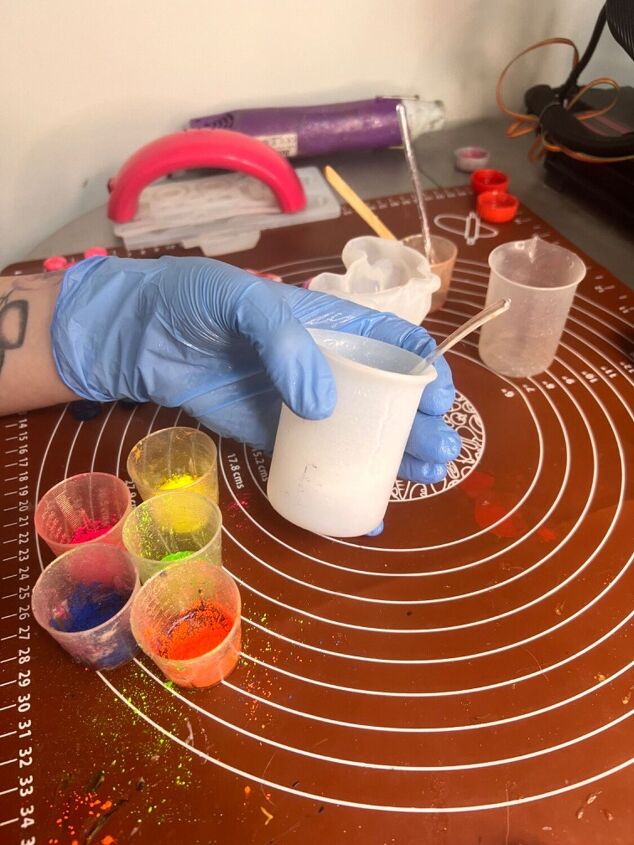
Next, I mixed 80ml of resin & hardener. I use the brand “Craft Resin” it’s my favourite brand for getting a crystal clear result.
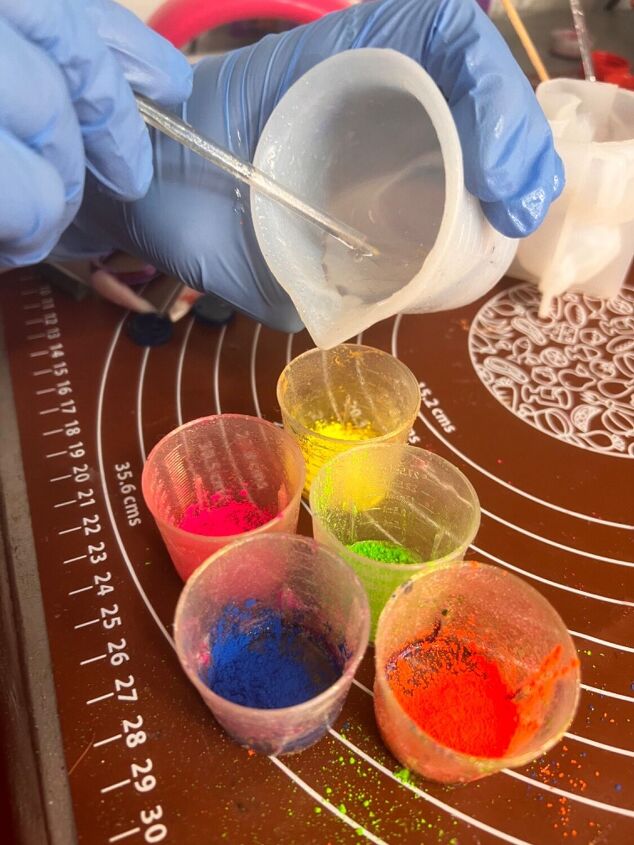
After, I had mixed my resin mixture up I added it to my pigments. Splitting it between every pot.
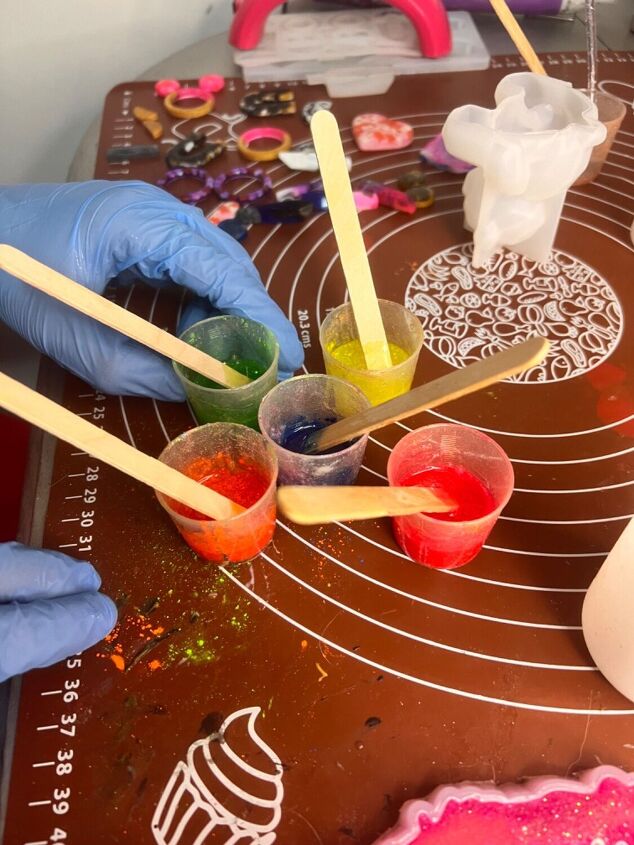
I then used some popsicle sticks to mix the resin thoroughly with the pigments. I'm really pleased with how well the UV pigments mixed with the resin.
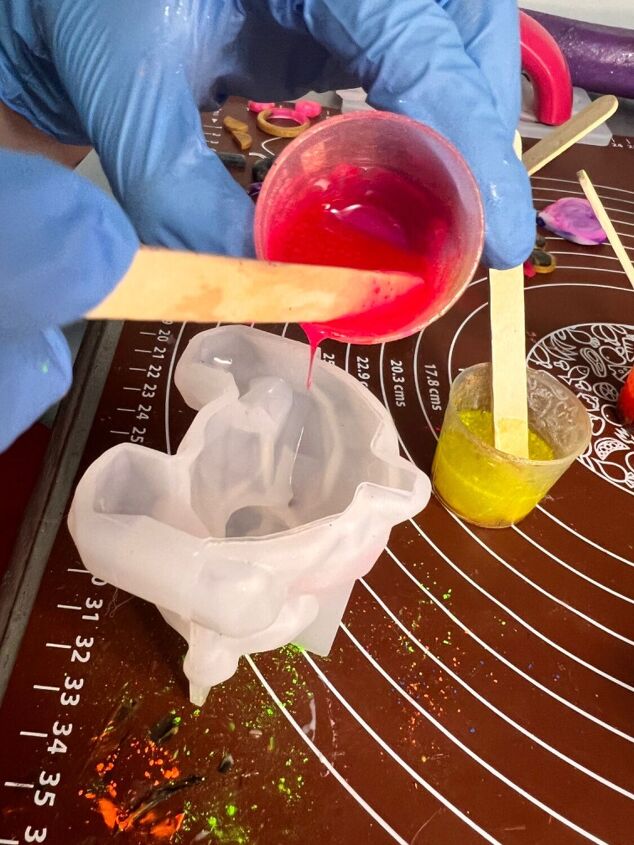
Lastly, I poured each individual colour in the bear mould. I poured one after another to try and get a layered effect. Not sure if this is going to work but it’s all about experimenting, this project is.

After
After 24 hours I demoulded the bear and I’m pretty pleased with the final outcome. Although the colours mixed together more than I wanted to I’m still pleased with the funky effect I’ve gotten.


Frequently asked questions
Have a question about this project?