


When Woven Potholders Become an Addition
To my knowledge, there are no support groups for serial weavers, especially those focusing primarily on woven potholders, nor should there be. The benefits of this old-school craft are all positive. It keeps your hands busy while watching Netflix – and out of the potato chip or cookie bag. It’s an easy and relaxing past-time. It’s fun selecting color patterns. And you end up with enough Christmas gifts for everyone. You’ve ever met. I mean, it is addicting.
(This post may contain affiliate links; as an Amazon associate I earn from qualifying purchases. See disclosure here.)
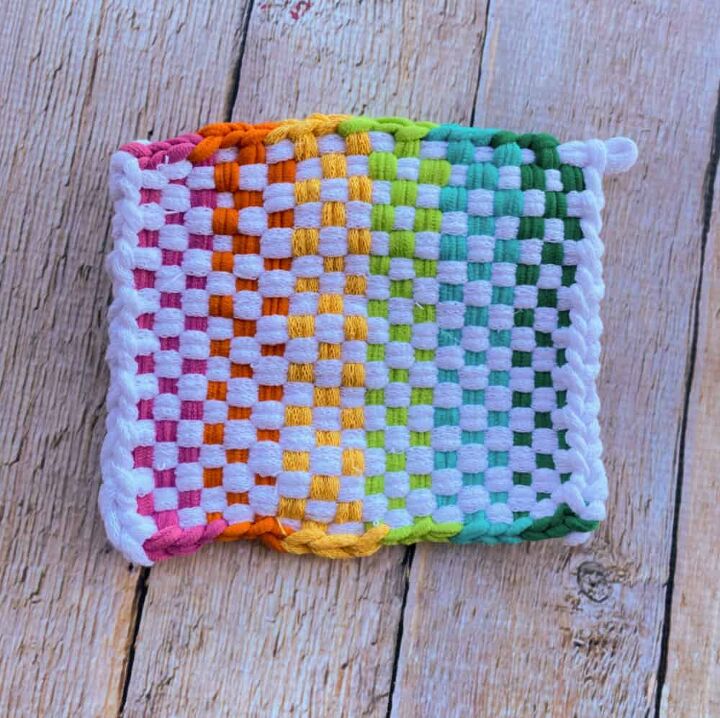
I wrote an earlier post on where to buy a loom and cotton loops, with step-by-step instructions on how to make them. Today I’m sharing the newest one I just made, because I’m in love with the colors! The brighter the better!
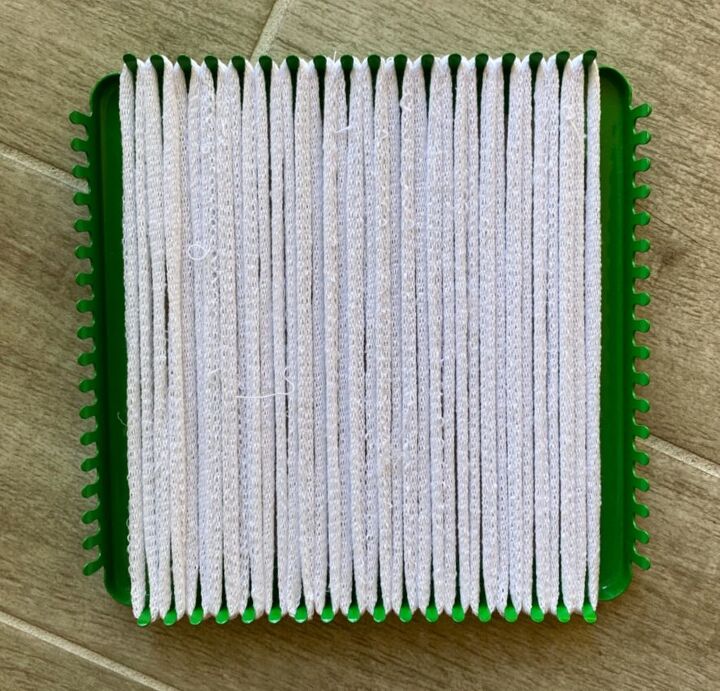
step 1 – warping
Begin by stretching white loops vertically to fit over each peg.
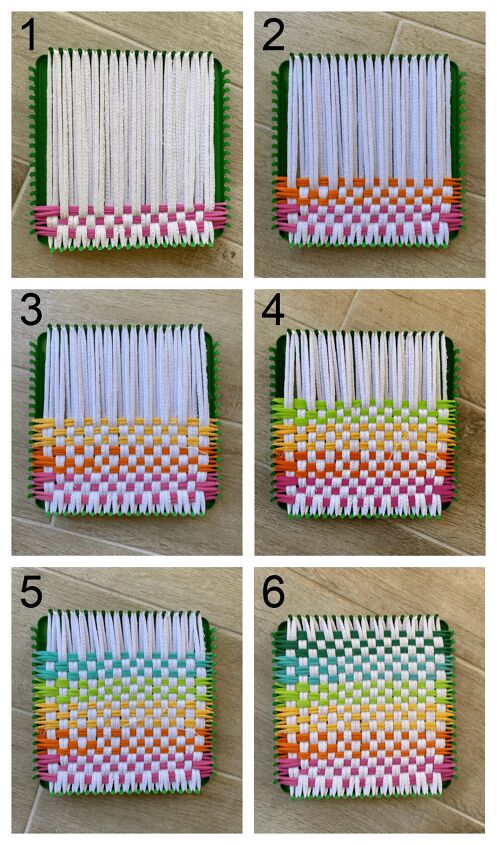
1 – Start from the bottom & push the metal weaving hook over & under loops, going from one side to the other. Attach a cotton loop to the hook & pull it back through. Secure the ends on the pegs. Weave the next row, going over & under opposite loops. Using this process, weave 3 rows of pink loops.
2 – Next, add 3 rows of orange loops.
3 – Add 3 rows of yellow loops.
4 – Add 3 rows of lime green loops.
5 – Add 3 rows of turquoise loops.
6 – Add 3 final rows of deep teal loops.
Finish the four sides with a crochet stitch. Refer to my earlier post on how to do this.
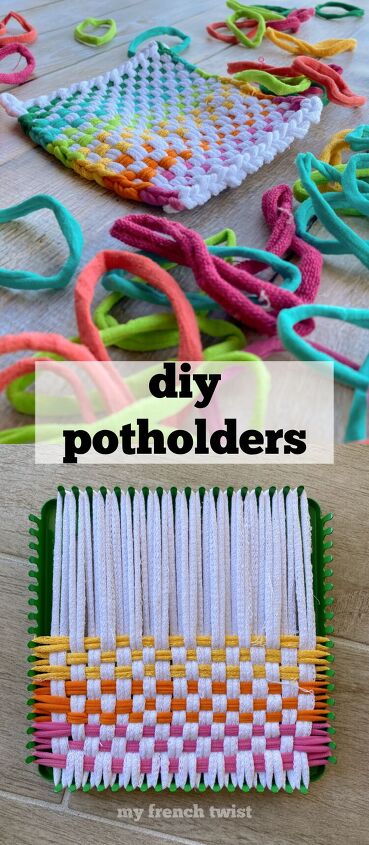
The biggest compliment is a little share – pin the photo below!


Frequently asked questions
Have a question about this project?