


Scandinavian Decor Inspired Holiday Tray
This was SUCH as fun project, even though there were lots and lots of ups and downs. Ultimately, I have found a technique that you can use to create an amazing piece to use for charcuterie boards, centerpieces, or simply a pretty piece to have candles sit and flicker!
If you enjoy the tablescape that is used at the end, be sure to subscribe to my website so you can get updates on all the DIYs I did to create the table. Today, we're focusing on the tray!
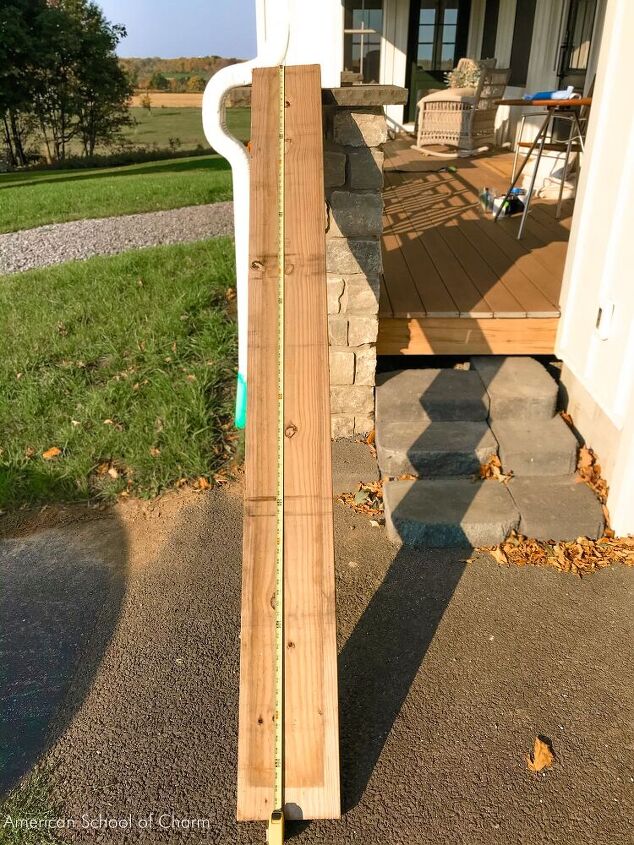
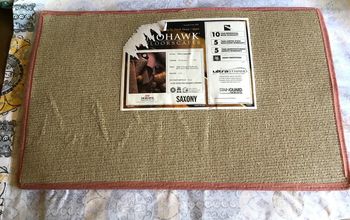
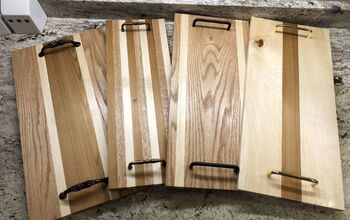
Choose a board with at least a 1 1/2" edge. If you're using a thinner board then you can add trim to make the surface for painting!
If you already have a wood tray that lends itself to painting, then just go with that! Make the ordinary into something extraordinary!

If any of your edges are rough, apply wood putty and then sand smooth. Start with rough sandpaper and then work your way to a smooth sandpaper with a fine grit.
Use a lint-free rag to remove all dust from the putty and sanding.
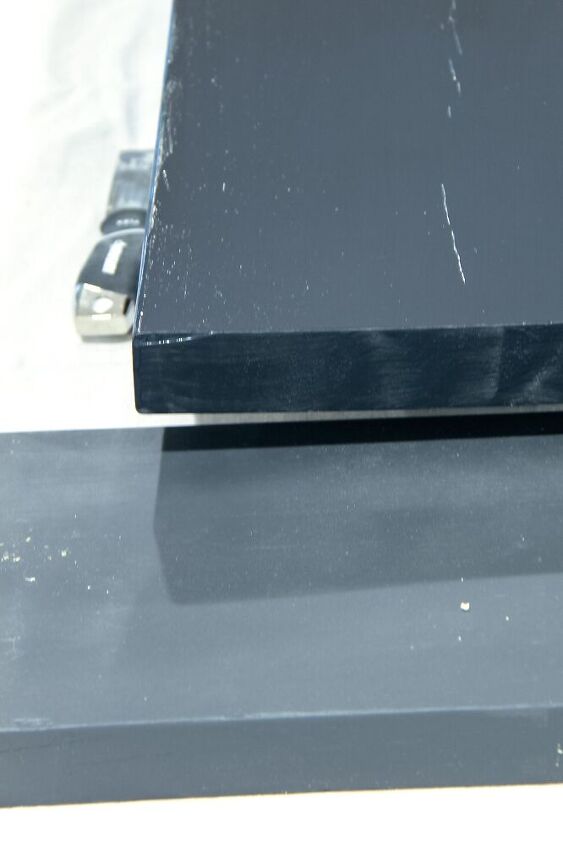
In order to slightly distress the board, I suggest painting two colors. First, paint a white and allow to dry. Then paint a dark color and allow to dry. For this project, we're using chalk paint, however you can use any paint you have around the house.
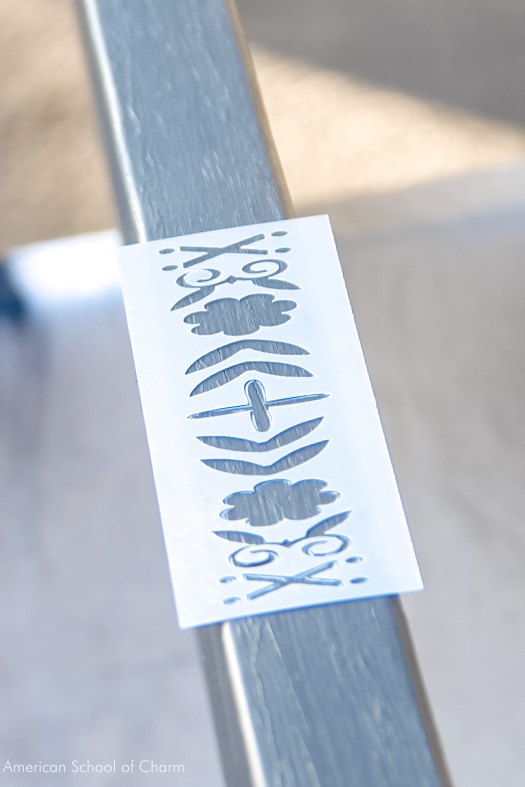
Prepare a stencil, or purchase one, that fits the edge of your board. If you don't have a Cricut or cutting machine to make your stencil, you can buy a multi-shape stencil from a craft store.
First on paper, practice your design. You'll start with simple shapes and then add accents to give it more detail. Know how you want it to look before heading over to your board.
Draw a centerline down the length of your board using a mechanical chalk pencil used for sewing. Then, align the center of your stencil with the center of your board's edge.
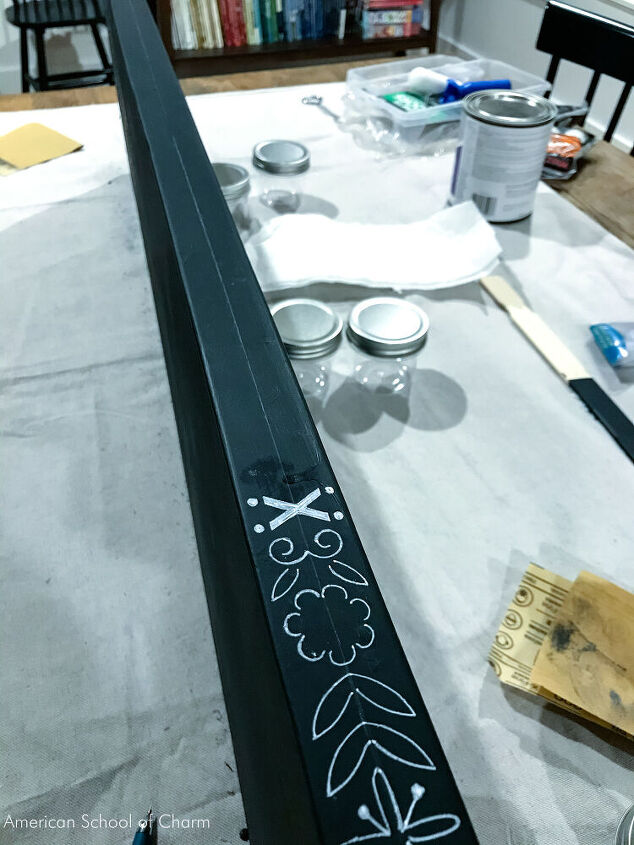
Outline the simple shapes with a fine tip paint pen first before filling in or adding accent details.
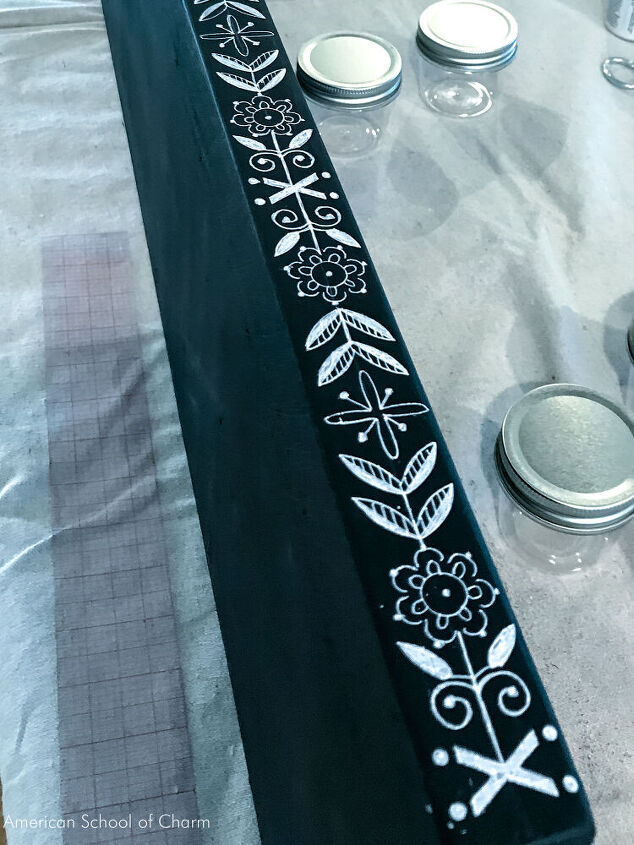
Following the design you practiced on paper, fill in the basic shapes to create a fun design!
When you're finished, bring out the fine grit sandpaper and sand the edges and corners to reveal a bit of the light paint color. Remove any dust with a lint-free rag.
If you're using chalk paint, you'll need to wax the paint. Not needed if you're using interior or exterior paint.
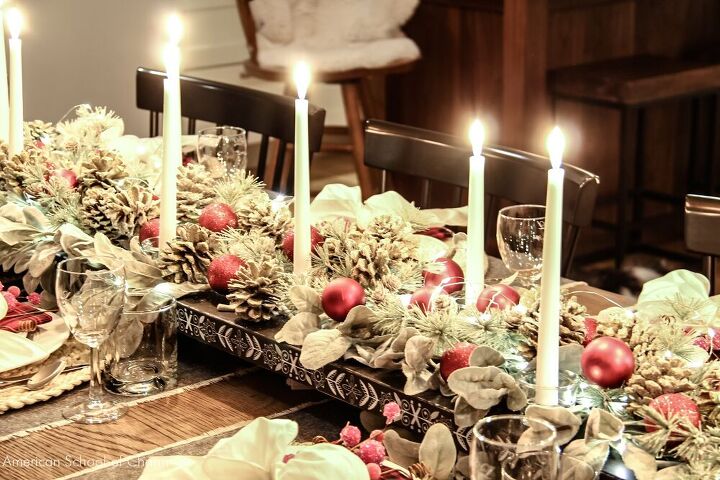
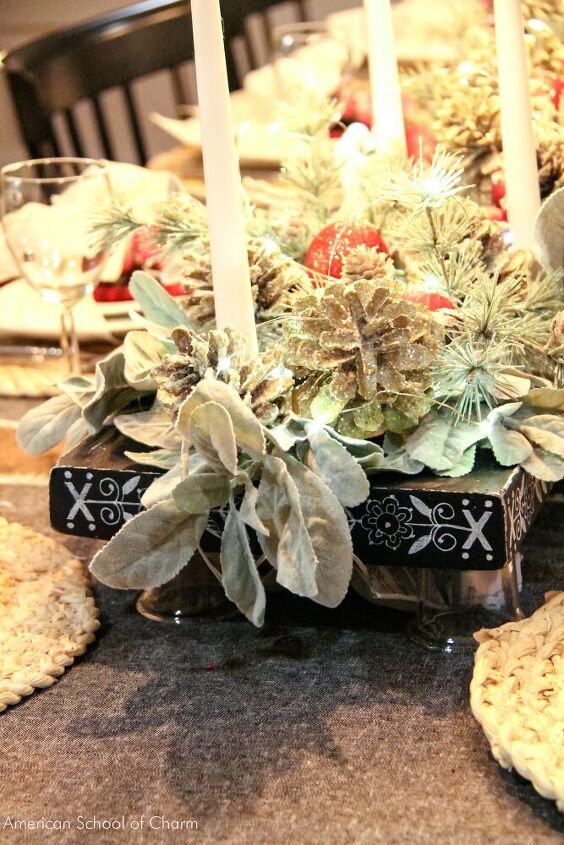
You're finished! Wasn't that EASY! Now you can enjoy your new tray.
In the photo, I've used upside down votive holders to raise the tray up before adding greens, pinecones, bulbs, tapers, and fairy lights! It's perfect for a holiday meal!
To see more detail about this project, be sure to visit the post and follow so you don't miss any of our upcoming creations!
Resources for this project:
See all materials


Frequently asked questions
Have a question about this project?