


Super Simple DIY Bathtub Tray
Along the messy road to adulting, I lost the fun childhood routine of taking a bath. Apparently quick showers are all the rage.
Getting lost in a great novel, the wine and the bubbles sound like the perfect anecdote to a busy stressful day. Are you with me?
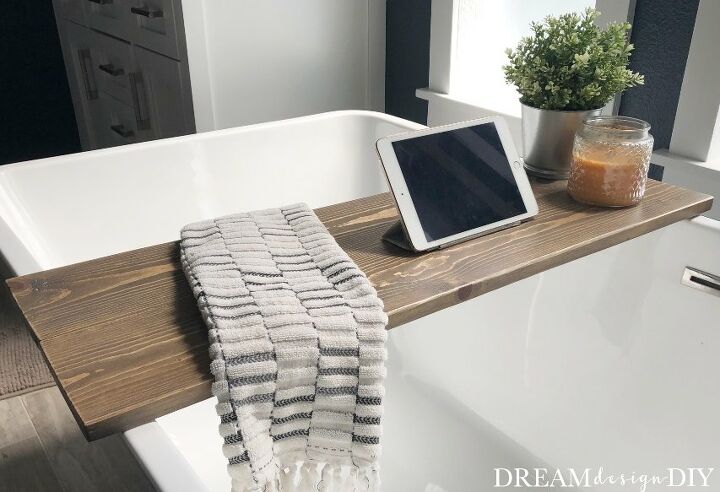
It's time to bring back bath time! I am here to help with this DIY Bathtub Tray that is perfect for holding all of your bath time relaxation essentials. This is a beginner project that costs about $10 for wood. I had all the other supplies on hand.
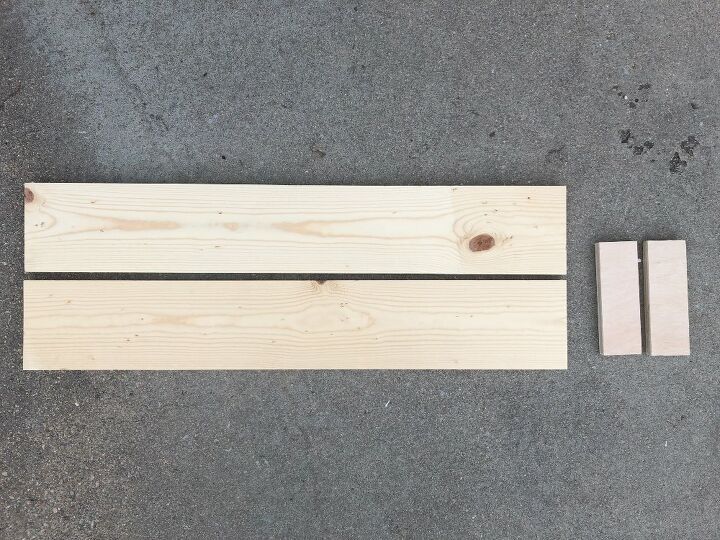
For my bathtub tray, I cut two pieces from a 1 x 6 x 8 board. You can use as many boards as you like. One large wider board works as well as four smaller boards.
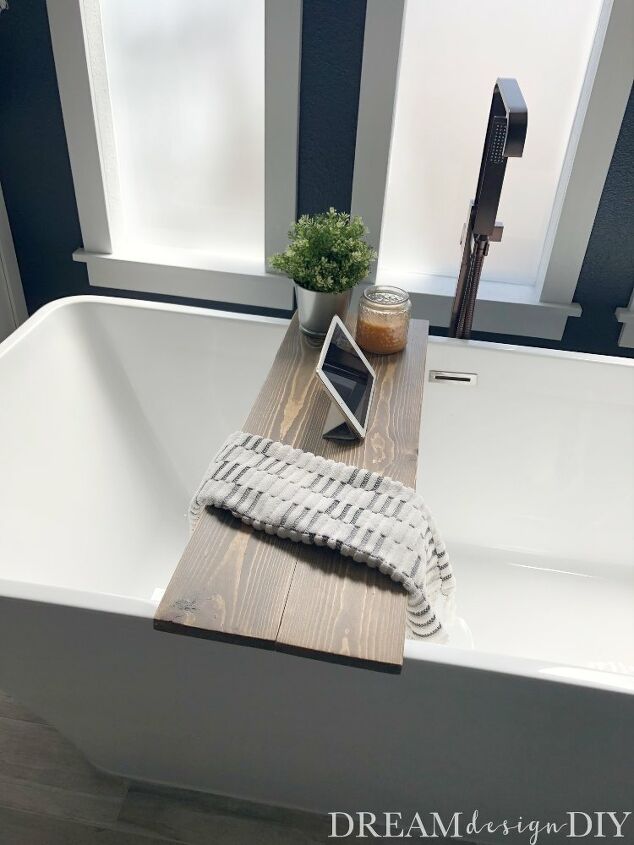
My bathtub tray measured 33 x 10 3/4 inches. Adjust your measurements according to the size of your bathtub. You need your specific bathtub measurements to determine the total length of the tray as well as where to attach the support boards. The support boards are meant to keep the top boards attached as well as prevent the tray from shifting and falling in the tub.
The three measurements needed are the outside of the bathtub, the inside of the bathtub and the thickness of the frame of your bathtub. Keep in mind the thickness of your frame may vary on each side. My bathtub is 31 inches wide. I added an inch overhang on each side.
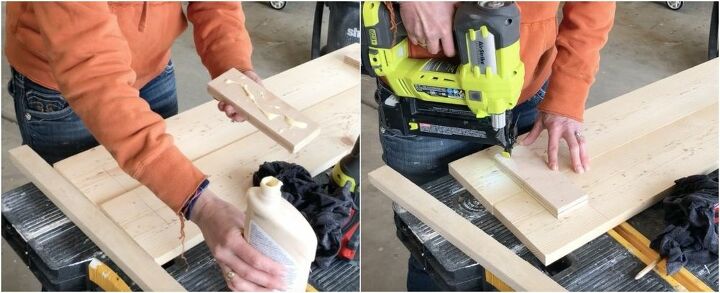
To assemble the tray lay the top boards bottom side up and line up your boards so they are even. Mark center on your support board and line it up with the center of the top boards and mark where you plan to attach your support boards. I attached the edge of my support boards 2 1/4 inches from the end of each side. Apply wood glue and nail in place.
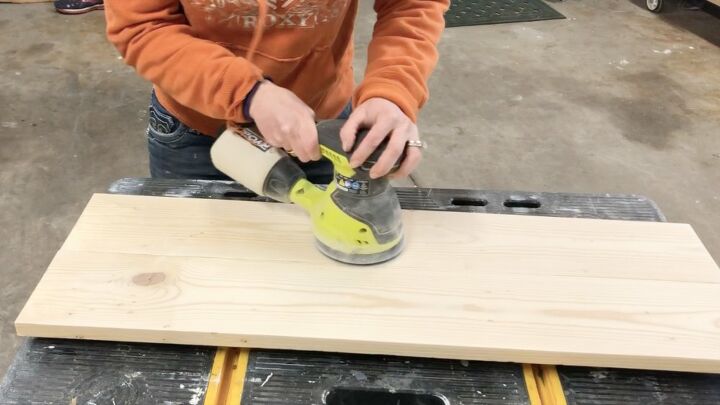
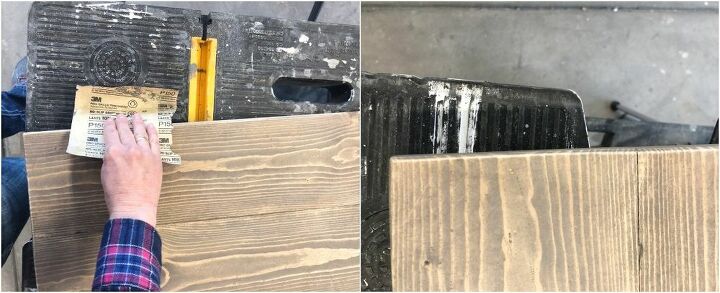
Sand the entire tray to smooth the wood and soften the edges.
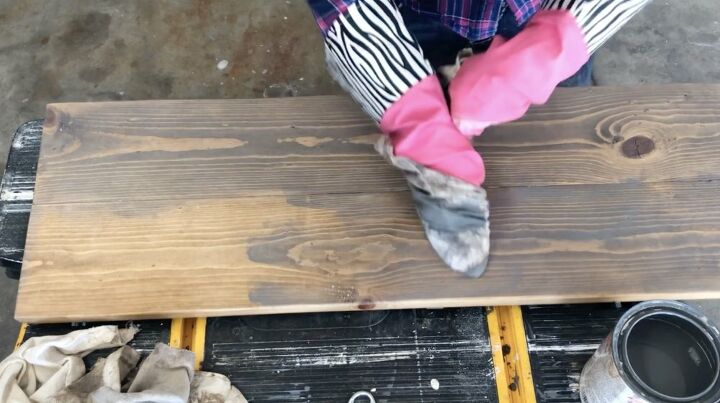
Apply stain. I experiment with stains...so I applied Varathane Antique White and wiped it off. Then I immediately applied a dark wax and wiped it off. I wasn't quite satisfied so I thought on it overnight and the next day I applied Varathane Weathered Gray and wiped it off. I like to layer stains because it gives a variety of tones in the wood. After the stains and the wax, the tray was mostly gray with some brown undertones.
Once the stain is dry you can lightly sand the tray if desired. I lightly sanded on the top boards and sanded heavier on the edges to allow some of the wood to show through. This gives it a more rustic look.
Apply a sealer. I applied two coats of Varathane Triple Thick Poly to the entire board, both top and bottom, allowing the coats to dry in between.
Finally set up the tray in your bathtub!
I hope you enjoyed this project and find some time to relax in a bubble bath.
Make sure to check out this DIY Blanket Ladder that could be used to hang towels as well or this Easy DIY Pallet Towel Rack.
Happy building,
Tiffany
Resources for this project:
See all materials


Frequently asked questions
Have a question about this project?