


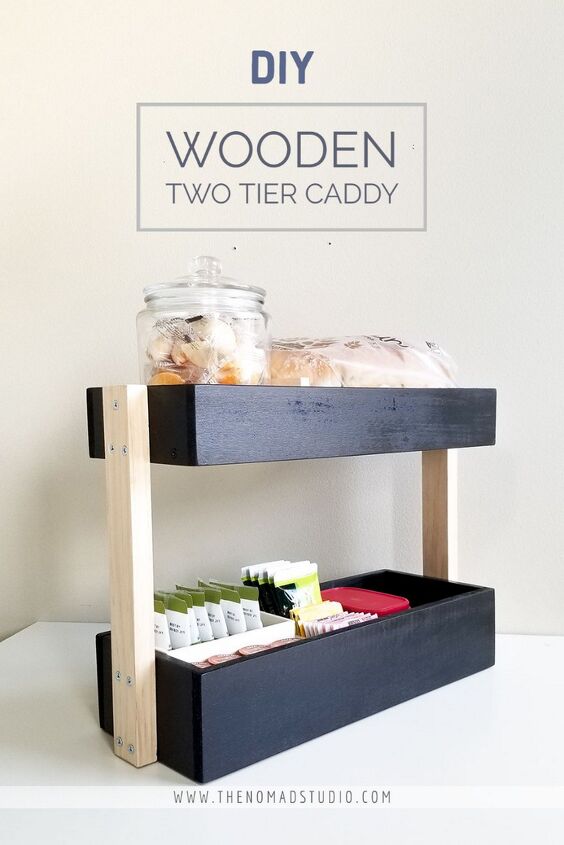
Two Tier Wood Caddy
Make a two tier wood caddy that is versatile to be used in any way you like. I specially made this keep on my kitchen counter to hold easy grab snack, tea bags, creamer and bread. You can use this caddy as an organizer for your bathroom to store tissue rolls, in office to hold your stationaries, organizer for kitchen bottom cabinet or even keep it near your vanity. There is endless possibilities on how you can put this DIY two tier caddy to use.
Building wall mounted solutions for fruits and paper towel roll has already freed up so much counter space. Next, I wanted to keep other stuffs lying on my counter to be organized and tucked in neatly. Main thing is that it should have smaller footprint and also hold lot of items. As I ran out of wall space, having two tiers shelf on the counter will not only free up more usable counter space but will also look neat. Also you can convert this into a wall mount by just adding a wall hanger behind.
STEP 1: CUT THE WOOD
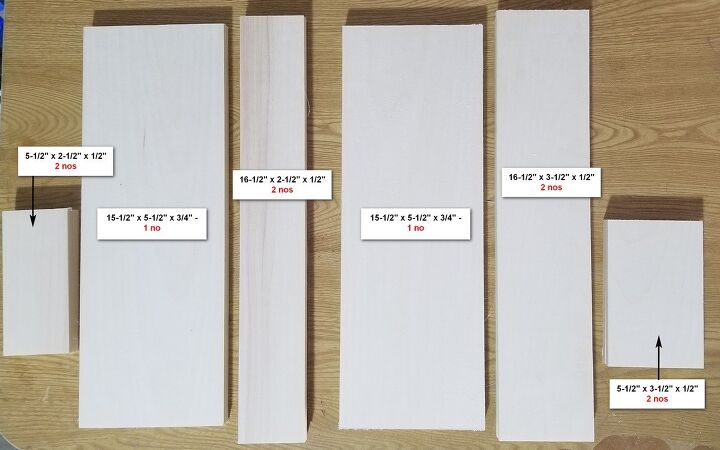
Apart from the pieces shown in above image, you will need 2 nos of 1×2 cut to 15.5″ length. This is be the vertical support for the caddy. I used pine for the vertical and other pieces are from Aspen.
Note: Here I am using 4″ wide lumber for the sides of bottom caddy and 3″ wide lumber wood for the sides of the top caddy. That is only because, I did not have enough material in the same size wood. To build yours, you can use same size for both tiers.
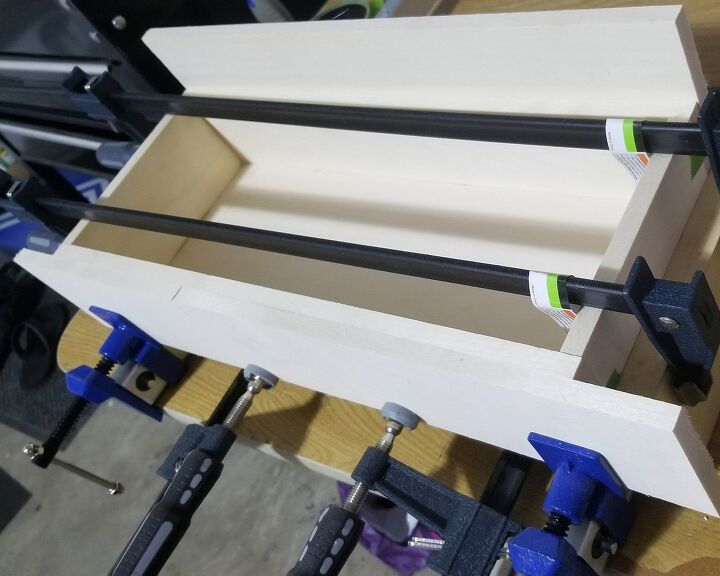
STEP 2: ASSEMBLE THE TRAYS
We have to assemble the caddy separately, finish and then attach it to the verticals. Since the bottom caddy’s base will not be visible, you can use pocket holes on the base piece to join with the four side pieces. First drill the pocket holes, then apply glue on all the pieces and clamp them together to dry. Next, add pocket screws to secure.
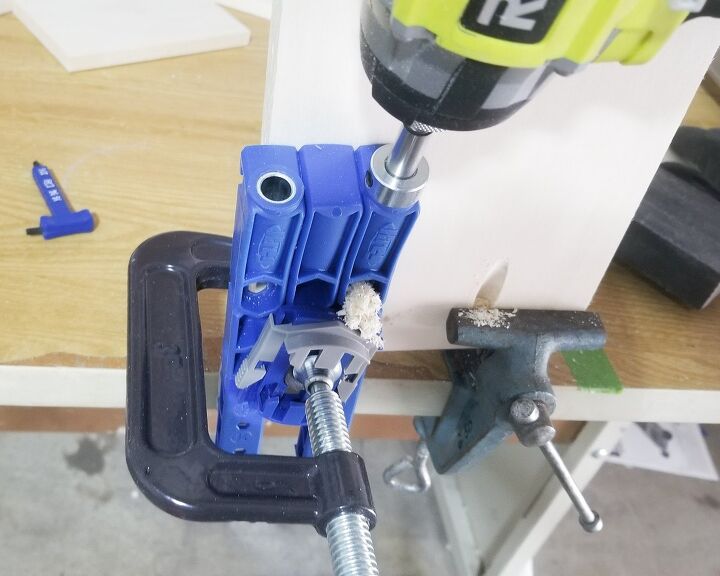
Repeat the same process for the top caddy too. As the pocket holes will be visible on top caddy, I decided to use counter sink screws to assemble the pieces. Later, the black paint will camouflage the screws. If you do not own pocket hole jig, you can counter sink the screws on bottom caddy too.
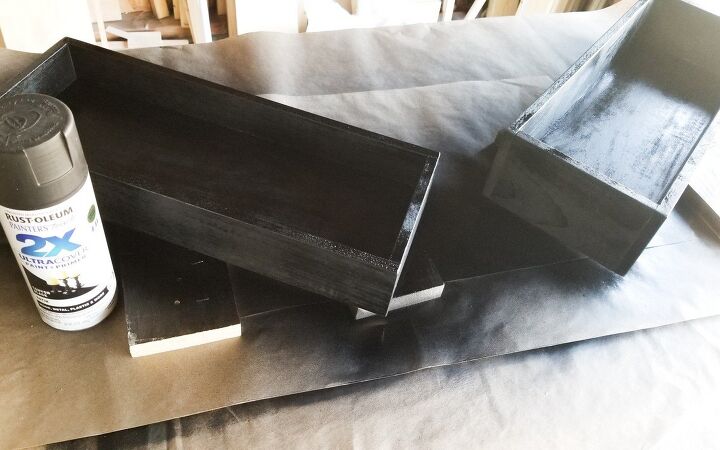
STEP 3: SAND AND PAINT
Now comes the messy part, the sanding. Use 120 grit sandpaper to sand down and smooth the edges of the caddy. Then using a tack cloth wipe off the dust before painting or finishing. I used black spray paint (3 coats) for the caddy to match with my other kitchen organizer – Raised wooden tray You can use any color you like or even leave it as it is in raw wood. To get a smooth painted finish, sand with 240 grit in between the paint coats.
STEP 4: ATTACH VERTICALS
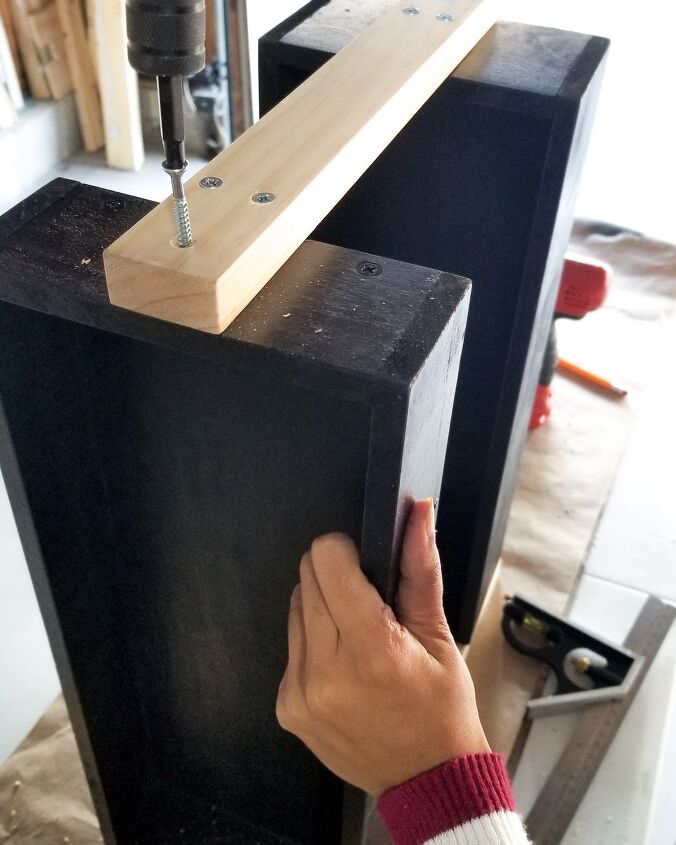
As a final step, attach the verticals to the sides of the caddy. Pick one side and center the vertical to the bottom caddy. Check the bottom alignment and then add 1-1/4″ screws by predrilling with counter sink drill bit. As I was not sure of the stability, I planned to add 4 screws initially. Later, just three seemed to be suffice. Next, align the top caddy to the top end of the vertical and attach with 1-1/4″ screws. Similarly, repeat the process for the other side of the caddy too.
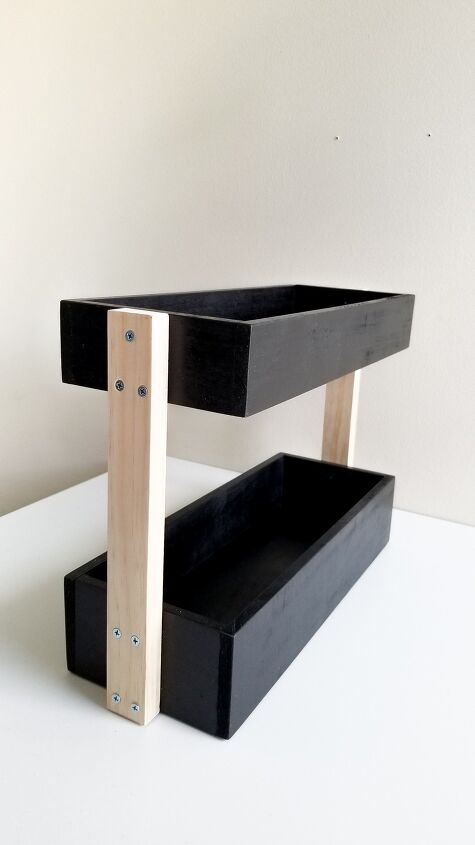
Its done!. I left the verticals in raw wood finish. Then added shelf liners before arranging all the items.
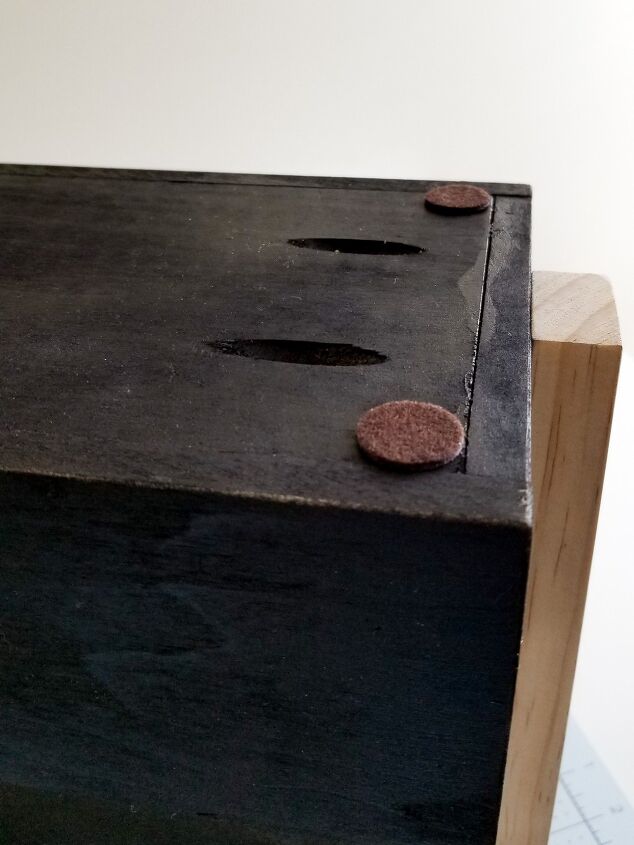
Before using, add felt or silicone bumpers on the underside of caddy. This will project your counter or table top.
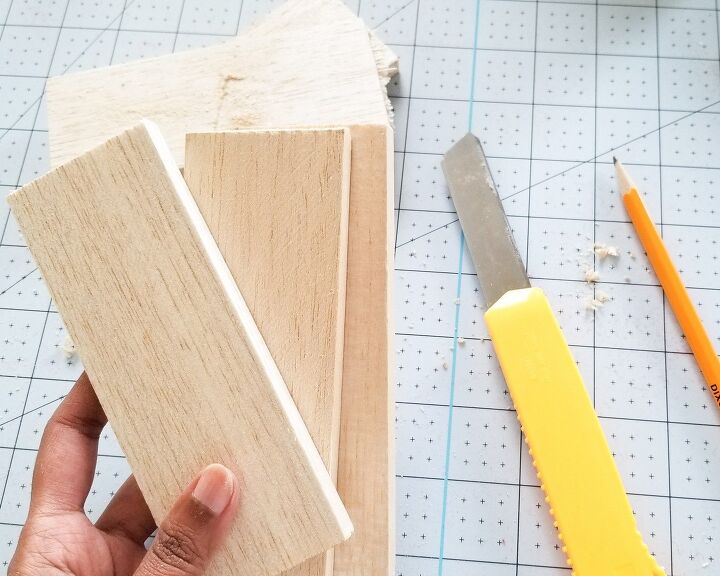
On the bottom caddy I placed dividers with balsa wood to organize the tea bags, nuts packet and creamers. Balsa wood is mainly used for wood crafts due to its soft nature and can be cut with just a good utility knife or mitre box. I had few lying around and so I used it. You can also use thick cardboards or acrylic boards to build your dividers. I use the top shelf to keep bread and cookie jar.

Comments
Join the conversation
-
Very creative and good looking project. I can really use this in my kitchen. Good share


Frequently asked questions
Have a question about this project?