


Vintage Wine Crate Diy
Hello everyone and welcome to Cloches & Lavender. I enjoy sharing DIY's, crafts upcycling pieces in my home with paint. I would love for you to follow my blog so you never miss a thing.
Today I will be sharing a Vintage Wine Crate DIY.
First of all, I have wanted a charcuterie board, however, they all look the same in stores. So this is a the perfect challenge to make my own and it fit my vision for my DIY. Here are a few examples of these boards out in stores, for example, Etsy, Wayfair and Williams Sonoma.
By the way, my first choice would have have been Williams Sonoma because it reminds me of a French cheeseboard, however, not at that price.
So, how did I create my my own version? Well let's take a look to see how I made the Vintage Wine Crate DIY. First, I have had this crate that my husband had taken apart for me. After he took them apart I had added mineral oil to them and the plan had been to use these as cheeseboards. However, as you can see these are small and aren't really functional.
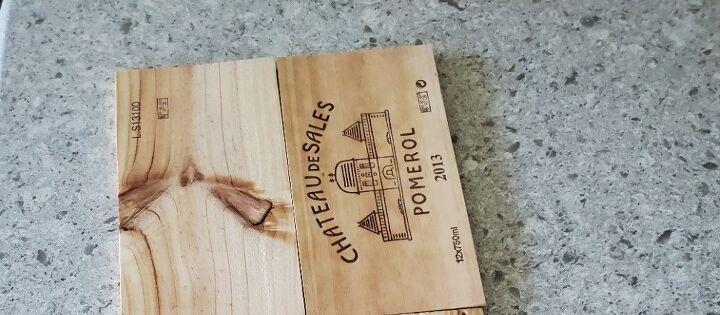
Then, I decided to connect the boards together to make my own charcuterie board. I haven’t a clue why I haven’t thought of this sooner. Sometimes things just click into place and this is the time.
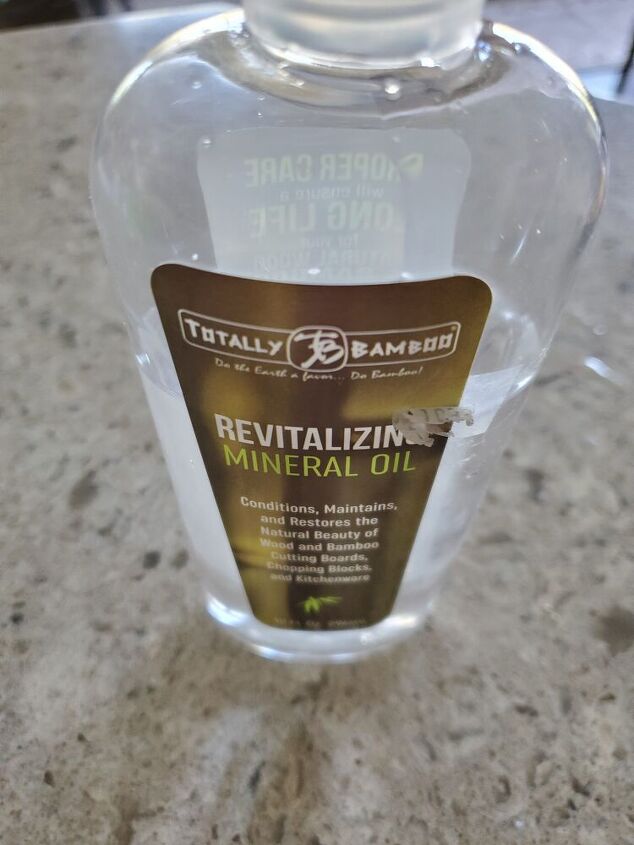
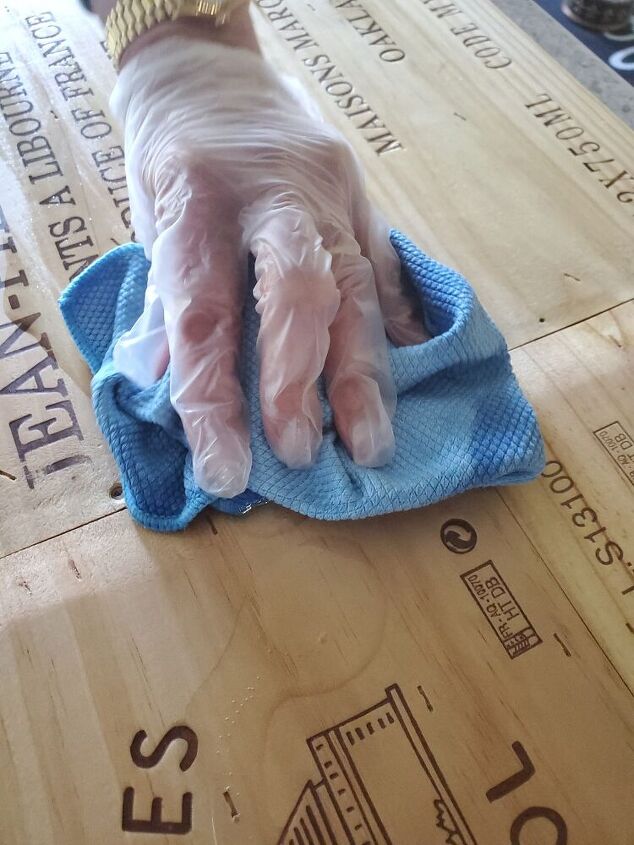
Before I go any further, I would like to assure you I have made sure these crates are food safe. Adding mineral oil to these bare boards is all that is needed. The one thing I will mention is when making this the crates are thin so I wouldn’t advise cutting on these.
Wood crates are getting a bit more difficult to find at the liquor stores where we did find ours. However, you can find them inexpensively online. For example, Etsy has them and they aren’t too expensive and the shipping isn’t high.
Follow These Steps To Make This Simple Vintage Wine Crate DIY?
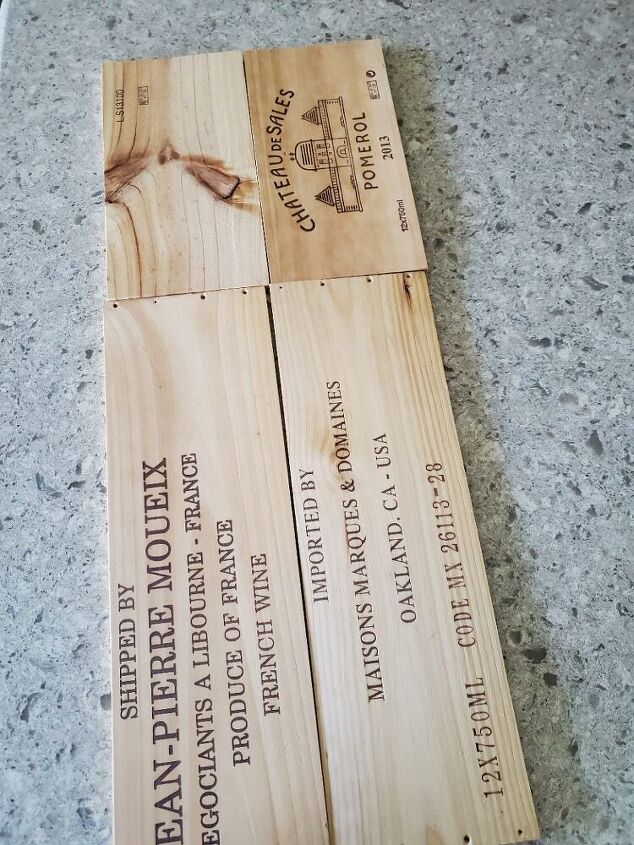
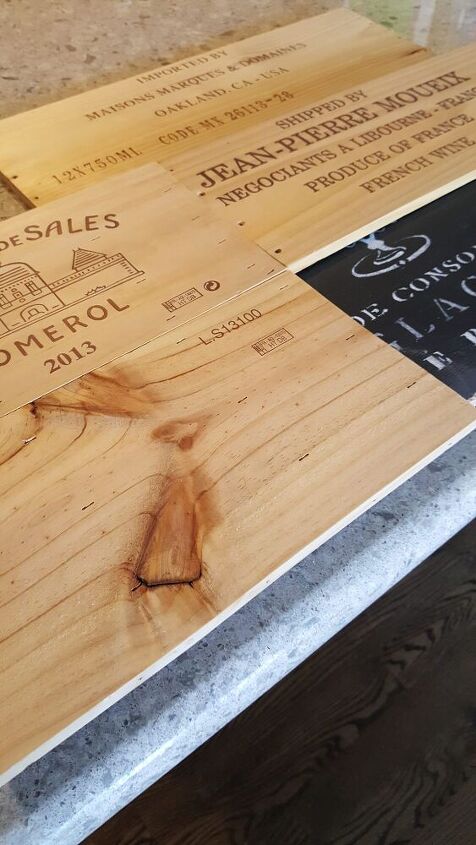
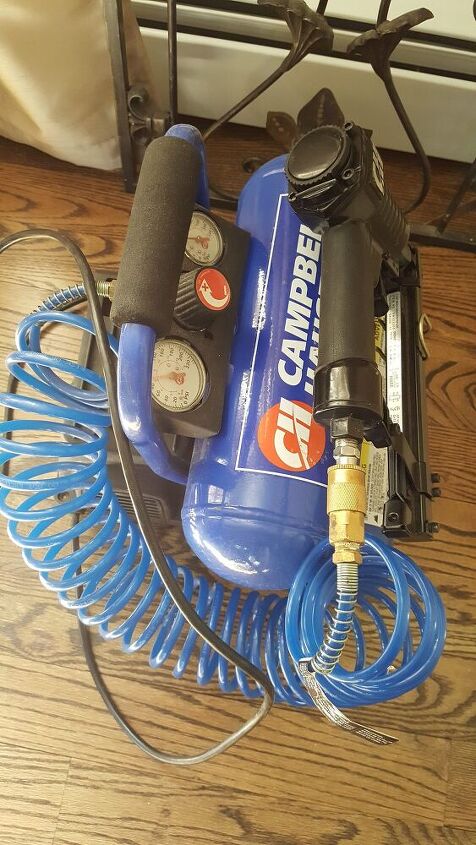
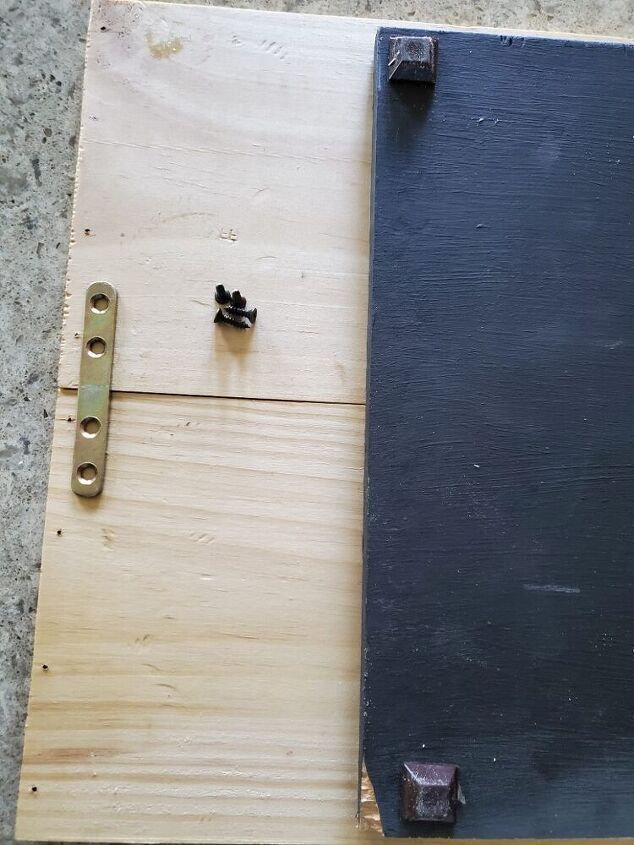
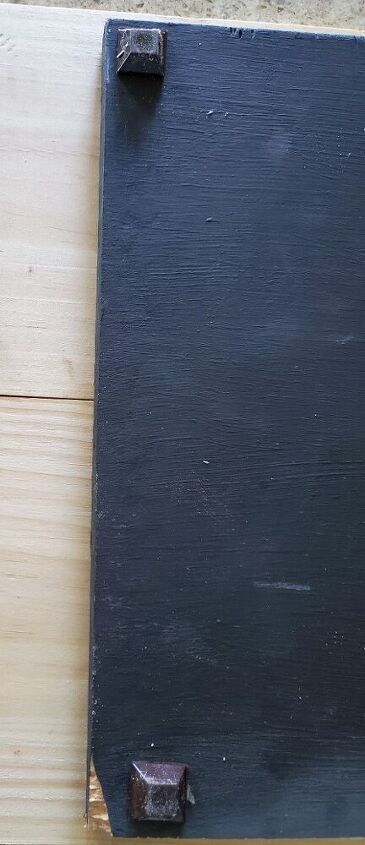
First, we did line the crates in the pattern I had wanted for the board. Next, my husband did use an old sign I had made and isn’t used any longer for strength. He also did this so the cheeseboard wouldn’t flex from weight. He did use his nail gun for this step. This is also done to allow your hands to have clearance to carry the board when full. I do like that this board is slightly elevated when on the table and prevents too much food to spill.
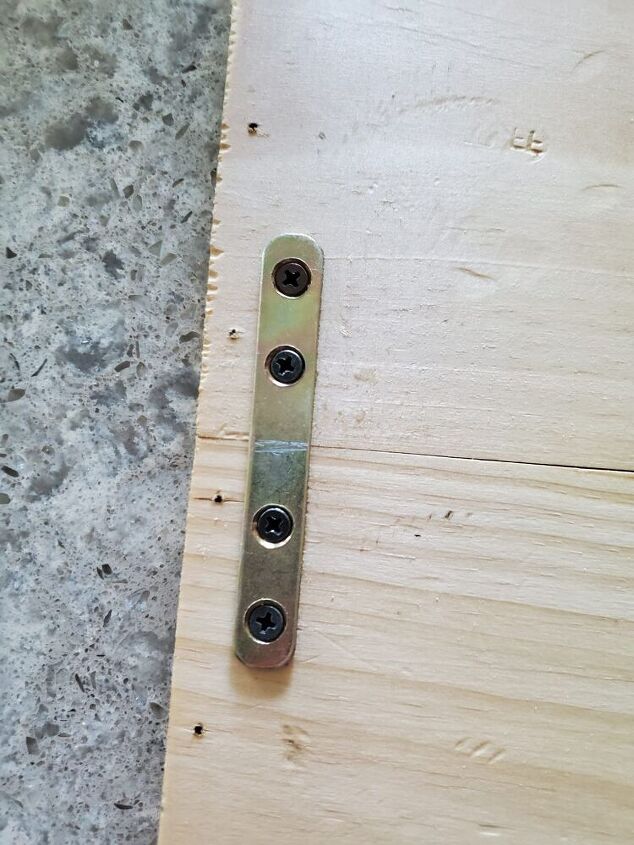
Next, to prevent the ends from bending and not staying straight my husband did add a metal bracket and screwed one on each end.
Lastly, I did add rubber feet to the bottom to prevent scratching. Also, I did add a decent coat of mineral oil and let dry overnight.
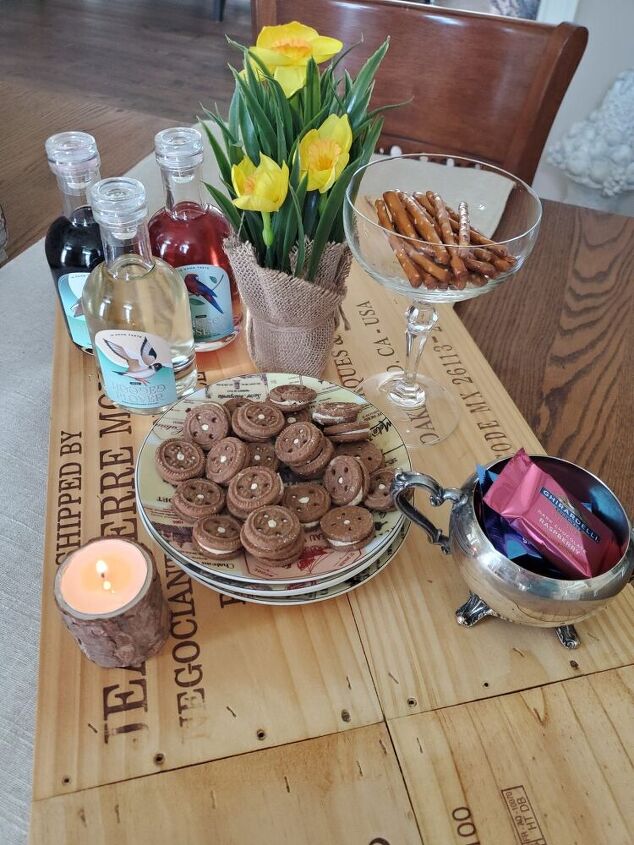
Here it is set for a quick snack. I am looking forward to using this board for larger gatherings as well as for us.
Also, I hope this project inspires you to create your own Vintage Wine Crate DIY. Maybe this will inspire you to create something you would like to have that is bit over your budget.
Don't forget to Pin this project so you have it!!!
Resources for this project:
See all materials


Comments
Join the conversation
-
Great idea! Love how it turned out.
-
I was able to get a wine crate while in vacation and have been using it to store my wine bottle opener and stoppers. This is a wonderful idea to actually put it to better use!


Frequently asked questions
Have a question about this project?