


Walking Staff From a Branch

by
Clint
3 Materials
$15
3 Hours
Easy
My Dad picked out an old cherry branch I had from a tree we had to cut down a few years ago and asked me to turn it into a walking staff. It was something I hadn't done before but I knew it would be rather basic and interesting.
{
"id": "4123714",
"alt": "",
"title": "",
"video_link": "https://www.youtube.com/embed/Ppo5JeZEJck",
"youtube_video_id": "Ppo5JeZEJck"
}
{
"width": 634,
"height": 357,
"showRelated": true
}
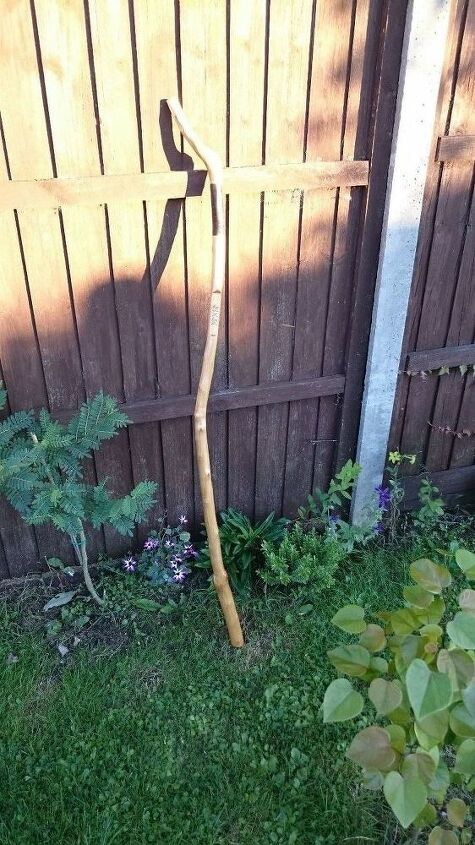
I started with a Cherry branch about 5ft tall or around 150cm and stripped the bark off, for this I used a carving knife, spokeshave and chisel. You can see more of how I did it in the video above.
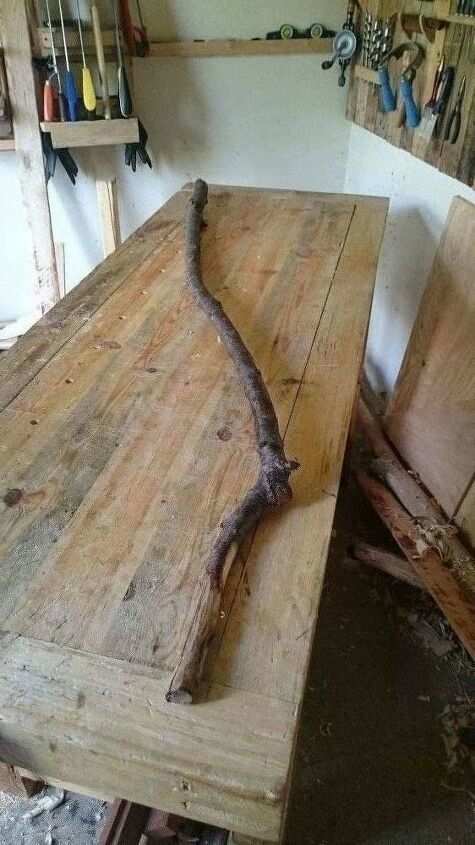
The cherry branch as it was
Cherry is generally a very nice wood, it has a great colour and is nice to work with. I would encourage anyone to check for any branches though and give them a whirl, put some weight on them and bend them a little to check if they're rotten or not. Also even if they're not rotten you want to know the branch will support your weight.
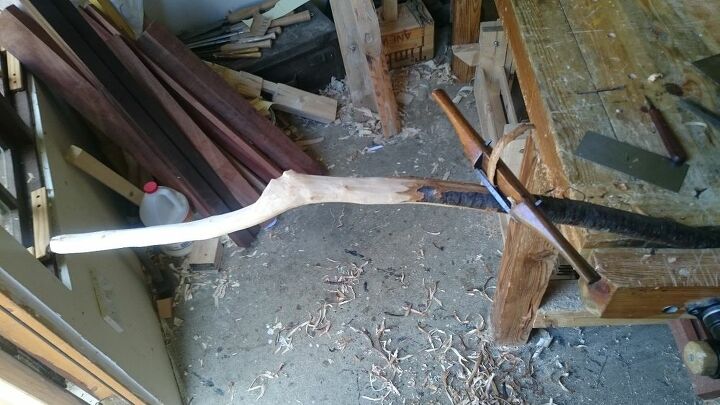
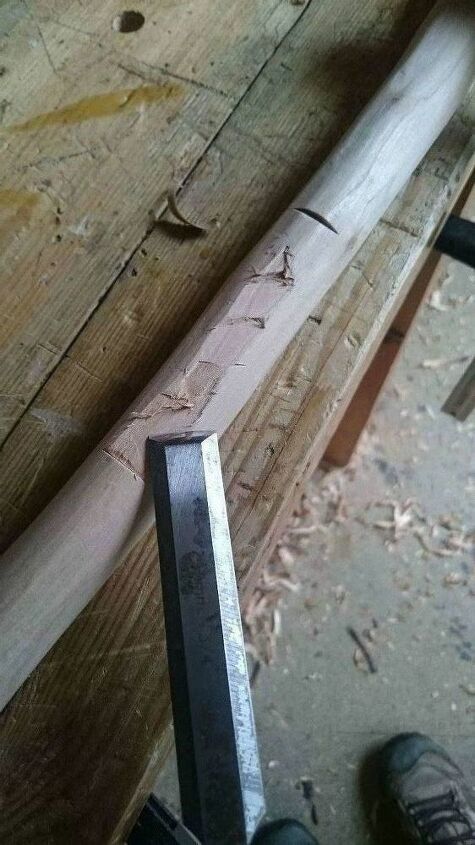
I used a spokeshave to start with to peel all the bark off but had to use a knife and chisel to take the bark away from the harder to reach areas, all the little nooks and crannies.
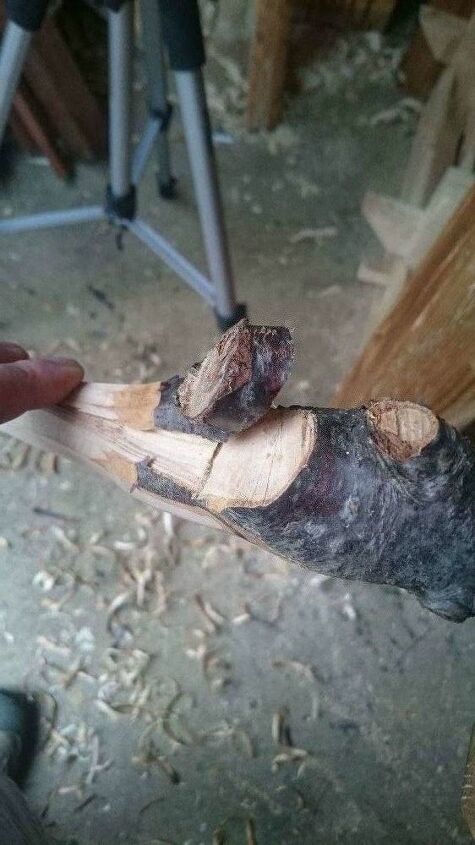
Where there were knots or other little branches that I felt would get in the way of the staff's purpose I used a saw to cut them off and then smoothed the area with a knife.
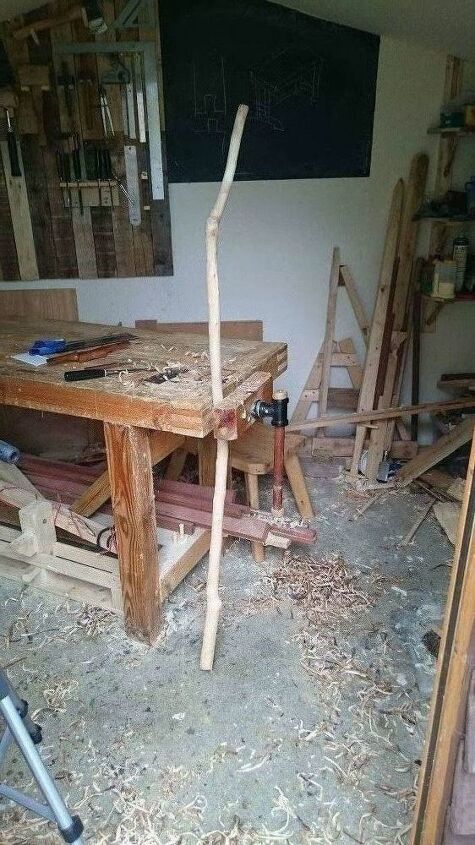
After sanding the branch down with 120 and then 240 grit sandpaper I clamped it into my vice at the angle I thought it was best to be held at.
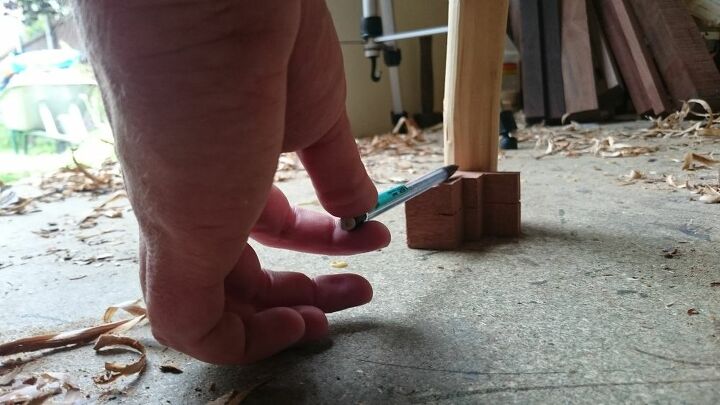
I could then place a piece of wood on the floor next to the staff and traced a pencil line all the way around it. This line would be parallel to the floor and so would be at the angle I set it at in the vice when in use. I used a small saw to cut the end off and then sand it down.
Wanting to have his name on the staff in Runes I thought I'd make a flat area on the side of the staff to make it more noticeable. I made two stop cuts with the chisel about 10cm apart and then flattened the area inside with a slicing action.
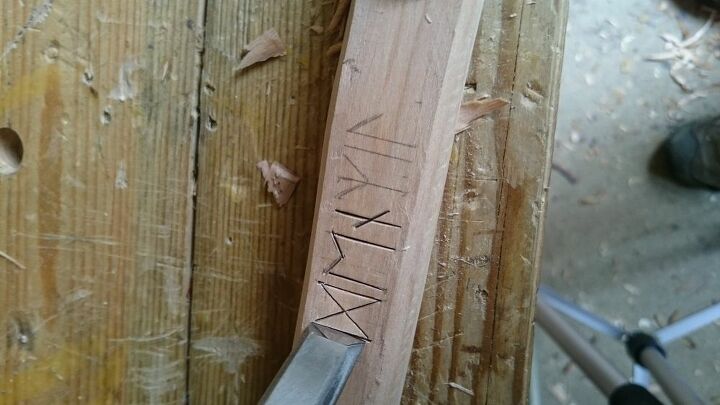
I drew the Runes on and just tapped a chisel into the lines around 3 times. They didn't really need to be that deep and since all these runes are made of straight lines they're very easy to make. The same result could be achieved easily with a knife.
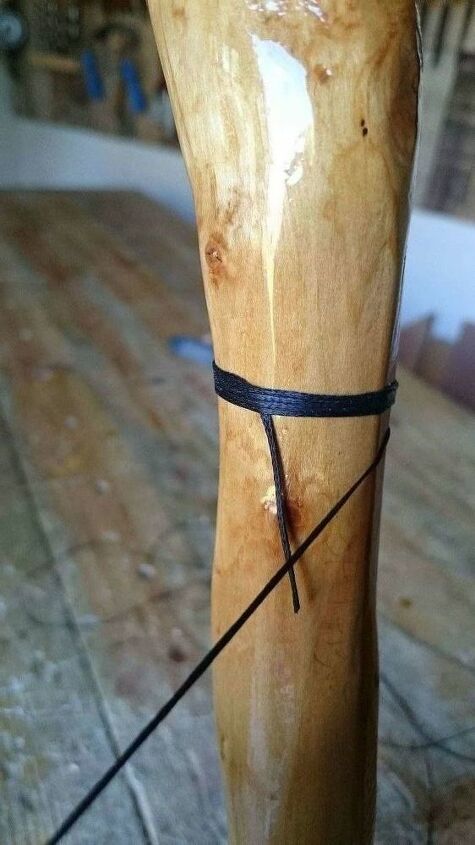
After giving the staff 3 coats of exterior wood varnish I clamped it into my vice and started to wind some leather cord around it. At the start I wrapped it around itself to keep it on the staff and at the end you'll have to refer to the video as it was far too hard to take photos of and perform at the same time! You could probably just knot it at both ends and then use superglue. I may still use superglue on the ends if it starts to come off.
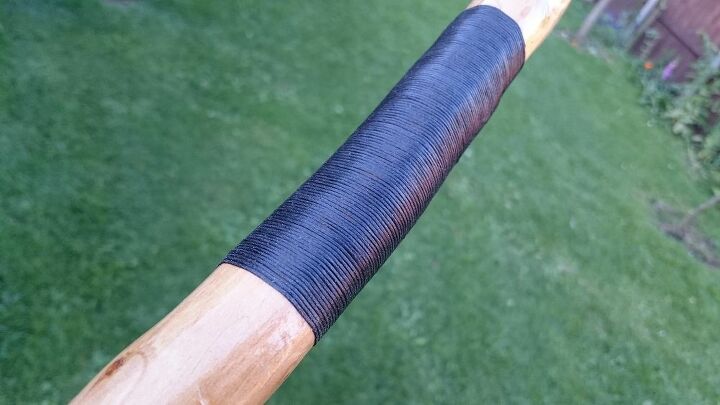
The grip finally wound on, I used some thin leather cord to do this but I'm sure paracord could be used or some other kind of hard wearing string/thread.

The staff finished nice and glossy and the grain came out wonderfully. Its important to sand to a nice smooth finish to help the varnish cure as smoothly as possible. If you'd like to see more photos of my other projects and check out what I'm doing in the future as well as say "hey" then please give the Timber Anew Facebook Page a like!
Thank you for checking this out, any kind of comments including criticisms are highly welcome!
Want more details about this and other DIY projects? Check out my blog post!


Frequently asked questions
Have a question about this project?