


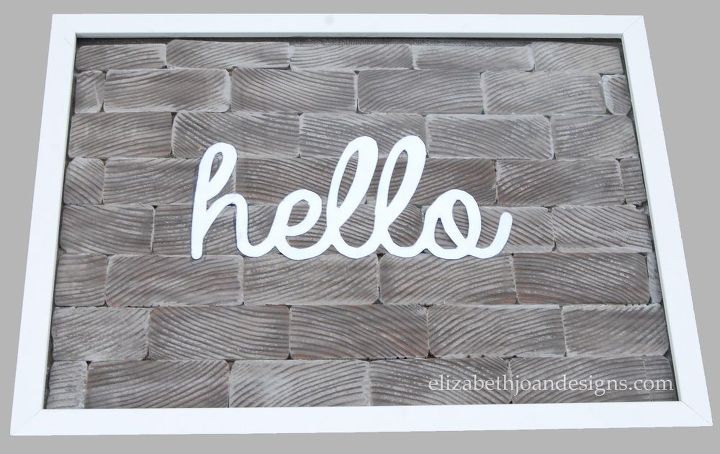
2x4 Artwork
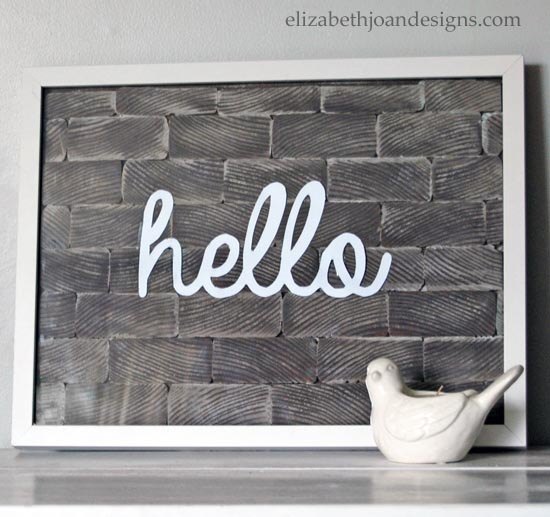
I found this month's item for our monthly challenge extremely inspiring. So, I decided to take a plain wood board to a new level with this 2x4 artwork.
First, I cut slices off of this month's chosen item, a 2x4, with a miter saw. Ah, power tools! Gotta love them.
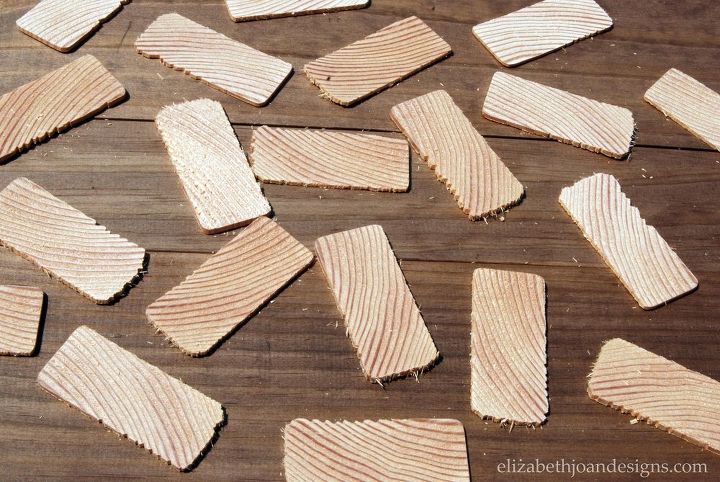
Next, I used my mouse sander to smooth out the edges of every single wood piece.
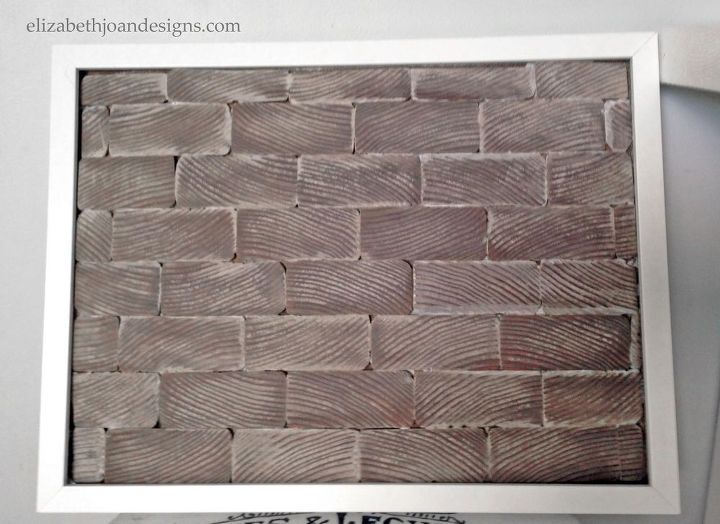
After that, getting the color just right was a bit more work than anticipated. I stained the wood, sanded it, sanded it some more, gray washed it, sanded it, sanded it again and rubbed stain on it one more time. A lot, right?
Finally, I printed out a mirror image of the word "hello" on white card stock and used an x-acto knife to carefully cut it out. I attached the letters with tape to the wood slice design. This way it can be easily changed is desired.
Be sure to check out the other wonderful projects a part of The Home Depot Gift Challenge this month!

See more DIY's at Elizabeth Joan Designs!

Want more details about this and other DIY projects? Check out my blog post!
Comments
Join the conversation
2 comments
-
So cute! Love the font.
-
You could totally sell these! Personalized art. :)


Frequently asked questions
Have a question about this project?