


BELIEVE Christmas Sign on Vintage Spindle
If you love this project, grab your quick start DIY guide & subscribe to our blog!
This BELIEVE Christmas sign on vintage spindle was so easy to make! See how this old spindle and wood transforms into a cute BELIEVE sign to hang on the wall for your farmhouse Christmas decorations.
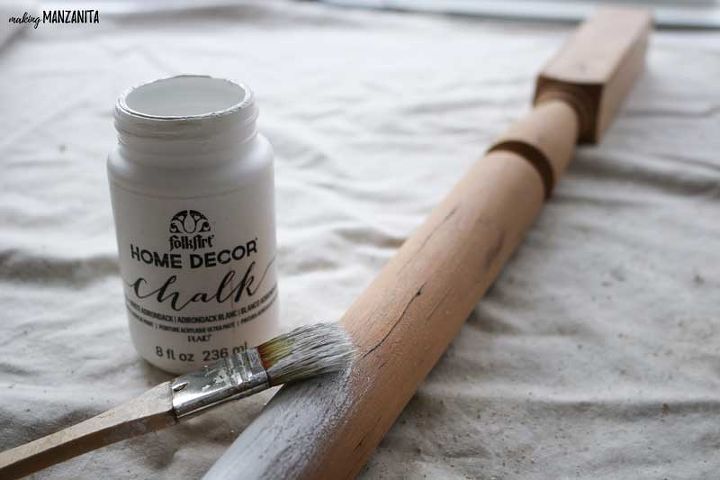
STEP 1. PAINT SPINDLE WHITE.
Start by painting the spindle white. I used white chalk paint, which I love. I lightly brushed the chalk paint on in a thin coat with an old, ratty paint brush. This way, I didn’t have to go back and do distressing later. If you wanted a more clean look, you could do more coats of paint.
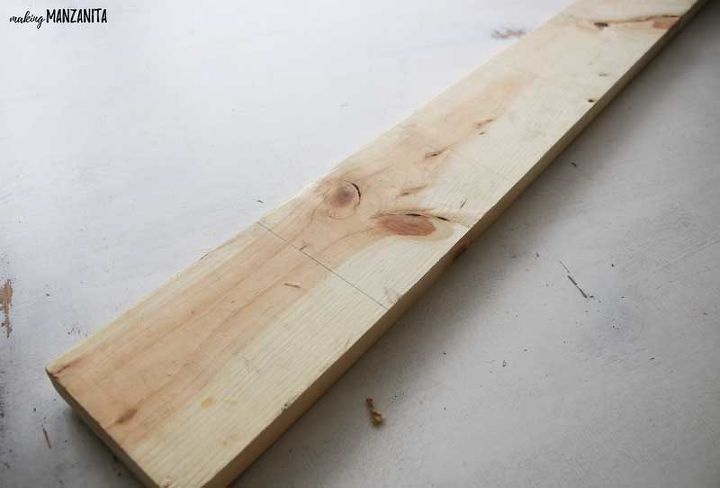
STEP 2. CUT WOOD.
Mark your board at 5 inch increments. You will need 7 pieces of wood that are 3.5” x 5” for the word we’re spelling out on the sign: BELIEVE.
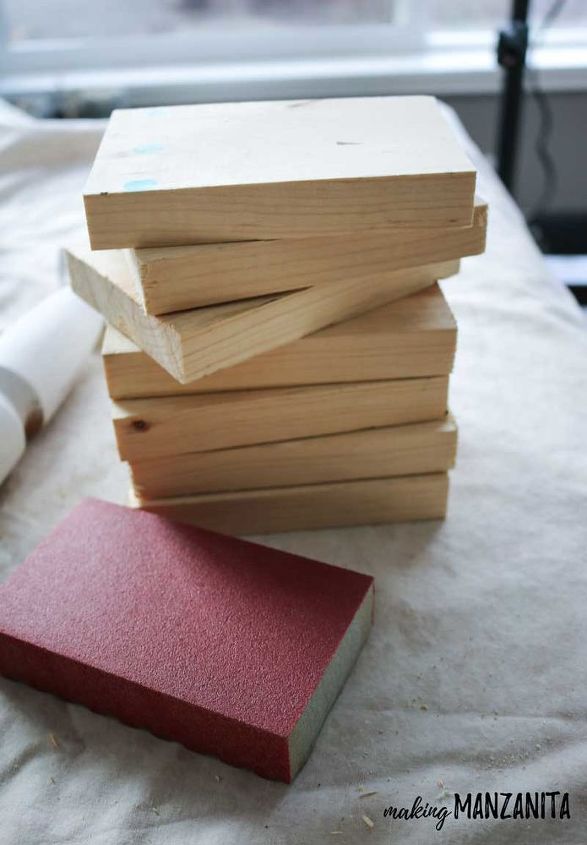
STEP 3. SAND WOOD.
Next, lightly sand the wood pieces on both sides. Focus on the edges to make sure they are slightly rounded. I used a sanding block to do this.
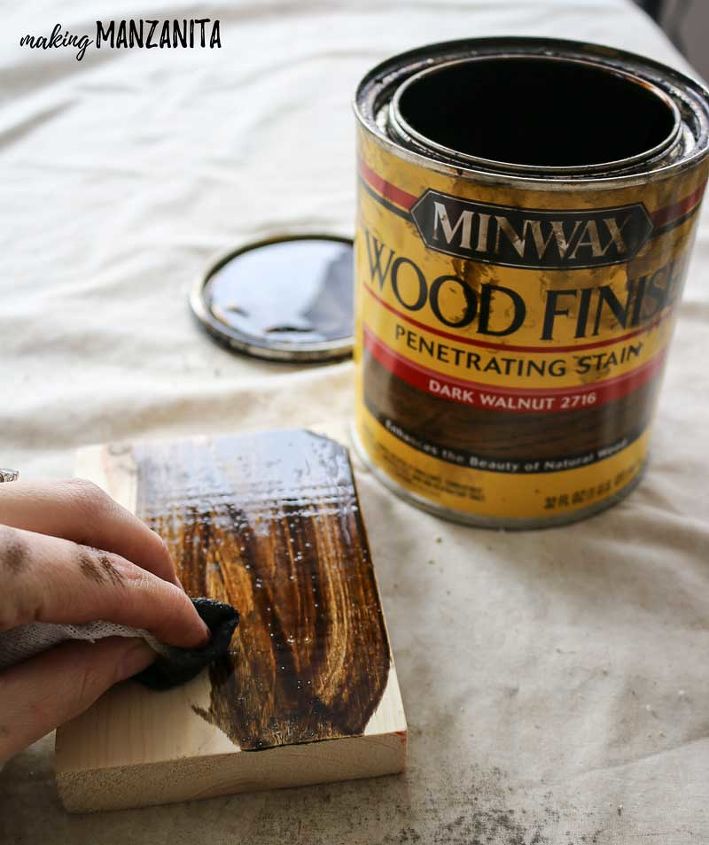
STEP 4. STAIN WOOD PIECES.
Using a dark wood stain, give the wood pieces a good staining on every side using a staining rag. Be sure to wipe off any excess stain from the pieces.
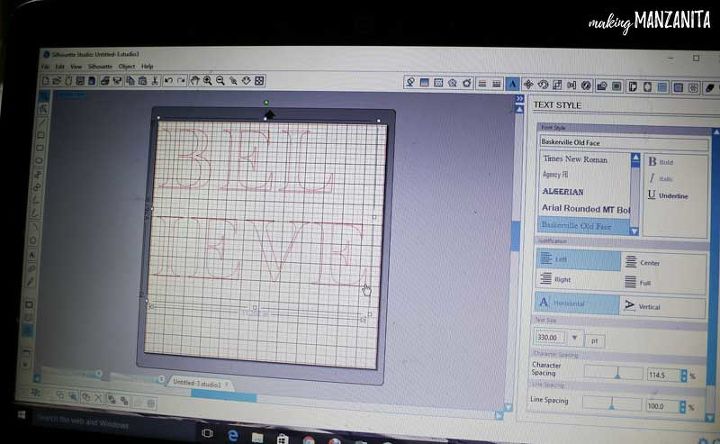
STEP 5. CUT LETTER STENCILS.
Now, it’s time to cut out the letter stencils. I used my Silhouette Cameo to do this.
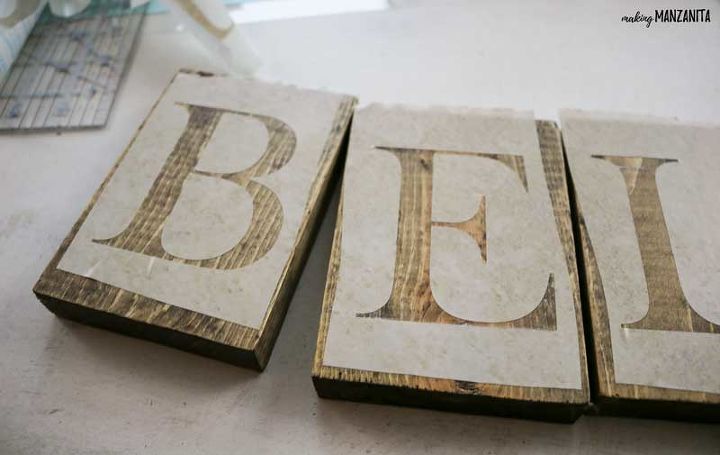
STEP 6. APPLY STENCILS.
Lay out all of your wood pieces in a row and mark with a piece of white chalk roughly where the tops and bottoms of the letters should be. Then place your stencils on wood.
STEP 7. SEAL STENCILS.
I’ve got a little trick up my sleeve that I use when applying the stencils so they don’t bleed! It’s definitely changed the way that I made signs and I want you to be able to make hassle free signs at home too. Check out this post to get the full details on how to prevent your stencils from bleeding.
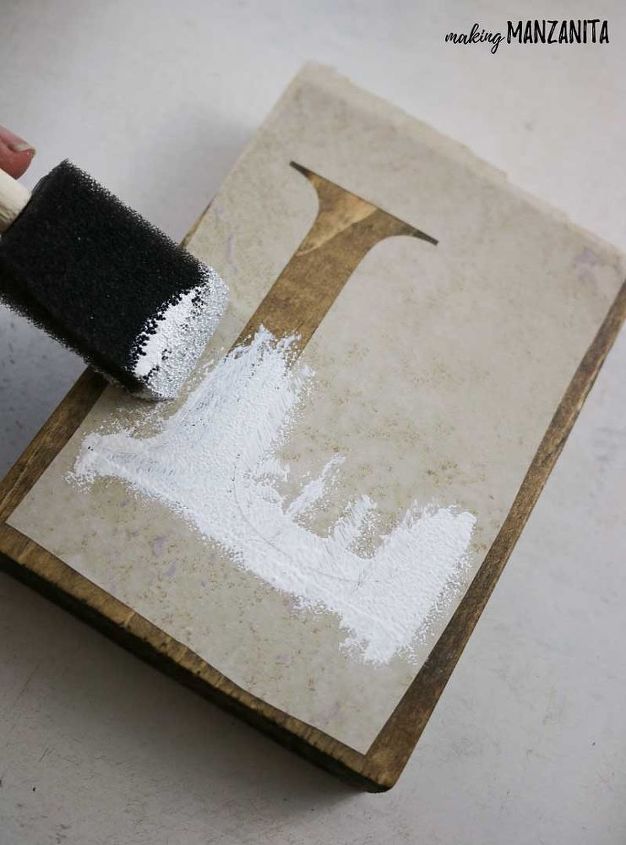
STEP 8. PAINT OVER STENCILS.
I always use acrylic chalk paint and a foam paint brush to paint over my stencils.
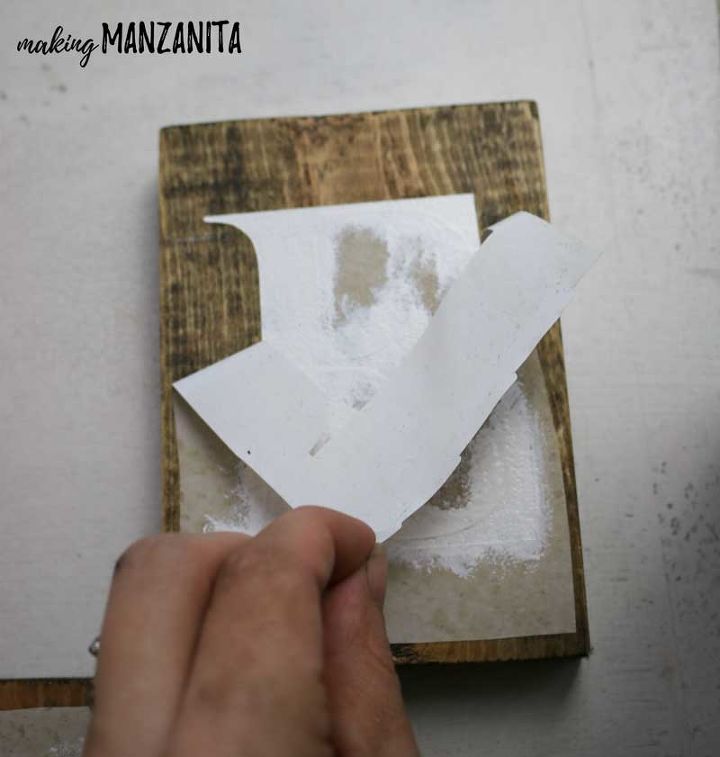
Once the paint is dry to the touch, you can pull off the stencils.
STEP 9. SEAL WOOD PIECES AND SPINDLE.
Using a spray sealer, seal the wood pieces and the spindle.
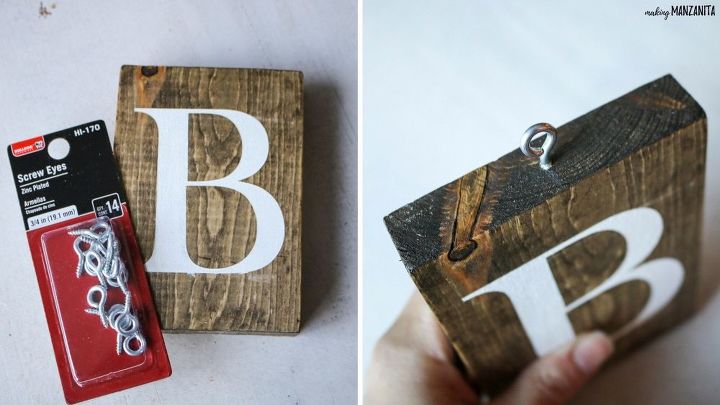
STEP 10. ATTACH SCREW EYES TO THE TOP OF WOOD PIECES.
Mark the middle of the top of the wood pieces and screw in the screw eyes. I just did this by hand, but you could drill small pilot holes if you wanted. These will be used as your hangers for the ribbon.
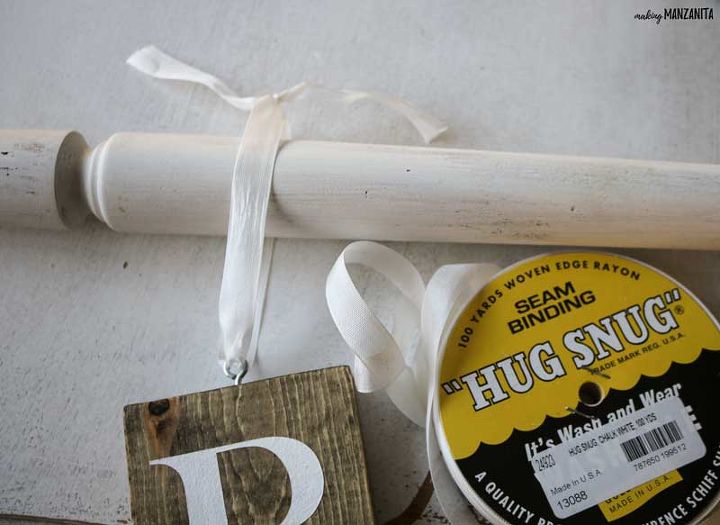
STEP 11. HANG WOOD PIECES ON SPINDLE.
Lastly, hang the BELIEVE letters on the spindle by looping white ribbon through the screw eye and tie a knot on the spindle.

WHAT WORD WOULD YOU PAINT ON YOUR CHRISTMAS SIGN ?? Let me know in the comments below.
Resources for this project:
See all materials


Comments
Join the conversation
-
very clever - looks great!
-
Love it!


Frequently asked questions
Have a question about this project?