


Board and Batten Wall DIY

I have been wanting to try a board and batten wall but I have been too scared to try until this week! I decided I would give this simpler version a try and I absolutely love the way it turned out!
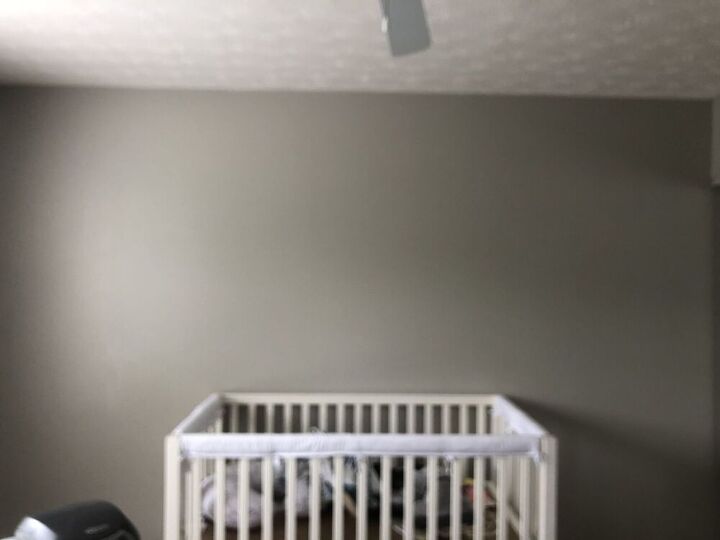
Before I added the wall treatment, this was just a plain boring grey wall in need of some love. This project is super simple but there are a few steps. I will describe the steps below!

The first step was taping off the carpet because you will want to paint the baseboard the same color as the wall. I chose a dark emerald green by Benjamin Moore called Essex Green.
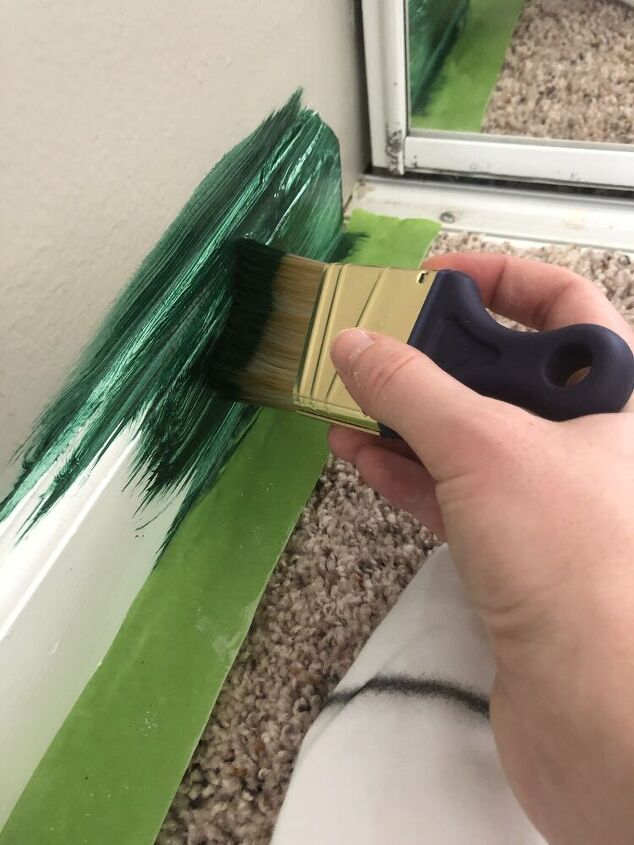
After taping off the carpet, I cut in around all the edges (ceiling, floor, and side walls).
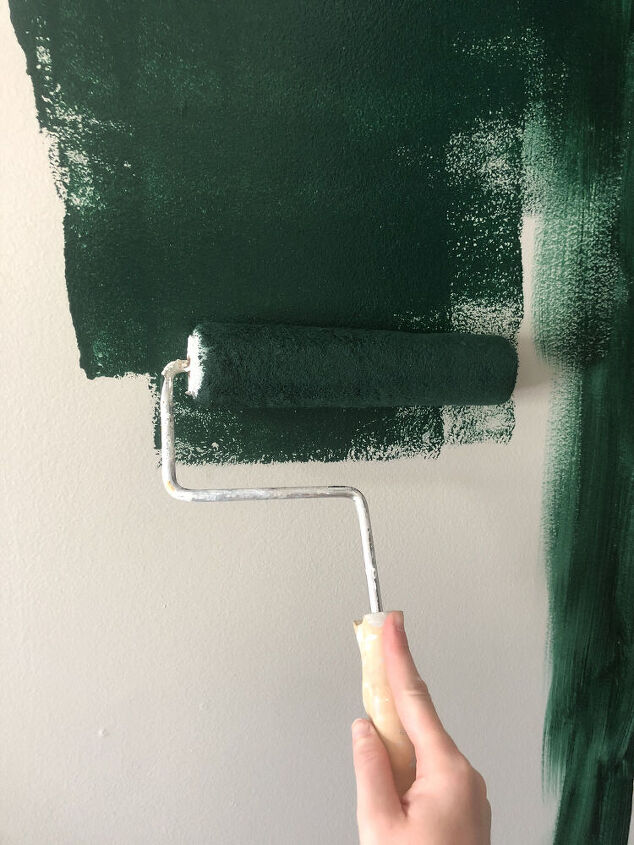
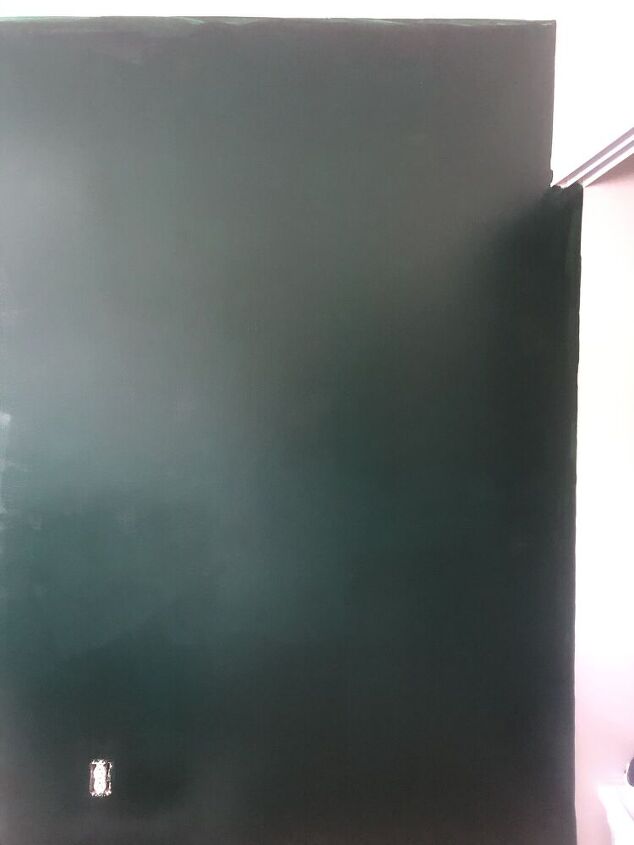
Next I used a large roller to paint the rest of the wall. I was a little nervous about the color when I started painting because it looks much more aqua then I anticipated.
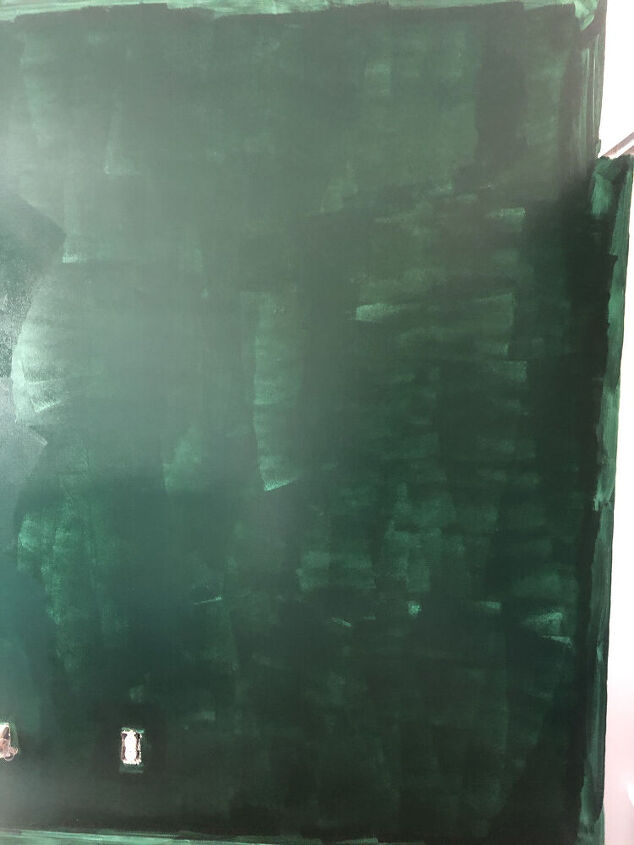
This was after the first coat. It’s always a little scary but trust the process and wait for the second coat before getting too scared.
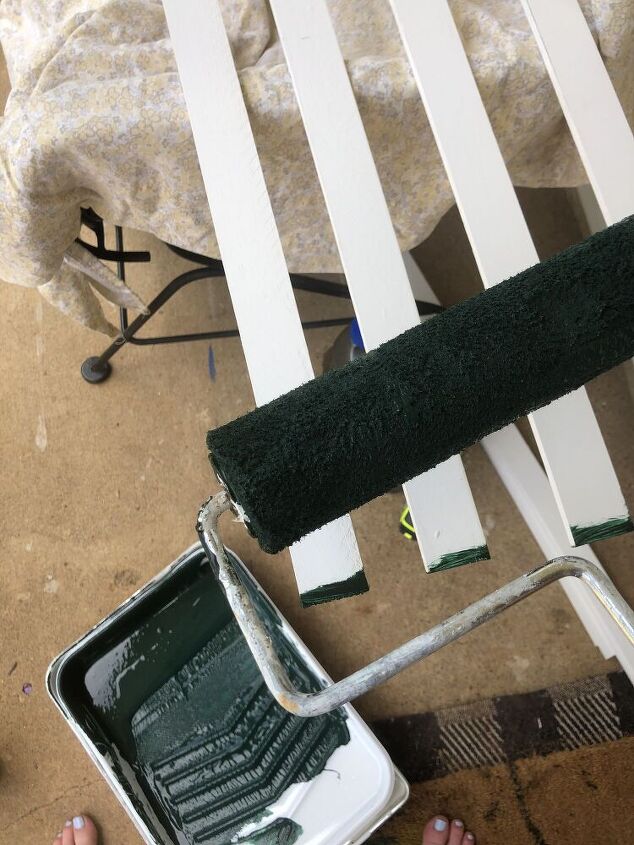
This step is a HUGE time saver. I painted all the wood pieces that would make up the battens BEFORE nailing them to the wall. This saves so much time. Trust me. I’ve done it both ways and this is the way to do it!
While the wood pieces were drying, I gave the wall a second coat. See what I said about waiting for the second coat?? It is so good!
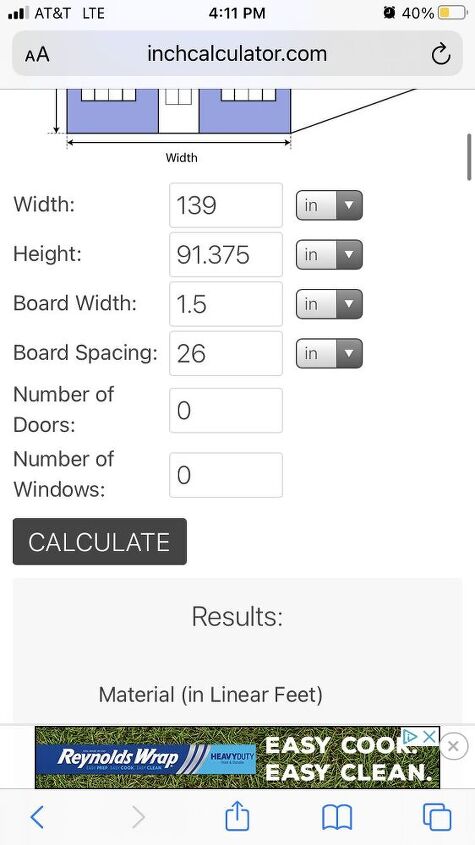
I used a website called inchcalculator.com to calculate how many battens I would have and how far apart they should be.
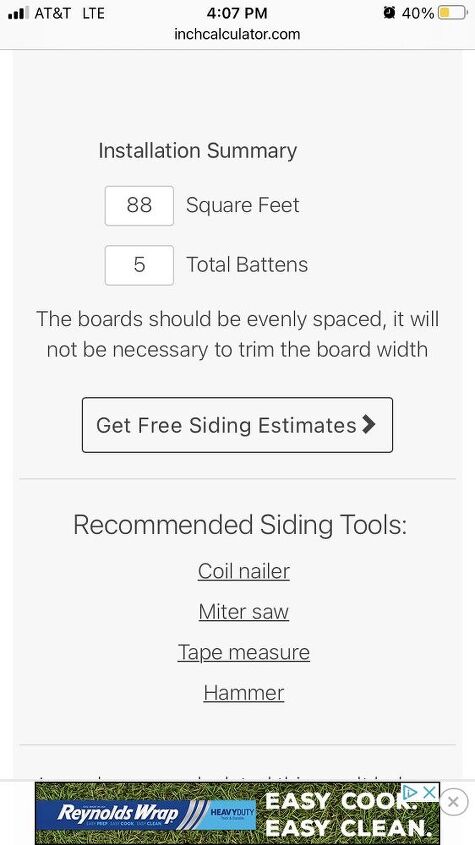
Based on my numbers, the website told me to do 5 battens, 26 inches apart. How easy is that?? No math skills required! I had one board across the ceiling, one on each end of the wall, and 5 battens.
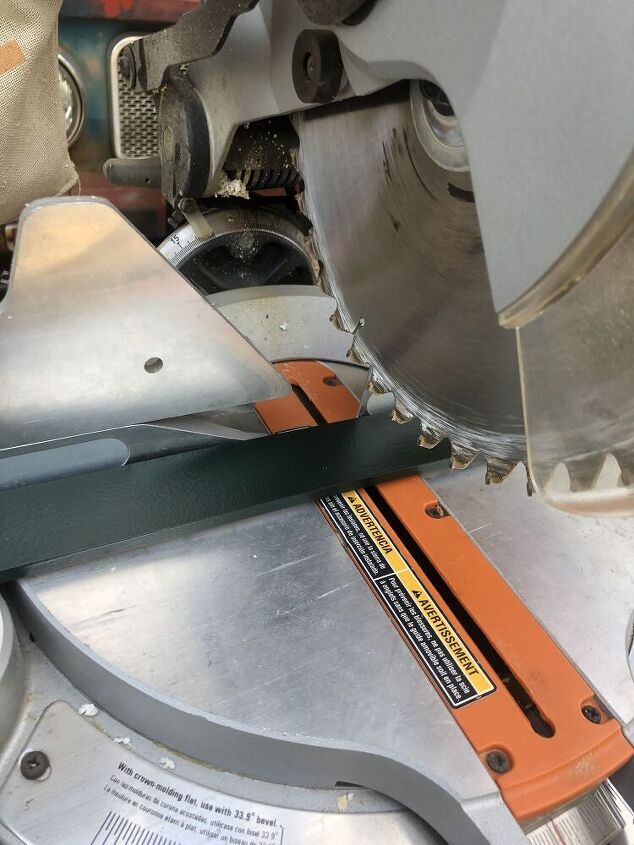
I measured the height of the battens and the width of the wall and cut the battens accordingly.
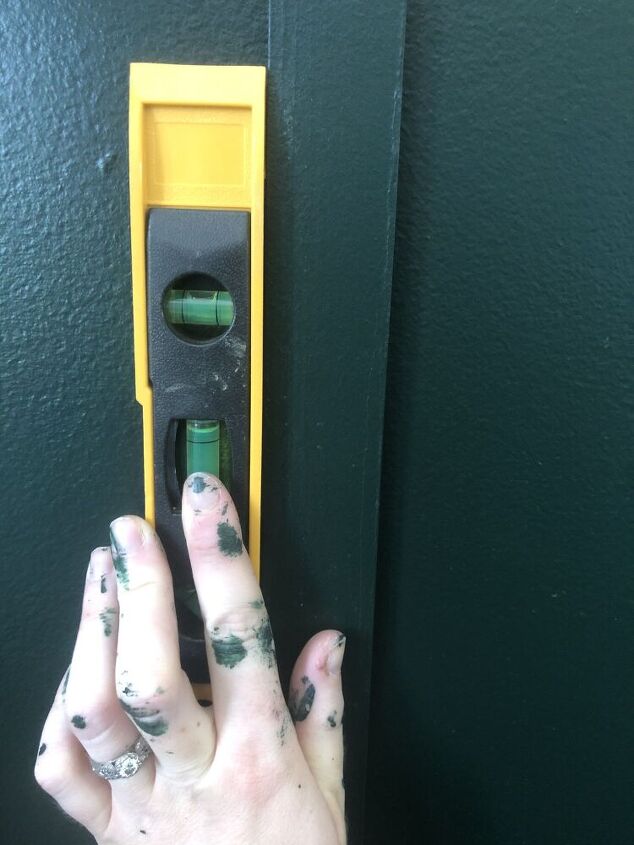
Make sure to level your battens before nailing them in!
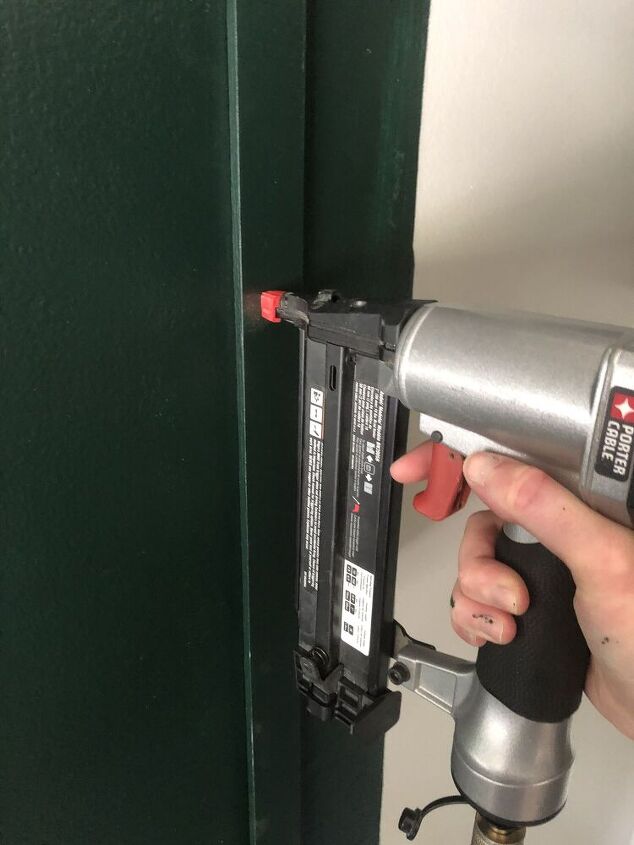
I used a brad nailer with finishing nails to nail the boards to the wall. This left smaller holes that were easy to fill! Make sure you measure the distance between battens one batten at a time. If you do it all at one time, the measurements might be off. For example, nail your first batten up, measure 26 inches (in my case) from that batten and mark that spot for your next batten. Instead of marking every batten location at one time then nailing them up.
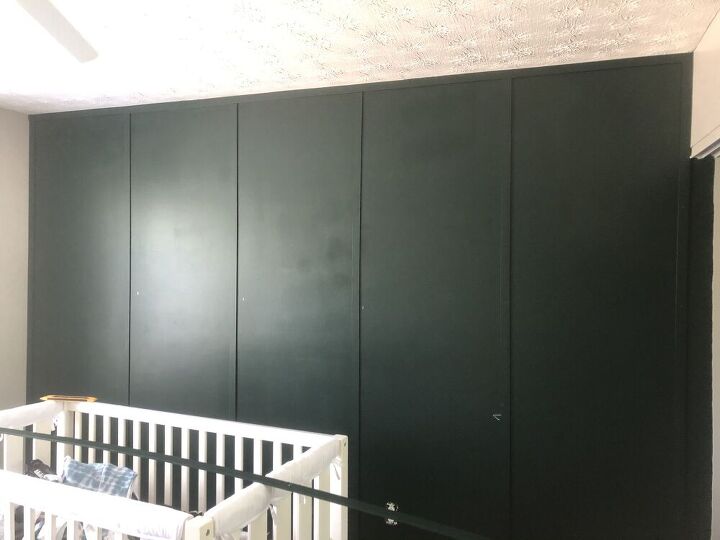
Caulk the seams and nail holes, touch up paint, and you’re done!!
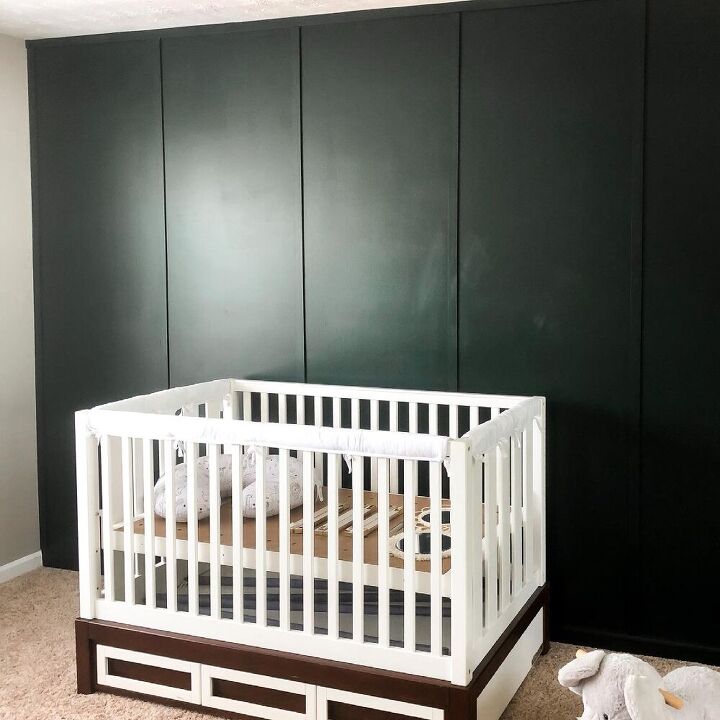
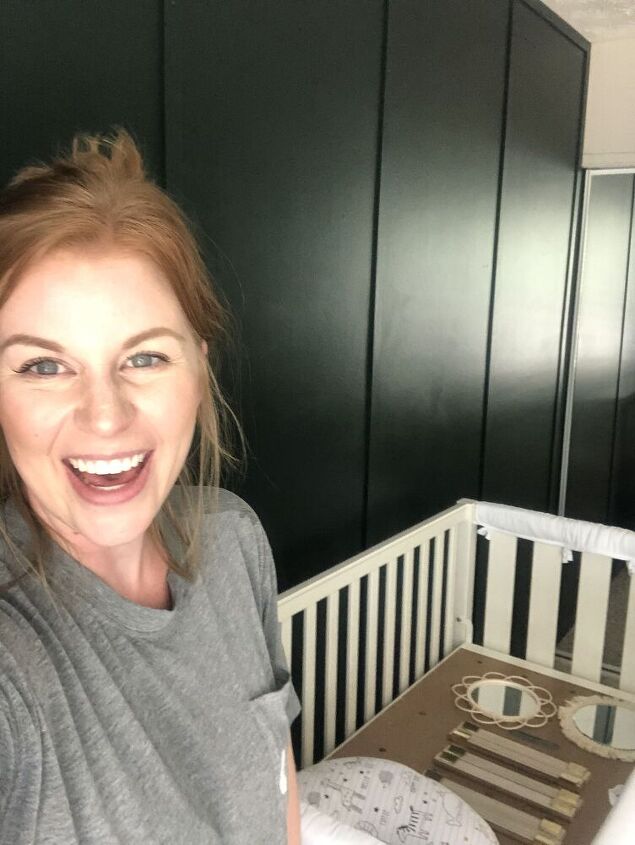
What do you think??
Here is a video showing the process!
Resources for this project:
See all materials


Comments
Join the conversation
-
What is the length of each of your lath strips? Thank you!
-
Looks beautiful. well done!


Frequently asked questions
Have a question about this project?