


Boho Mandala Wall Hanging

This wall hanging is a fun project that can to add color and cheer around your home. The basic form is created with sticks or dowels and can be enhanced with wrapped yarn or twine. As long as you have access to sticks, this mandala can be a great addition to your house for little to no cost!
I've been waiting patiently to create this project until I found enough sticks to build it. Luckily, my neighbor trimmed their trees and had a lot of branches out on their curb last weekend!
For this project, you'll need:
- A number of straight sticks - if you don't want to use sticks, you can also use wood dowels.
- Clippers, utility knife, or a small saw to cut your sticks
- Dremel or cutting tool to notch your sticks (this might not be necessary depending on the size of your design)
- Hot glue gun and glue sticks
- (Optional) Scrap yarn in the colors of your choice
- (Optional) A piece of cardboard larger than the overall size of your mandala
- Pencil, marker, and ruler or measuring tape

This project is quite easy, but there are a number of steps. To see the full directions with photos, please visit my blog.
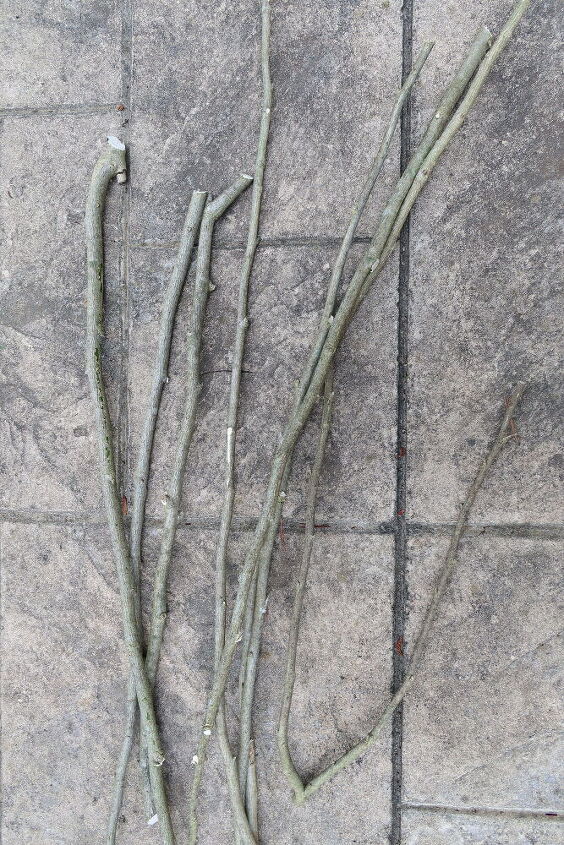
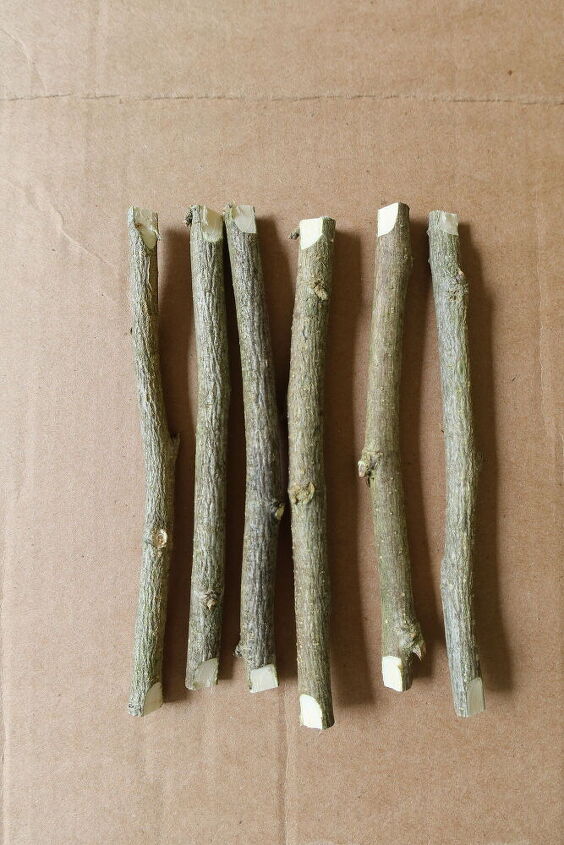
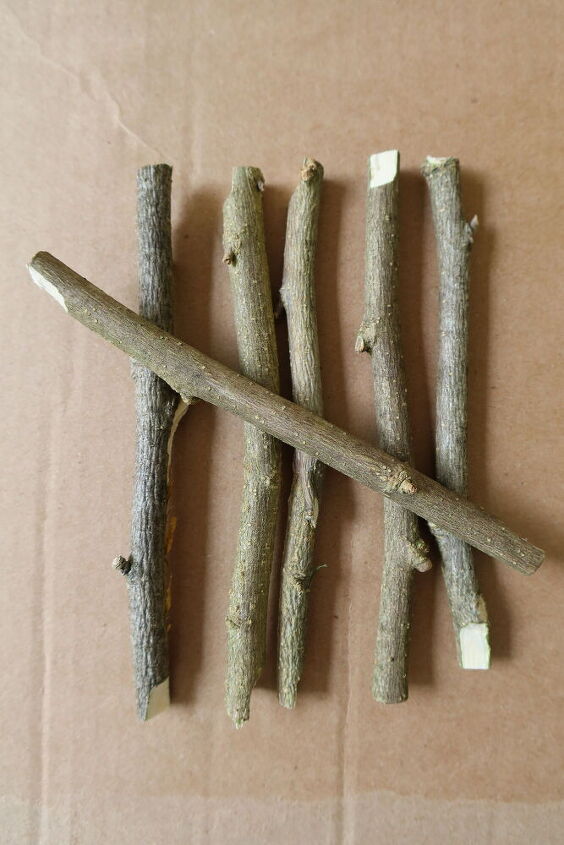
The first step is to collect and clean a bunch of sticks. You'll need quite a few. Remove any small branches, leaves, or growths from your sticks.
Then decide the overall size of your mandala and choose three long sticks of similar width for your central form. Your mandala can be any size. I chose to make my mandala 24 inches in diameter.
Next, cut your three central sticks to the length of the diameter of your mandala shape.
I also found it helpful to create a line drawing for my mandala. I have directions for this drawing on my blog link above.
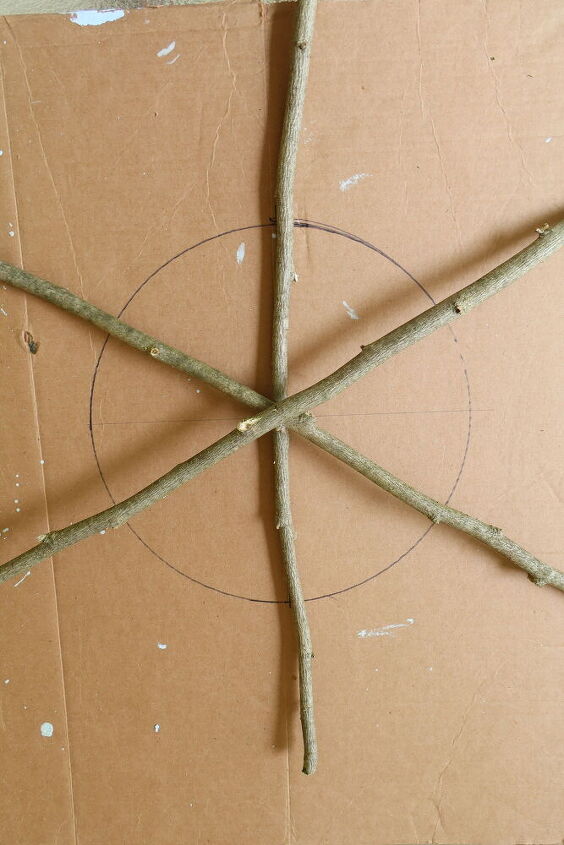
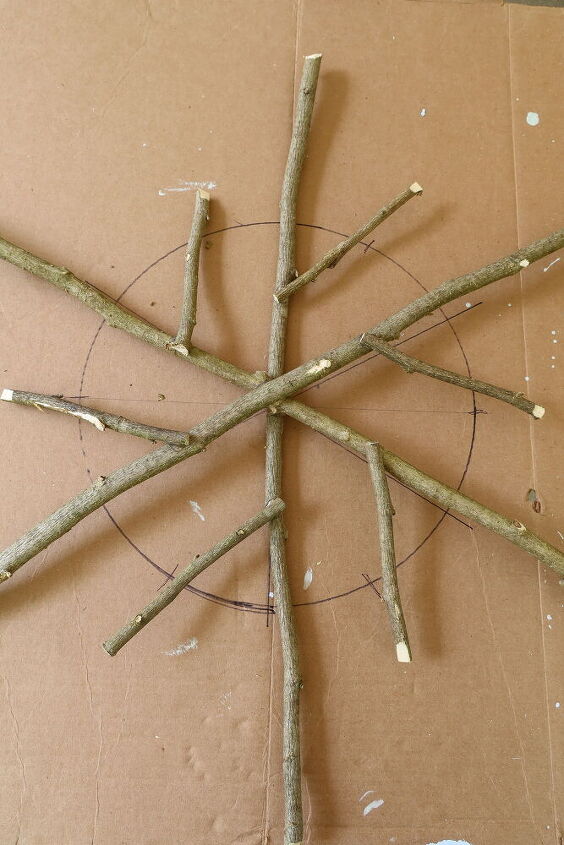
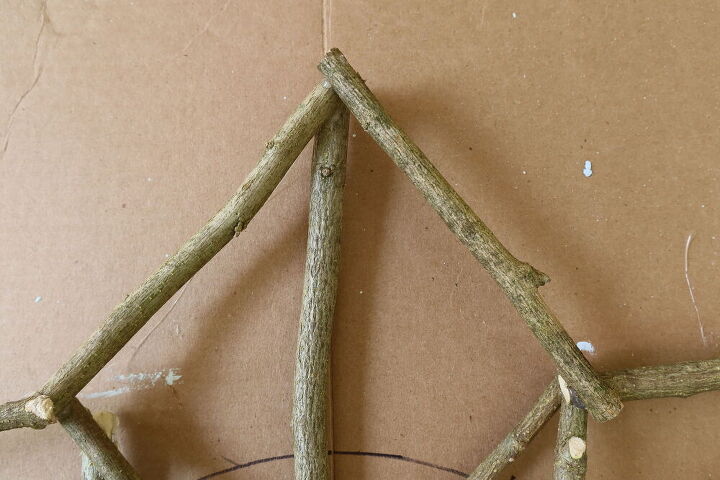
Mark the center point of each of your three sticks using a pencil or marker.
Then place your sticks along the lines on your circle so that your sticks cross at their middle points. You may have to move and rotate your sticks to find the best arrangement for them to fit together (see photo above).
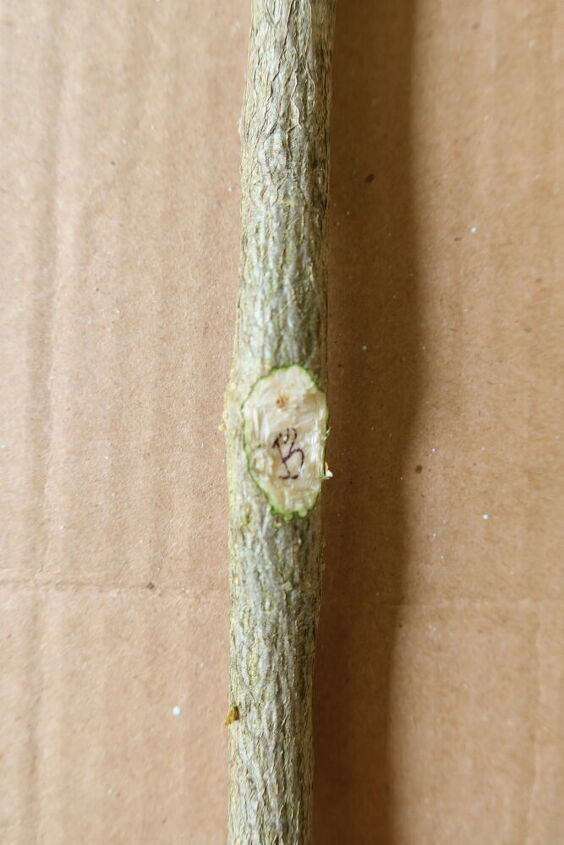
Carefully take apart your arrangement of sticks, keeping them in order. Using a utility knife or dremel, notch each stick so they fit together. I have directions for notching your sticks on my blog.
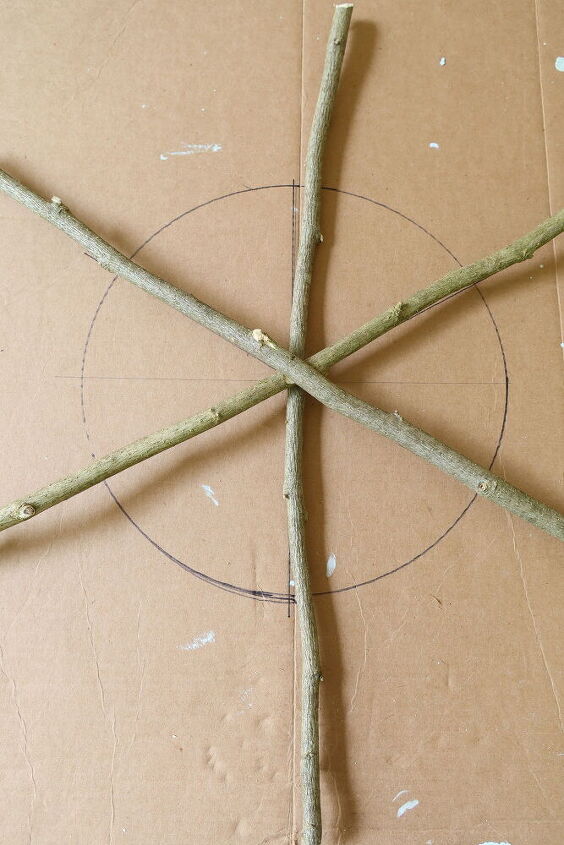
Once your central sticks are notched, you can glue them in position using hot glue.
Now cut 12 more sticks that are 1/4 the length of your three larger sticks (these sticks can be slightly thinner in width if need be). These shorter sticks will be used to create a smaller star within the center of your mandala. Since my larger sticks were 24 inches long, I cut my smaller sticks to be six inches long.
Separate your smaller sticks in to two piles of six sticks each. With one pile, notch the front sides of both ends of your sticks.
For your second pile of six sticks, notch the top front of each stick and the bottom back so that you have notches on the opposite sides at opposite ends of each stick.
Measure 1/4 of the way up each arm of your central design and make a small mark. Each of the arms of my design was 12 inches long so I made a mark three inches from the center of my mandala.
Using your pile of sticks with the front and back notches, place a stick on each arm at the place where you marked. Position this smaller stick so that it hits the midpoint mark on your cardboard circle (see photo above).
When you settle on an arrangement, glue these sticks in place.
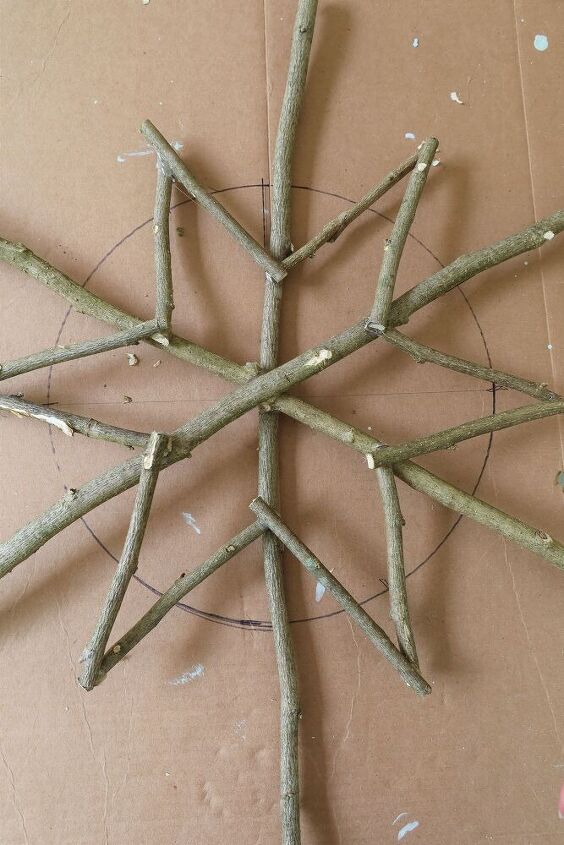
Take your second pile of smaller sticks and position them to complete your star (see photo above). Arrange them before gluing to get the best fit with your sticks.

Cut 12 more sticks that are about an inch longer than your previous sticks. These sticks will form the outer star shape. Make a notch at the top and bottom end of each stick on the same side. You can see more photos on my blog.
Take six of these sticks and position each one to span from the top of your inner star to the long arm on the right. Each of these smaller sticks might need to be trimmed a little to be the correct length. When these sticks are in position, glue them in place. See my blog for more details.
Now take your remaining six sticks and position each to span from the top of your inner star to the long arm on the left. The ends of these sticks should overlap your previous sticks and form an outer star. Trim as needed and glue in place.
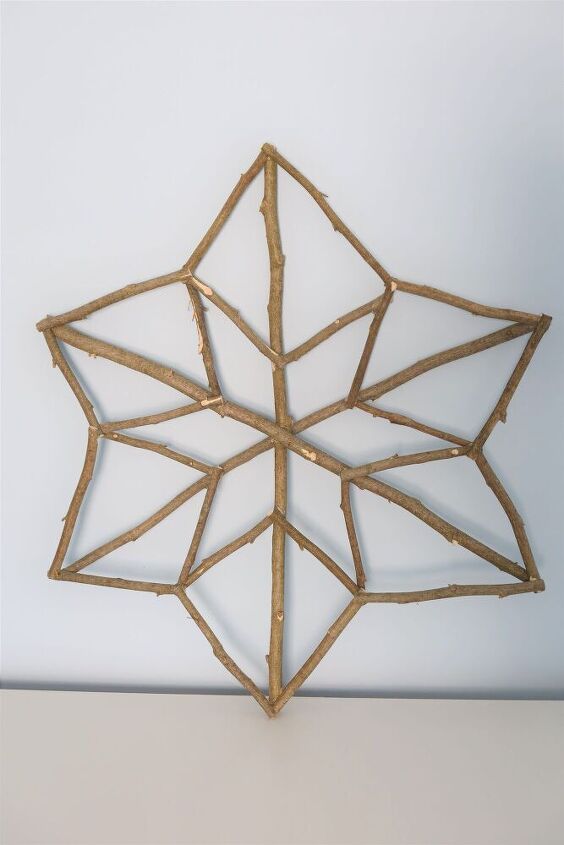
Your bare stick mandala will be a beautiful addition to your home when completed. However, if you'd like to add more color to your design, you can wrap each stick with yarn.
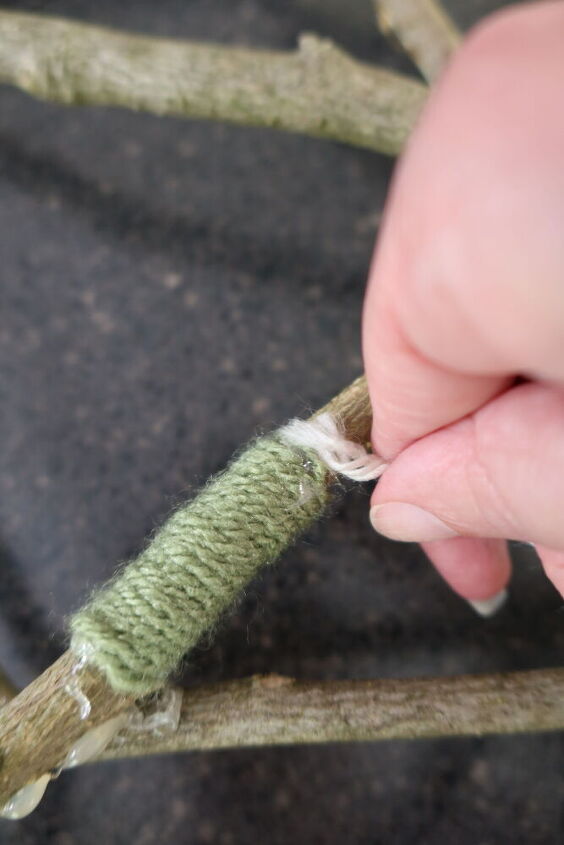
To do this, put a dot of hot glue on the back of the stick you want to wrap. Lay the end of your yarn in the glue.
Wrap each stick with yarn as you choose. You can use as many color as your want. Use another dot of hot glue to attach each end of your yarn and start another color.
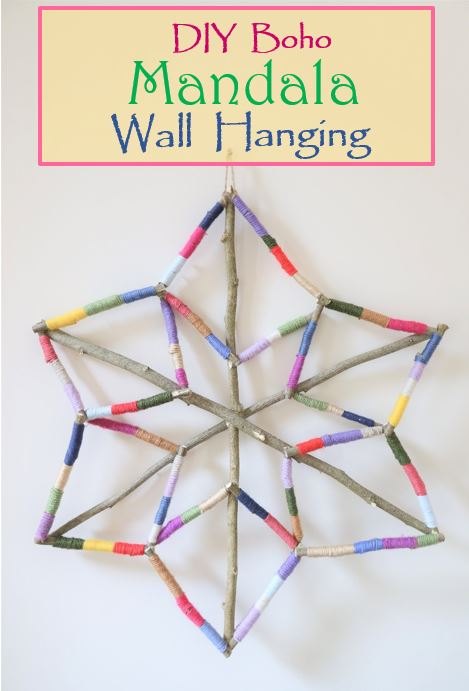
I wrapped each stick in my inner star with multiple colors. I also wrapped my outer star with yarn but left the supporting arms of my mandala as bare wood. This took a while, but the effect was worth it.
I think this colorful mandala would be perfect for a nursery, over a fireplace, or in a sun room. I have my finished mandala hanging over my favorite chair in my reading nook.
Resources for this project:
See all materials


Comments
Join the conversation
-
One of the kind…
-
Could also make a white one for Christmas, a snowflake! Lovely!


Frequently asked questions
Have a question about this project?