


Budget Slat Wall

Slat walls are all the rage right now, and our basement upgrade was a perfect opportunity for me to give it a try. We love the Mid-Century Modern style. Because we're making a conscious effort to brighten up a small basement room, we wanted a light color. We also wanted to get this done as cheaply as possible. We decided to use 2x4s. That decision resulted in A LOT of labor, but we are thrilled with how it looks and so happy about the money we saved.
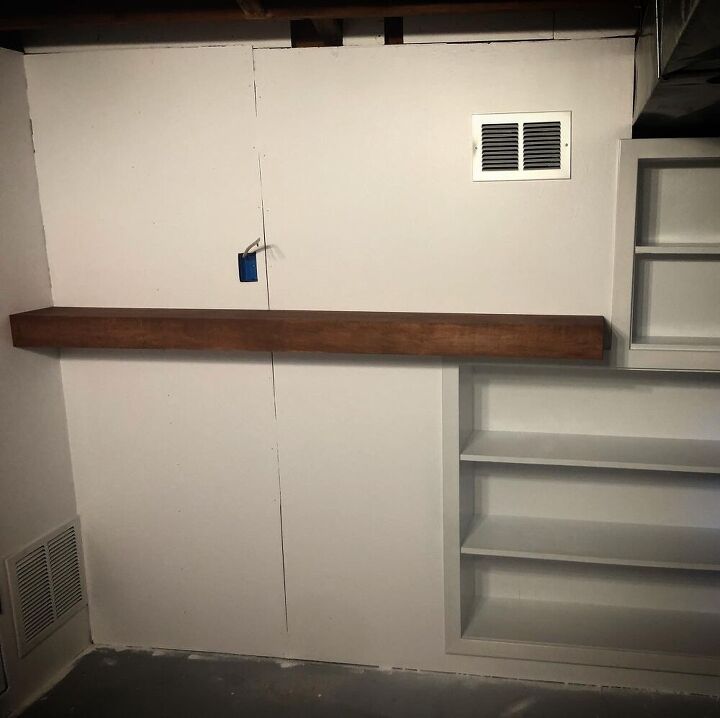
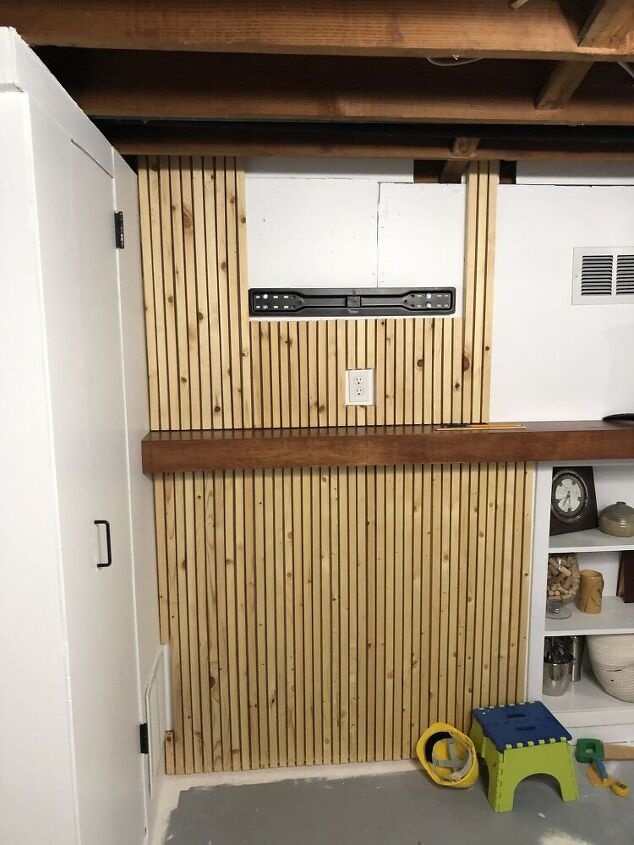
This is what our wall looked like prior to adding slats. We had to close in a door, and the wall is covered with 1/8" plywood. The first step was to paint the wall white, because the wall will be seen between the slats.
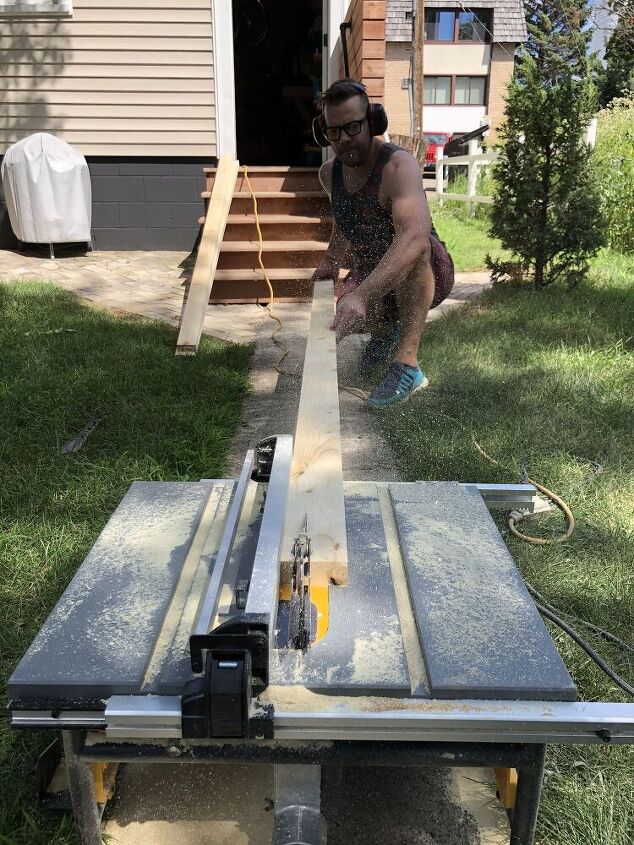
We used roughly 18 standard doug fir 2x4s for this project. First, make a cut down each edge that is about the width of a table saw blade (1/8") just to get rid of the rounded edges. Next, I ran them through the planer 2 or 3 times on each side. This part probably isn't necessary, but I wanted to clean them up so they didn't need as much sanding. Then, rip the board into thirds. This will give you three long slats that are about 1" thick each.
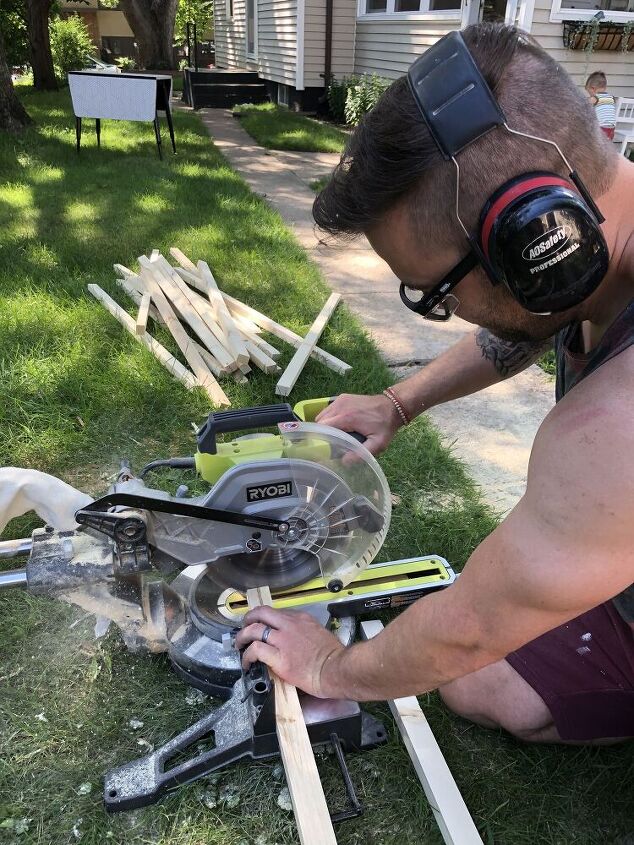
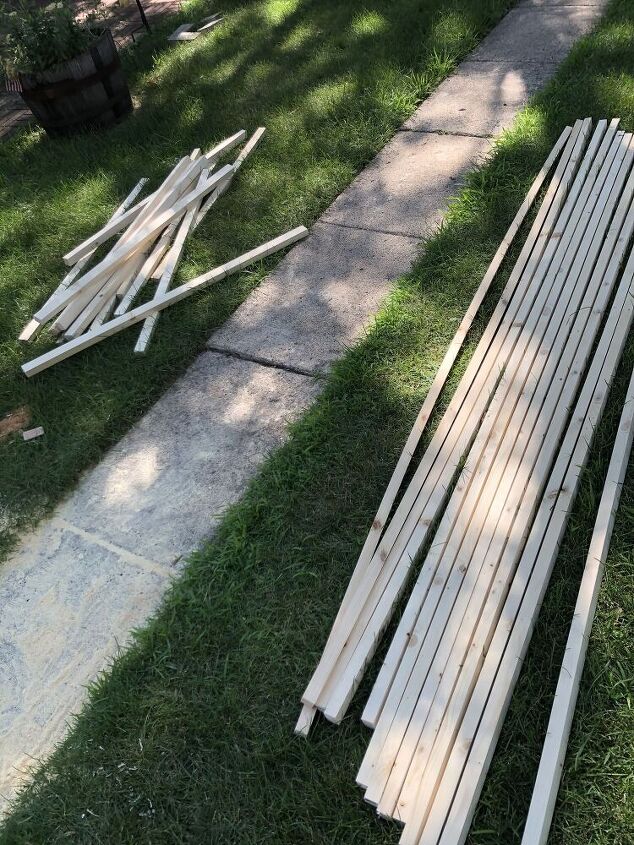
Next, cut the slats to length. Our feature wall was bisected by a floating mantle/shelf, and we had to work around a heat vent and TV mount, so we had a few different lengths to cut.
Make sure to sand each slat on three sides - the front and two sides. Don't bother sanding the back side.
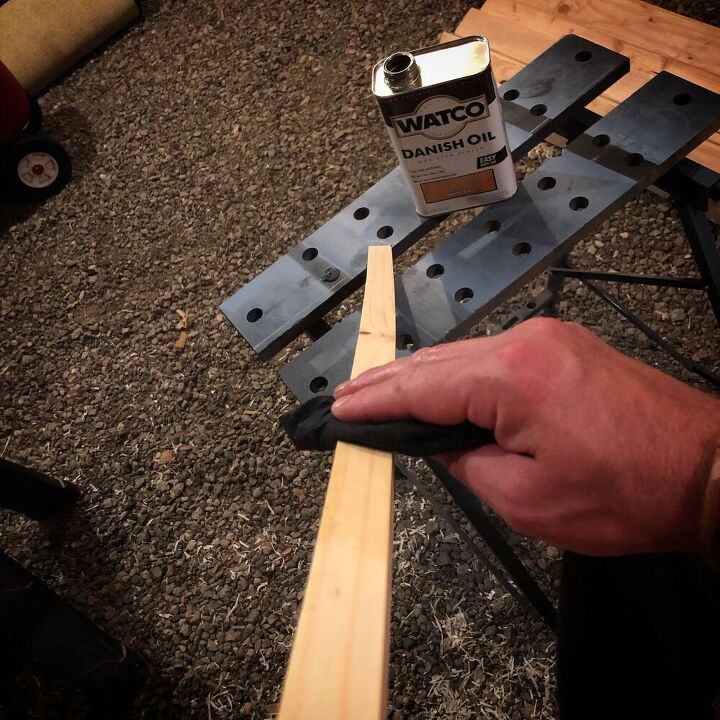
Apply finish to each of the three sanded sides. I used a simple Danish Oil because we anted to preserve that light, natural wood color. If you wanted to go with a color, now would be the time to paint since you won't be able to get between the slats once they are mounted.
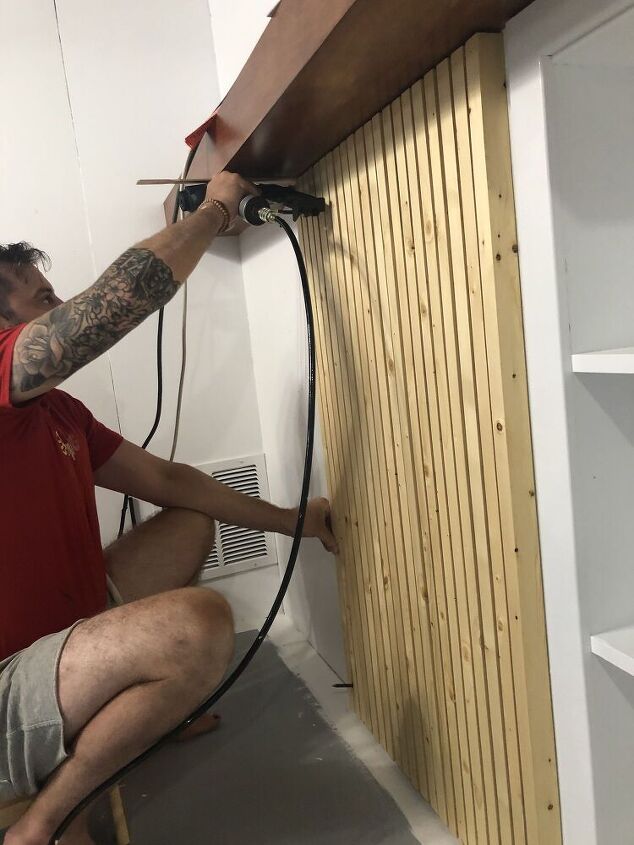
I attached each slat by putting glue on the back side and then putting a brad nail towards the top and bottom of each slat.
I used pencils as spacers between the slats. You could go with less space (and use a paint-mixing stick) or more space and use a wider spacer. But, for the look we wanted, short golf pencils were perfect.
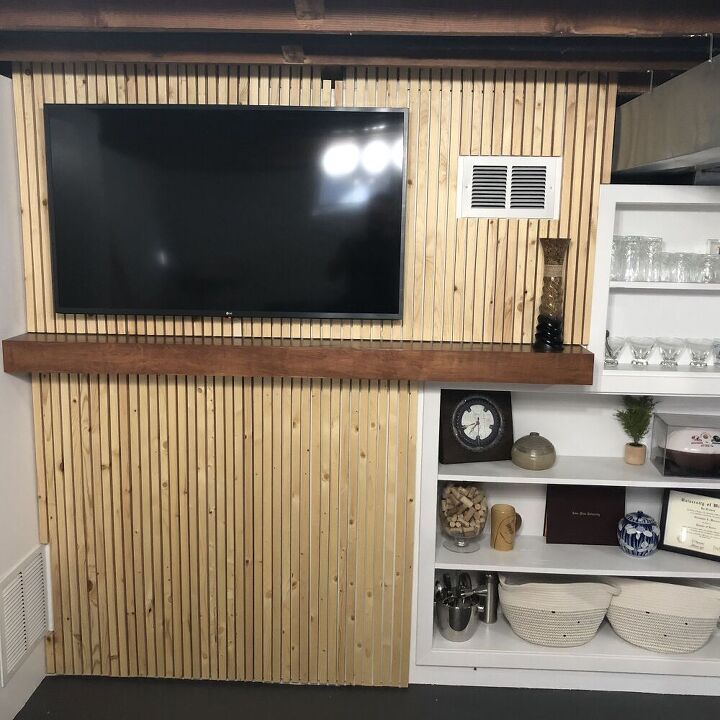
Here is the finished product
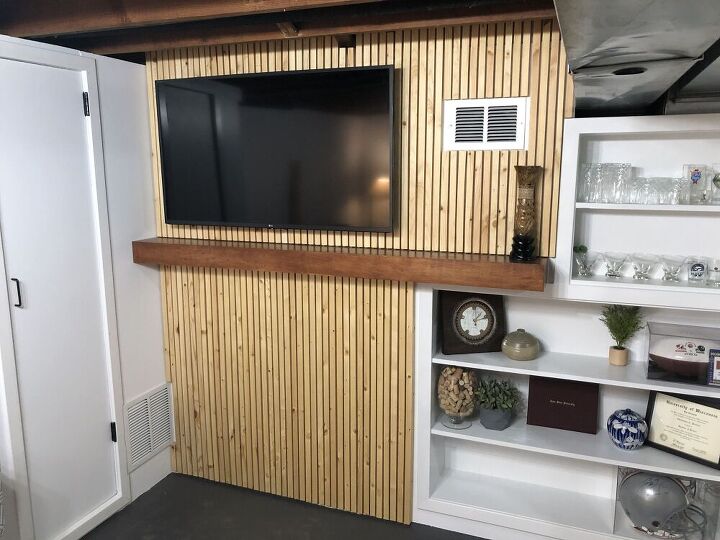
We love the look of the slat wall. You certainly wouldn't want to overdue it, but for a basement we are not fully finishing it was a perfect choice. For all the work it took to cut, sand, oil and mount each slat - it was still so much better than mudding and sanding drywall. But, maybe that's just a me thing. 
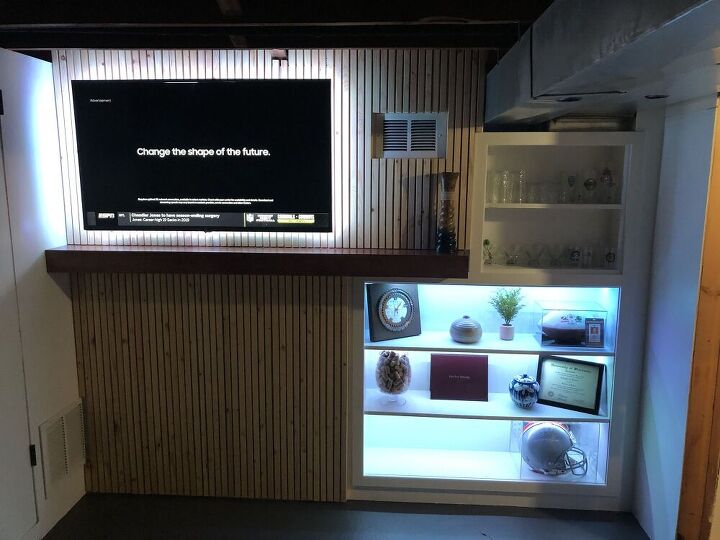
I even ended up adding some LED strip lights behind the TV to brighten up the wall and add more light. They aren't for everyone, but they're fun for certain occasions.
Follow me on Instagram at @woodyworking for more woodworking DIY or home improvement projects. Happy building!


Comments
Join the conversation
-
Very creative in making a silk purse out of a souse’s ear. Such an upgrade. I appreciate the use of mounting the slats on end rather than flat. Curious could you have used 1x2 rather than rip down (power tools and me don’t always get along). Thanks for sharing
-
Great job and looks really good.


Frequently asked questions
Have a question about this project?
Did you add a top frame to the wall , I can tell in the photo, it looks great I'd change out the vent cover T to something a little more modern there are so many out there now, in different metals or even wood.
Hi Chris...
I LOVE how your wall turned out!!
Here's a couple of things that popped into my head when looking at your finished pics...
Anyway...I think it looks really great and such a huge improvement! :)