


Chalkboard DIY
See how I turned this outdated mirror into a chalkboard menu for our kitchen!
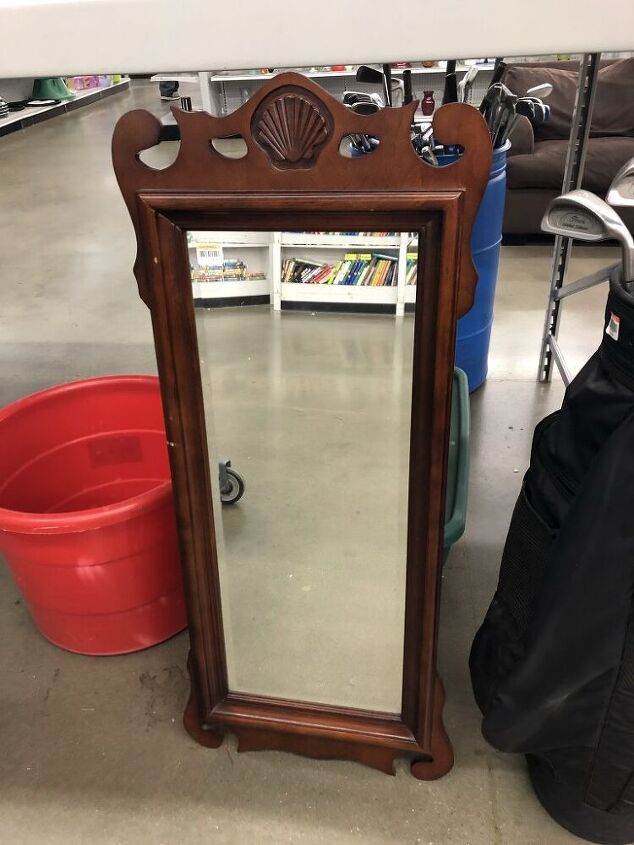
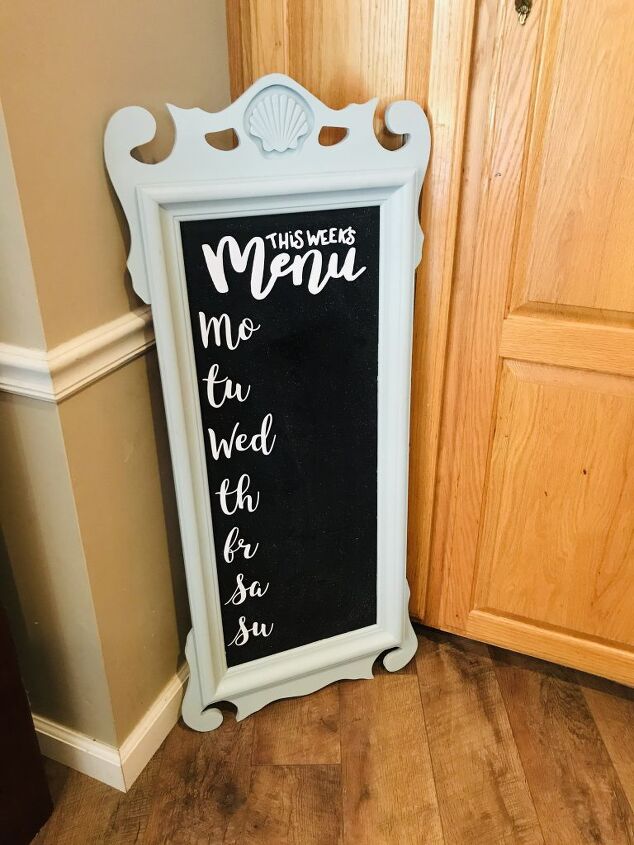
Picked up this mirror for only $5! It was the perfect size for a kitchen menu sign!
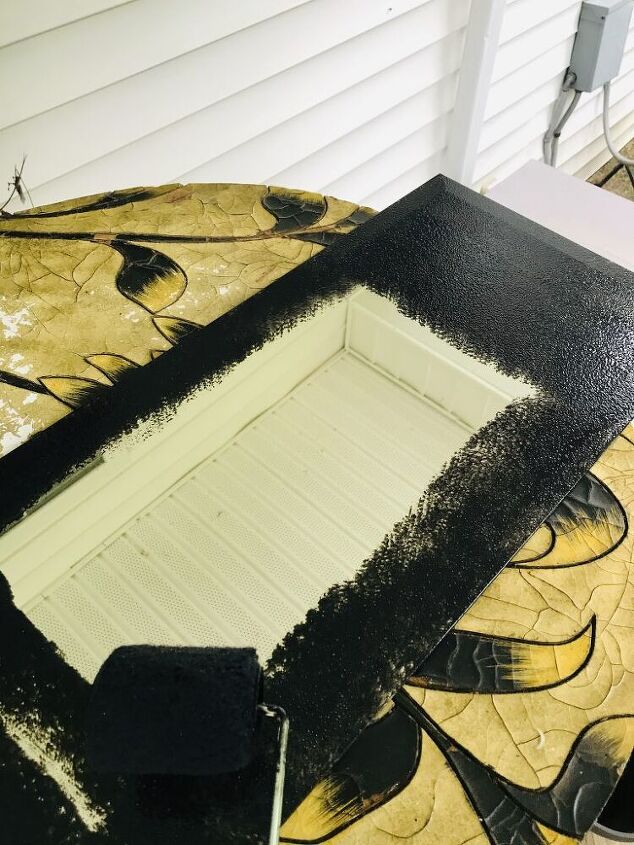
I removed the mirror from the frame and painted it with chalkboard paint. I used three coats, letting it dry for one hour in between each coat. I then let it dry for two days.
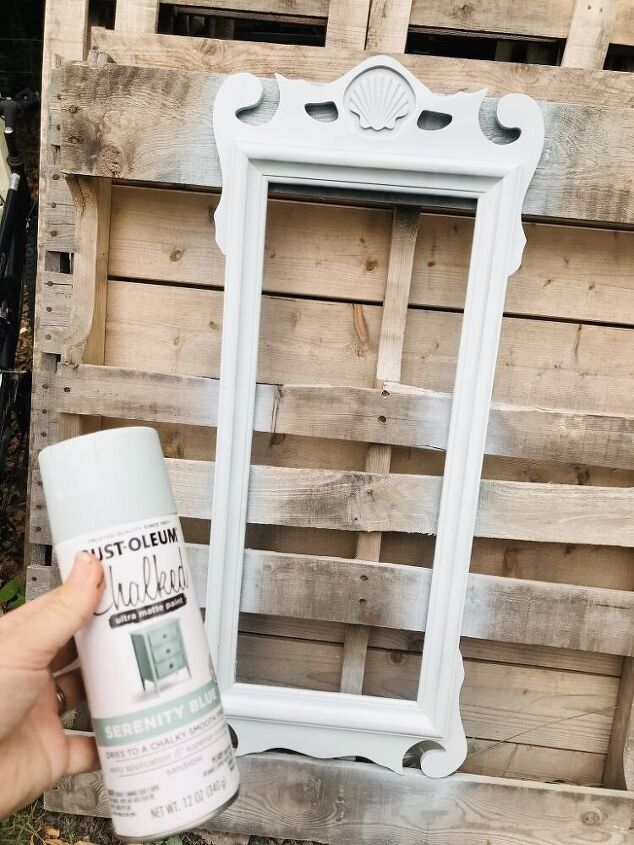
I painted my frame with this Rust-Oleum Chalked spray paint in the color Serenity Blue.
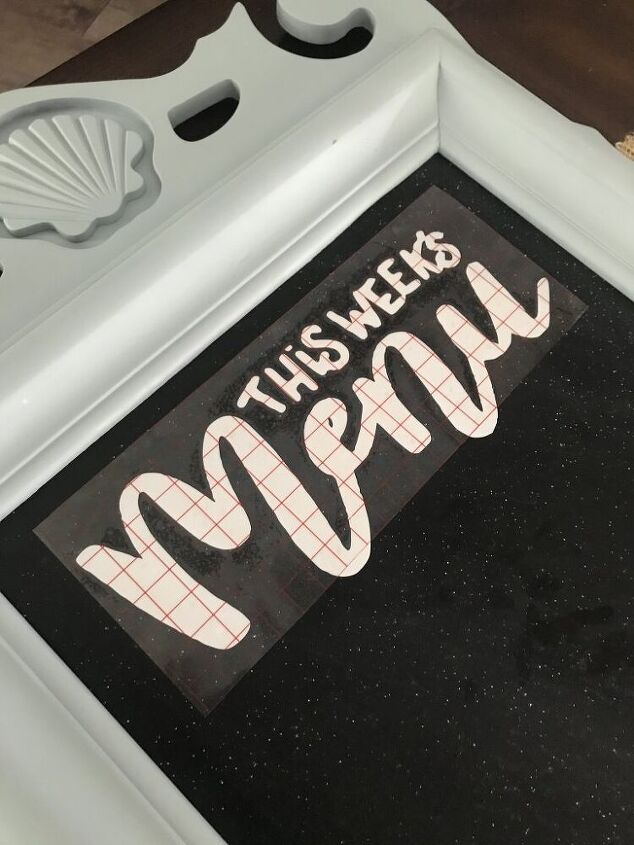
After the frame and chalkboard dried for a couple of days, I primed the chalkboard by rubbing it with the edge of a piece of chalk. This step is critical. Once I secured the chalkboard back into the frame, I added my vinyl letters. It says "This Week's Menu" and along the left side, I added abbreviated days of the week.
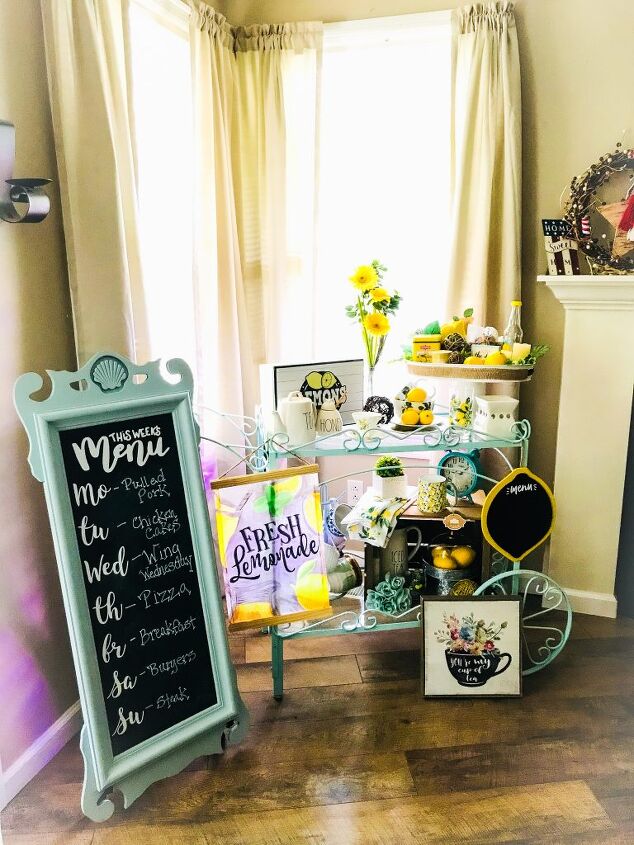
Here is our new menu board for our kitchen! I used a chalk marker to add our menu for the week and placed it in our dining room next to our vintage tea cart!
I am going to enjoy changing this each week and enjoy it being a part of our farmhouse decor! What do you think? Let us know in the comments here or on our blog! We hope you will subscribe to our newsletter!
Resources for this project:
See all materials


Frequently asked questions
Have a question about this project?